I recently ran into a snag in cleaning the carbs on my 1978 750F. I pulled the main and pilot jets, soaked them in carb cleaner, and soaked the carb body in 50/50 simple green with water.
My goal: clean this set of gummed up carbs without pulling the carbs apart, and without purchasing an ultrasonic cleaner.
Even after a soak followed by blowing carb cleaner, then compressed air through the accelerator pump lines, I still had a problem. The number 3 jet was completely clogged. Both check valves were functioning properly in the pump, but I got no squirt of gas on the bike. On the bench, removing the fuel line on one side of the rail and plugging it with my finger, then blowing compressed air through the other end still didn't clear out the jet...even with 2ml or so of carb cleaner in the line trying to push through the gunk. Pressure simply built in the line, and I received a nice shot of carb cleaner in my face when I unplugged my finger. (Safety note...be 'dorky' like me and wear glasses all the time. They work)
If your accelerator pump jets are this bad...and you don't want to spend cash on an ultrasonic cleaner...hopefully the following info will help:
Supplies- 3/32" ID gas tubing
- 10 ml syringe
- Simple Green
The gas tubing I picked up at the hardware store, it's essentially the type of fuel line that you would use to replace the rotted one on your mower/chainsaw/etc. The syringe I used was a standard medical Luer-lock syringe...the type that allows you to screw a needle onto the end. Granted, I realize that this isn't the most readily available item, but it shouldn't be too difficult to procure from a pharmacy, vet supply store, or even amazon.com. Luckily I had some laying around since I work with them daily. Anything in the 10-20ml range should work.
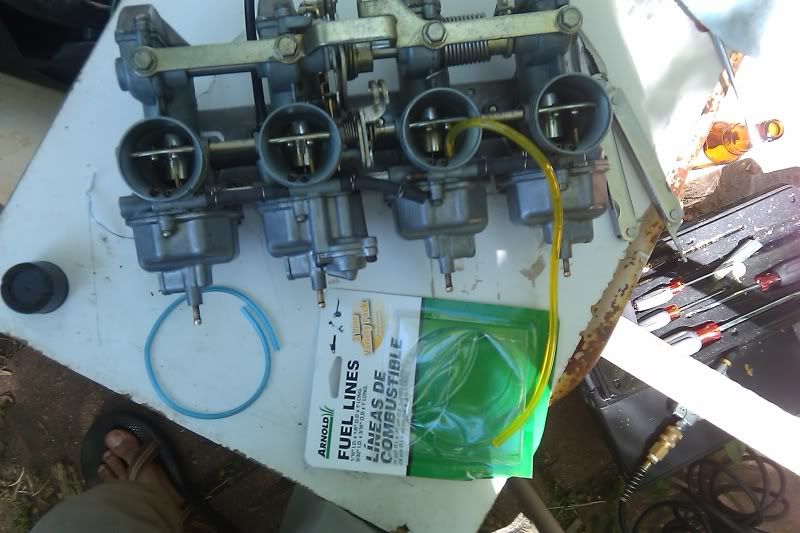
Here's a photo of a "test fit"...as well as the packaging from the fuel lines I picked up.

The kit also included a 1/16" ID tube, but this ended up being too snug over the post, it didn't allow for the opening of the jet to contact the fluid in the line. The yellow line pictured is the 3/32" ID line.
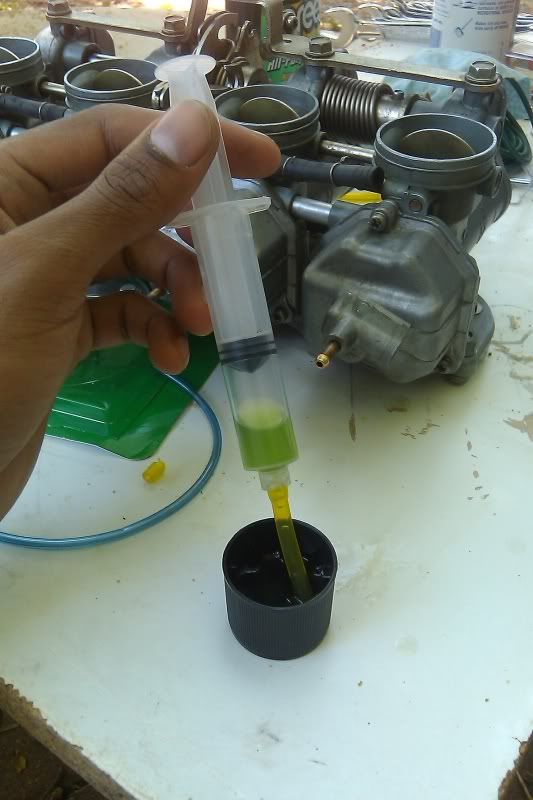
Conveniently, the other end of the line fits perfectly over the end of the syringe. Just a side note on the syringe...you will want a Luer-lock type. The oral dosing syringe will be too large to fit inside the line, and the tapered end will push the line off the tip. Take about 4" or so of line, and attach that to your syringe. Pull in about 3ml of air, then add about 2-3ml of simple green. You want a space of air between the plunger of the syringe and the fluid, as shown here:

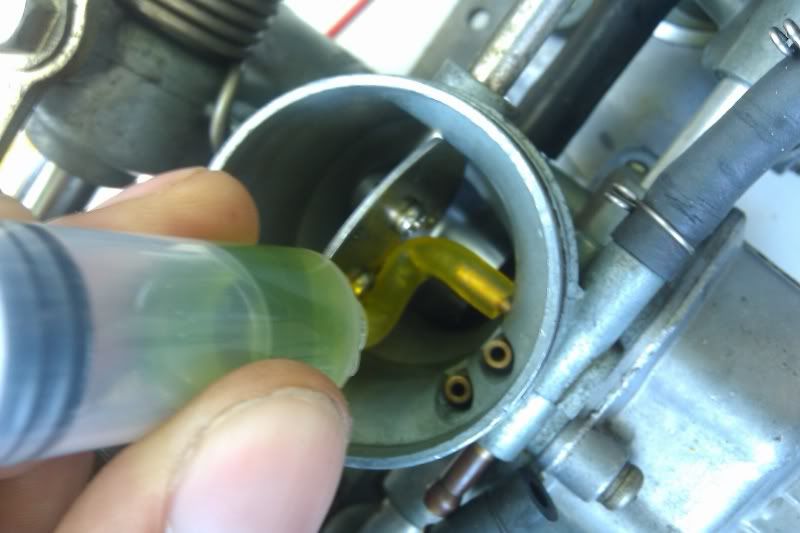
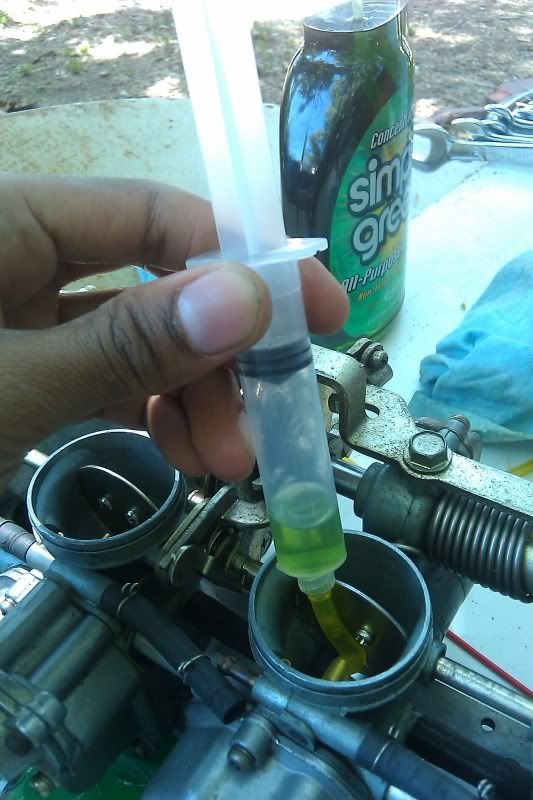
Then, placed the tube over the post. I noticed that i had to push the tubing down into the carb, putting a link in the line. This pulled the tubing away from the face of the post just enough to allow the fluid in the line to get between the tubing and the opening in the jet:

Push down on the syringe, filling the line with fluid, and secure everything here for a few minutes. I only waited about 15 or so...but had been blasing the jet with carb cleaner all day to no avail. You may want to let it soak longer...your call. The important thing though, is to make sure that the line is pushed down so that it kinks below the post. This pulls the line away from the front of the post, exposing the jet opening to the fluid.
Ok, now that it's soaked, while making sure the kink remains in place, hold the base of the syringe with one hand, and pull back on the plunger with the other. You should have a good seal, and will notice significant backpressure in the syringe as you pull back.

Once it's pulled back all the way, release the plunger. It may take a couple attempts to lubricate things inside the syringe, but it should eventually snap back down pretty violently. Do this a few times, and you should notice the simple green starting to foam in the line and in the syringe.
After several repetitions I noticed bubbles streaming from the post. On the next pull, there was no backpressure and the line was clear. Theoretically...this works due to that sudden change in pressure being able to "break up" whatever is gunked up inside your jets.
Feel free to ask questions...and please...if you try this and it works, post up. So far, I've only proven it to work once.
Happy wrenching!