I just finished the POR-15 tank treatment last night. It involves an alkaline de-gunker, an acidic de-ruster, and a silver sealer. The de-gunker was a pain as they said you could use duct tape to seal the holes and the solution instant started leaking through the tape. I used a rubber band on top of the tape for the second and the sealant is more viscuous so it wasn't a problem.
The trick is to really swish everything around well. It is hard and takes time but I think that gets you the best job. Also, make sure it is really, really dry for the sealant. I ran a heat gun in it for about 20 min, and there was still water in the seams. You need to keep drying and then swirl it around to get the water out of the cracks. Finally, when you do the sealant, you swish it around to get full coverage and then you drain the leftover (I got 5-6 oz of an 8 oz can back) into the can. The trick here is to drain it upside down out the gas input opening. If you try to drain it out the petcock, there will be some left puddling that won't come out. You don't want that.
Eddie: I'll take a look at the TechFlex. It looks great on your bike. How does it go on over the brackets? Mine has a flange that connects both of the pipes on each side together and connects to the bike. I'm not sure how I would get a sleeve over that (but I'm not sure how the wrap would go around it either...
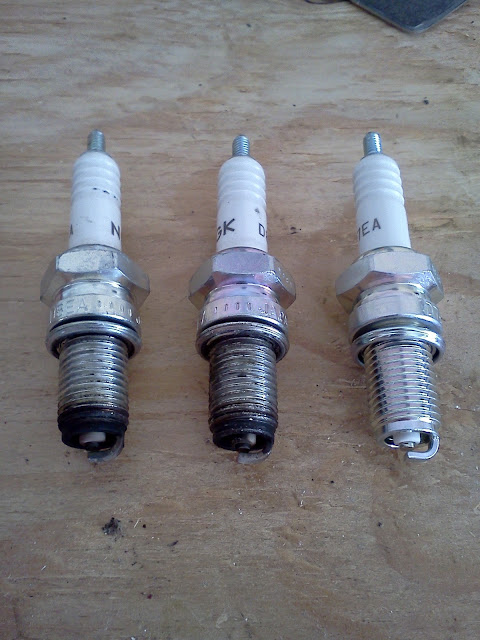
OneWheelDrive: I was fairly happy with the cleanliness of the wiring in the bucket. I don't like the connectors much, they are made to be too permanent. I may one day upgrade them to something (maybe spade connectors). I wanted to do all molex like for the tail light, but there are too many point-to-point connections. I got the flat heads because it is what Ace Hardware had. They are just machine screws and they were still $.30 each. I have a very large driver that fits them well and they are not high torque. Stock jets for this model are 38/100. I will probably go up to 40/110, but someone said the color of my plugs (see below) wasn't that far off so I just bumped the needle to the richest setting and I'll see how it goes. I don't want to spend the $30 before I test it. I did the bench sync (used 1/8" drill bit) and will soon put it on there. I still need some top end gasket material.
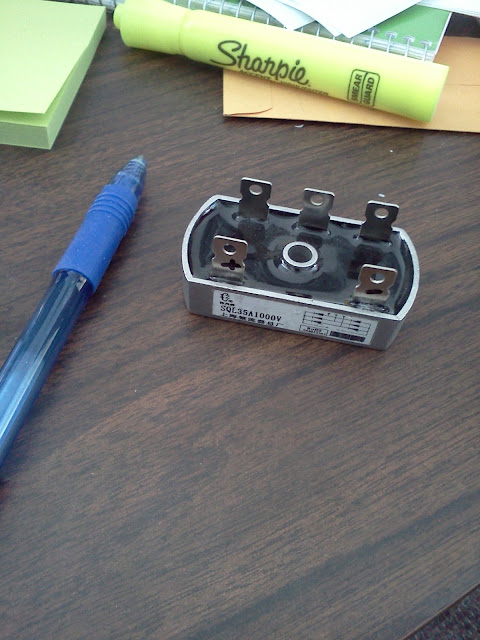
I ordered this new rectifier from FleaBay for $10. It is 1000V/35A. My electronics are working well, but this one is more compact, has a bolt-hole in the middle and (I suspect) better quality. I currently have an osciliscope at my house and plan to get all nerdy on it and see what sort of ripple there is in the DC power supply. I'm hoping that a new rect/regulator will give me a better quality voltage (better for non-lead/acid batteries) and help me relocate them to clean up the triangle. Stay tuned for that data.