Wish I had some exciting news to post, but the winter's work has been trying to get through the remaining several boxes of CB750 miscellanea.
The carb rack was first up...... pretty much the standard tear down and clean routine. Focus was on trying to do this job the best I could the first time, to avoid having to mess with them later. Replaced the jets, needle valve/seats and gaskets (all OEM Honda).

With the carbs sorted, I had the bright idea to spiff up the rack... thought I'd simply take it apart, clean, lube, and polish it a little and be done, but I found out the shaft and arms were corroded/fused together. Should have just quit at that point, but I was stubborn and eventually got it apart. Note the circle in the next pic.... when I finally got the shaft out, the bushing also came out in three pieces. Not sure if it was broke all ready, or if I did it while taking apart? but now that had to be fixed.

Found some bronze oilite in the junk box and whipped up a new bushing.
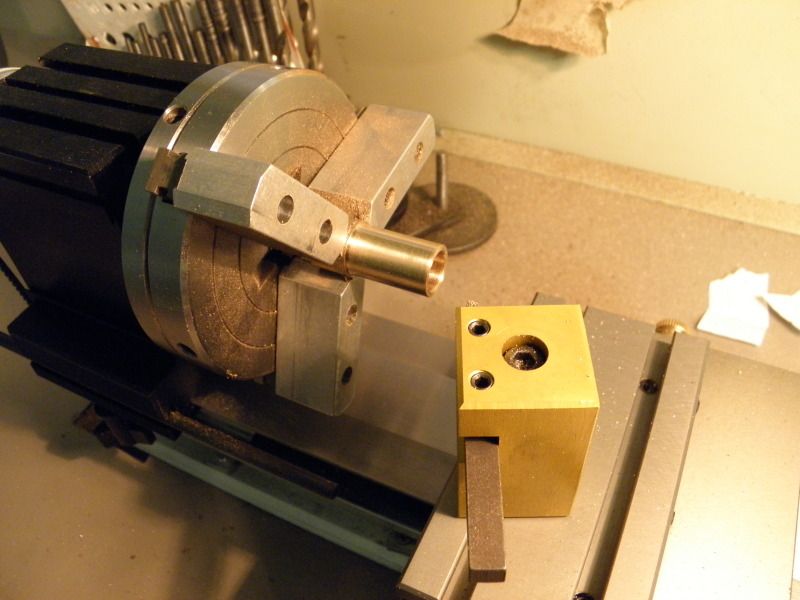
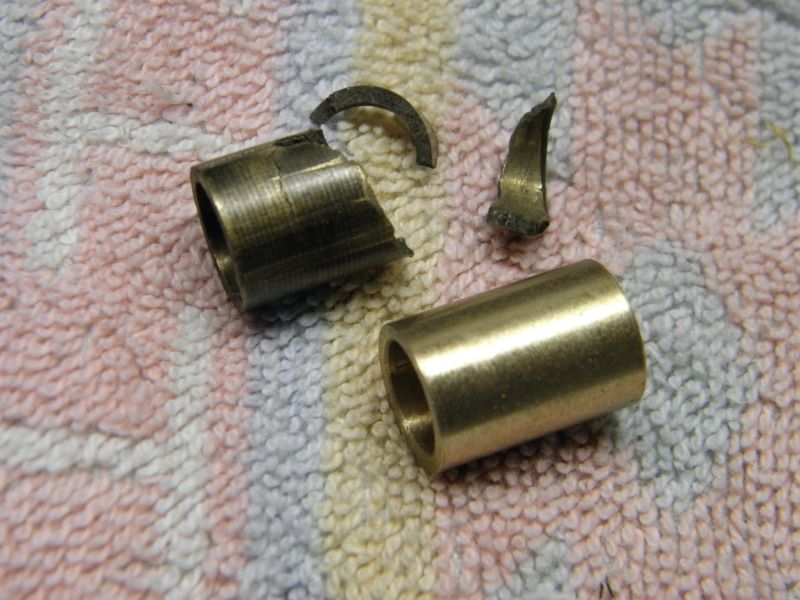
Back together.... enough goofing around with the rack!
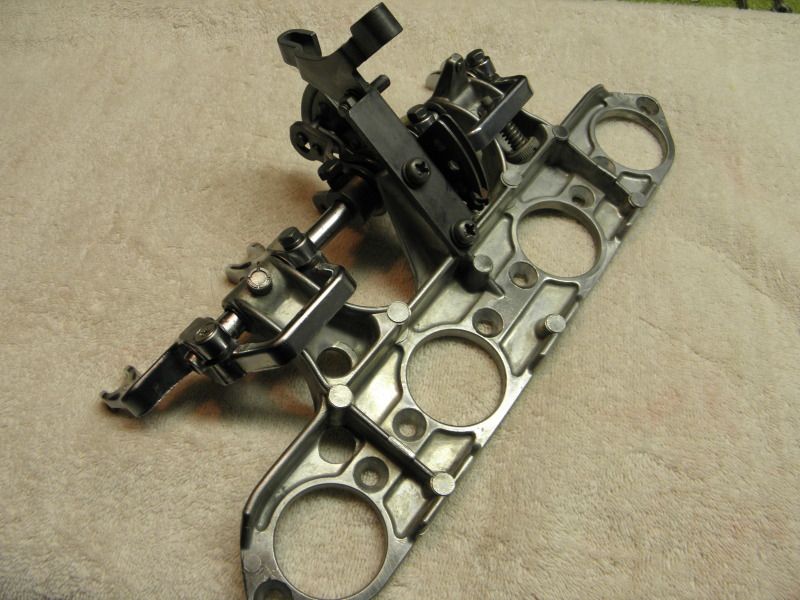
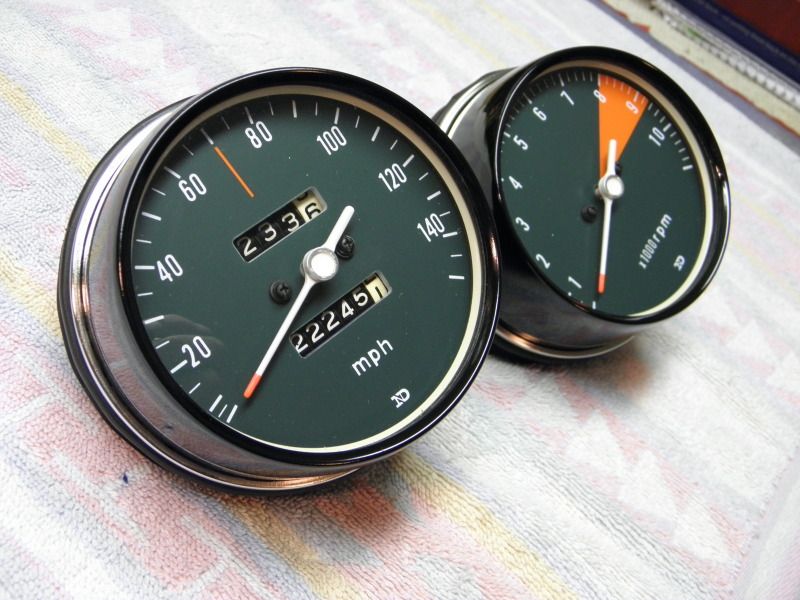
Replacing the clock faces seemed to be a fun change of pace after the routine carb cleaning.... so that was up next.
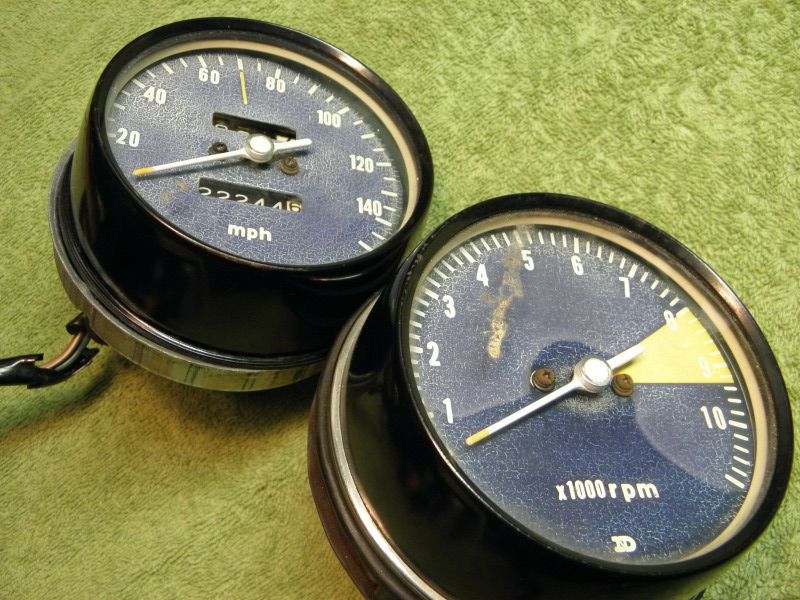
Bought new faces from
www.cb750faces.com , they look fantastic! Getting the gauges open was more work than originally expected. While open, I fought back any urges to mess with the internals (oil and grease - too much and its worse than doing nothing) ... so it was replacing the faces and get out. When I removed the speedometer face, I was surprised to find this on the back side :
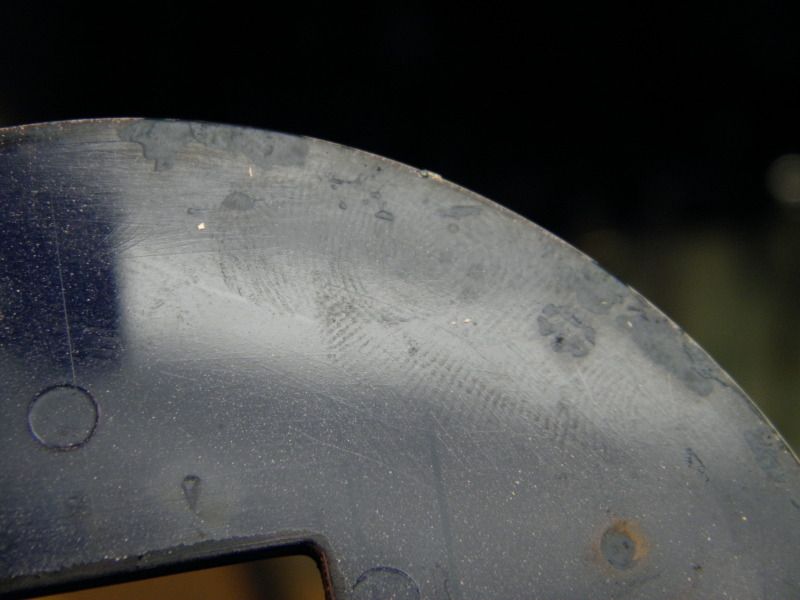
Cool ! its the finger print of the person who put my speedometer together back in February of 72, must have been done after a break, or maybe lunch? Kinda of puts a "human" connection to the machine.
While apart I decided to repaint the outer cases with my new favorite paint, the VHT caliper paint. I like the fact that you need to bake it in the oven to cure it. The original paint used was some tough stuff! Airplane stripper did nothing to it, I had to bust out the old fashioned Zip-Strip, even that had a time of it. I figure the cured VHT paint will hopefully be as tough.
The plan was to use the pliers with tape on the jaws method of re-assembly - I found out that I lack the talent needed to pull that off, maybe I don't have the correct pliers??? After struggling a while, I thought I'd use a screwdriver .... ended up slipping and putting a giant scratch in the case. Crap! When done, I had put marks all over the ring with the pliers - so embarrassing looking, that I'm not going to show you the result here


Plan B - grab a beer (or two) and search the archives for a solution. Found a post where someone (sorry I don't remember who now, or I'd credit you with the concept) suggested making a wood jig to hold the gauge solid, while using a hammer and punch to crimp the ring..... no pliers involved, so I should be ok. Made a little jig on the wood lathe out of some scrap maple - basically the hole needs to be very snug fitting on the outer case. I lined the hole with some stick on felt to prevent scratching. You work your way around multiple passes just like the pliers method, the beauty being, the front face and side of the ring are never touched, so a perfect job from the front.
Stripped and repainted the scratched case, and ordered two new crimp rings from
www.cb750faces.com (should have done that right off when I ordered the new faces). After crimping, I used a little Meguiar's swirl and scratch remover, on the black cases to remove what little micro scratches there was from the jig.
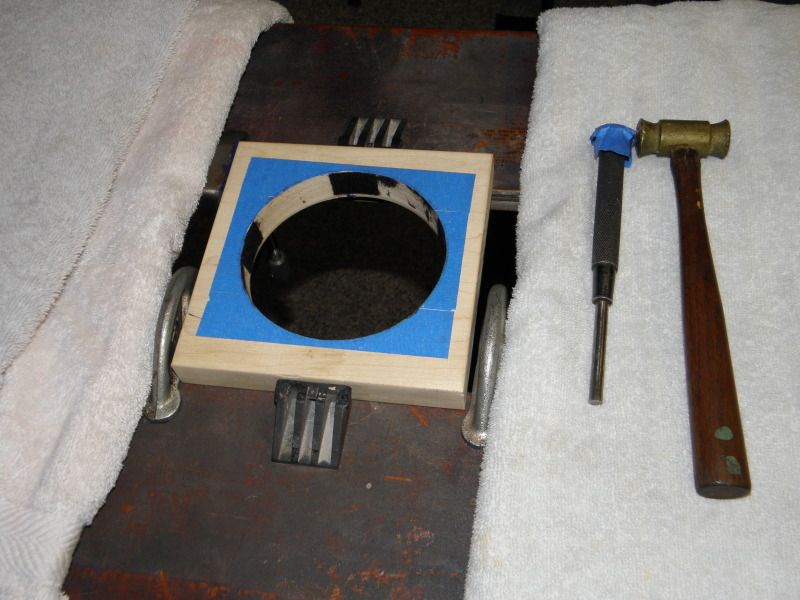
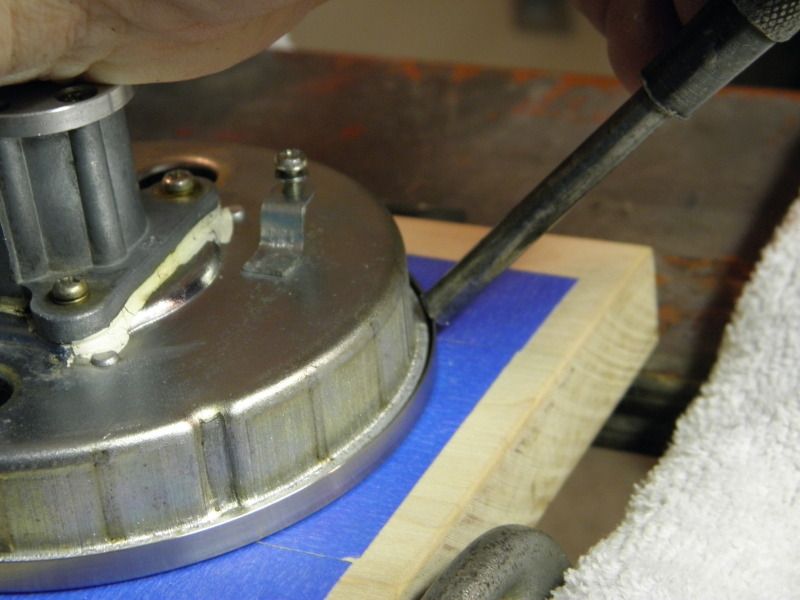
At least this time, I can show you the results.....
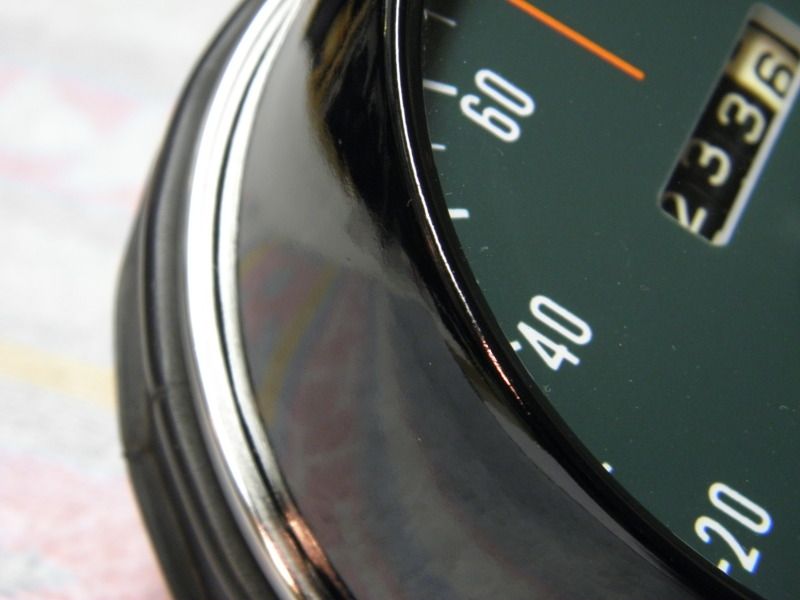
While on a roll, the HONDA tank emblem was next.... I'm not a good "brush" person either, so I went with the mask and spray plan.
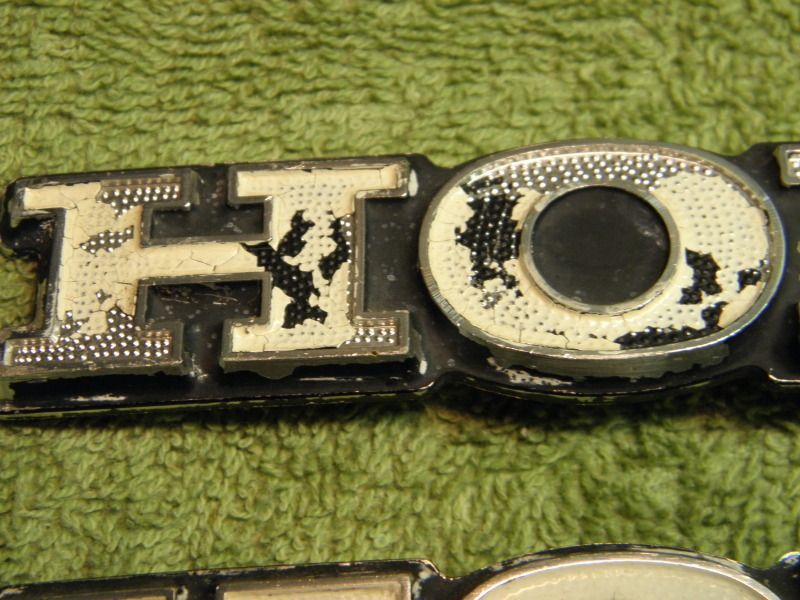
Zip - Strip again...
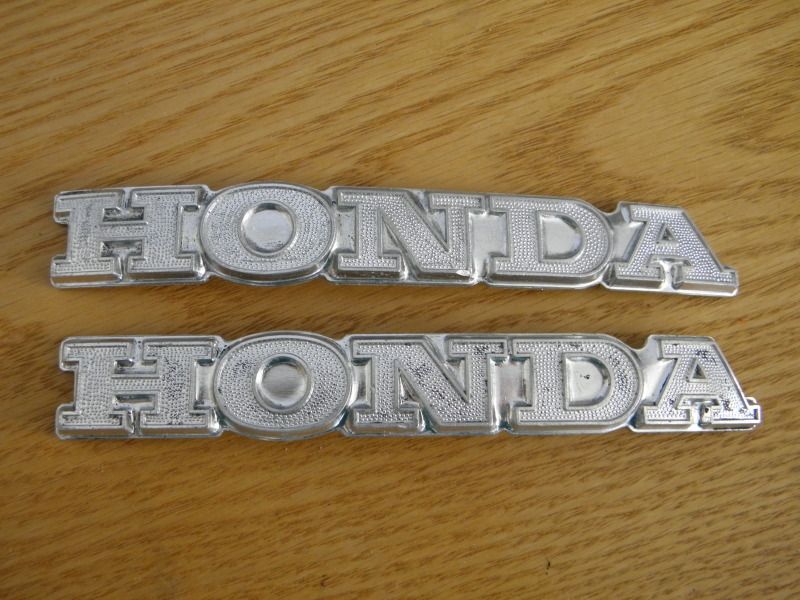
Mask off the white, and spray with Rustoleum Semi Gloss Black...
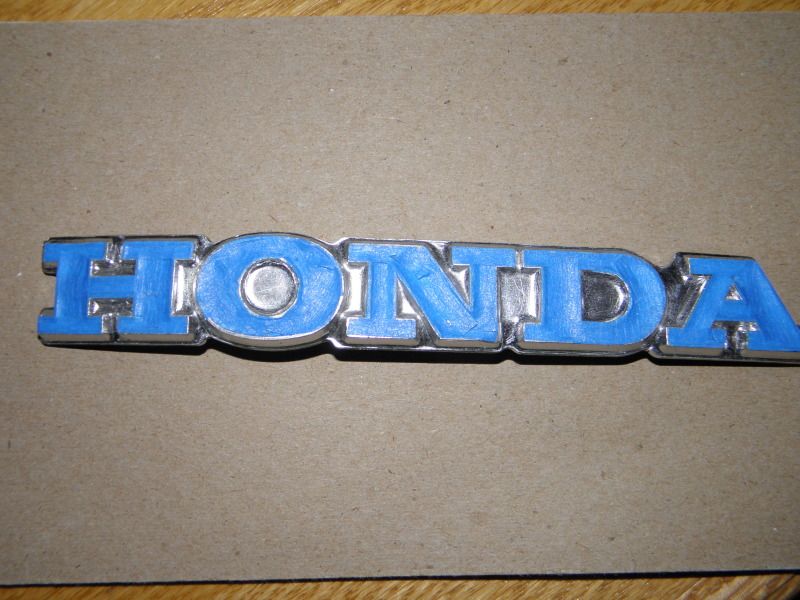
Mask off the black and spray with Rustoleum Gloss White...
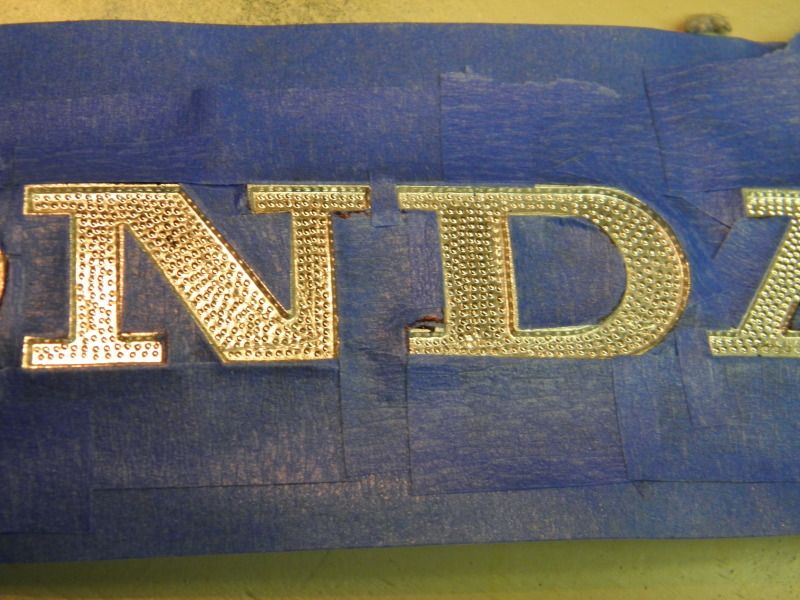
When dry, hit the highlights with some 1500 sandpaper, and presto!
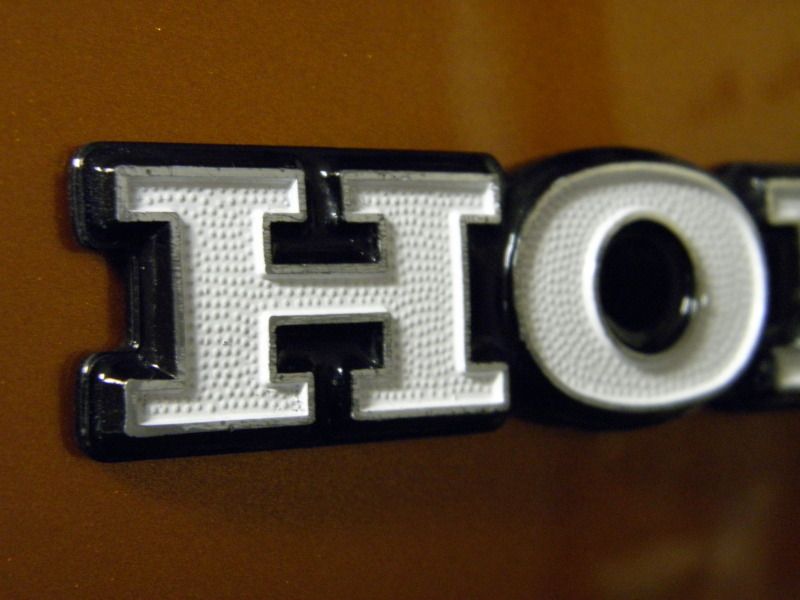
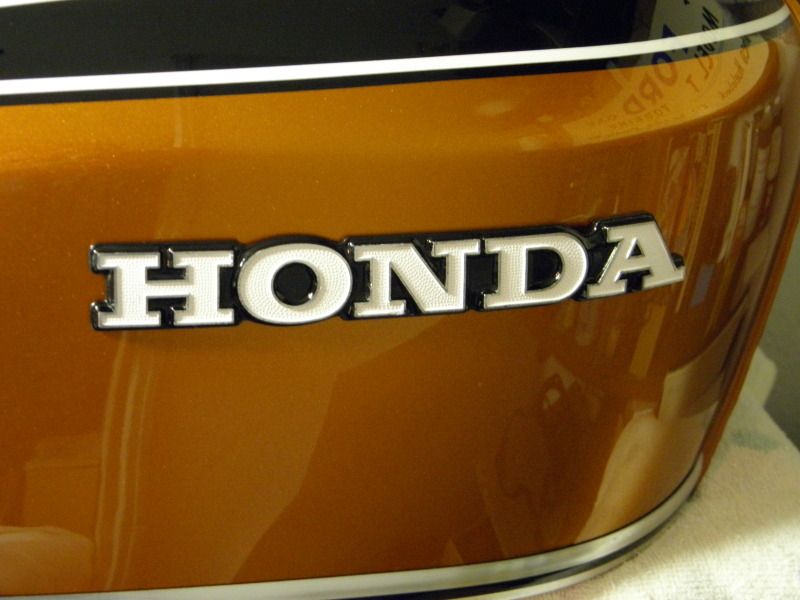
My "flying wing jewel" was looking kind of blah and dull ... so I carefully chipped away the "retaining mushroom" on the back with an exacto knife, and dental pick, and you can then pop out the jewel.
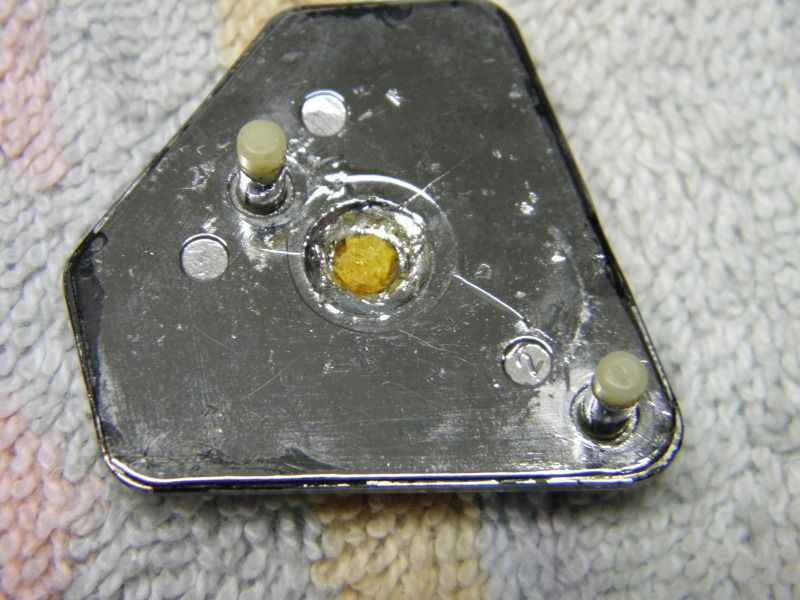
Water and dust get behind the jewel and make it look dull. Check out the difference.... the bottom one has been cleaned, quite a difference.
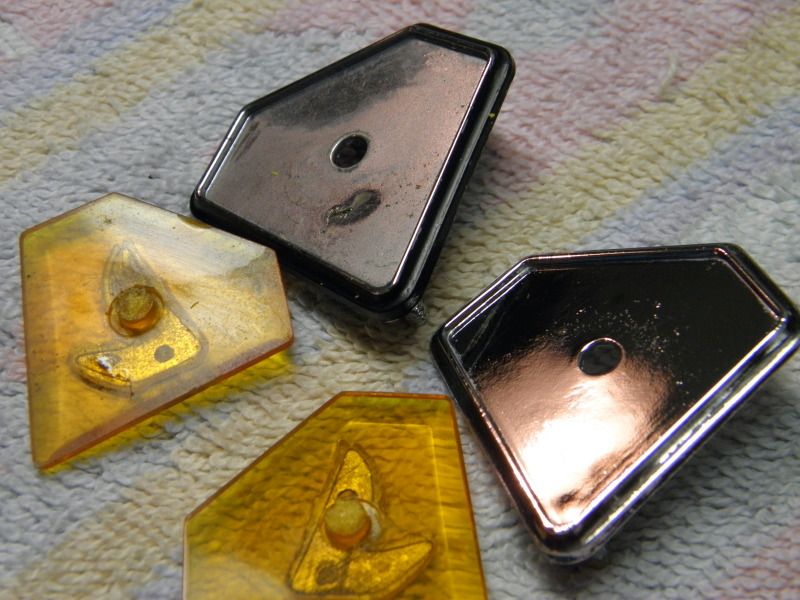
While apart I spiffed up the black paint on the body...
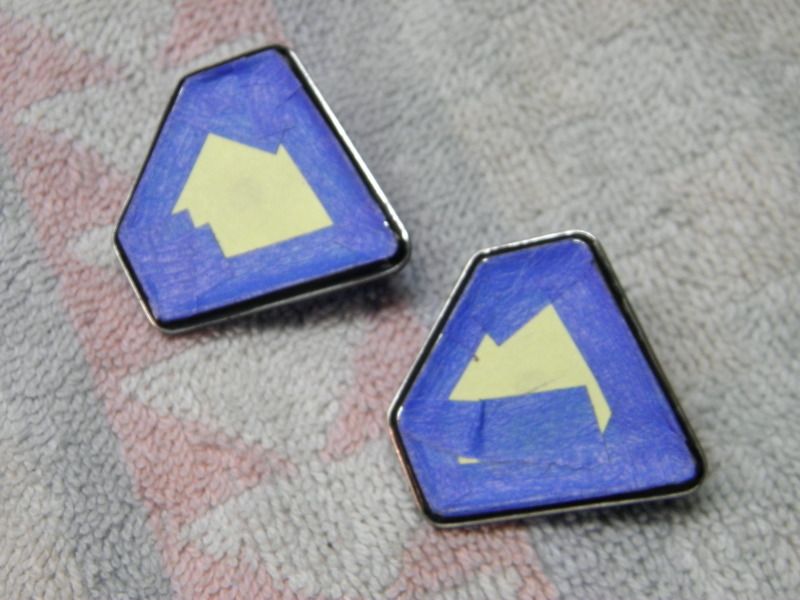
A small drop of epoxy to replace the part I chipped out originally on the back to secure the jewel, and that's done.
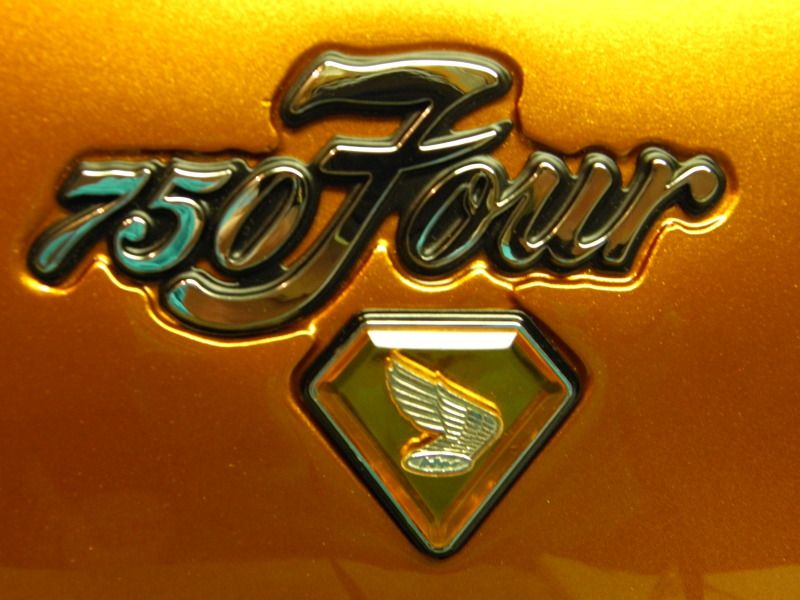
A few projects out of the way.... several more to go. The goal is to have everything ready for the final assembly in spring. The "parts needed" list is finally countable on one hand

- #2 muffler
- battery
- chain
- grab bar
As usual, Thanks for stopping by
