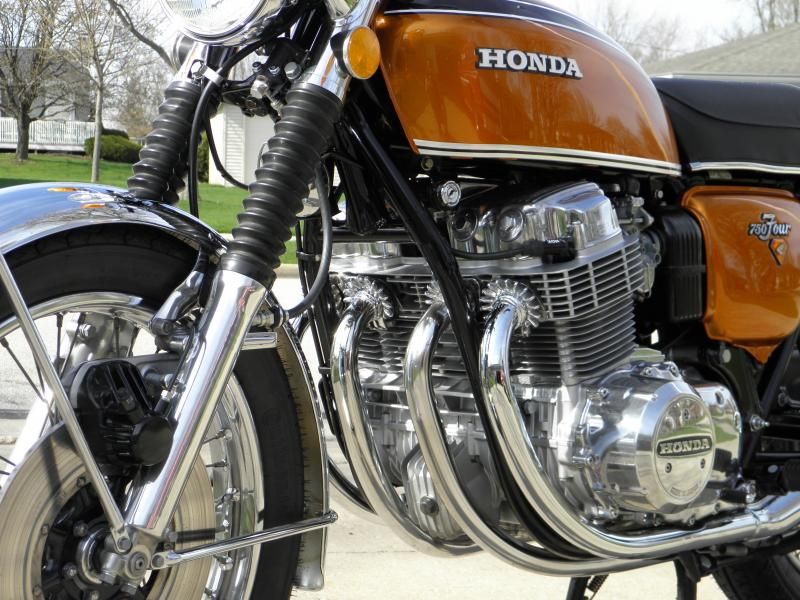
Wow... time flies! Been busy (consumed more like) with trying to get this project done, that I've been neglecting the updates.
One of the few non stock items on the bike is the oil pressure gauge. If your a first timer like me, you may be wondering what's involved.... here's what I came up with.
Materials needed:
-pressure gauge 0-100 psi (such as:
http://www.ebay.com/itm/360166102625?ru=http%3A%2F%2Fwww.ebay.com%2Fsch%2Fi.html%3F_from%3DR40%26_sacat%3D0%26_nkw%3D360166102625%26_rdc%3D1)
-1/8" NPT elbow (male/female) - I used a Watts A-712 (such as:
http://www.homedepot.com/p/Watts-1-8-in-Brass-90-Degree-MPT-x-FPT-Street-Elbow-A-712/100616533?keyword=a-712#.UYiCZ8r97ah)
-"Q" drill
-1/8"NPT tap
I removed the galley cap, drilled a hole in a block of wood big enough to screw the cap into (to hold it on the drill press), used the "Q" drill to drill a hole in the center, followed by the 1/8NPT tap, clean and assemble. I love it.... if the idiot light ever goes on, you can immediately verify if there's pressure, or if the warning light sensor is failing.
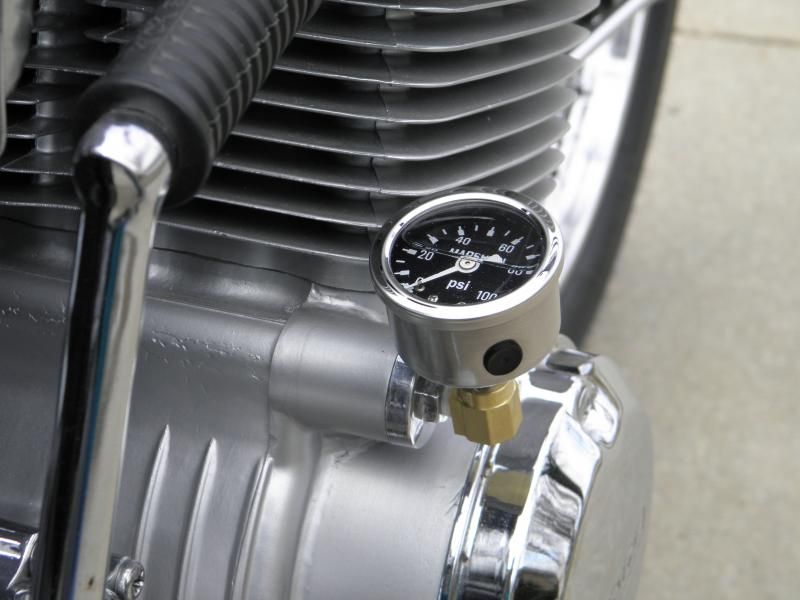
Last item to go in the engine was the oil pump. I figured with the gauge, I could tell if it was good or not, so no need to delve into the pump, just clean the outside, prime in a bucket of oil, then install. Ok ready for the big fire up. Kicked over several times with key off, and what do you know... oil pressure! Turned the key on and it started on the next kick! Caught me off guard, thought it would be more of a task to get it started, that I immediately hit the kill switch

. Did a few trips around the block, and all seems well. Cleaned up and prepped for a proper test drive tomorrow.
Big test drive day.......... got bike started, while warming up I was getting the gear on, I see the oil light go on! Quick check of the gauge, its at zero too, this is where the kill switch comes in handy! Put helmet and gear away and started troubleshooting. The only thing I could come up with is the pressure relief valve stuck open, resulting in a sudden loss of pressure ? After 15 minutes, I kicked it over, and the pressure registered on the gauge as usual. The anti drain back valve wasn't working either, so I decided it was time to pull the pump and venture into the rarely seen inner workings of the oil pump.
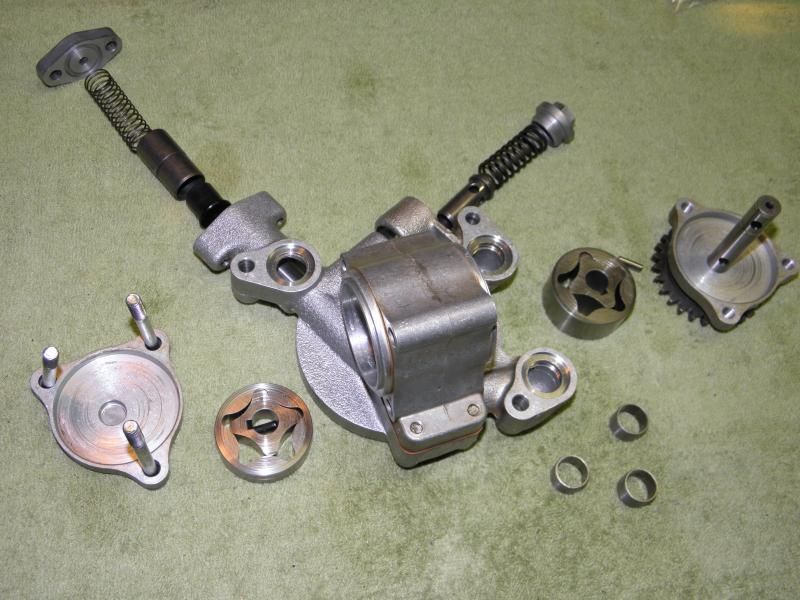
You'll need an impact driver to get in.... no need to mess with the screen, everything can be accessed after removing the 3 phillips screws on the pump body. Although the pump was putting out good pressure, the rotors had deep gouges in them, looked horrible. You can see a few of the gouges in the next pic, look at the inner rotor surface (below the keyway)... and crud embedded in the outer surface.
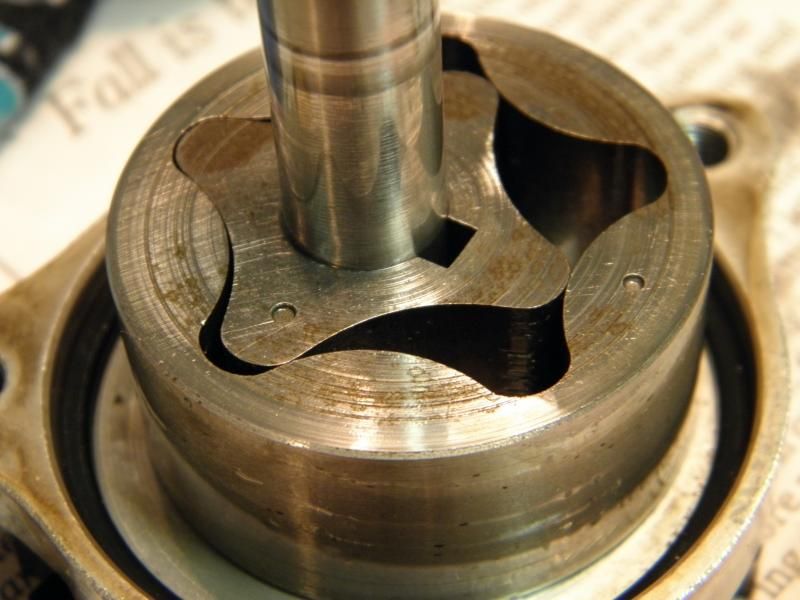
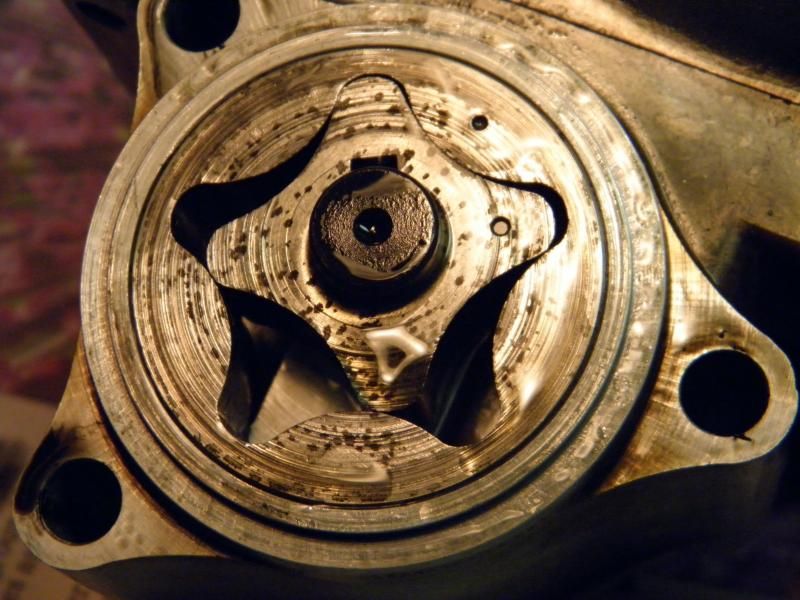
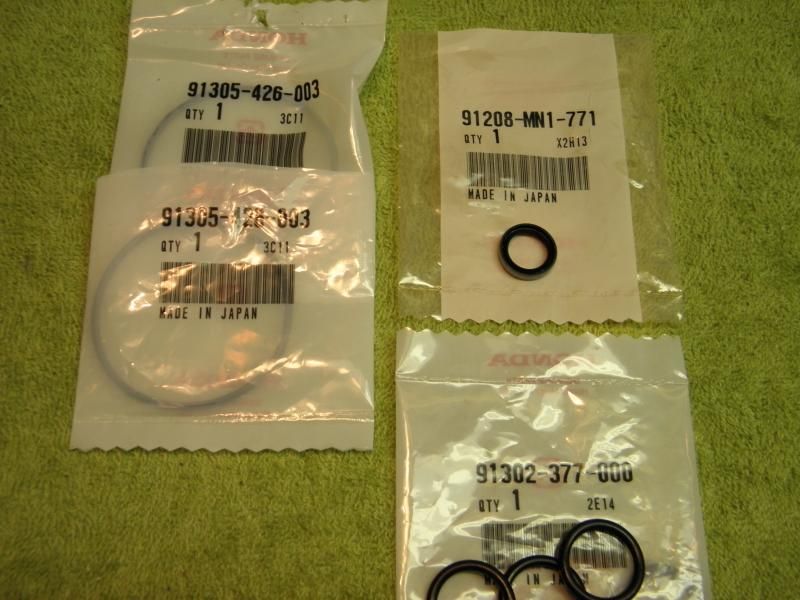
Didn't feel like putting that mess back in the engine, so I got REAL lucky and won a $5.00 pump on EBAY! Opened it up, and it looked almost new. One or two scratches, but no giant gouges. If I remember correctly, there was .003 gap between the rotors, so it should be good. Thanks to an old post by Jerry RXMAN (THANKS!) , I found the part numbers for the needed pump rebuild materials....
2) 91305-426-003
1) 91208-MN1-771
4) 91302-377-000
Made a custom CB750 inner pump seal removal tool (small screwdriver with bent end

)
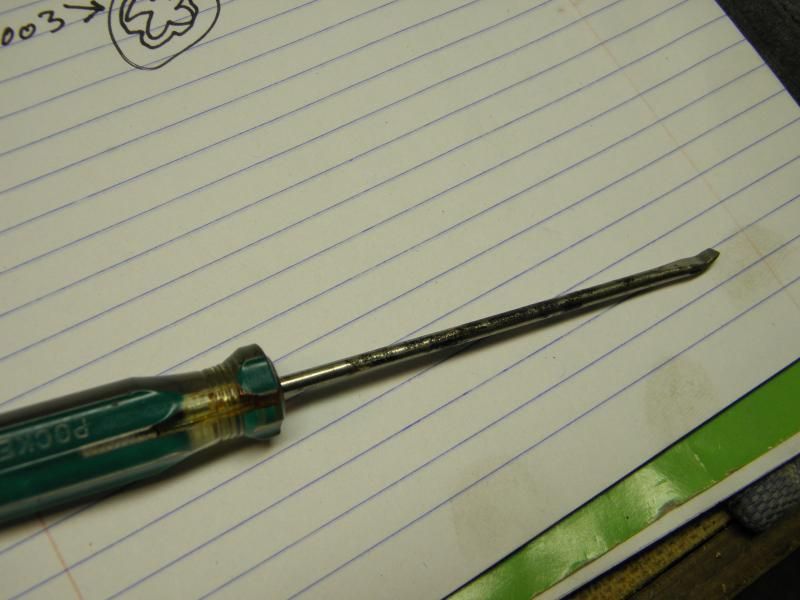
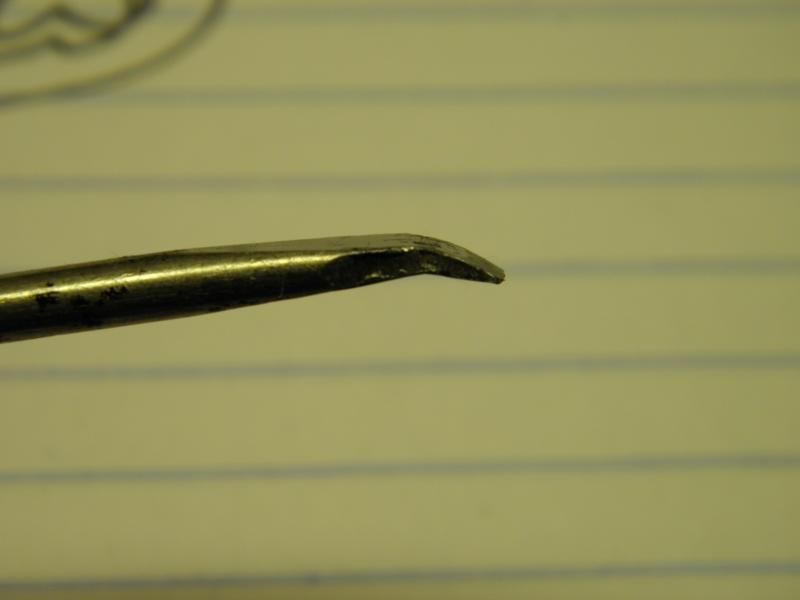
I was able to lightly tap out the inner seal with this screwdriver, just go round and round several times, and it popped out.
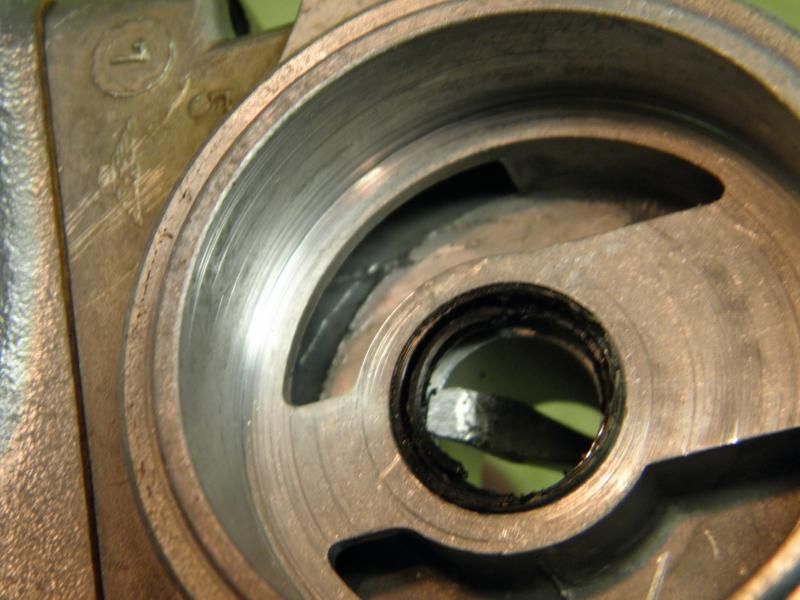
Lightly tap in new seal (chilled in freezer previously)

New orings should be beneficial........

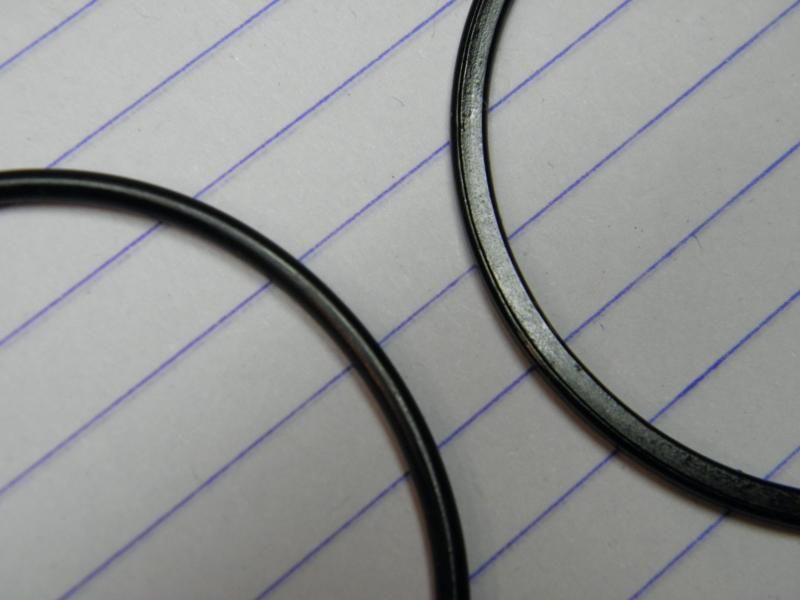
Spent a good amount of time at the wash tank, and cleaned everything .............. then assembled with new o rings. The Hondaman book was very helpful in this endeavor as well. Thanks Mark.
Ok - here's the results of pump #2 at idle....
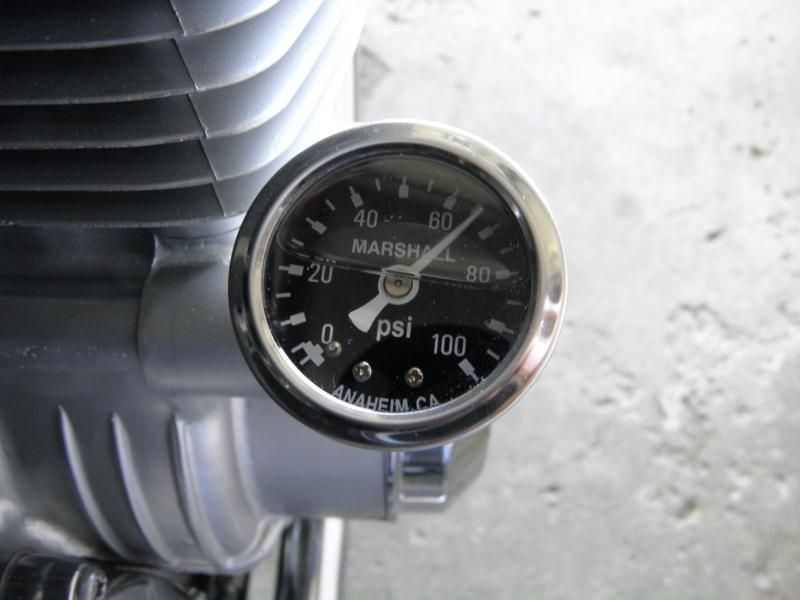
I've since put 100 miles (test drives

) on the bike, and solid pressure.... so fingers crossed.
Overall pleased at this point, but still trying to dial in the tuning before calling it done. Slight stumble between 2.7k to 3k, and not idling to my liking. I think I've figured that one though ........... will discuss in the next installment. Waiting for parts again


As usual.... Thanks for stopping by!
