So I was able to put pretty much a full day in the man room today. I dug right into zinc plating and I'd say it was a success. Here are the pics I promised:
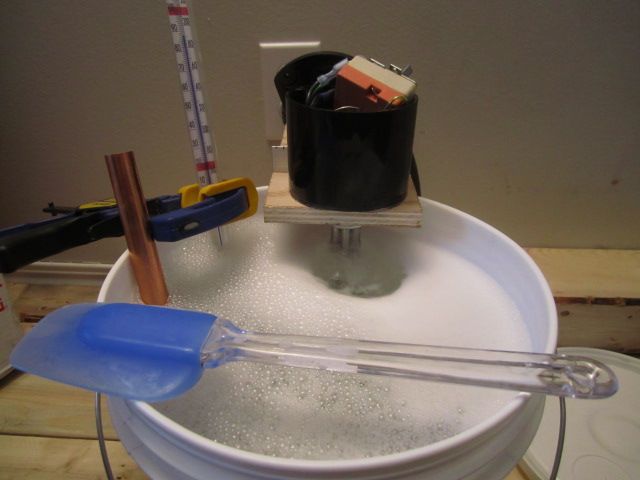
The manual suggests you start out by practice plating what will become your tank bar to hang your parts from. Here is my degreasing solution working on the copper pipe that I buffed with 000 scotchbrite and then a quick buff with brown compound and my cloth wheel in a drill.
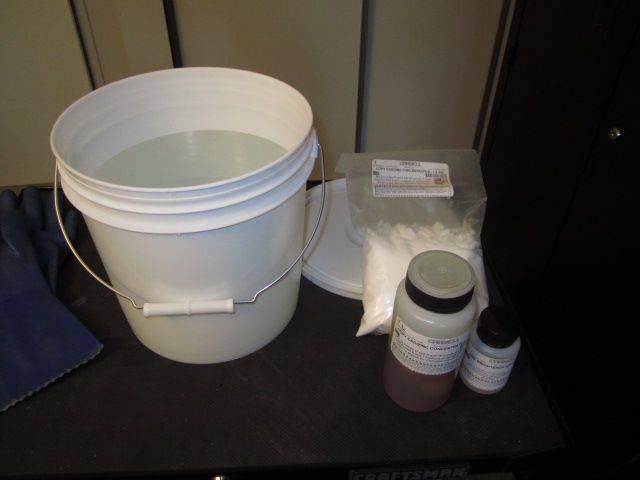
Meanwhile I have to get the electrolyte solution ready.
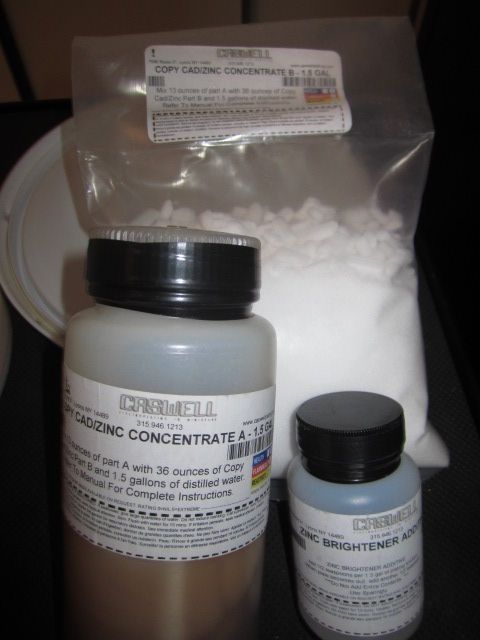
Ingredients of the electrolyte solution. I wasn't sure how much to use at first but after some figuring (manual wasn't super clear on this) I figured out you use all of the Part A and Part B and only a teaspoon of the brightener.
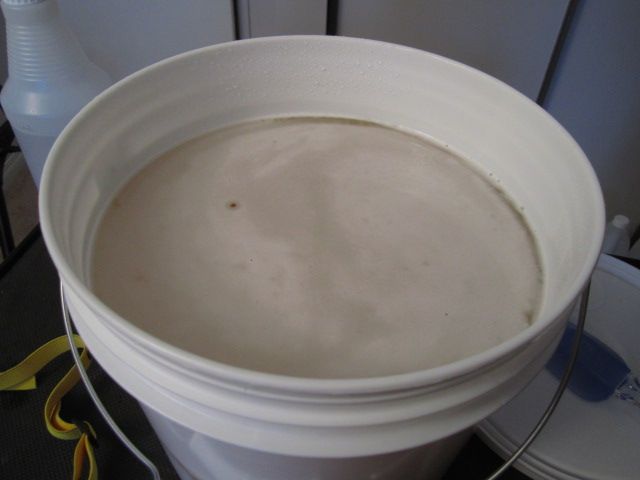
Electrolyte ready to go.
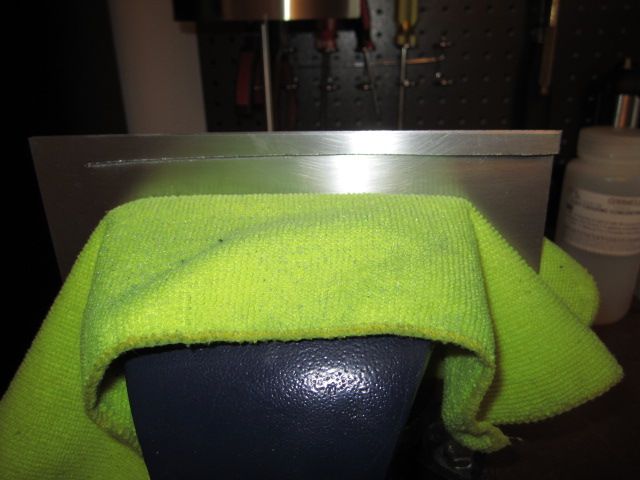
Preparing the anodes with the manual's suggested method. You bend the strip up and over the pail rim so you have a place to attach your leads. If you put a wire down into the solution it will be slowly dissolved away since the anode is losing particles.
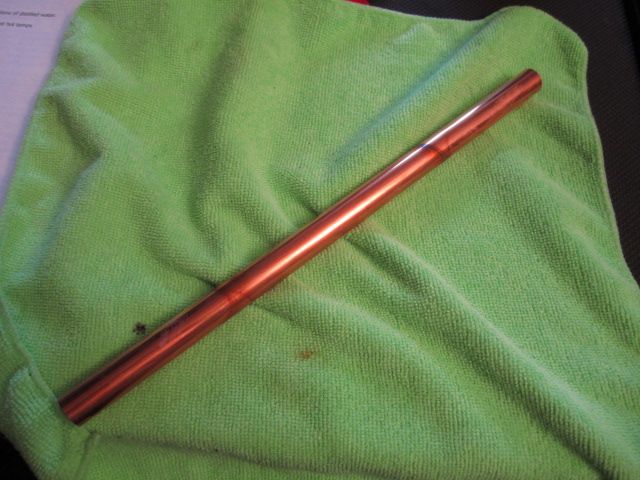
Degreased tank bar ... notice the lines the solution left. I was worried this might be a problem but it turns out that it wasn't.
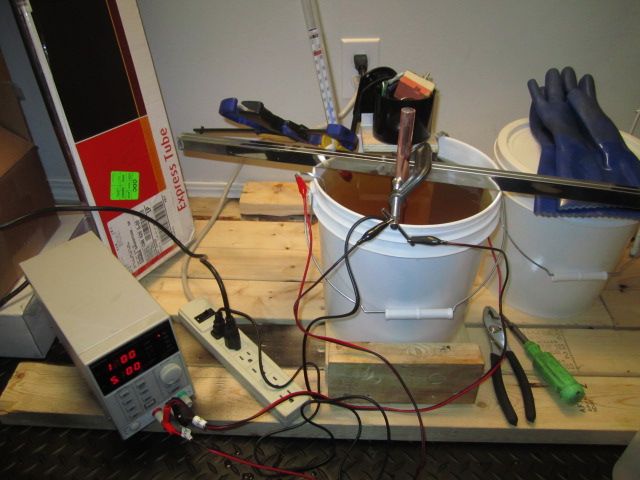
Tank bar ready to be plated. Negative to the part, positive to the zinc anode. Make sure the anodes don't make contact with the parts or tank bar and create a short!
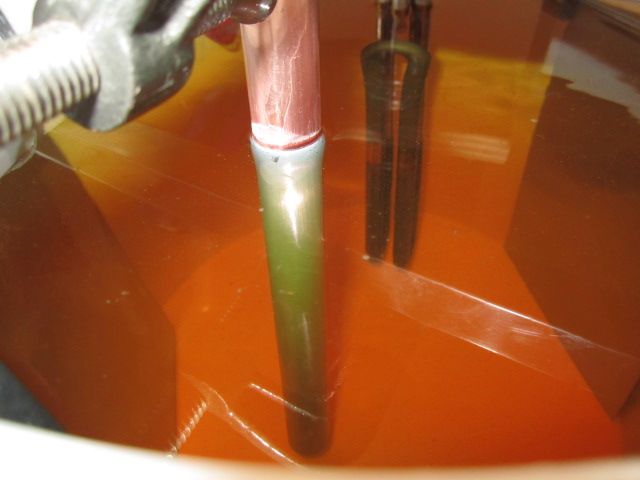
Zinc began to collect almost immediately.
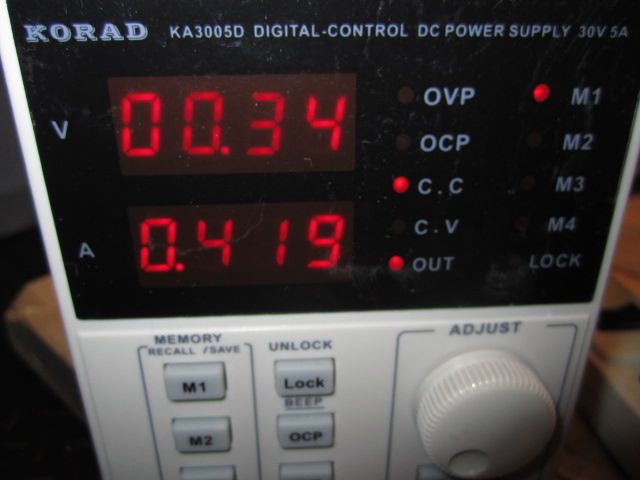
.07amps / square inch .... I calculated the area and I included the inside area (wasn't sure about that) ... realized later I was using enough amperage for the whole bar but was only able to fit about 2/3 of it in the pail at once.
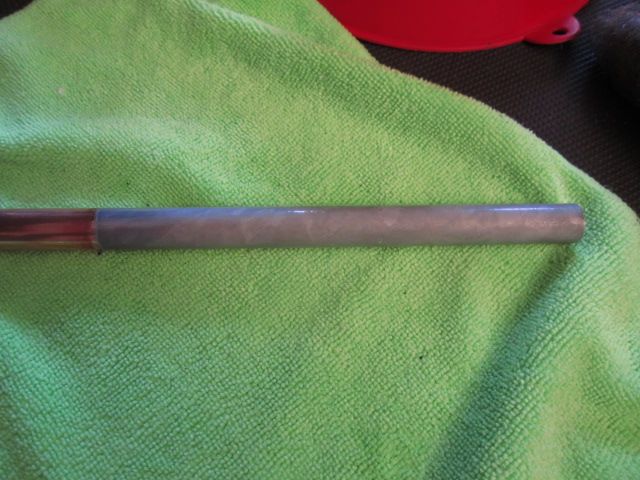
The bar emerges with zinc on it! Looks like #$%* .... uh oh. I was worried.
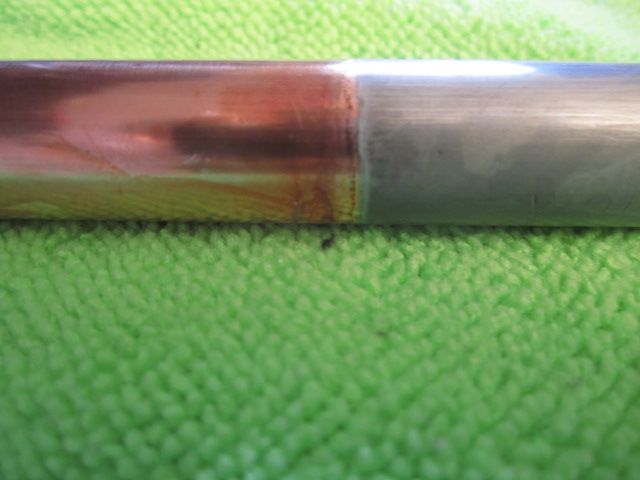
Doesn't look so good.
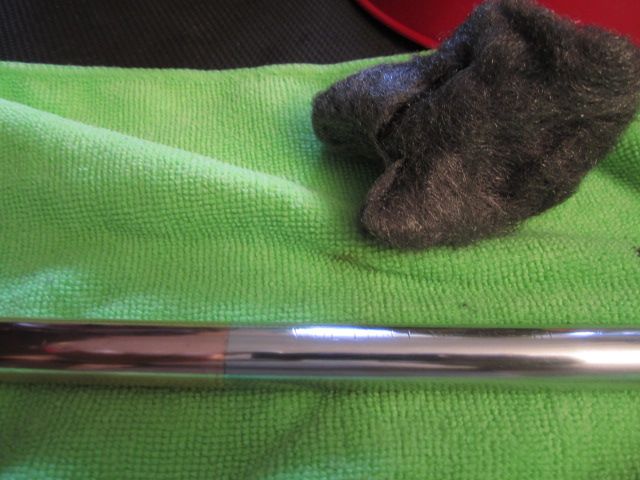
Quick polish with 000 steel wool (like 30 seconds) and it looks great! I was amazed!
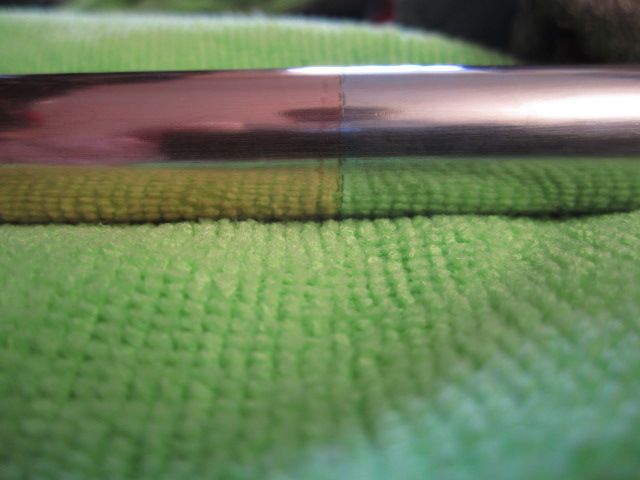
The liquid level line.
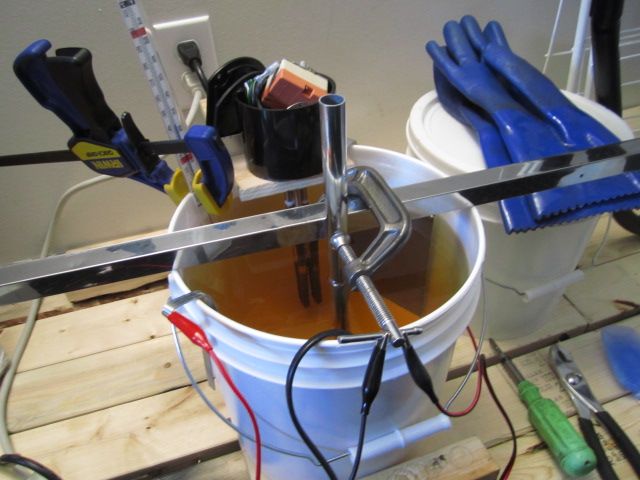
So lets try the other side!
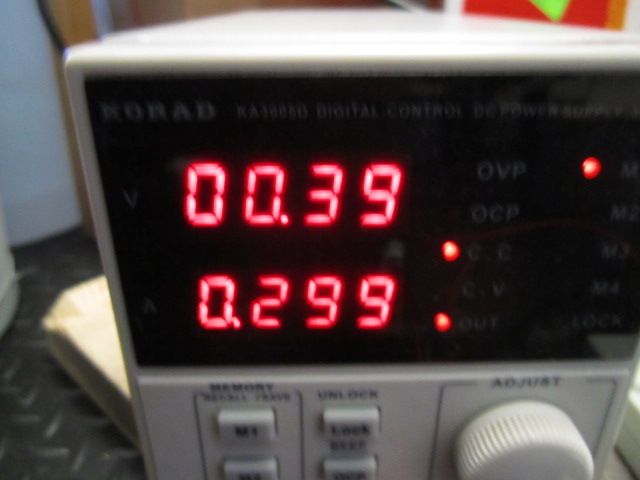
A little less amps this time.
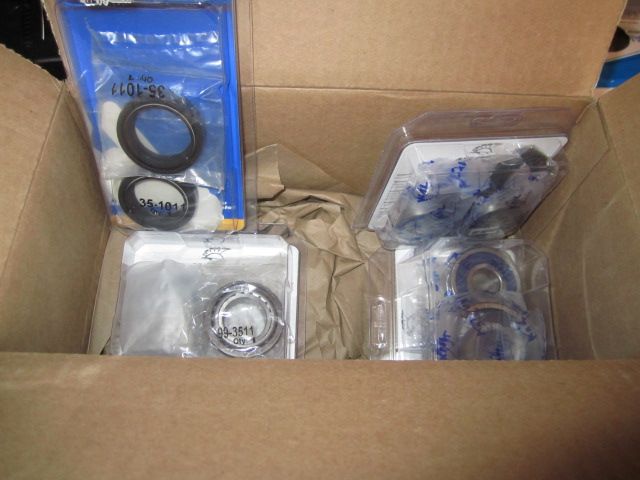
My package came from All Balls. Woohoo!
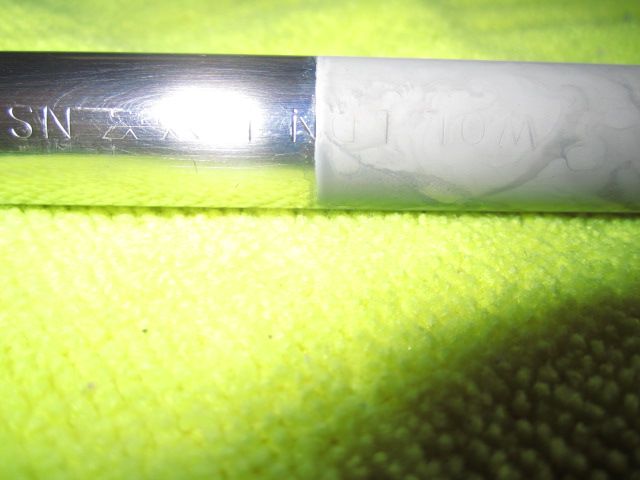
I was a bit worried about this transition line.
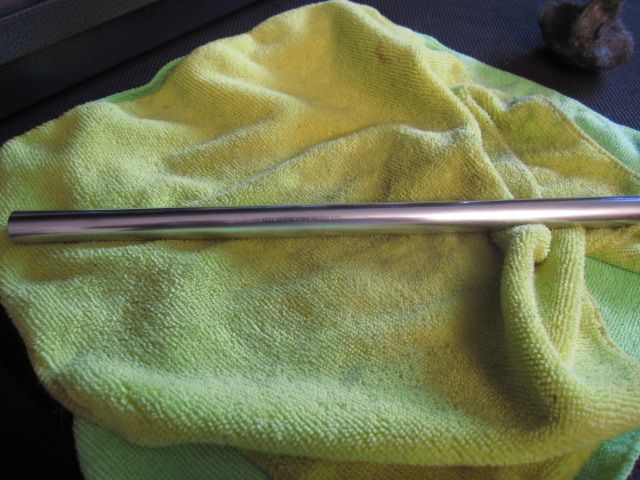
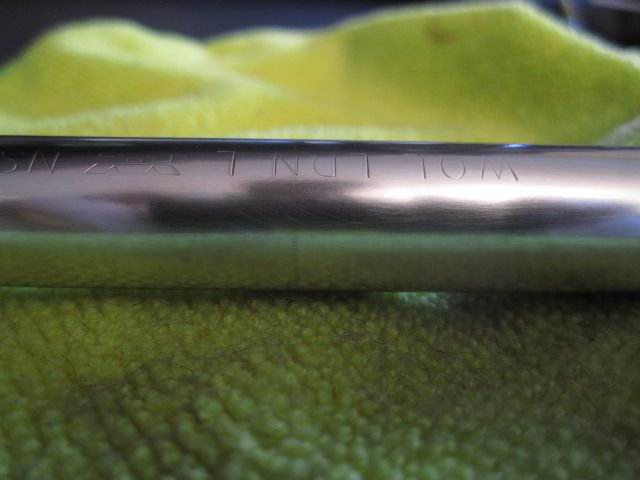
But it buffed out for the mots part. I could have buffed it out completely I'm sure with a bit more effort but the tank bar is just going to get marked up anyway.
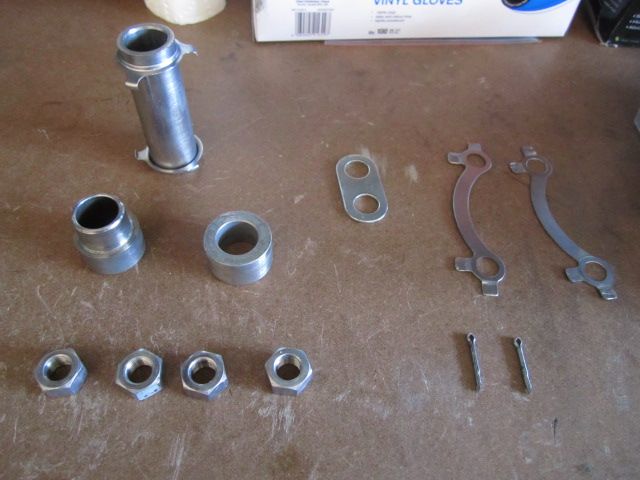
Parts for the first real run ... they actually look pretty good to begin with ...
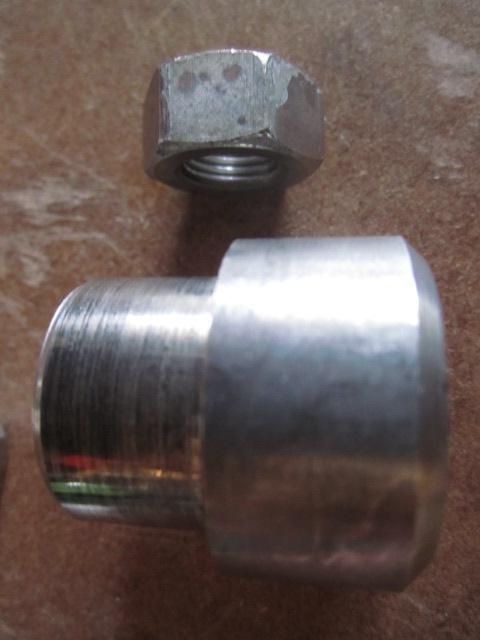
But on closer inspection they are in not the best shape. Pretty oxidized.
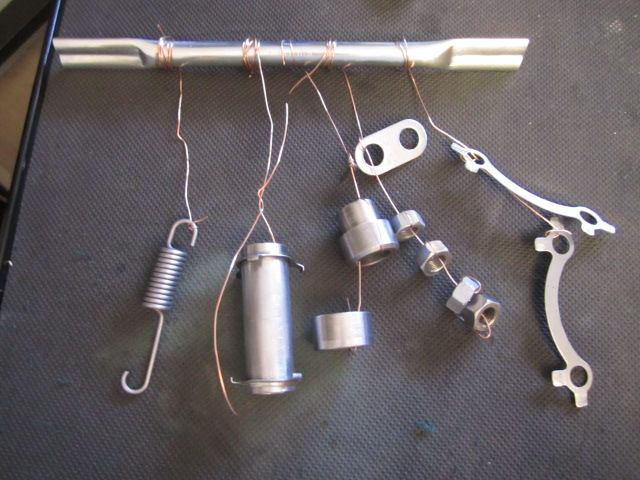
I scrubbed all the parts with a 0 scotchbrite pad and hung them with copper wire on my newly plated tank bar. Note: I flattened the ends of the tank bar so it would sit better on the pail edge.
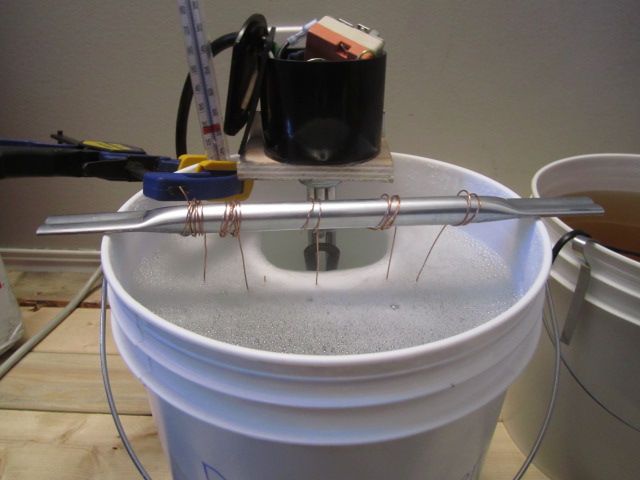
Degrease at 180F ish.
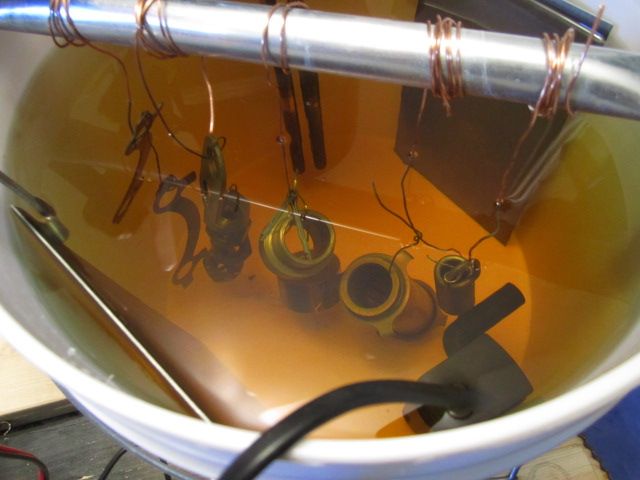
Beginning to zinc plate.
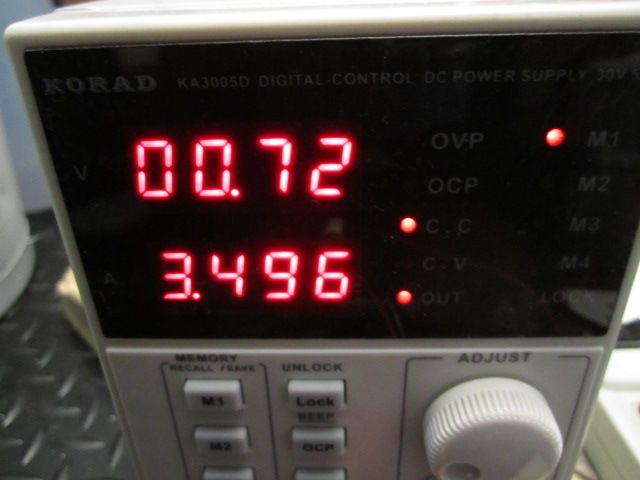
Calculated the area of each piece ... pain in the @ss. Worked out to 3.5A or so.

The lovely oxidized looking parts fresh out of the pot.
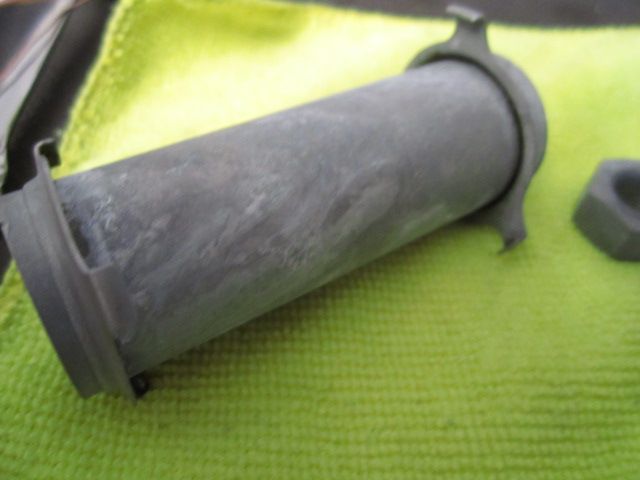
Closeup of a rear wheel bearings spacer.
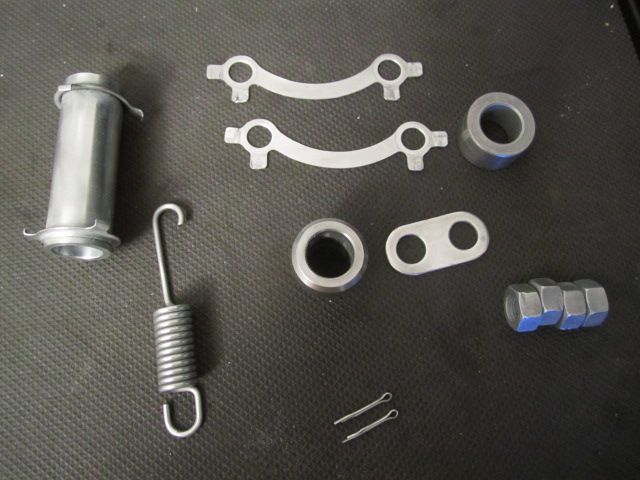
All polished up with 000 steel wool. Looks great!
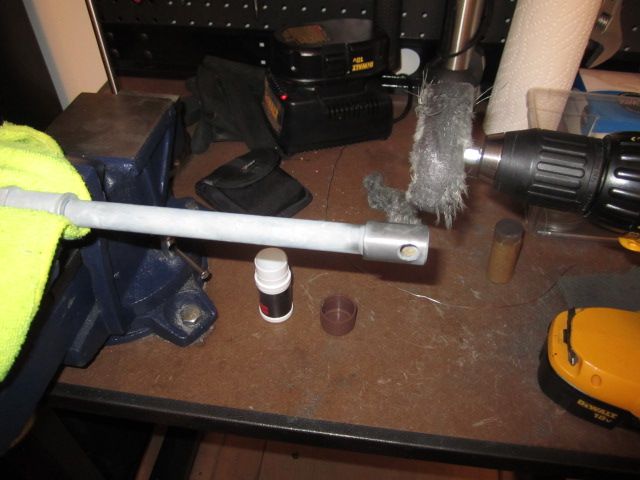
Wanted to try my drill with fabric wheel and compound but my drill immediately died.
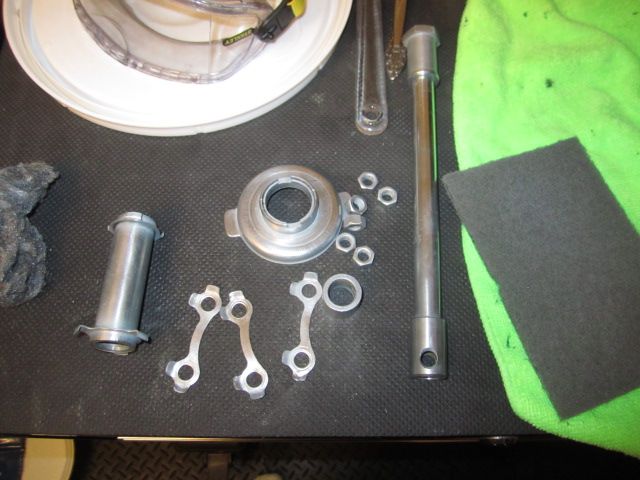
So I stuck with the 000 steel wool and the parts look great. The axle is a big improvement. You'll have to take my word for it since I didn't take before pics. ha
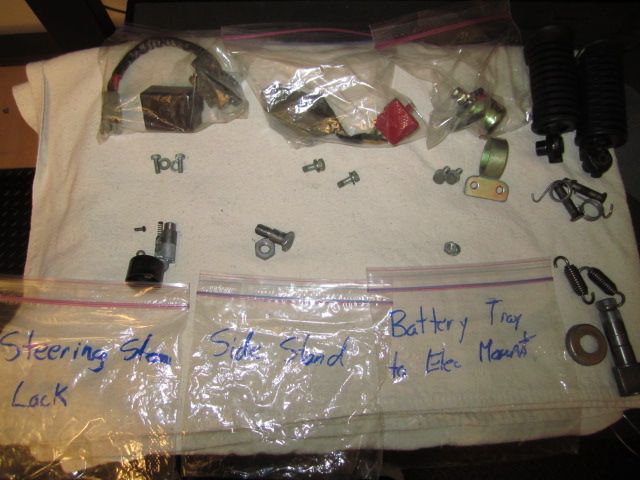
To help remember where some of this sh!t goes I took a pic.
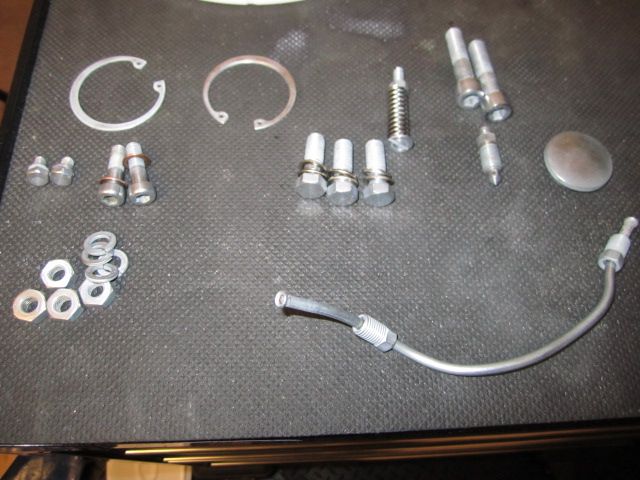
Another batch done. Really happy with this one.
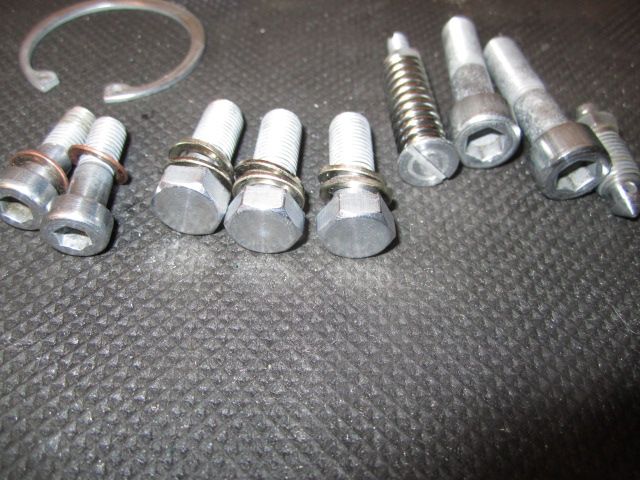
I figured out I can polish the bolts much better if I stick em in the drill. They are just about chrome-like.
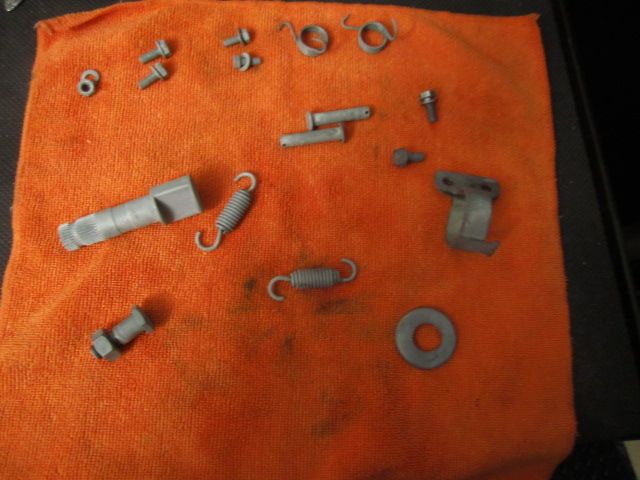
The last batch I did for the night. I polished these up too but forgot to take pics.
It may not look like I did a whole bunch of parts .... but let me tell you, it's a lot of work! Some of the steps you have to take to get a good finish:
1) Make sure the part is very clean to begin with so a good scrubbing in the parts washer is needed if it hasn't been done already to get rid of any dirt/grease.
2) Any oxidation or rust must be removed so the zinc can adhere well to the surface. I asked Caswell and they said plating over existing zinc is no problem so long as the old zinc is still adhered well. I used scotchbrite pads, a wire wheel, and steel wool to do the initial prep.
3) If there are any scratches or pits they must be buffed or repaired now because the zinc doesn't hide any surface defects.
4) Wire up the parts to your tank bar so they don't touch the bottom and are fully submerged.
5) Degrease parts at 150-190F for at least 5 mins. Mist water onto part to confirm it is degreased. If it sheets off it is degreased ... if it beads up then try again. Rinse parts off after degreasing.
6) Calculate the area of all your parts and figure out the amperage settings you will need.
7) Start up circulation pump and heat up electrolyte to 110F and immerse parts. Ensure the parts aren't contacting the bottom, the anodes, or the heater.
8 ) Positive to the zinc anodes (both of them!) and negative to the tank bar. Set up power supply for correct amperage. Start plating ... plate for 20-30min.
9) Remove parts and rinse.
10) Remove wires and begin the arduous task of polishing the grey tarnish (oxidation?) off the part. I used 000 steel wool and it seemed to work pretty well. A buffing wheel and compound would probably work well too.
So as you can see it's a pretty involved process but it's pretty nifty. I'm glad I picked up this kit. Maybe at some point I could even make a bit of cash on the side with it. I think if a guy was going to do large lots of parts he would want to either get a set of tumblers or vibratory polishers etc to do the prep and final buffing. Doing all that work by hand gets real old real quick. Hopefully tomorrow I can pump out a few more parts and maybe start putting some #$%* back on my frame! lol
IW