I know this thread is now slow as molasses ... but I have all winter to rebuild one top end so I guess I'm not feeling too much urgency. lol I've just been checking out everyone else's builds mostly.
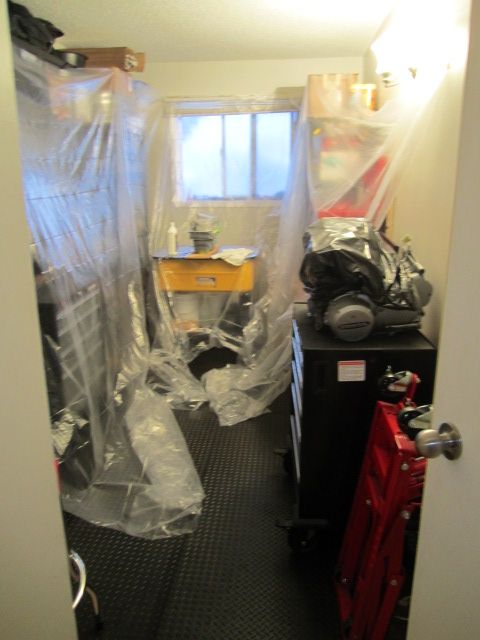
Had to "murderize" the room again ... hahaha ... didn't buy enough plastic though so I made a pretty big mess. Fortunately it was only for one part so not too much spraying to do.
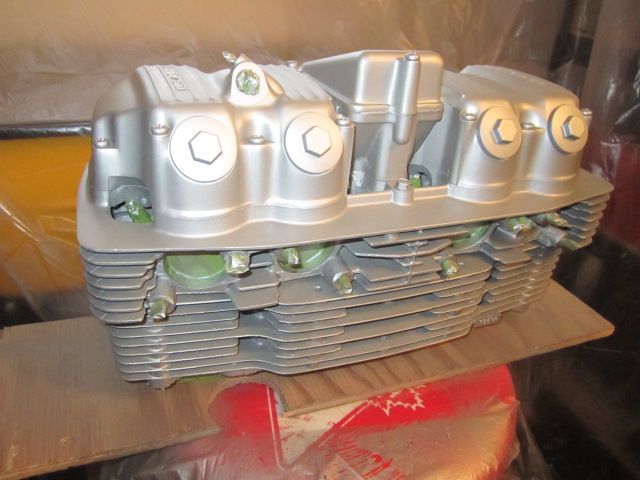
1st coat
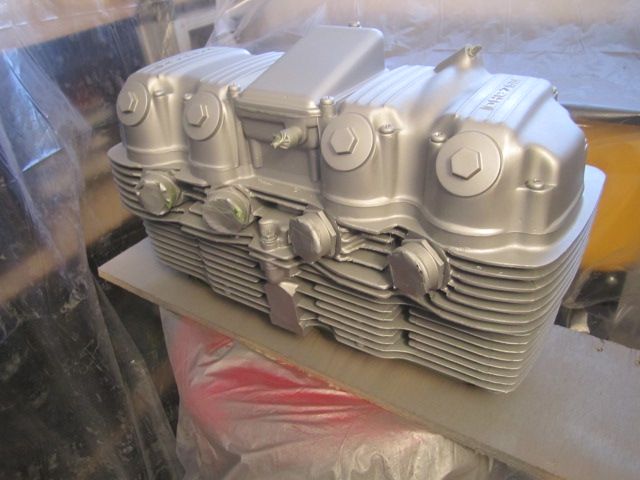
3rd coat
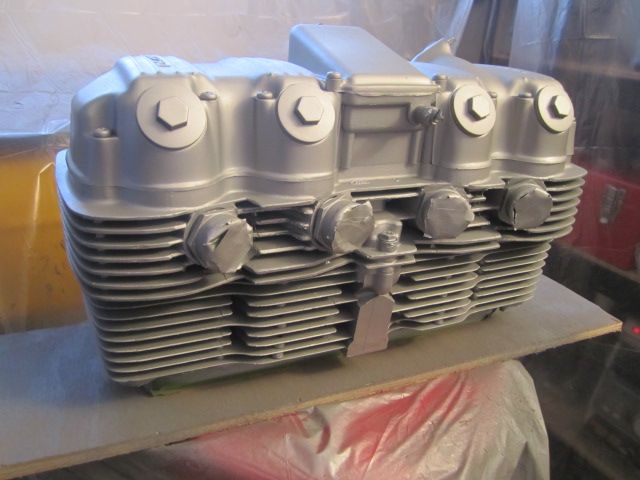
Lookin pretty even and nice.
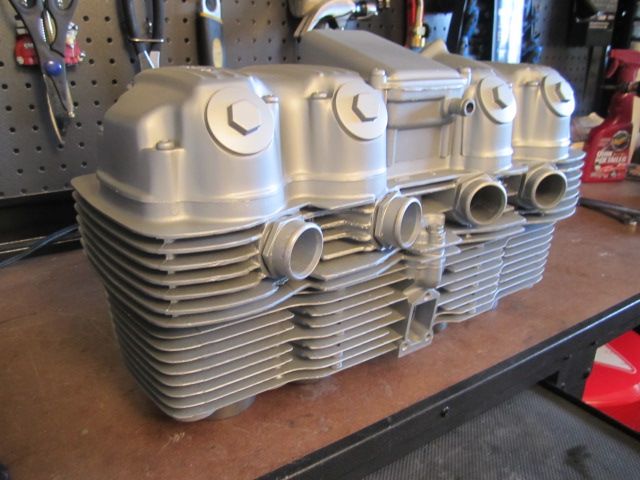
Dried and masking tape removed.
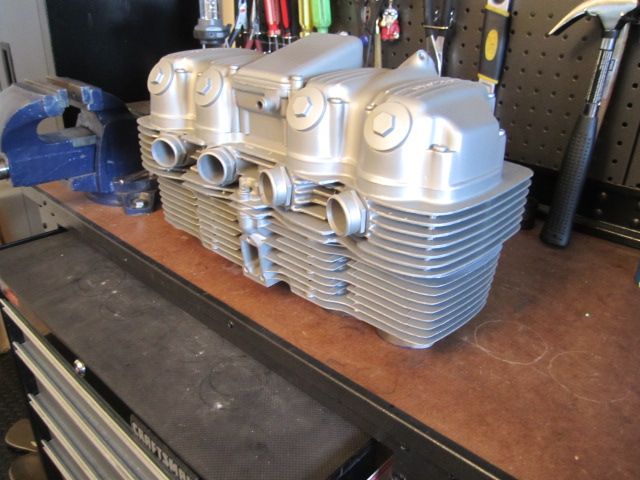
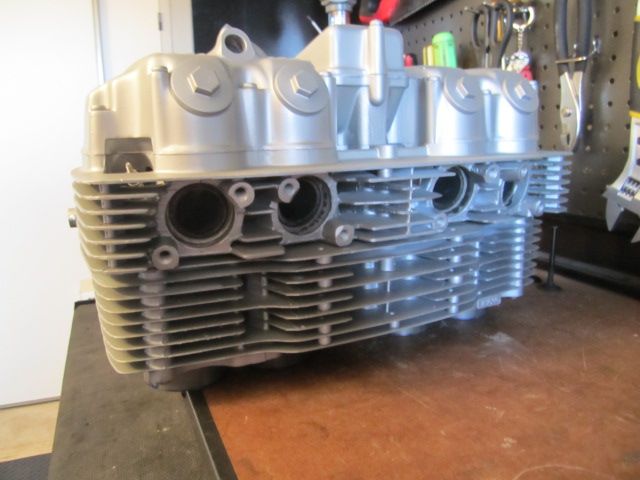
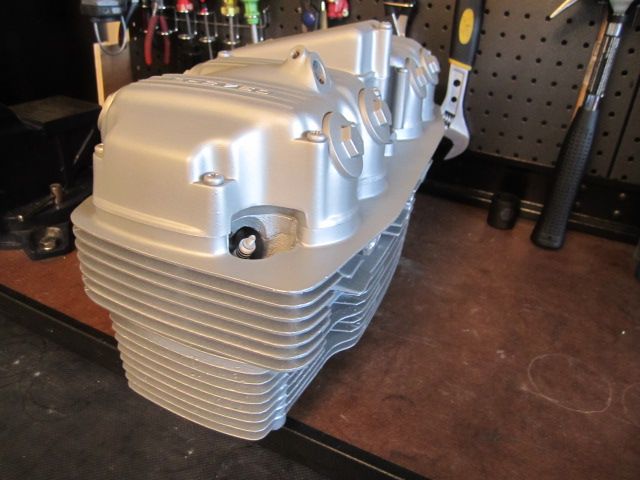
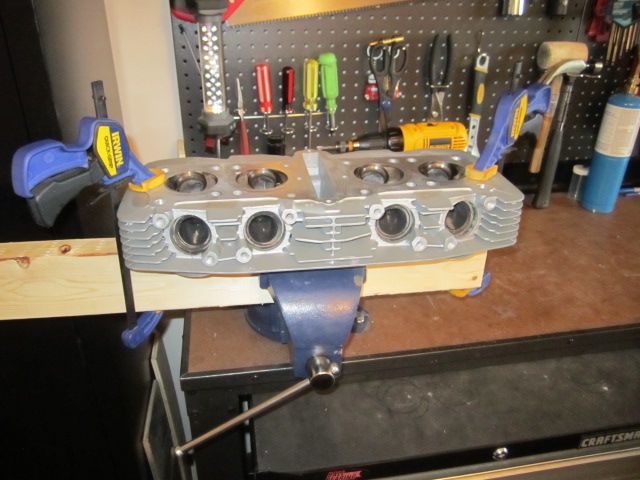
So I decided to tear it all down so I could lap my valves in. I'm sure they didn't really need lapping but since I had to replace a couple of valves I would need to lap those anyway so I might as well.

My two x four in a vice with the head clamped onto it worked quite well. Very sturdy.
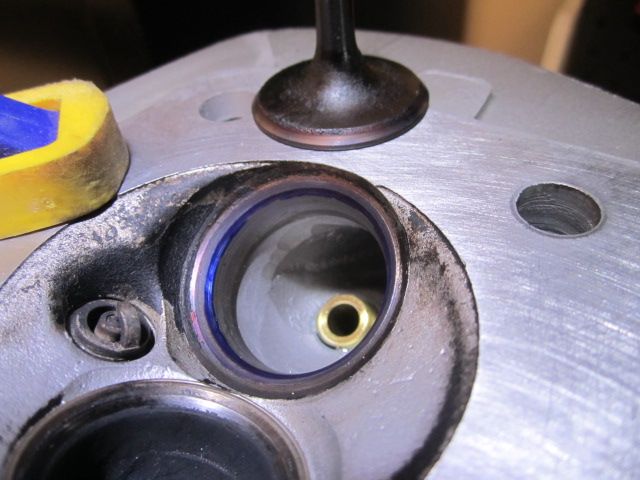
I first did a test with some poor man's dykem ... IE sharpie. The seats were in fine shape as suspected.

Nice even ring all the way around.
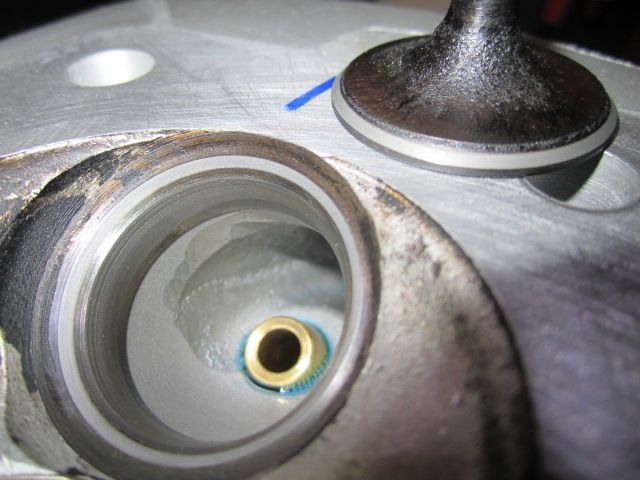
But I hit them with some fine compound anyway. All the intakes clean up really easily.
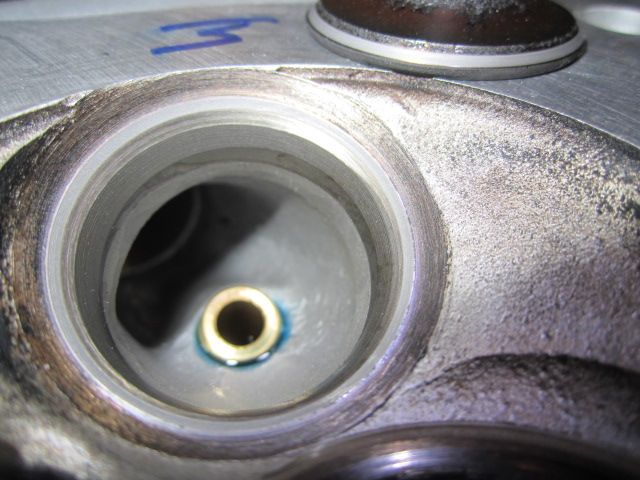
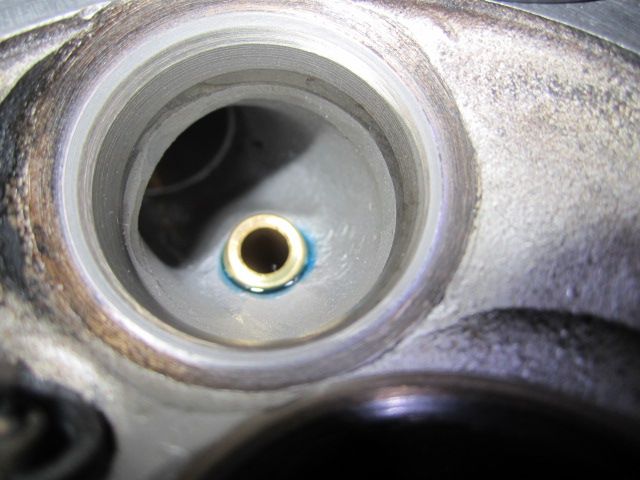
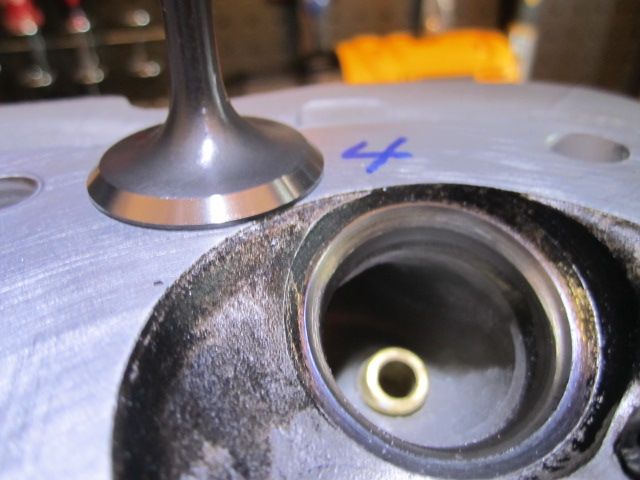
My new #4 intake. Unlapped.
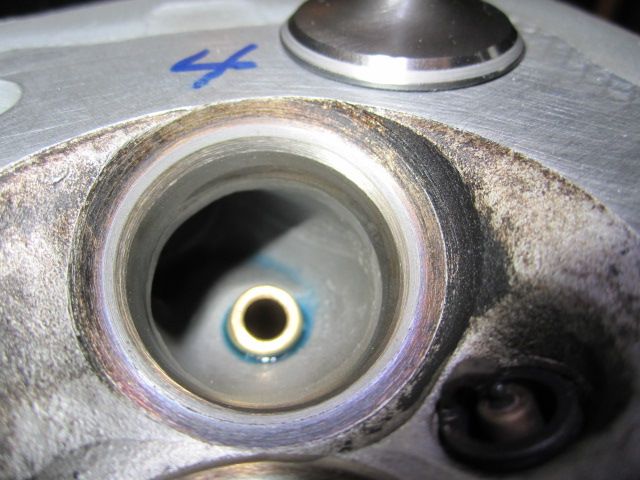
New valve lapped in.
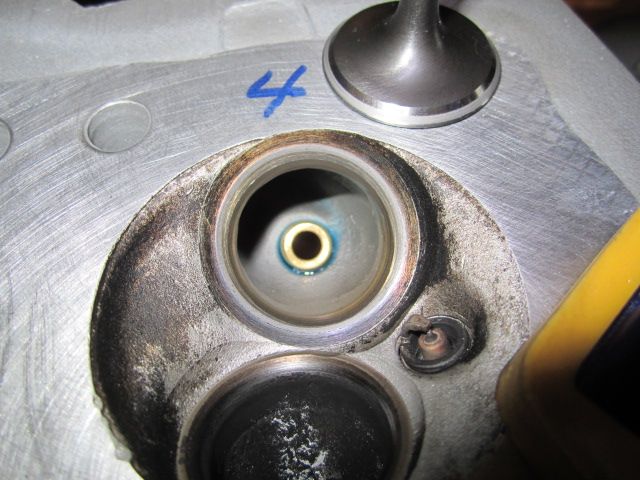
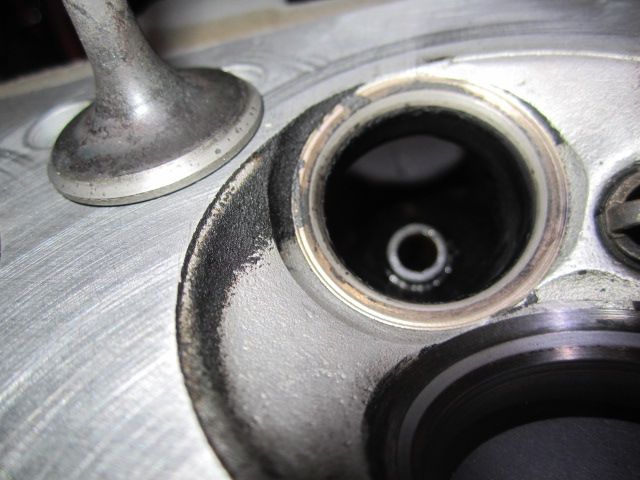
My exhaust valves had some spots on them that didn't seem to want to come off with the fine. I couldn't feel the spots with my finger nail but you can definitely see them. Almost looks like staining?

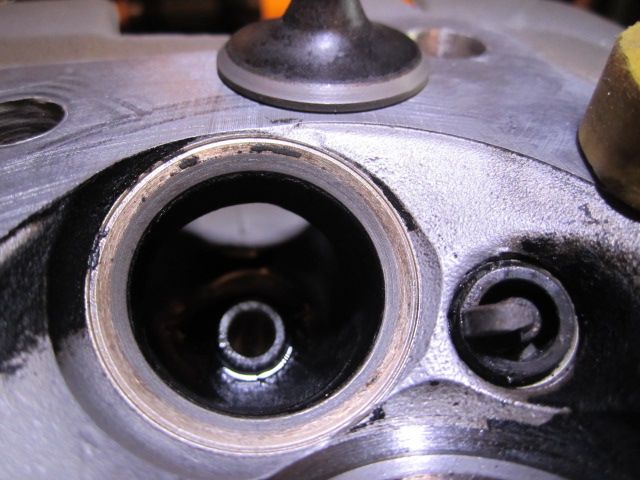
But after I stepped it up to coarse and then back down to fine to finish them off the seating area cleaned up well.
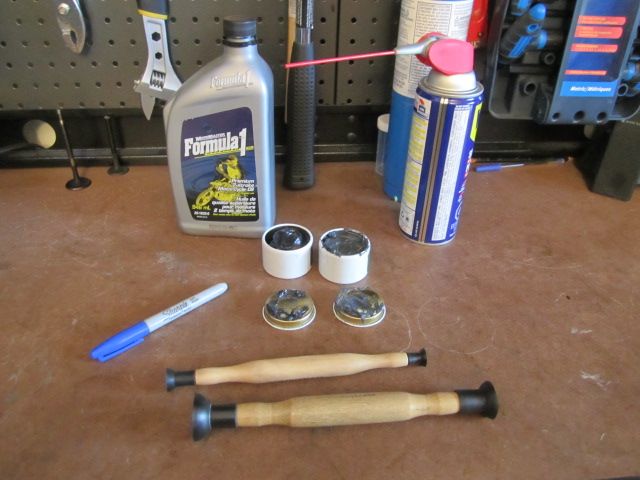
My supplies.
For anyone interested ...
Method:1) Spray out guide with WD40 to clean out any dust or grit that may be in there.
2) Wipe off valve (if your valves have a lot of miles on them then you will probably need to wire wheel the head area of the valve but avoid hitting the seat it self and don't hit the stem of the valve either.
3) Apply a small amount of fine compound to only the valve seat area (not much is needed). If your valves are in rough shape you may be smarter to just hit it with coarse first.
4) Dip the stem of the valve in a bit of oil and insert it into it's correct guide.
5) Apply your suction cup/handle to the face of the valve and using your hands (rolling a play-dough snake ... lolz) spin the valve back and forth. Lift the valve off the seat regularly and tap it back down to pull fresh compound between the faces. After a minute or so of lapping, pull the valve out and wipe all the compound from the valve and the seat.
6) Inspect the seat and valve. There should be a continuous grey ring on both surfaces. If you see any areas that look like they were missed then you will probably need to step up to the coarse compound and repeat 3-6 until your seat surfaces have a continuous grey ring all the way around. If you find the pitting is too deep or there are cracks then you will likely need to have your valve seats recut or replace your valves or both.
7) After the coarse compound step is finished, step back down to the fine compound to refine the mating surface further.
Note: Between grades of compounds you should always wipe the valve and seat area completely clean. Use one rag for fine grit and one rag for coarse grit. Also try to avoid getting any compound anywhere near the guide. You don't want any grit ruining your guide's dimensions and finish.
All in all it's a pretty easy process. It just takes some time. I would recommend doing it by hand if you have never done it before to master the process first. I have never tried using the drill method but I would presume you could do more harm than good quite quickly if you were not careful in that case.
Lastly, my gf has spoken out quite loudly against me baking my parts in the home oven. It makes the place smell for a few days afterwards and tends to give her headaches so I don't necessarily blame her. I'm debating right now if I should try to track down a shop that can do it for me, find some sort of big toaster oven to do it or just don't do it at all? Any thoughts on that?
Thanks for looking guys,
IW