Author Topic: Project: 7-Fizzle - V1.1 - If only spring would get here...  (Read 149174 times)

0 Members and 1 Guest are viewing this topic.

Offline theofam

  • I'm cold, give me a
  • Hot Shot
  • ***
  • Posts: 598
  • Suffering from MDD - Mechanical Deficit Disorder
Re: Project: 7-Fizzle built in the Man Room!
« Reply #175 on: January 11, 2013, 07:39:40 AM »
IW,  great progress on the scoot!  I'm trying to wrap up my engine build and find it a bit ironic the oil pump dowel you questioned above is somehow missing from my parts stash (found 2 of 3). So, I'm hung up a few days until I can button it up. 

It cracks me up each time I see a pic of your build room - you're WAY more efficient with space than I. At the end of this, I'm convinced you could design a mobile workshop in the back of a Smart car, traveling the States to help all of us out with our builds!

I love the side covers I got from FB. They painted up very nicely and the tabs seem extremely stout.

Based on the years of grunge on your motor, I wasn't too optimistic about the internal condition. Boy, was I wrong!  Not sure I've seen one that clean on the inside!

Offline brandEn

  • Old Timer
  • ******
  • Posts: 3,205
Re: Project: 7-Fizzle built in the Man Room!
« Reply #176 on: January 11, 2013, 08:29:01 AM »
PM returned!

And yes, there were a few reasons I wanted it to go to Cycle X ...

1) They focus on SOHC Hondas ... and mainly the 750. With a market sector that focused I figure they must know all the little tips/tricks/secrets to do the work right.

2) I'm ordering their "Git Kit" from them anyway so they can bore and hone the cylinders to those pistons specifically and send them back.

3) I'm paranoid.

IW

I had Cycle X do the head work and bore the cylinders on my 836. I was pleased with the whole experience. They know their stuff and it will be done right. I can't wait to see what your crank is going to look like!

Offline iron_worker

  • Master
  • *****
  • Posts: 2,081
Re: Project: 7-Fizzle built in the Man Room!
« Reply #177 on: January 11, 2013, 08:32:33 AM »
Travelling the states in a smart car/mobile shop. haha I like it

I think most of the crap built up on the motor was the damn auto chain luber than wouldn't stop no matter how I fiddled with it. My father and now I were diligent with oil changes and I think the inside of my motor is proof of that.

Good to hear about the side covers. I recently figured out my left side cover is a cheapy after market. No spot for a badge and uses machine screws and these things that look like wall anchors to hold it in the stock grommets. My dad had an old cracked left side cover and I thought it was just a spare but now I figured out it must have been from the previous owner. He must have laid it down and that was the original.

I bet you're glad I pointed out that dowel now. ha Probably have one hell of a leak if you left it out.

IW
« Last Edit: January 11, 2013, 08:34:12 AM by iron_worker »

Offline cheftuskey121

  • Super Newbie
  • Expert
  • ****
  • Posts: 1,305
Re: Project: 7-Fizzle built in the Man Room!
« Reply #178 on: January 11, 2013, 10:15:50 AM »
Iron, I love how meticulous and efficient you've been with space. Love this thread. Keep it up, can't wait to see you get the engine back together. Mostly to see if its something I'm ready to tackle yet!

Offline theofam

  • I'm cold, give me a
  • Hot Shot
  • ***
  • Posts: 598
  • Suffering from MDD - Mechanical Deficit Disorder
Re: Project: 7-Fizzle built in the Man Room!
« Reply #179 on: January 11, 2013, 12:13:46 PM »
IW, my scoot "Paddy" is a '78.  They didn't have the chain lube feature (thankfully), although mine was pretty goobed up too when I pulled the engine.

Yep, I'm REAL thankful you pointed out the oil pump dowel!  Got one on the way, but I'm hamstrung until it gets here - might have mine buttoned up this time next week if all goes well.

While I'm sitting on my @#$ watching football this weekend, would you mind putting in another productive Sat/Sun with pics and updates so I'll have something to read over coffee Monday morning?

Offline SKTP

  • Master
  • *****
  • Posts: 1,794
Re: Project: 7-Fizzle built in the Man Room!
« Reply #180 on: January 11, 2013, 12:32:25 PM »
Good lord your engine was is clean! When I split mine, everything was BLACK...even after scrubbing like a crazy person they are still nowhere as clean as yours...I didn't even know it was suppose to look those colors
1978k rebuild thread http://forums.sohc4.net/index.php?topic=68423.0
BIKE OF THE MONTH - OCTOBER 2017
2003 Ducati M800ie
1997 Honda CR-V
2004 Honda CR-V
1966 Honda S90

Offline iron_worker

  • Master
  • *****
  • Posts: 2,081
Re: Project: 7-Fizzle built in the Man Room!
« Reply #181 on: January 11, 2013, 01:11:03 PM »
Ha I'll try to get some stuff done this weekend so you guys can have something to look at on Monday with your morning coffee.

IW

Offline Scotty J

  • Full Member
  • *
  • Posts: 87
Project: 7-Fizzle built in the Man Room!
« Reply #182 on: January 12, 2013, 03:58:25 PM »
IW- I had a set of those sidecovers.  They're Maiers, and they suck like a black hole.  The fitment was way off and i had to trim them to fit properly, or at all.  Luckily I ruined them in a failed experiment with "chrome" rattle can and picked up a set of ABS plastic reproductions from Z1 parts, plus some fresh grommets.  Happy now.

Hollow wall anchors on a bike... WTF?!
1972 Honda CB750 Four
2010 BMW R1200 GSA

Offline iron_worker

  • Master
  • *****
  • Posts: 2,081
Re: Project: 7-Fizzle built in the Man Room!
« Reply #183 on: January 13, 2013, 05:11:39 PM »
Lol yeah they were like metal wall anchors and the sides would expand out when you tightened them to lock them into the grommets. I always just thought it was stock since I didn't know any better. ha

Should have known Honda wouldn't do something that ridiculous.

IW

Offline iron_worker

  • Master
  • *****
  • Posts: 2,081
Re: Project: 7-Fizzle built in the Man Room!
« Reply #184 on: January 13, 2013, 05:34:05 PM »
This weekend I only ended up in the shop on Sunday. Had a bit of a pre-party with the wedding party that I will be in this summer. Woohoo!

My main project for today was getting stuff ready for bead blasting as much as possible. This meant pulling the hubs out of the rims which for some reason I've been putting off for a long time ... and some assembly work on the engine.


Found my impact driver bit was the best fit for the large flats on the spoke nipple. Since the spokes act like torsion springs the impact itself is useless it has a nice large handle and the bit fits well so I just used it as a screw driver.


A couple pics to try and remember how the spokes go...


The front wheel was in good enough shape that I could use the drill on most of them. Speeds things up considerably.


Too easy.


The 90degree spokes poke out to the outside and the less than 90 degree spokes poke inwards.


Difference between the two types.


The other side of the hub is the same.


20 of each. 40 nipples... hehe


All the goodies.


Front rim is in decent shape on the outside.


Chrome is pretty good.


Rear rim is in much worse shape. A couple really ugly spots on the inside.


Took the brass wire wheel to it.


Rust dust everywhere!


A couple of the worst ones.


Got them all out but one ... Mr Dremel had to end his days.


2 mangled severely, 1 broke off while trying to twist it out , and 1 cut off via dremel...


Ugly little fellers.


Rear hub is the same. 90 degree point out, less than 90s point in.


Mostly undamaged goods...


Rims stowed away. I have to ponder really hard if I'm going to step up to the plate and go with new rims and spokes. I can get both rims and all new spokes and nipples for somewhere around $350 I think. hmmm


Front hub after a bath.


Ready for the bead blaster.


Rear hub having a soak.


Mostly cleaned up. Bead blaster should take care of the rest. My steel wool on a drill bit worked wonders on this.


Put most of the covers back on the engine. I want only the outside bead blasted and to stay away from the machined surfaces as much as possible. I will strip everything down and clean it really well when I get it back so a bit of stuff getting inside isn't a problem.


I will get the blaster to tape this surface.


More items for blasting.


And cleaned up for the night again.


And the nice gesture of the day goes to ..... Greanjeans! He kindly offered to send me the carb drain screw I was missing. Not a huge piece but saved me a lot of time and I may have had to buy a lot of parts to get just the one screw I needed. Thanks a lot Greanjeans! I really truly appreciate it.


Voila!

Well this week I need to search out a machine shop to pop that stud out and a bead blaster that will take on my job ASAP. Things seem to be moving forward nicely. I like it!

IW

Offline iron_worker

  • Master
  • *****
  • Posts: 2,081
Re: Project: 7-Fizzle built in the Man Room!
« Reply #185 on: January 14, 2013, 02:25:59 PM »
Well I dropped the engine off at Davis Machine so they can hopefully extract that one stubborn stud and also fix a thread boss for my points cover. They said it should be done tomorrow so I'm hoping to bring it straight to the blasters after it's done.

IW

Offline iron_worker

  • Master
  • *****
  • Posts: 2,081
Re: Project: 7-Fizzle built in the Man Room!
« Reply #186 on: January 15, 2013, 12:18:03 PM »

Offline ivanhoew

  • Hot Shot
  • ***
  • Posts: 298
Re: Project: 7-Fizzle built in the Man Room!
« Reply #187 on: January 16, 2013, 01:03:27 AM »
goood grief , i must rush out and clean up my disgusting workshop now !!!
just do it .

Offline Garystratos201

  • I have never been a
  • Hot Shot
  • ***
  • Posts: 419
Re: Project: 7-Fizzle built in the Man Room!
« Reply #188 on: January 16, 2013, 06:35:24 AM »
I have to stop every couple of days and do the same. I`m working in a corner between my bass boat and the wall............Gary
Visit my build project;
http://forums.sohc4.net/index.php?topic=111620.0

Current ride; Bass boat.... 2005 Ranger 521VX,250 hp Mercury Verado, super charged and direct fuel injected. Not a bass on the lake can out run me !!!

Offline iron_worker

  • Master
  • *****
  • Posts: 2,081
Re: Project: 7-Fizzle built in the Man Room!
« Reply #189 on: January 16, 2013, 01:48:34 PM »
Called the shop since I was expecting the part to be done yesterday. I guess they got a nut TIG welded onto the stud and all they managed to do was then break the stud off below the surface. So now they have to set it up on the milling machine so they can drill it out. Yippee. Hopefully it doesn't cost me an arm and a leg!

It does make me feel better that the stud was really seized in there so it's not just me lacking skills. lol

IW

Offline theofam

  • I'm cold, give me a
  • Hot Shot
  • ***
  • Posts: 598
  • Suffering from MDD - Mechanical Deficit Disorder
Re: Project: 7-Fizzle built in the Man Room!
« Reply #190 on: January 16, 2013, 03:13:00 PM »
Wow, that bugger is really stuck!  I don't recall, did you try heating the case to expand the aluminum?

Hope they're successful drilling it out.

Offline iron_worker

  • Master
  • *****
  • Posts: 2,081
Re: Project: 7-Fizzle built in the Man Room!
« Reply #191 on: January 17, 2013, 12:49:21 PM »
Yep. Tried heat with a propane torch. No such luck.

Still no call from the shop ...  >:(

IW

Offline iron_worker

  • Master
  • *****
  • Posts: 2,081
Re: Project: 7-Fizzle built in the Man Room!
« Reply #192 on: January 18, 2013, 06:15:07 PM »
Well I had glorious plans of getting sooooo much done today because I had the day off. Well after sleeping in a bit, going to the machine shop to pick up my engine case (finally), getting raped by said machine shop (more on that later), dropping the parts off at the glass bead shop, tooling around in the man room aimlessly cause I was too angered over the raping, and then having to go and pick up the gf from class. I finally got to business and got a bit done but of course not as much as I had planned.

I decided to start off with something easy: inspection.
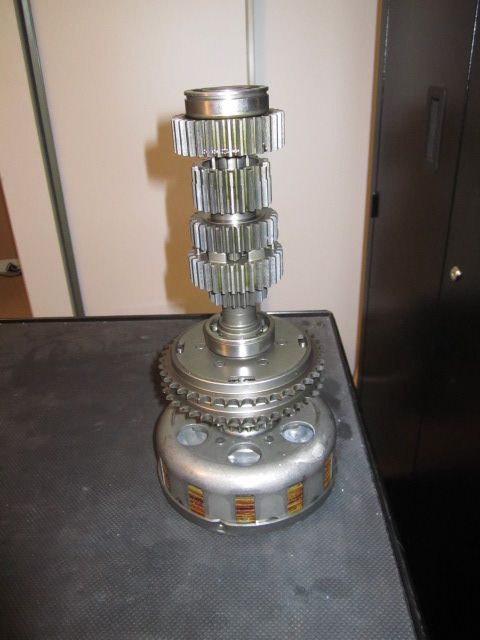

I figured I better give all my internal parts a good once over while my stuff is at CycleX. That way I can order anything I need and have them ship it to me.
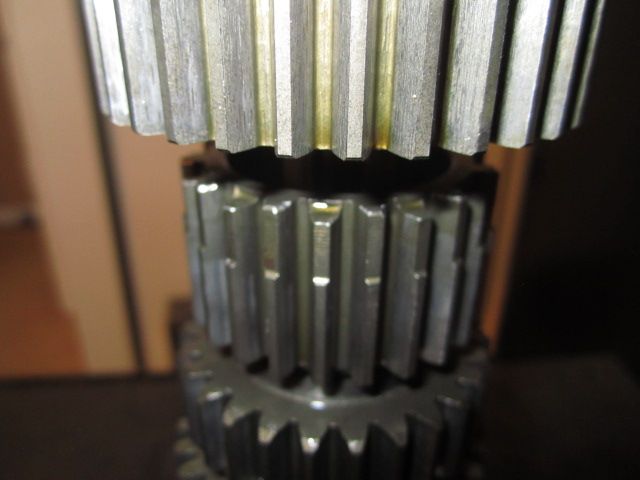

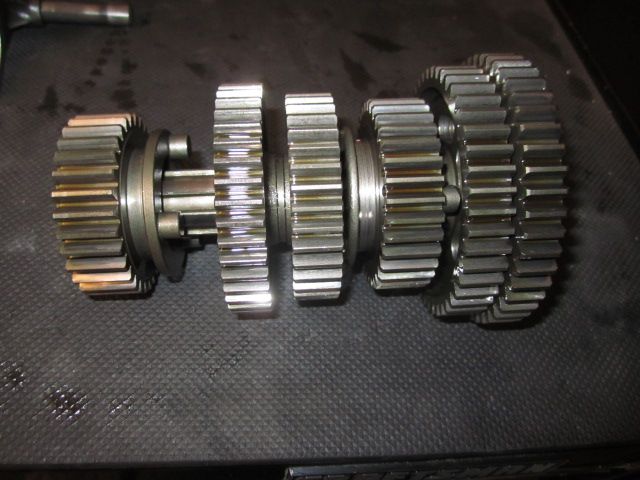
I inspected all the mating gear teeth and dogs. Checked that all the bearings rolled smoothly with no play or noise.
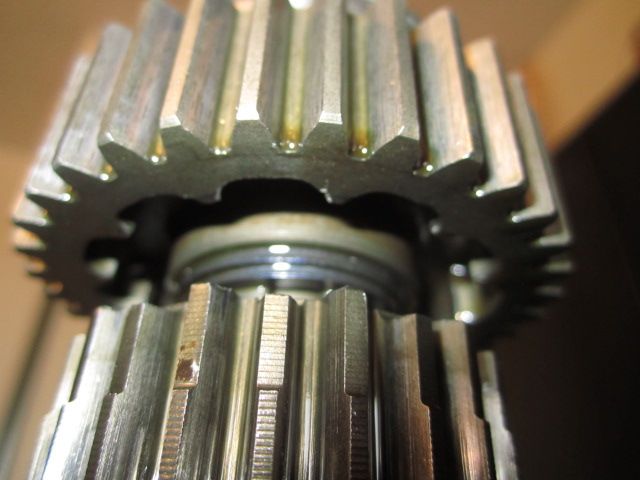

All looks good in here.
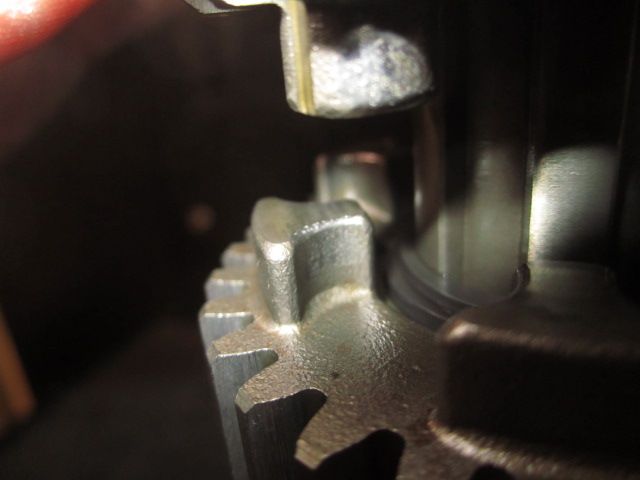

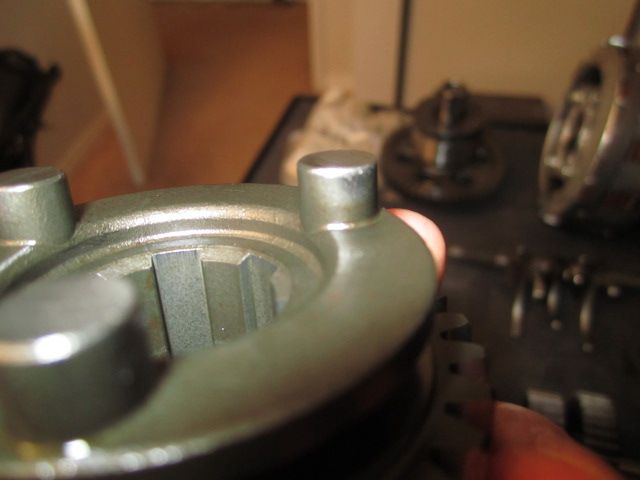
Female dog. (teehee) Very minimal wear. Slight rounded corner but nothing I'm worried about.


Secondary shaft. Right?
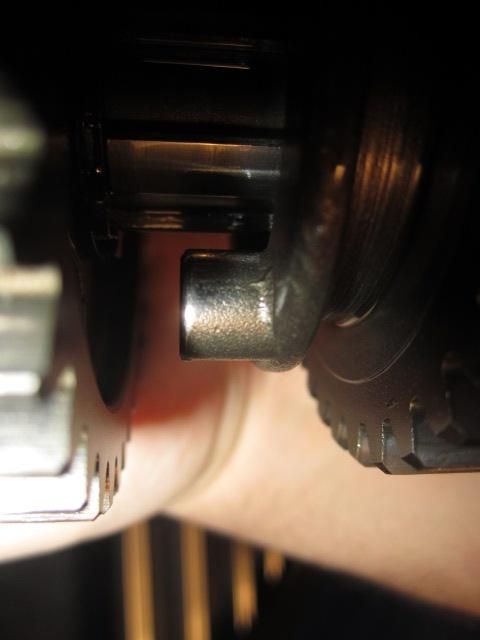

Dogs have minimal wear.


Slight amount of wear around the edges. Nothing serious. I'm not concerned.
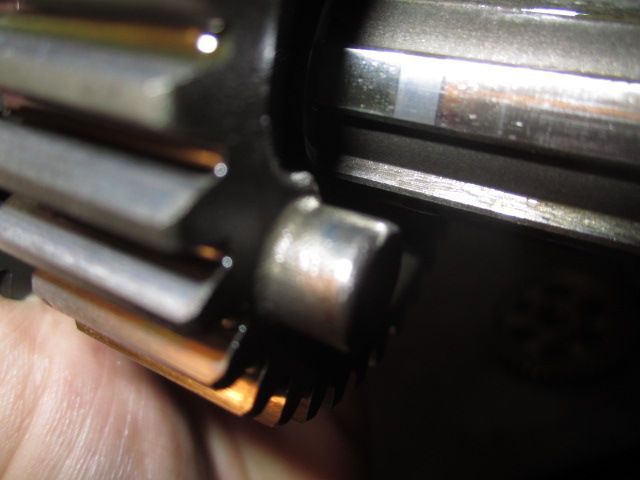


Still not concerned.
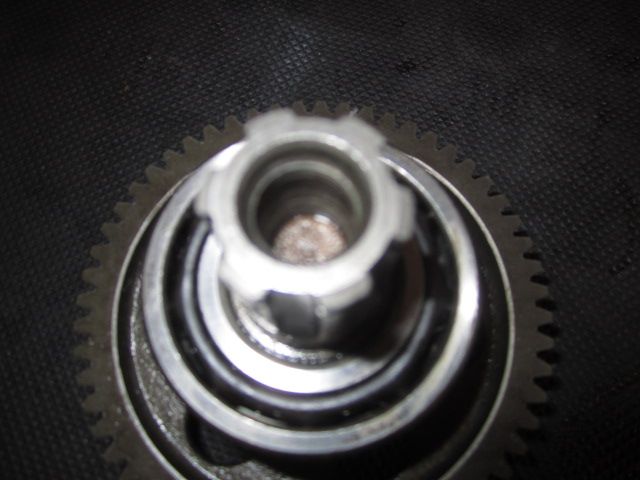

There is a screen or something in the final drive. Does that come out?
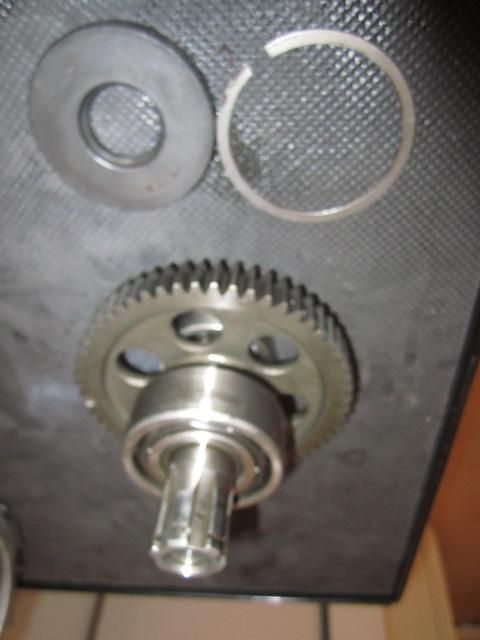

Gave it a wipe down. Checked the bearing. Seems to be in great shape.
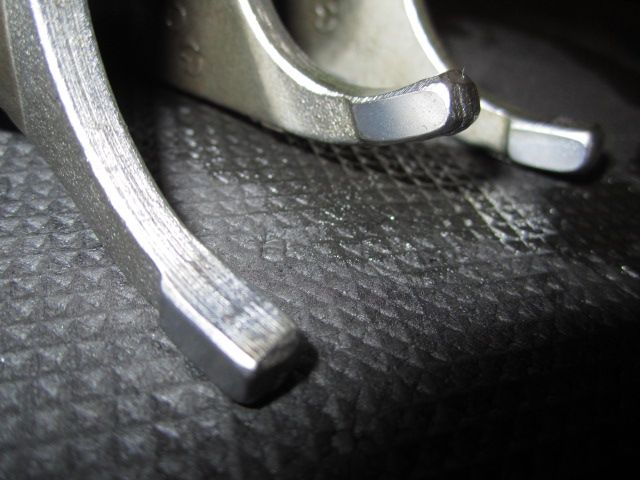

Shift forks a worn but very evenly. Looks good.
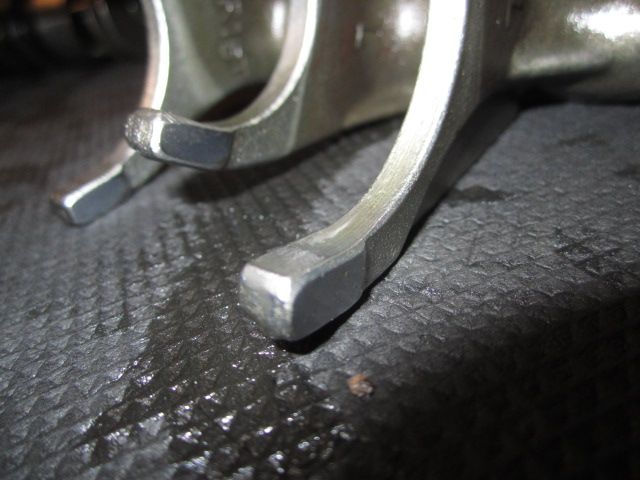


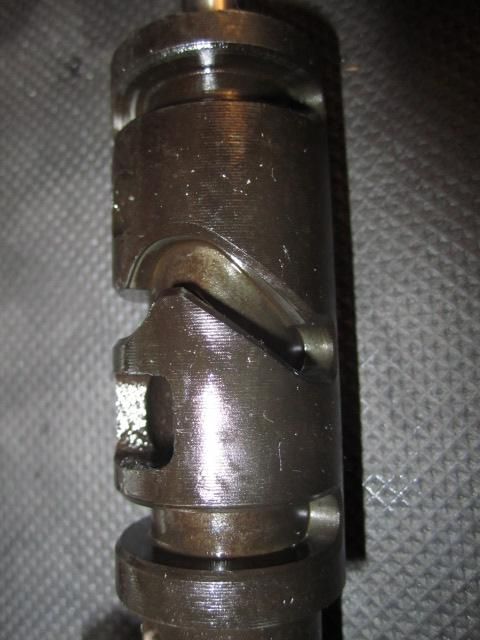
Grooves on the shift drum all look good but I wouldn't expect this would be a high wear item anyway.


Finally got to something I should have done long ago: installed my GFCI outlet.
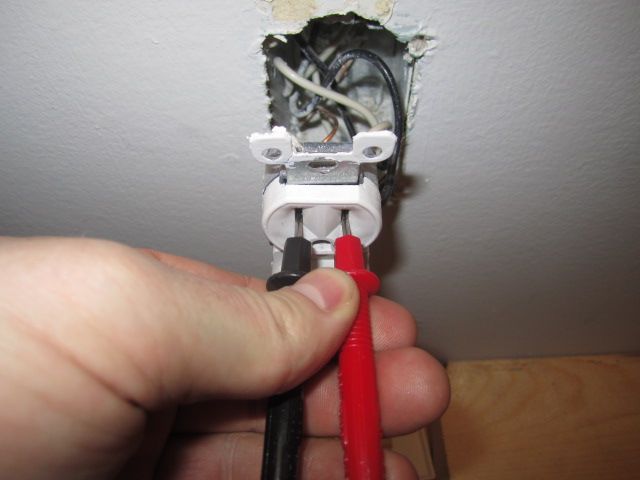

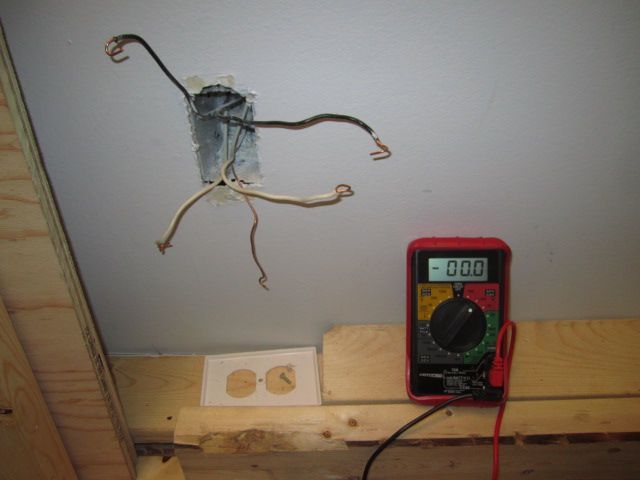
Find the breaker and make sure you've turned off the right plug.
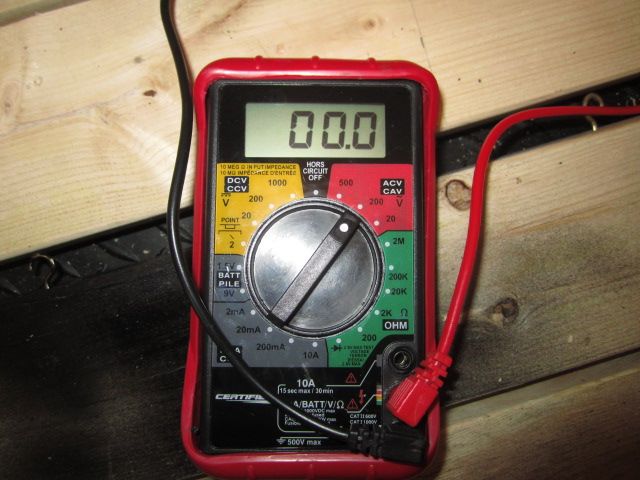

Make sure you're measuring A/C voltage. I've using the 200v scale because that is the closest to the expected 120v without being under rated.
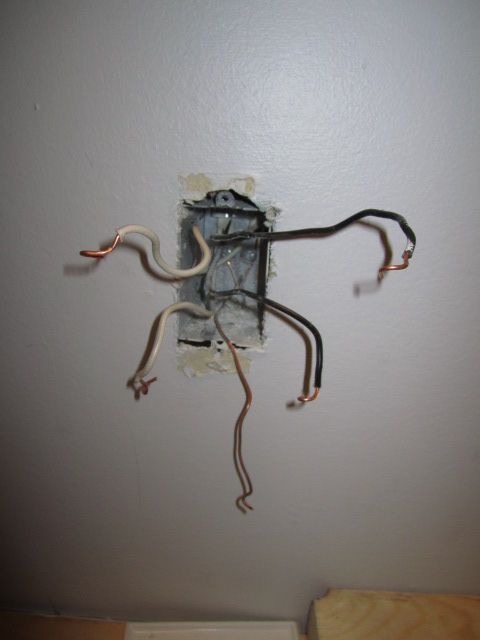

Once you're sure the power is off to the outlet remove the old style outlet. Separate all the wires and make sure that none of them are touching.

You can see in the back of the outlet that the white and blacks come in pairs. Find out which white goes with which black. If there only is one set of wires then you've answered your question. You have the "line" wires. If there is another set of wires that means that there is one set of wires coming in to feed the outlet and one going out to go on and feed more outlets. The ones bringing power in are the "line" wires and the ones feeding the next circuits are the "load" wires. You can figure out which is which by turning the power back on (wires must not be touching!) and using your voltmeter to find the pair that is hot.
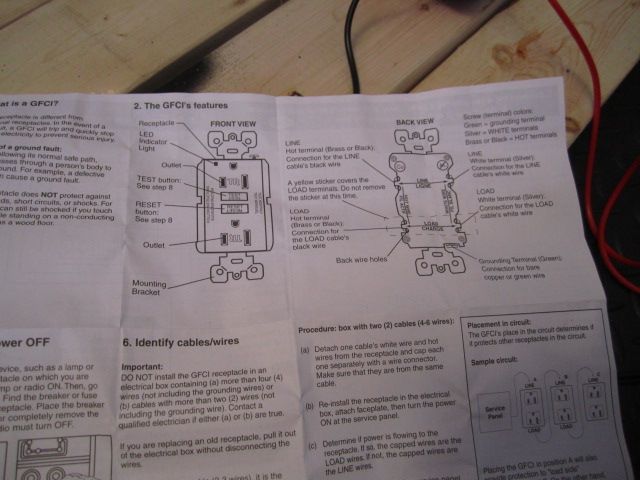

Consult your instructions of course to figure out where the LINE wires go and where the LOAD wires go.
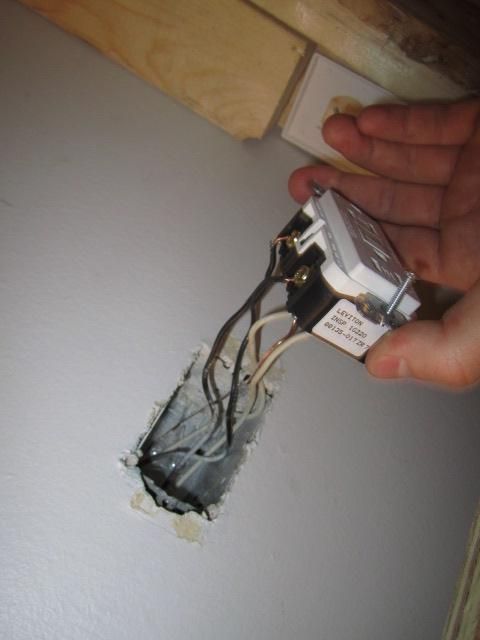

Hooked up as per the instructions.
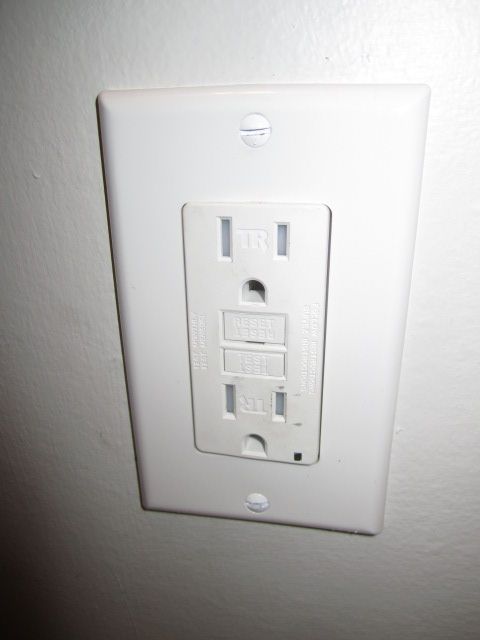

All back together. Now turn the power back on and hit test to make sure it trips out. Mine has a little LED to show that it's working. Hit reset to resume power. All your outlets "downstream" or ones that are connected to the LOAD side of the GFCI plug will now be GFCI protected. I was hoping it would protect the other outlets in my shop but it didn't work out that. Oh well. This is the one that I use for zinc plating and that is definitely the highest risk of shock.
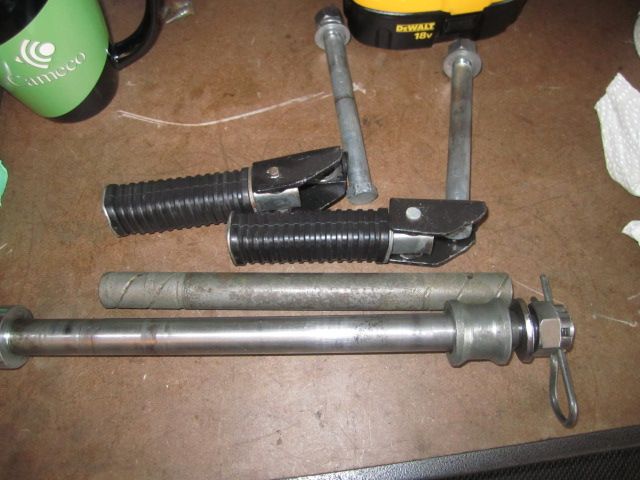

I figured I'd do some more zinc plating since I have a bunch left that needs done before much else can go back together.
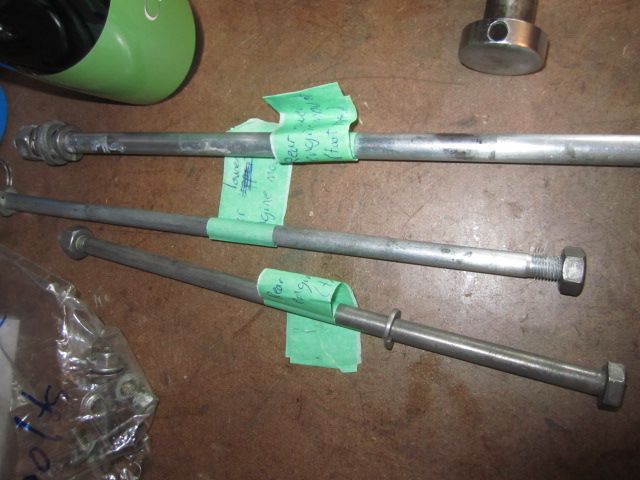

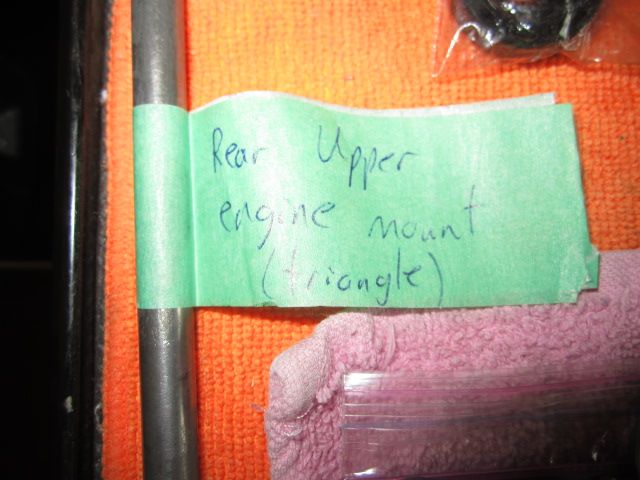
Engine mount bolts.
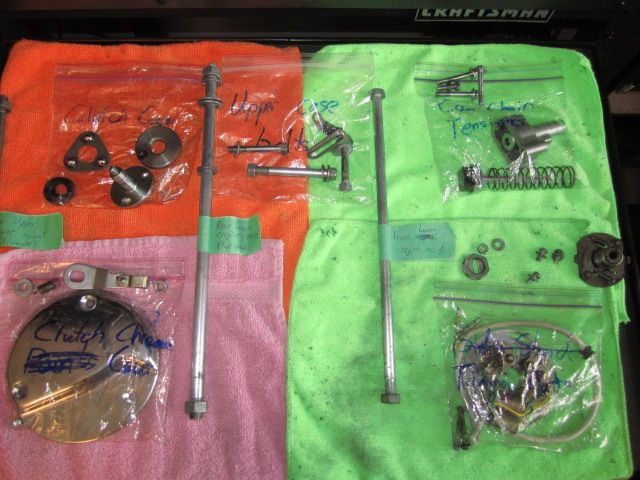

To help me remember what goes where.
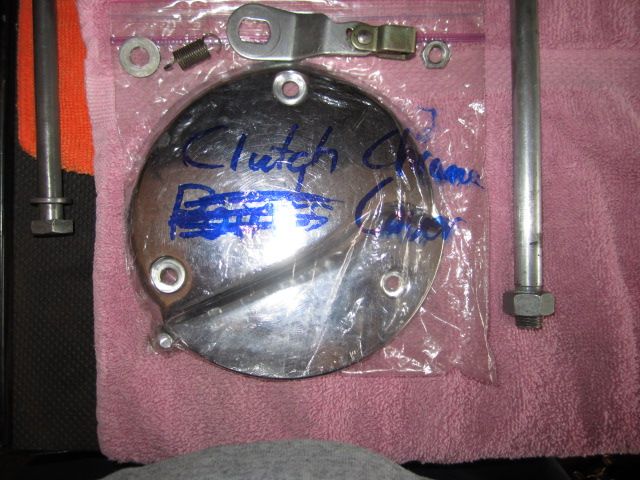

This goes in this baggie.
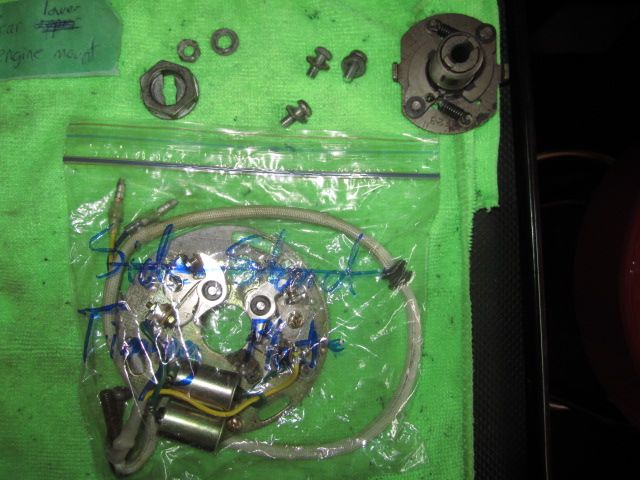

That goes in that baggie...
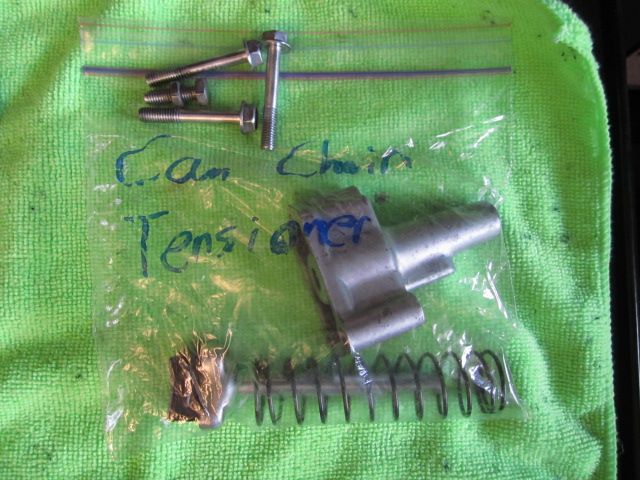

etc
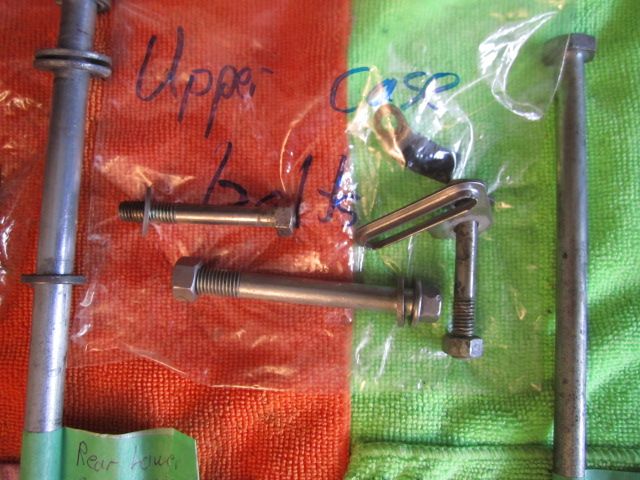

etc
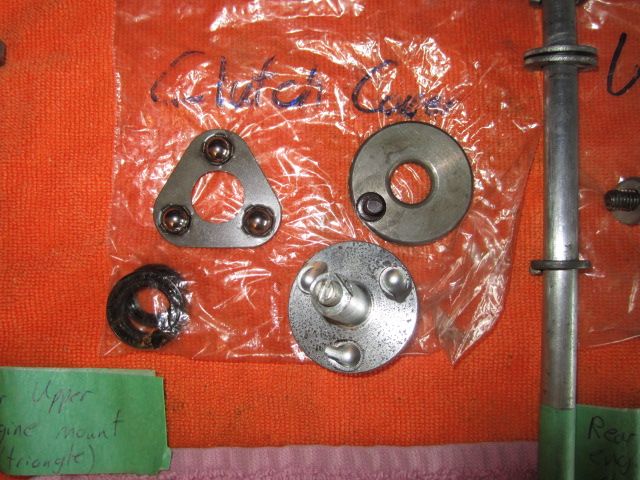

etc
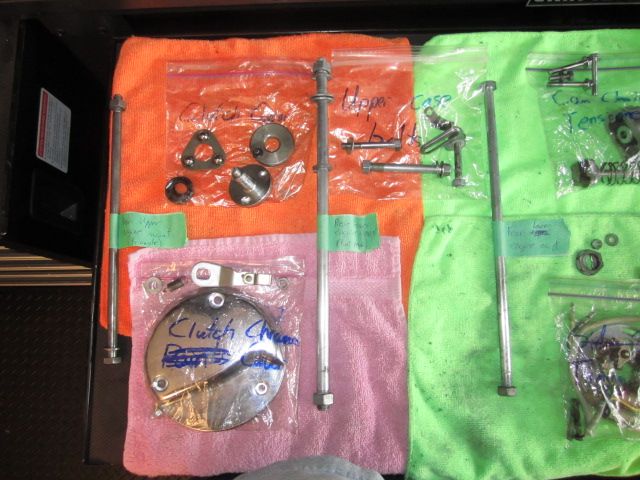


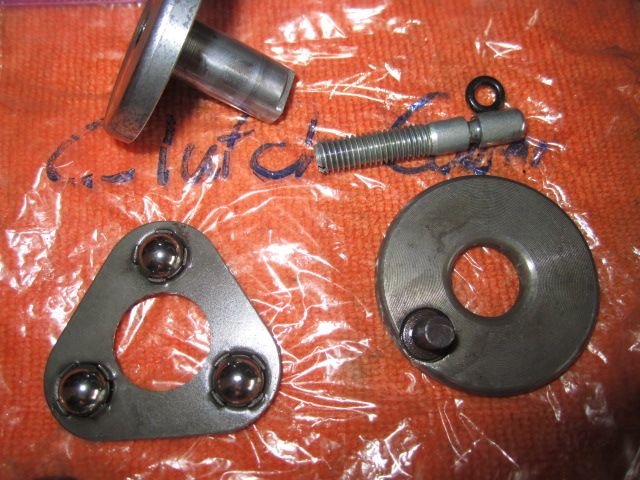
This clutch lifter/adjuster comes apart and there is an o-ring in there!
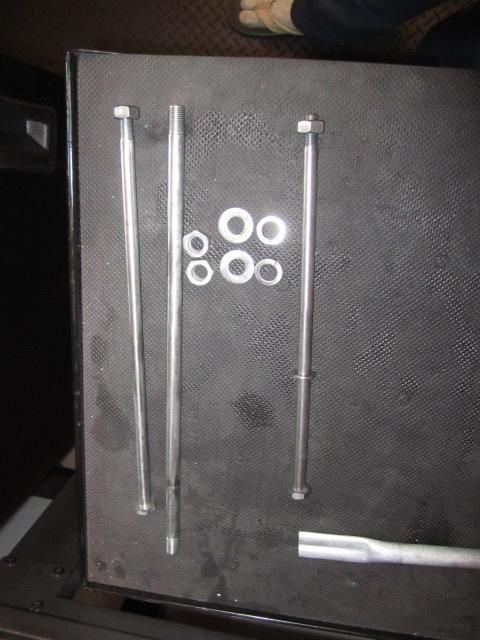

Wire wheeled the engine mount bolts. Looks better already.
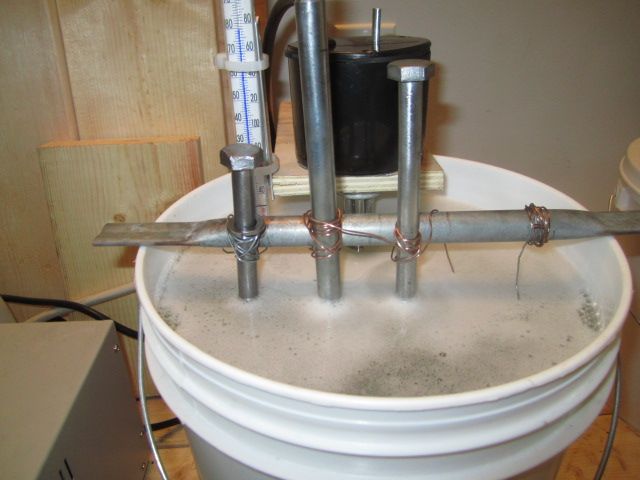

Degreasing.
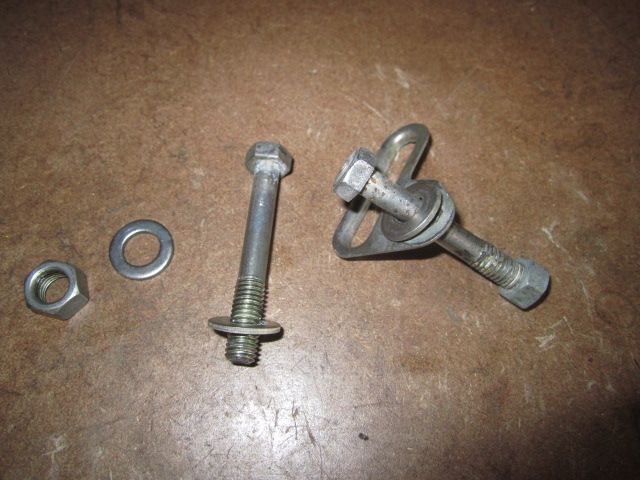

Rear engine case bolts before wire wheel.
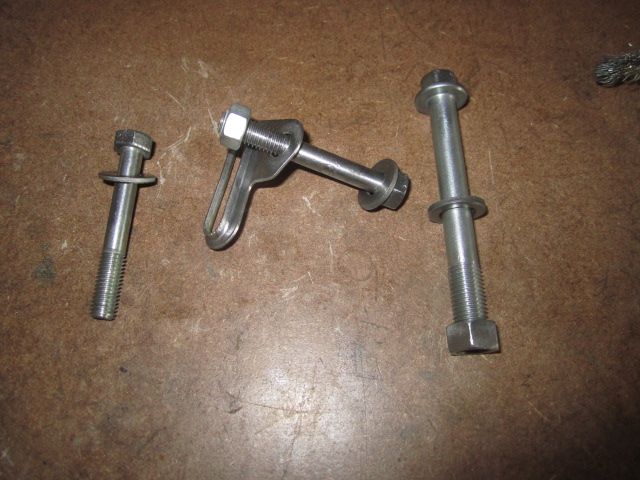

After wire wheel.
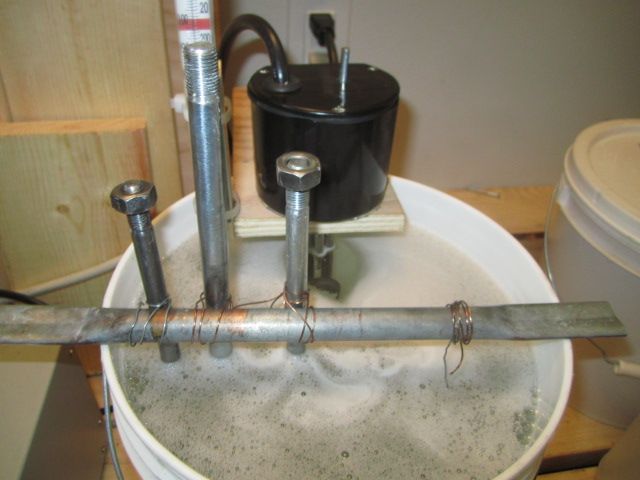

Degrease the other end.
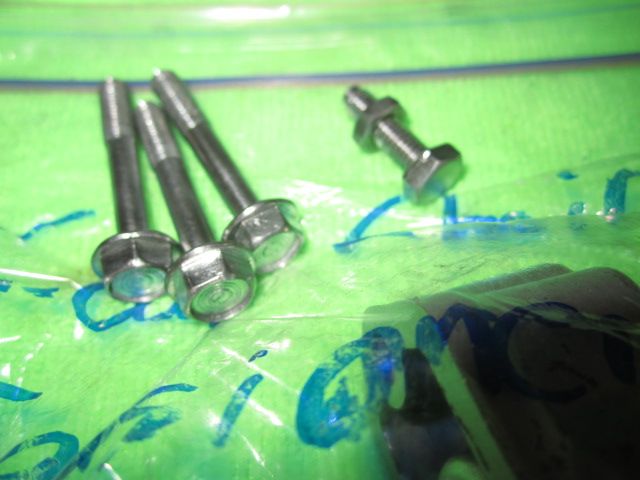

These are cam chain tensioner bolts... Anyone know if these are chrome??!? They look pretty shiny for zinc.
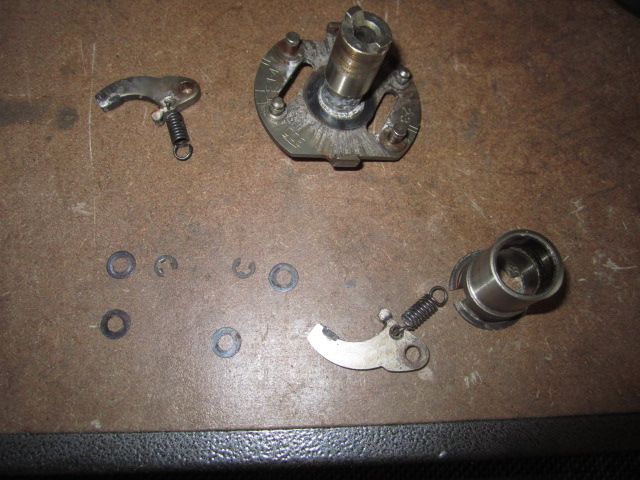

Decided I'd delve deep and even take the advancer apart. It's not too hard. Just have to pop those tiny e-clips off with a pocket screwdriver.
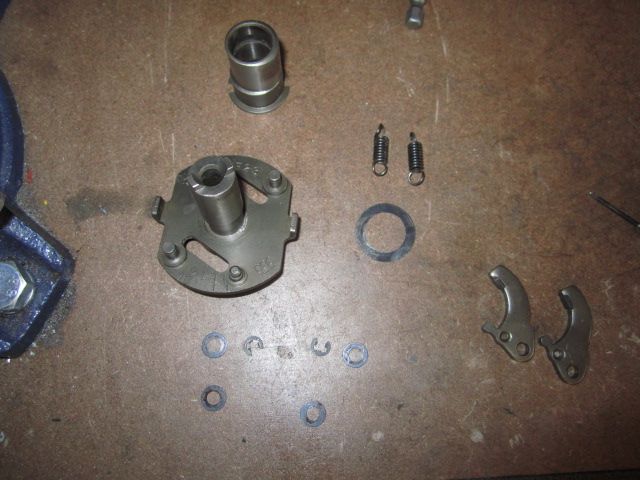

Wire wheeled.
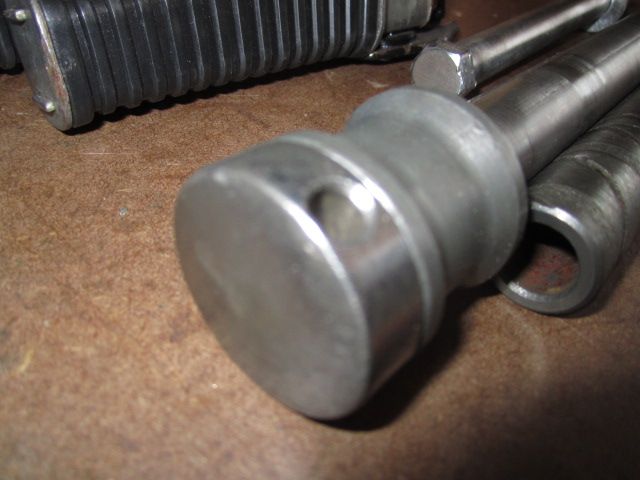

The end of the axle shaft looks chrome but the rest of the shaft looks zinc... is this correct?
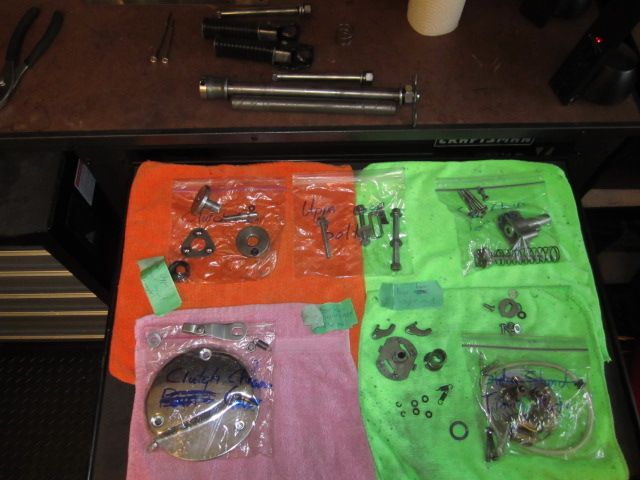

Everything prepped and ready for zinc.
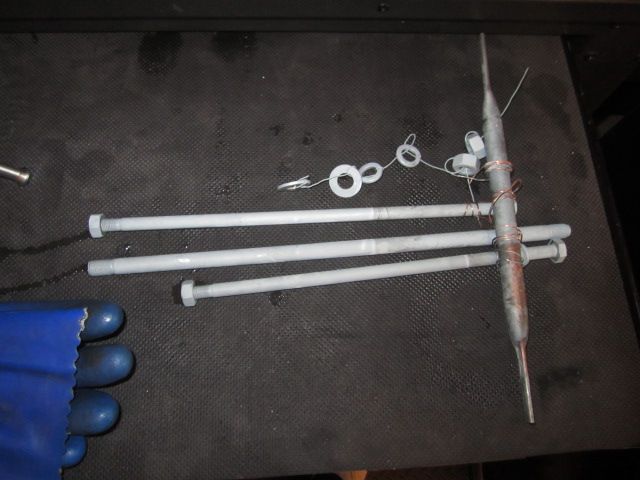

First batch out.
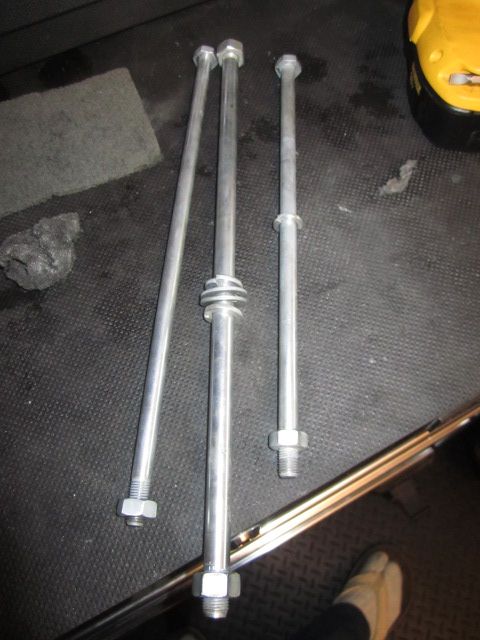

Cleaned up.
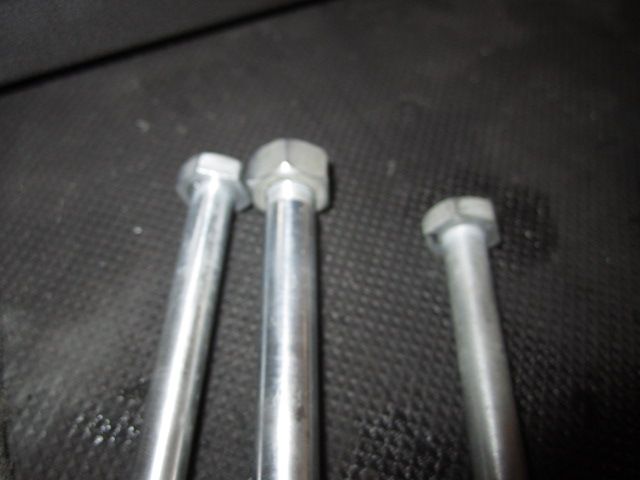

Protected from the elements for another long time I hope.


Oh and the Piece De Resistance ... that really made my day. Actually made me speechless at the machine shop.
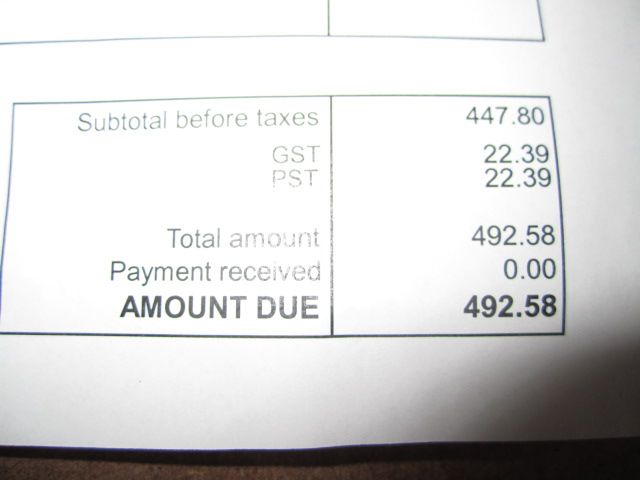

Yep. That's right. $492.58 to remove one stud and fix one thread boss for the points cover. They managed to TIG a nut to the stud and tried to pull it out but it snapped off like 1/2" below the surface so then they had to set it up in the mill. There really isn't a lot of good places to set the engine cases up off of and the cylinder surface is at some weird angle so he would have to rig it up 90 degrees to that somehow.

Anyway, I was expecting $150-$200 and when I saw that I just about #$%* myself. Oh well I guess?

IW

Offline MikeKato

  • Enthusiast
  • **
  • Posts: 173
  • Milwaukee WI
    • TCB true life stories
Re: Project: 7-Fizzle built in the Man Room!
« Reply #193 on: January 18, 2013, 08:44:17 PM »
$492.58 Damn,I can see why you would be angry. Sorry about that. You're really doing a hell of a nice job with that little space you have.

GL!
Mike

Offline iron_worker

  • Master
  • *****
  • Posts: 2,081
Re: Project: 7-Fizzle built in the Man Room!
« Reply #194 on: January 20, 2013, 01:12:13 PM »
A solid day of polishing and plating yesterday. Never seems like much gets done but it sure takes a long time!


Advancer parts, passenger footpeg bolts, oil filter spring, etc...


Degreasing the next batch in the mean time since it's still pretty hot from the first round. My camera is really hit and miss. Sometimes it gives really crisp pics and others ... not so much.


Conserving heat.


Trying to clean up the rear signal brackets. Tricky with all the nooks and crannies.


Next batch going in.


Advancer going back together. A bit of grease on the pivot points.


Battling with the springs for a while. You have to try and slide on the two arms and the outer tube all the same time. Patience required.


Some zinc'ed parts lookin good.


I was going to zinc the axle but I decided that I'm pretty sure it's fully chromed so I left it alone. I did zinc the spacer though. You can also see the swingarm pivot shaft cleaned up ok. It was pitted a bit from corrosion so hopefully the zinc and some fresh grease will help it last a while longer.


Clutch actuator parts polished up.


More clutch lifter parts.


Bolts for the rear of the engine case.


Advancer completely together. Make sure those tiny e-clips don't fly off into never never land. The action is smoooooooth with fresh grease.


Points plate hardware. need a new lock nut. It's fairly stripped.


An overall shot of the finished parts.


Can you say .... weathered!?


Singal light hardware to be zinc'ed.


In the mean time I should try and clean these up a bit.


Mothers chrome polish and 000 steel wool does a pretty good job.


This one shined up real nice but needs a new lens.


Of course the markings from where my sister dumped the bike can't be polished out. ha


This one is purdy.


Awaiting fresh hardware.


Rear fender lookin somewhat sad.


Mothers and steel wool treatment for all.


And this is why I need a new grab bar. Anyone?!


Signal light hardware with fresh zinc.


One new rear signal mounting bolt ... somehow lost one last year and had it rigg-a-majigged with a tiny hex head bolt from an R/C. ha


All together. One or 2 new lenses and it will be ready to rock.


Pulled the spokes out of parts washer. I am leaning towards just going with the non genuine wheels and spokes from David Silver Spares. My wheels are in "ish" condition ... rear one is fairly beat up. I think it would probably be a worthy investment to the overall look of the bike.


To finish off the day I replated my tank bar and took a #$%*ty pic of it. lol


So all that happened what is now yesterday. Today I was over helping my auntie with some drywall sanding and priming for a few hours so no progress so far. Might get in the shop for a bit yet tonight so we'll see.

I also talked to Ken (I think?) at Cycle X and he has received my parts. I've confirmed with him what work I would like done and what parts I would like to buy so hopefully that work can commence pretty quickly. Pretty excited to have that stuff back and get building the motor. The blaster said he is super busy but should get my parts done for the end of this coming week so hopefully next weekend I can lay down some paint if all goes well and then I'll be ready for stuff to start going back together. The blaster also has my hubs so once those are painted I can get the bearings back in them etc. Exciting stuff.

Once this motor starts going back together I think that will be a big landmark in the project. I'm hoping it will be mostly "downhill" from there. ha

Iw

Offline brandEn

  • Old Timer
  • ******
  • Posts: 3,205
Re: Project: 7-Fizzle built in the Man Room!
« Reply #195 on: January 20, 2013, 03:49:02 PM »
You are making great progress. Those parts are looking clean!

Offline iron_worker

  • Master
  • *****
  • Posts: 2,081
Re: Project: 7-Fizzle built in the Man Room!
« Reply #196 on: January 20, 2013, 06:41:46 PM »
So I decided to try and finish what "little" zinc plating I should have left ... well I quick realized it isn't a little bit. ha


All sorts of bits and bobs that still need wire wheeling, degreasing, zinc'ed, and buffed with steel wool... omg it never ends!


Anyone know what this bit is? I have in the center stand bag ... which may or may not be accurate. My center stand is already together and seems to be fully functional.


A close up of it.


The parts I shall tackle tonight.


Here is what my zinc anodes looked like after yesterday's plating. I had buffed them up before I started yesterday and I did so again today... I'm stilll battling with getting the really dull parts straight out of the bath but I've added quite a bit of zinc brightener and I'm scared to add too much? It doesn't seem to help.


All the parts wire wheeled with my drill one at a time ...


Having a nice hot soak in the degreaser.


...while the electrolyte is pre-heating.


I put a coat of linseed oil / paint thinner on my rotor guard and also on my turn signal buzzer.


Looky what I found in my stash! Two brand new signal lights. Looks like one is for the rear and one is for the front. (1 wire and 2 wire)


A look inside ... I think they are aftermarket. Definitely not Honda pieces.


I wanted to put the entire signal housing on my existing signal stalks since one of mine is really scraped up ... however it seems the aftermarket one has a slightly smaller hole. ARG! The original one is around 16.9mm and the aftermarket one is around 16.6mm ... try as I might I couldn't get it to fit on my signal stalks.


Original on the bottom.


With my patience running out I abandoned that idea (at least for now). I stole the nice lenses off of them and kept my scratched up signal body.


Parts out of the zinc plate bath.


They have a fairly heavy "oxide" when they come out. Not sure if that's what it actually is but it comes off with a quick rub down with steel wool. However, I don't think it's supposed to be that way and it adds a lot of labor to the whole process.


Some parts after shining up.


Should have had the flash on... woops.


These little tiny bits are a pain in my @ss.


These ones have washers that thread on. Neat.


My anodes after that one batch. They've already dulled. I had polished them up to a fairly bright shine beforehand ... not sure how to fix this. Wondering if maybe my pH is off? I don't have any test strips though.


Anyway, I think I will contact Caswell about my dull zinc plating issue. Maybe they can offer some assistance.

If I were to do another restoration like this I would most definitely invest in a tumbler of some sort. I think the way to get things like this done quickly would be to create a spread sheet listing out all the hardware, their sizes, and their locations (that would be the tedious part). Then you could throw large batches of hardware into a tumbler for the initial cleaning, zinc plate all the parts, then throw them into a softer media to polish them up again after.  I also think having a "basket" made out of brass mesh might be a good way to get lots of small parts plated quickly. Instead of wiring up each piece individually maybe you could just dump them into the basket and shake them around every few minutes to make sure all sides are being plated evenly.

Anyway, I'm forging along. Another solid day or two of zinc plating and I think I'll have it pretty much done. Thank god. lol

IW

Offline iron_worker

  • Master
  • *****
  • Posts: 2,081
Re: Project: 7-Fizzle built in the Man Room!
« Reply #197 on: January 20, 2013, 07:17:04 PM »
Also, has anyone bought CycleX's oil lines:

They offer the full oil line:
http://www.cyclexchange.net/Oil%20Lines%2011-12.jpg

or just the clamps and hose to use with your original fittings (much cheaper):
http://www.cyclexchange.net/index%20pics/fri%20eng%202.JPG

My hoses are lookin pretty ratty ... any ideas?

IW

Offline MikeKato

  • Enthusiast
  • **
  • Posts: 173
  • Milwaukee WI
    • TCB true life stories
Re: Project: 7-Fizzle built in the Man Room!
« Reply #198 on: January 20, 2013, 09:05:48 PM »
"Anyone know what this bit is? I have in the center stand bag ... which may or may not be accurate. My center stand is already together and seems to be fully functional."

Honda part # 90514-323-000 for your battery overflow line. You had it taged right.


Offline seanbarney41

  • not really that much younger than an
  • Really Old Timer ...
  • *******
  • Posts: 10,879
Re: Project: 7-Fizzle built in the Man Room!
« Reply #199 on: January 20, 2013, 09:25:26 PM »
+1 kinda works like a dual purpose washer, one hole acts like a washer for one of those bolts down there, the other hole secures the battery drain hose
If it works good, it looks good...