Author Topic: Project: 7-Fizzle - V1.1 - If only spring would get here...  (Read 149193 times)

0 Members and 1 Guest are viewing this topic.

Offline DME

  • Hot Shot
  • ***
  • Posts: 676
Re: Project: 7-Fizzle built in the Man Room!
« Reply #250 on: February 07, 2013, 07:23:16 AM »
Good job on the paint and it´s nice to see someone else working on his bike in a small space.
I built my cafe in a very similar situation back in 2006, and organization is key  8)

Just one thing: I hope you have cleaned your cases and all other stuff that has been blasted, inside and out....thoroughly.
Blasting media WILL get in EVERYWHERE and if you dont get it out it will end in tears.

I glassbead blasted my engine and cleaned every nook and cranny forever.... Painted it, assembled it and stuck it in the frame.
Got cold feet before I even filled it with oil and removed it and tore it down again, just to clear my mind of any doubt.
Removed the oil gallery cap again, but this time I also pushed out the o-ringed plug at the other end of the gallery and held the gallery bore to the light....
Scary sight as the gallery still had quite a lot of glassbeads still in it  :o

So, make SURE its clean, I´m sure glad I did  :)

Cheers
Dan


Offline iron_worker

  • Master
  • *****
  • Posts: 2,081
Re: Project: 7-Fizzle built in the Man Room!
« Reply #251 on: February 07, 2013, 07:29:47 AM »
I haven't cleaned out the inside yet but my plan is to pull it apart one last time and give everything a thorough rinse and inspect all ports.

I don't know if it was your build but I saw one where some poor fellow built his entire engine up and it was looking great but his oil passages were clogged with blasting grit and he burned up a brand new head. Ouch!

I also mispoke before when I said I was pretty much done painting... I guess I forgot that my head and cylinders are still on the way back from CycleX. D'oh! Oh well, they should be pretty easy to do.

IW

Offline DME

  • Hot Shot
  • ***
  • Posts: 676
Re: Project: 7-Fizzle built in the Man Room!
« Reply #252 on: February 07, 2013, 11:24:30 AM »
Always sad to hear when someones restored engine blows up due to a simple mistake.... But I'm it wasn't mine  :)

Good to hear you´ve got it all covered  8)

Offline iron_worker

  • Master
  • *****
  • Posts: 2,081
Re: Project: 7-Fizzle built in the Man Room!
« Reply #253 on: February 09, 2013, 06:18:01 PM »
Put in a pretty long day in the shop today. Seems like I don't have a lot to show considering the time involved but some steps forward no less.
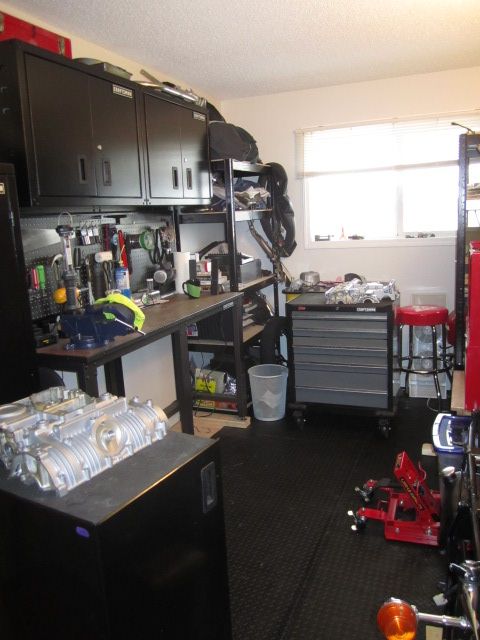

Started by taking down all the plastic and de-murderizing the room. lol
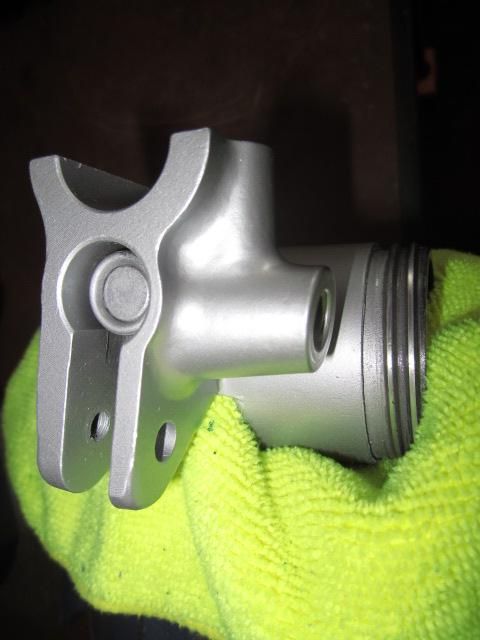

Decided it was time to tackle the master cylinder rebuild since it is now painted and cured a few days.
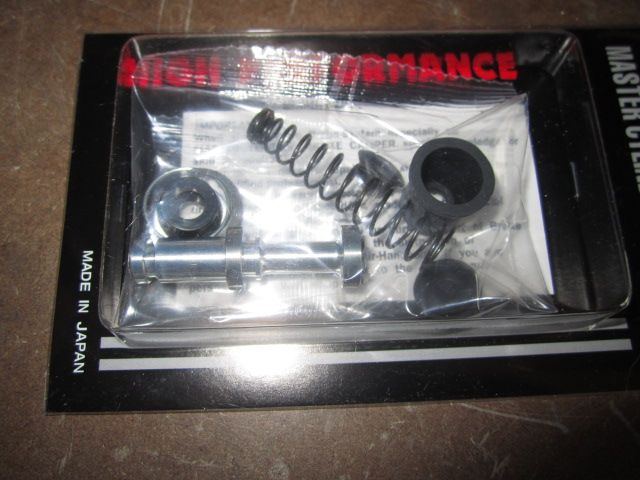

Rebuilt kit.
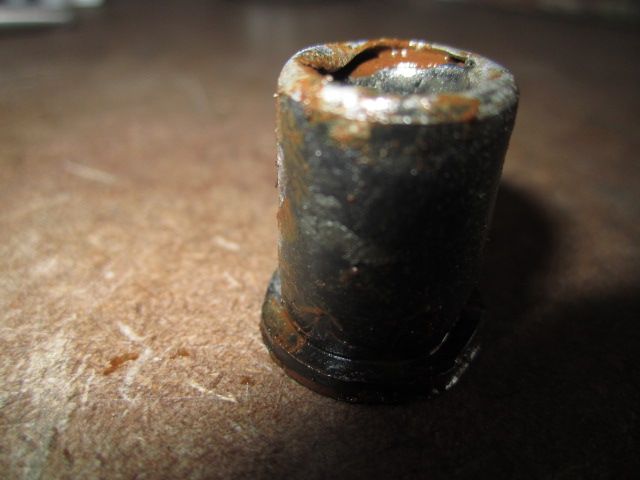

First pull off the rubber dust boot. Sick.
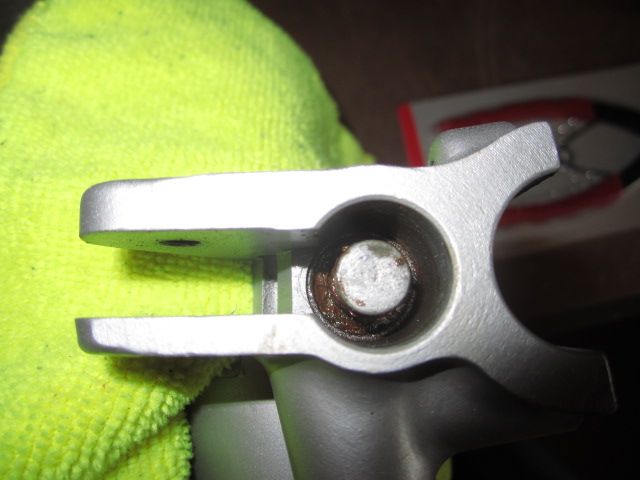

Then there is a wire ring in there that actually holds the rubber boot down. I didn't realize this and was going straight for the snap ring.
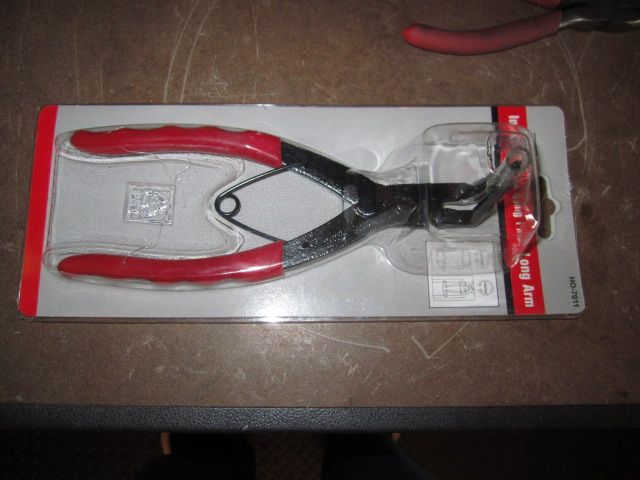

Long reach snap ring pliers... they're actually not that great. The tips bend if you press too hard.
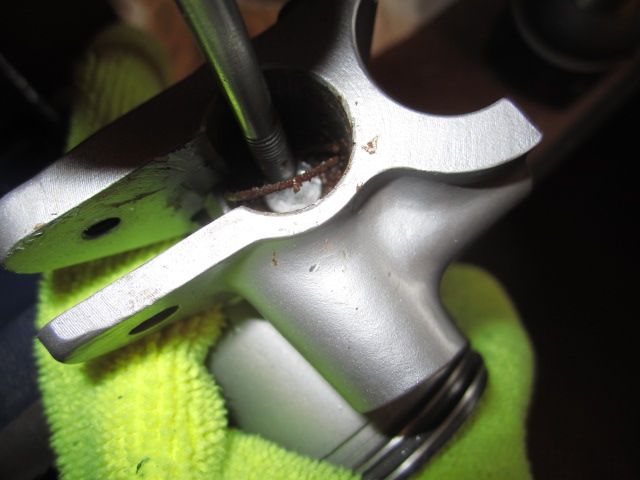

Finally noticed that the other metal snap ring and get it out first.
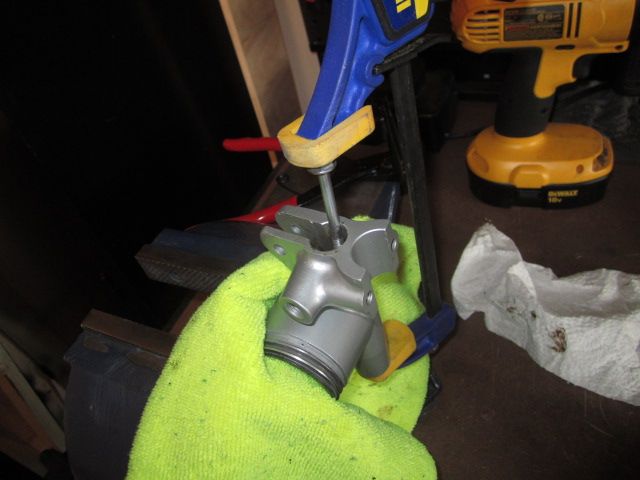

Trying to gain some access to things but holding the plunger down with a clamp/bolt.
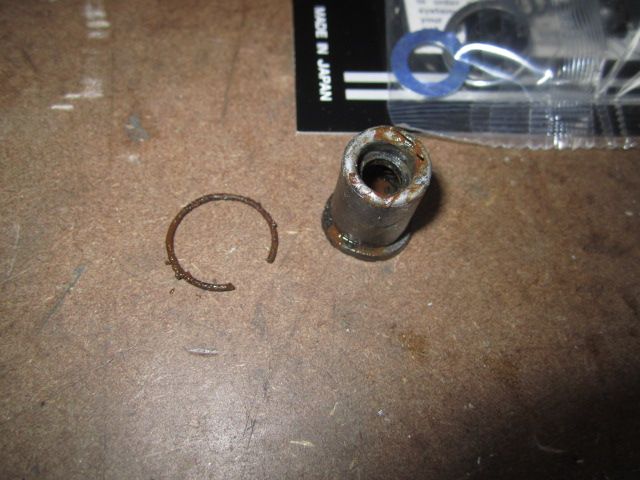

Dust boot/metal retainer.
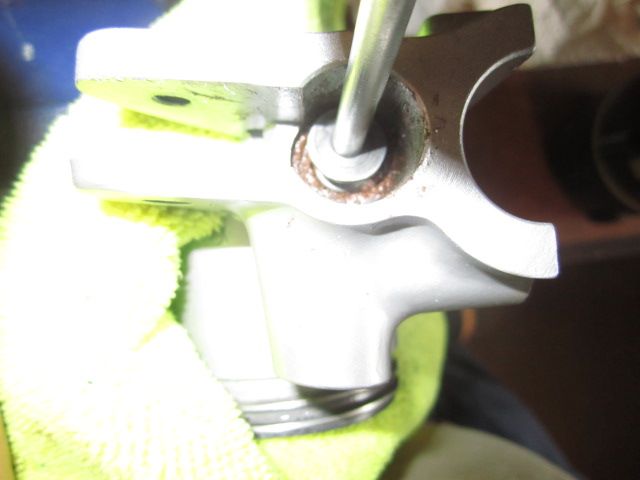

Now I can attack the snap ring.
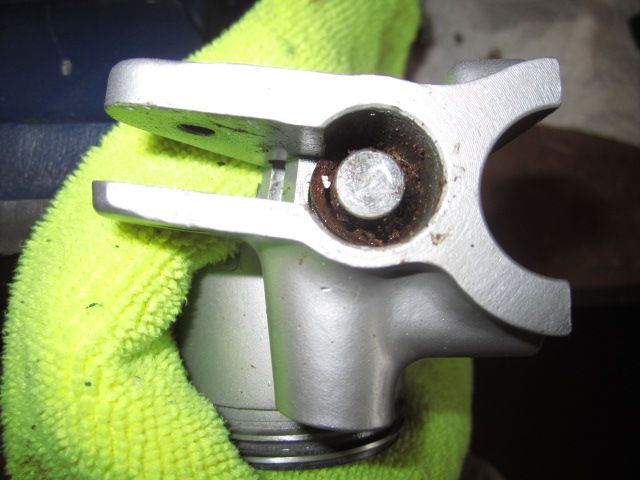

After much farting around I got it out.

Victory! I thought...
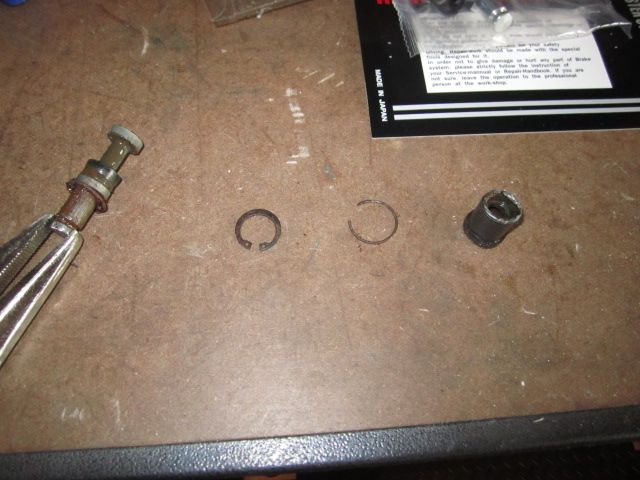

I had to battle for this step too. The washer was seized into the MC bore so it didn't just pop out like it should have when I got the snap ring out. I was confused because I wasn't sure if there was something else holding it in. After some research I concluded that I just need to yank the fvcker out. Done and done. lol
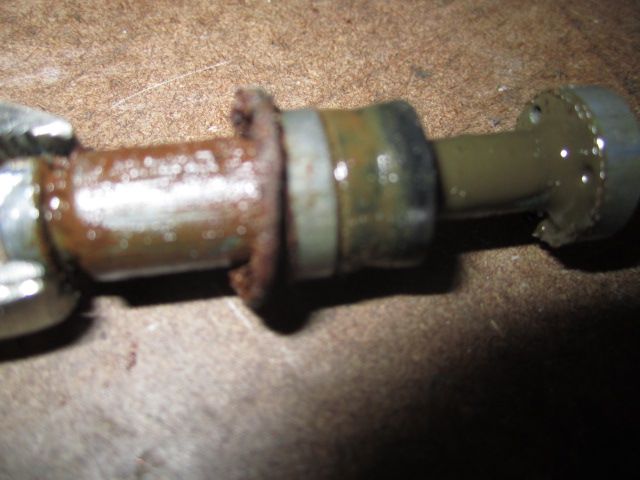

Yummy!
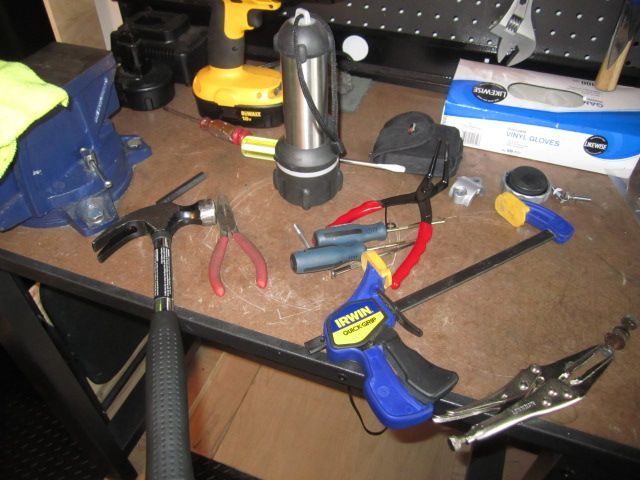

And it only took this many tools...
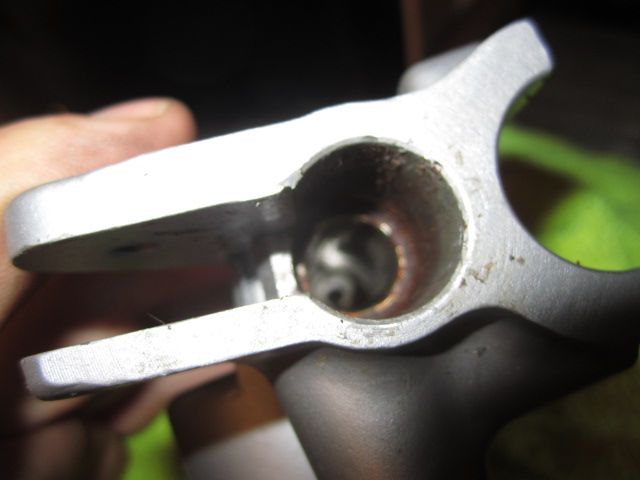

The bore is fairly clean its just where the snap ring was that was grungy.
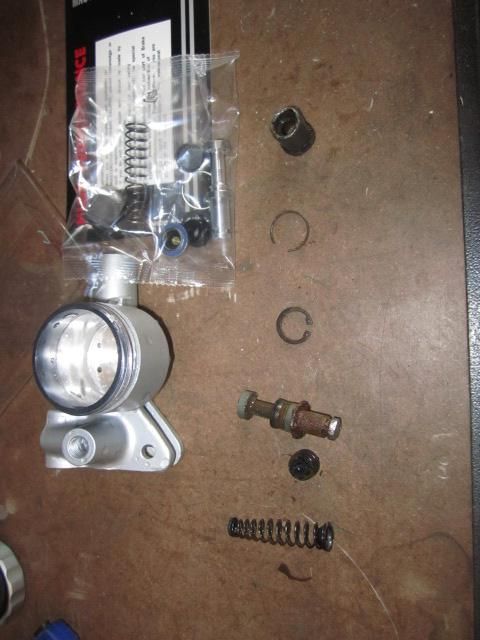

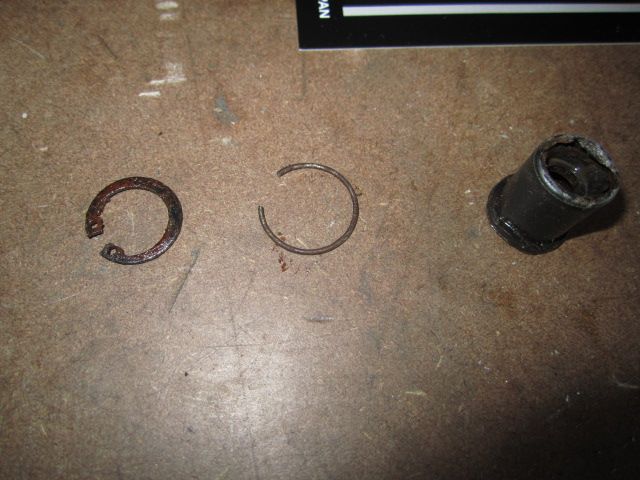
All the spoils laid out in order.
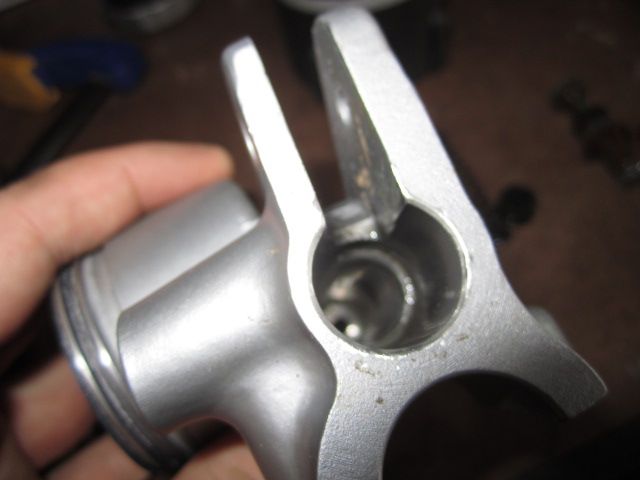

Cleaned up with some steel wool.
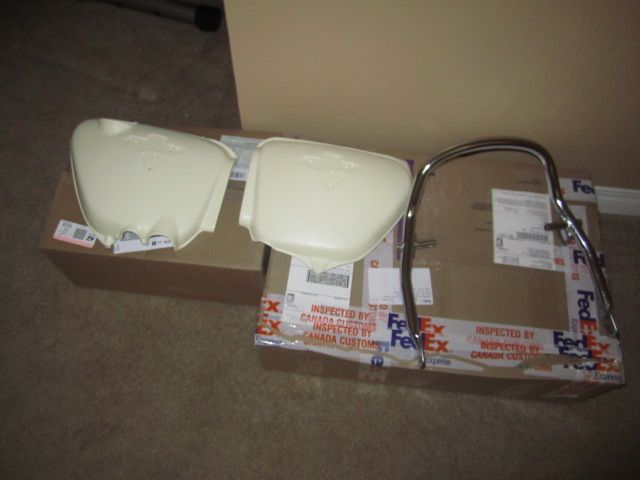

Intermission parts pickup run/NAPA run. New side covers and rear grab bar that I bought from Scotty J. Thanks man!
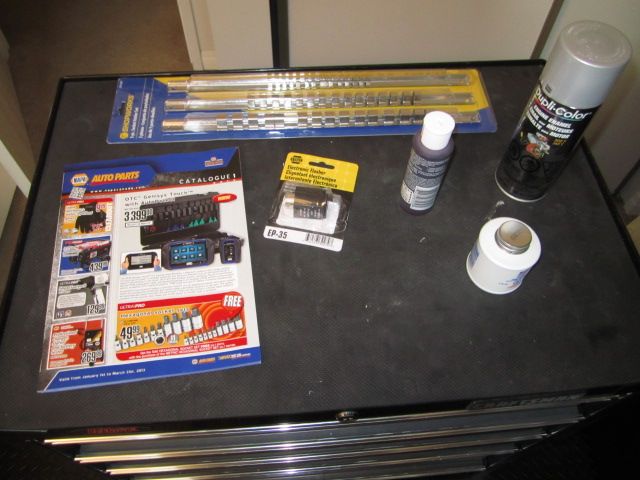

Stopped at NAPA for some assembly lube but ended up with a bit more...
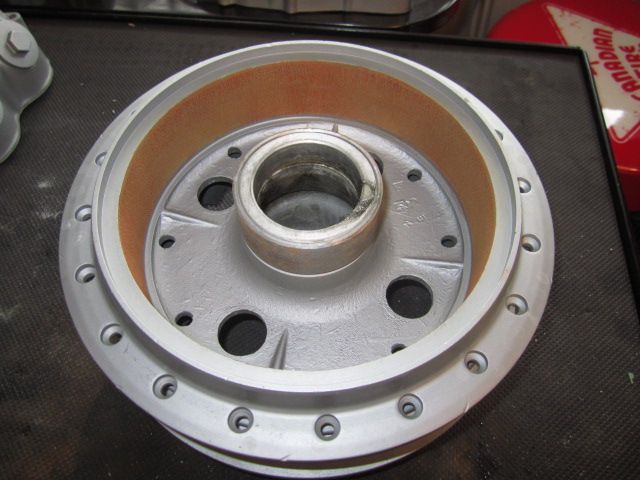

I decided to put my parts through the dishwasher for a couple reasons: 1) It would give them a final cleaning before assembly. 2) The drying cycle will harden the paint some. 1 thing I didn't expect was the flash rust on the steel parts!
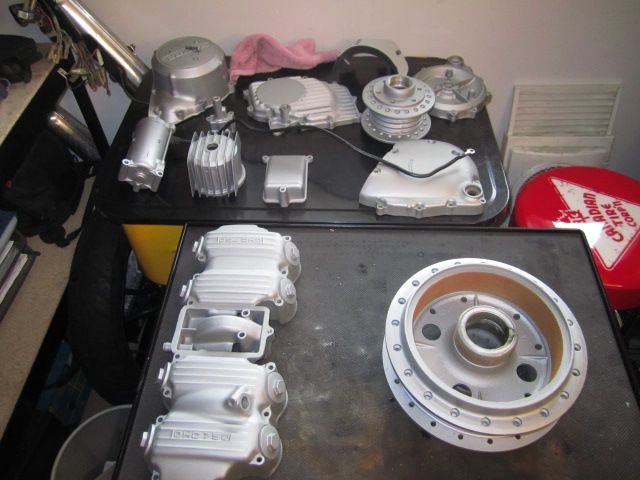

All these items went through the dishwasher. The cases were in the dishwasher when this photo was taken. My gf is very understanding. lol
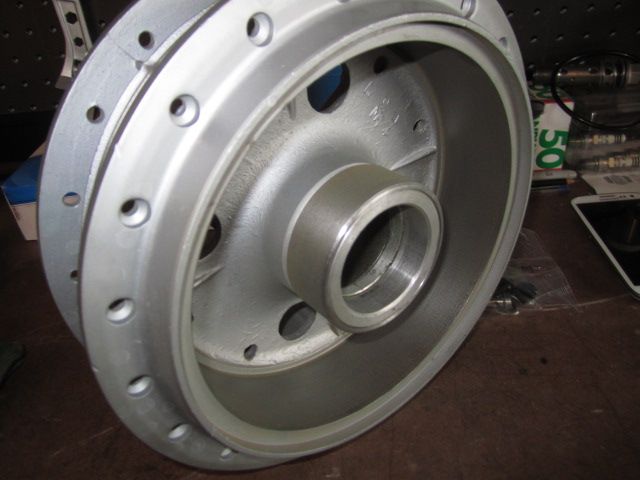

Scotchbrite takes care of the rust.
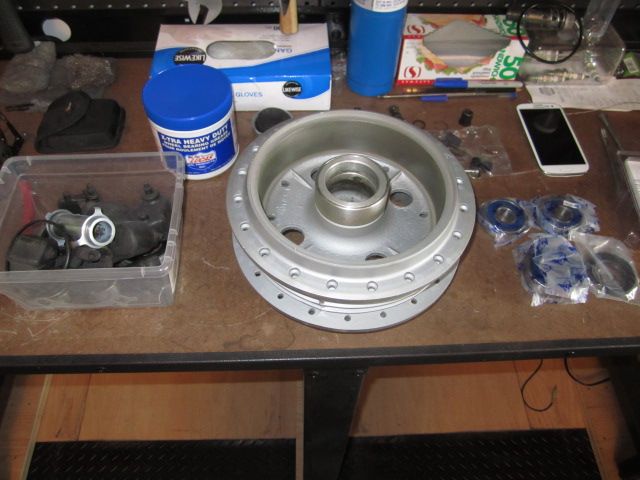

Lets assemble this thang!
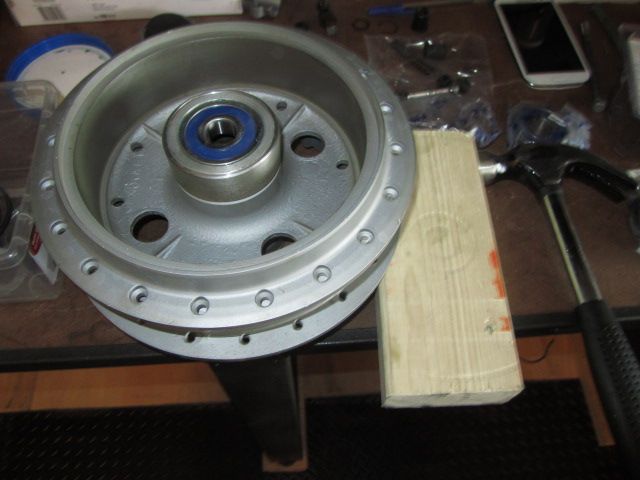

I didn't bother to heat the hub or freeze the bearing... 2x4 and a hammer gets the job done though.
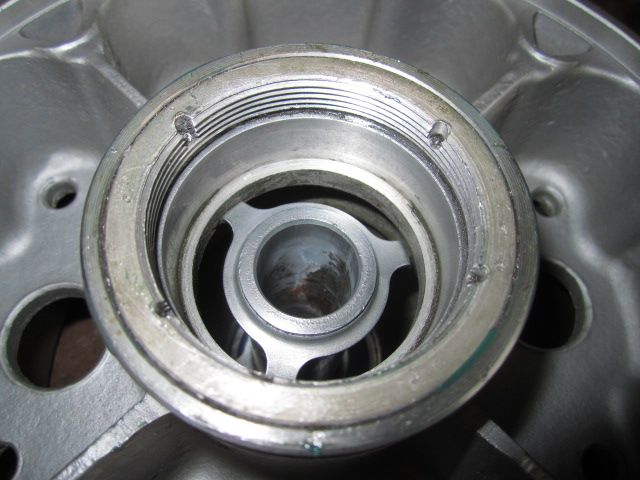

Don't forget the bearing spacer.
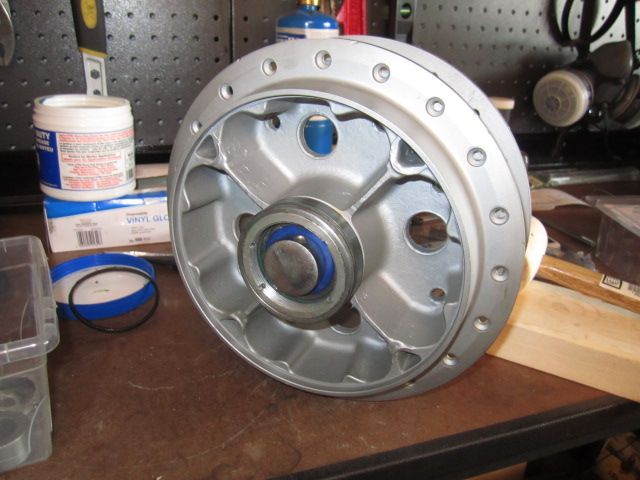

Other side bearing goes in. Used the axle to help keep them aligned and ram it in.
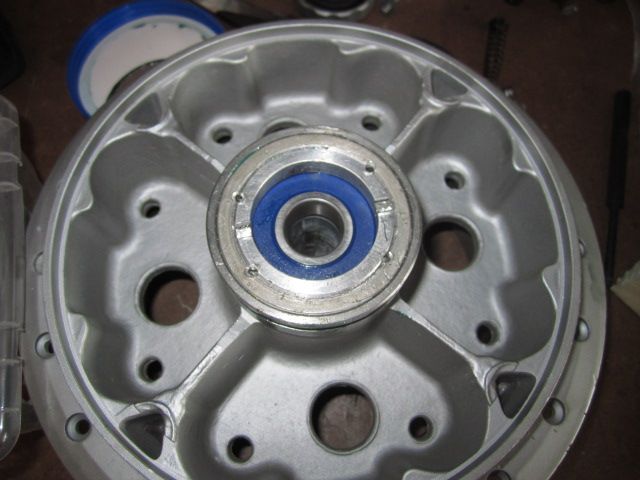

Got the retainer in and lined up the marks and re peened them.
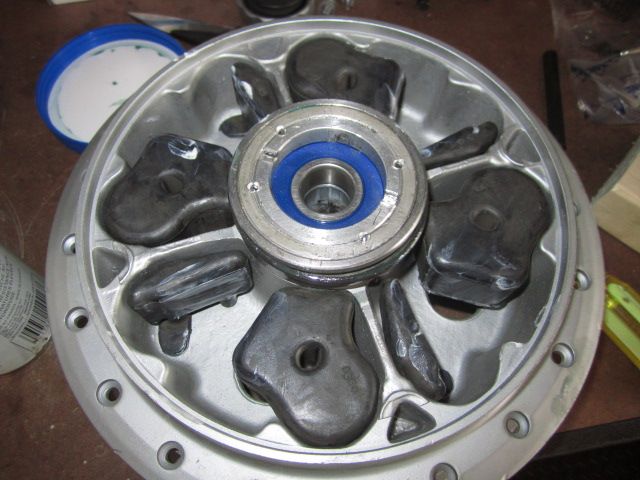

Install the cush drive rubbers and put some lube on them to help assembly. *NOTE* At this point I should have put the shouldered spacer over this bearing before putting the hub cover on. This shouldered spacer makes sure that when the axle is torqued down that all three bearings are pressed together. It maintains the bearings stack up. I forgot this part and ended up taking it apart again after to replace it.
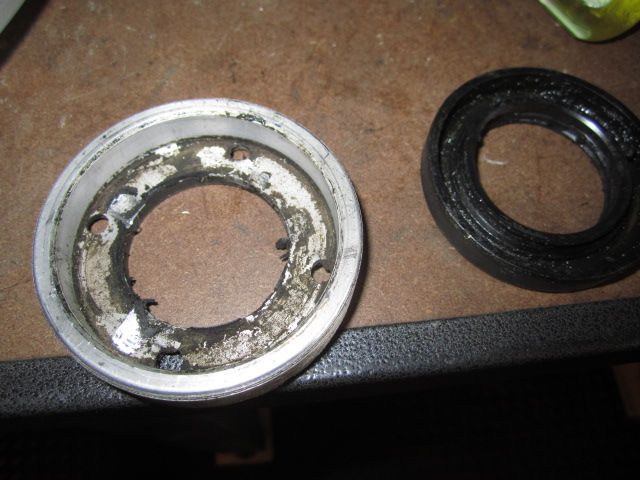

Old seal out of the retainer.
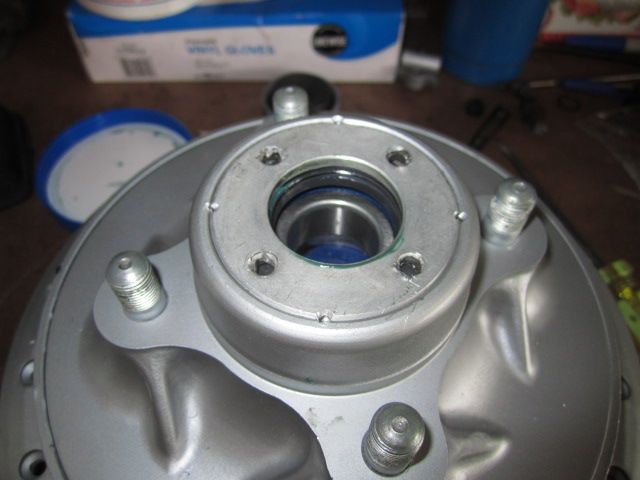

Cleaned up with new seal, in and re-peened.
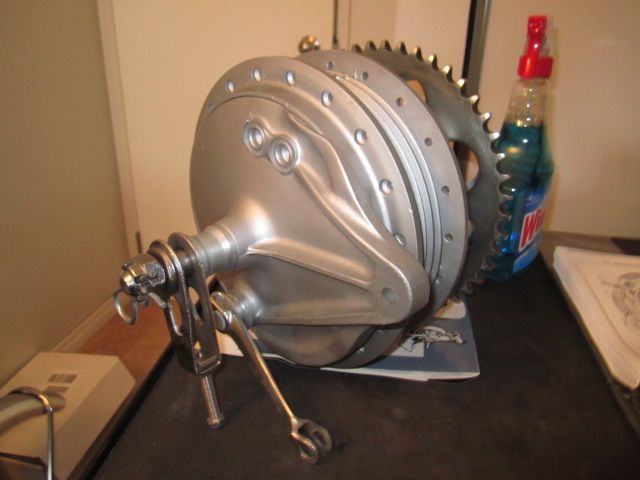

Ta da! Honestly, this thing is heavy! If a guy was looking to shave some weight I'm thinking there has to be some extra in here....
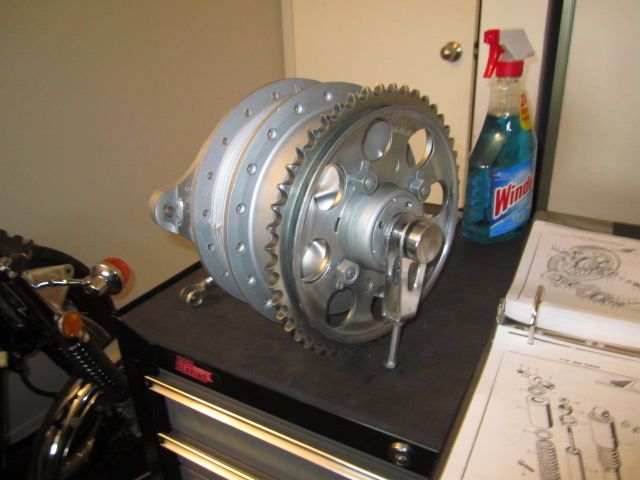

Sprocket will have to come off again later but on there for now just because.
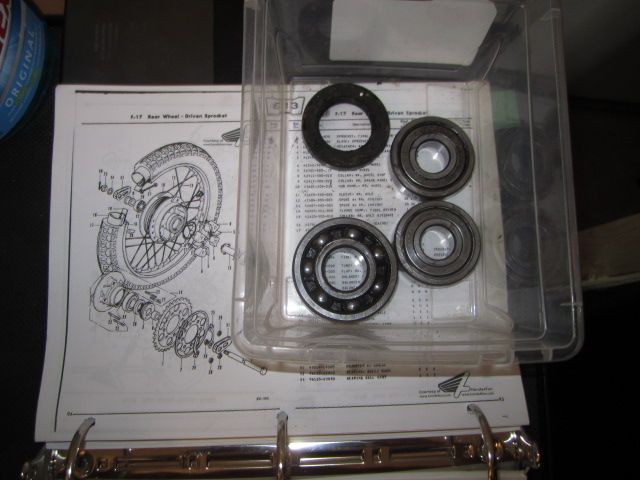

Old parts and some reference material got the job done.
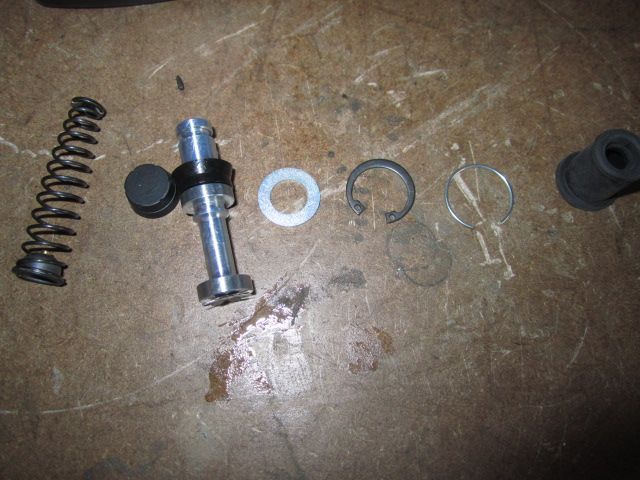

Back at the master cylunder now that it's out of the dish washer! *Note* I have the seal on the plunger incorrectly in this photo! I put it all together and it was binding up... should actually be between the two pistons.
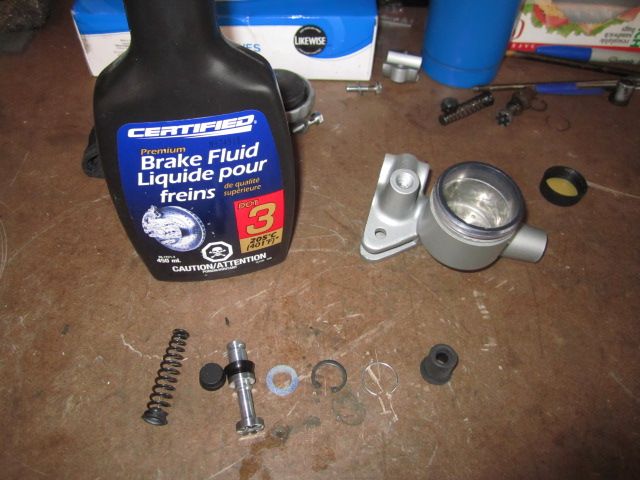

Use a little brake fluid for lube.
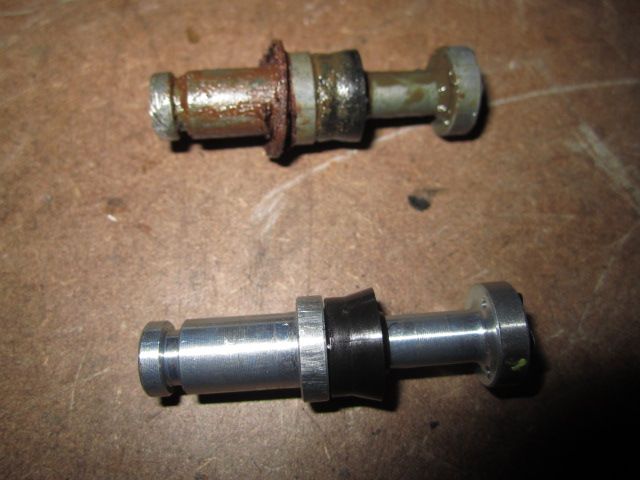

Had some troubles assembling ... MC would bind up once the snap ring was in. I had the seal on wrong. Now it's on correctly.

Spring then rubber spring cover then plunger with seal then washer then snap ring.

Dust boot with seal in place.
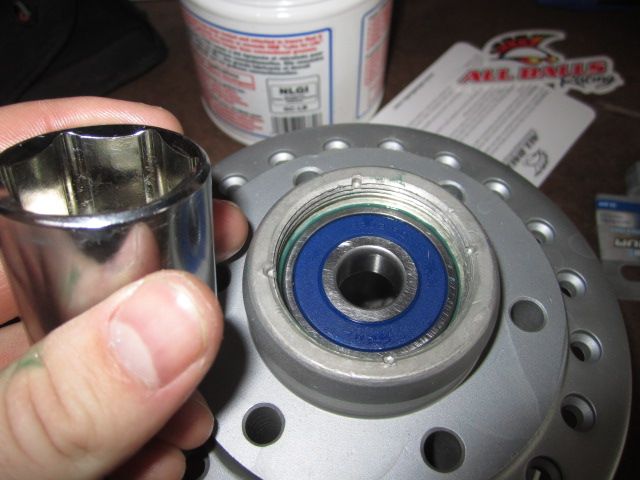

On to the front hub. A skiff of grease and socket drives it in.
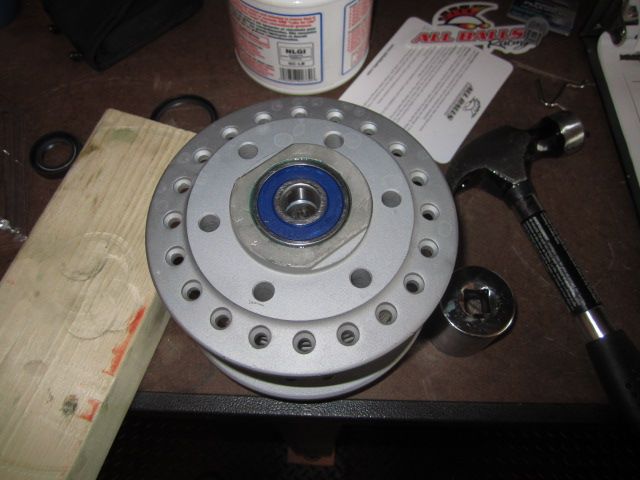

2x4 gets the job done on the other side.
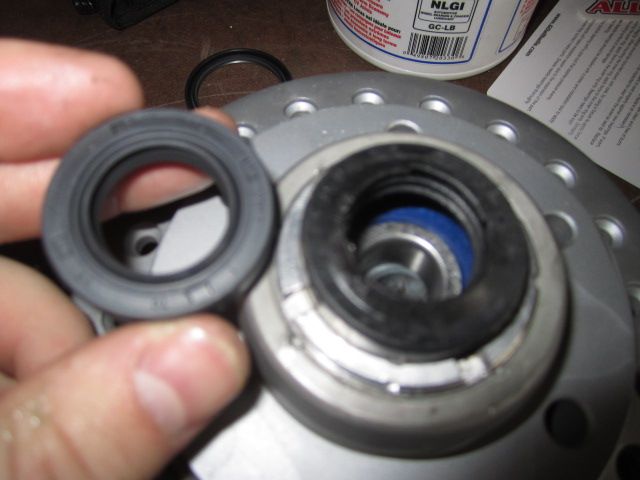

Out with the old seal and in with the new.
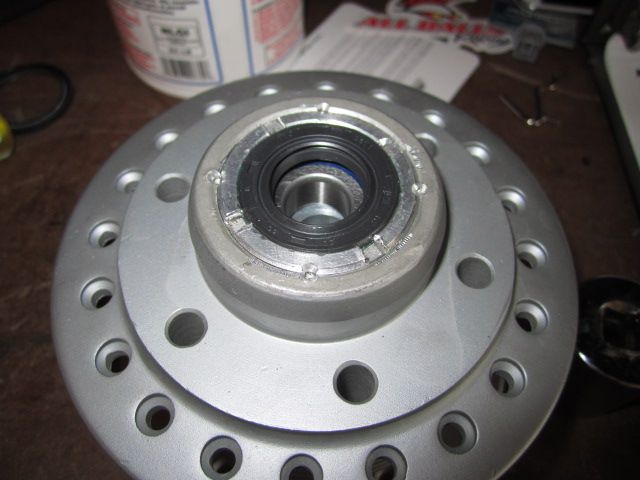

Retainer back in and peened in.
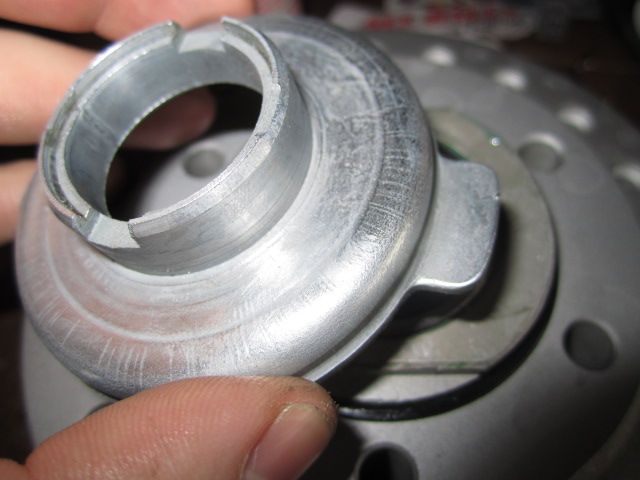

I got a bit carried away... can't actually put the rest of this stuff together until my disc gets back from cycle x. Oops.
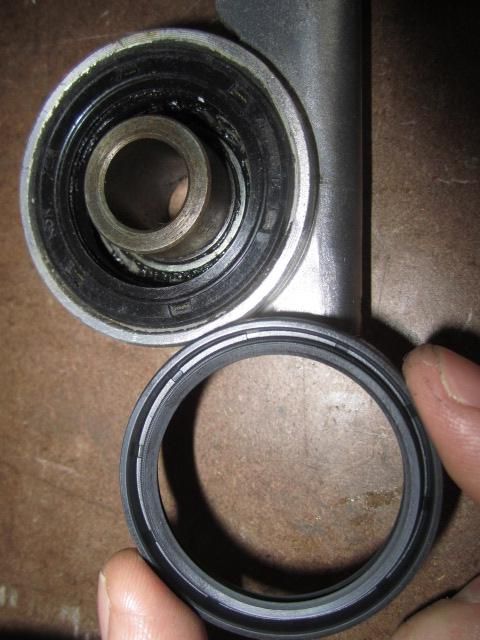

Anyone know what this seal is for? It doesn't look like the right OD to be the speedo seal.
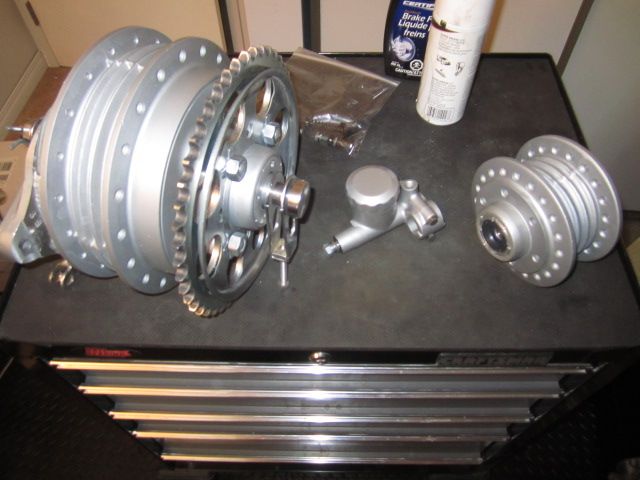

Rebuilt!
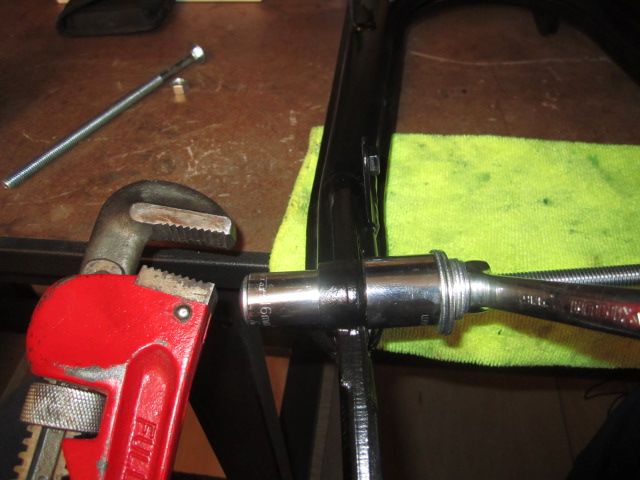

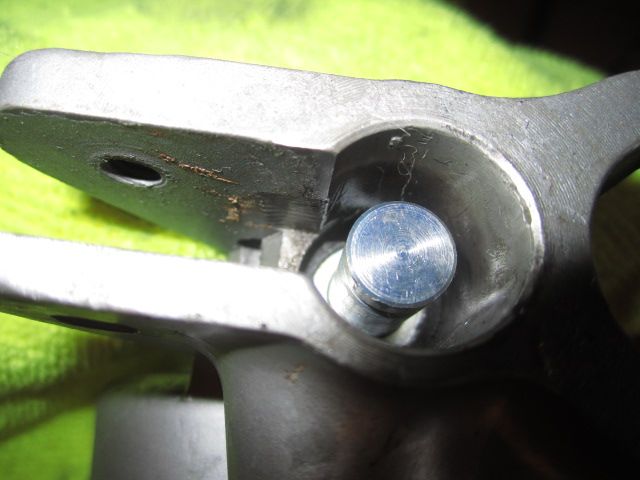
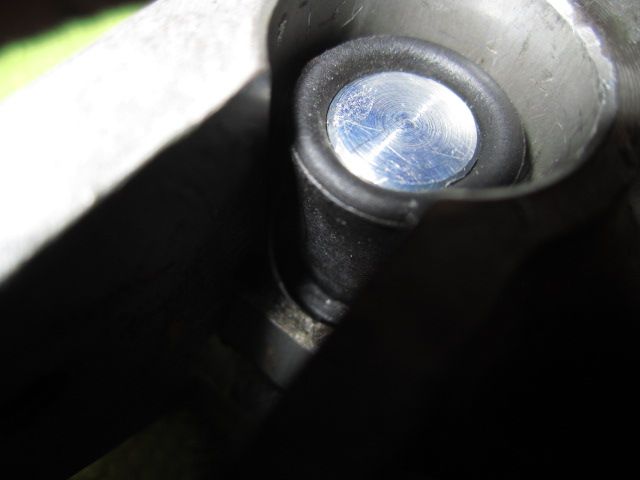
I didn't get my shock bushings in my swingarm all the way in last time so I bought some longer bolts and this drove them in the rest of the way.
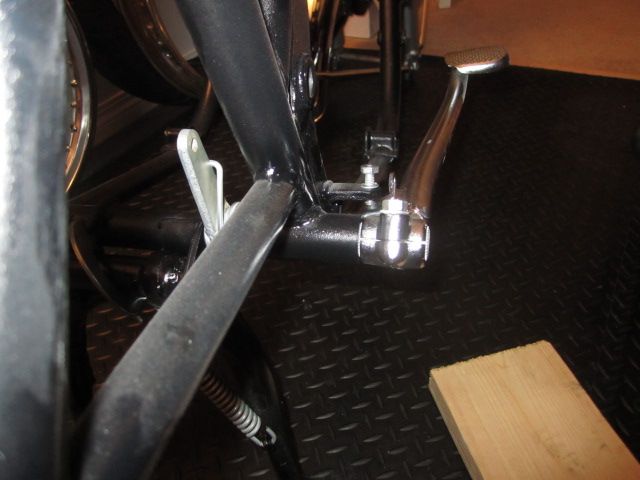

Took the advice of another member and installed the brake arm now while access is good.
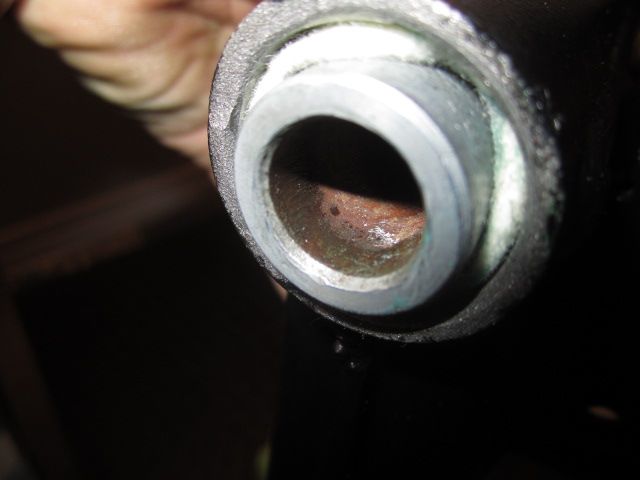

Greased up the swingarm bushings and installed the pivot with new dust felts.
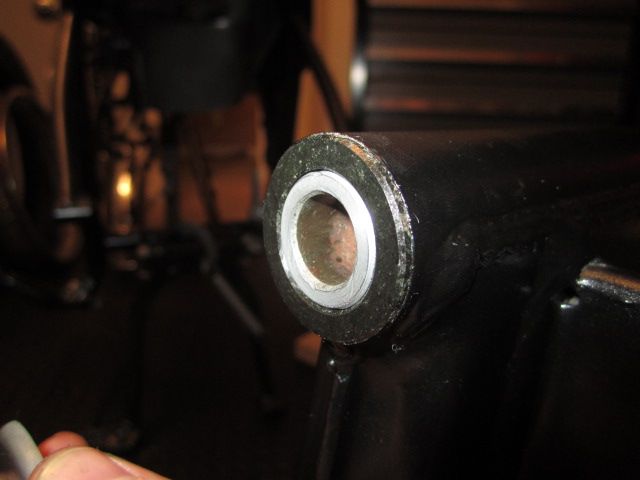

New thrust washers.
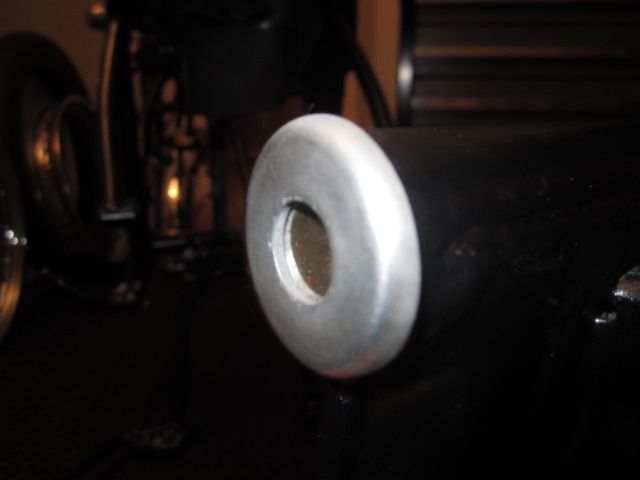

And finally re-zinc'ed caps.
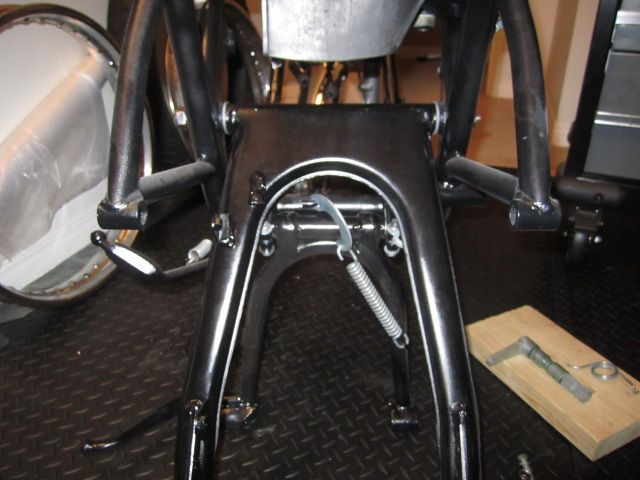

Installed the swingarm ... incorrectly. lol It has to be about those supports.
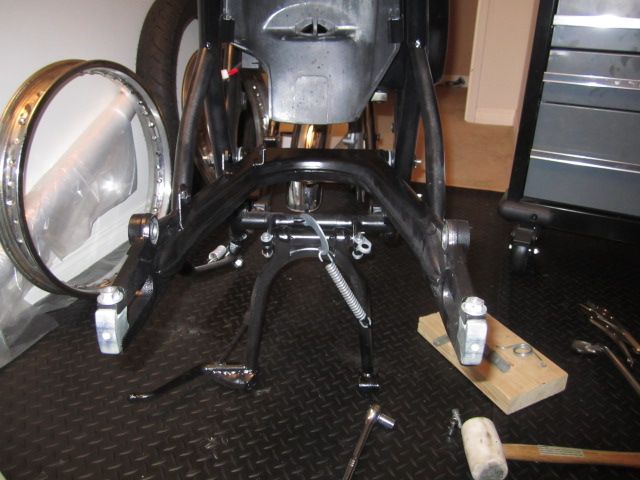

Much better.
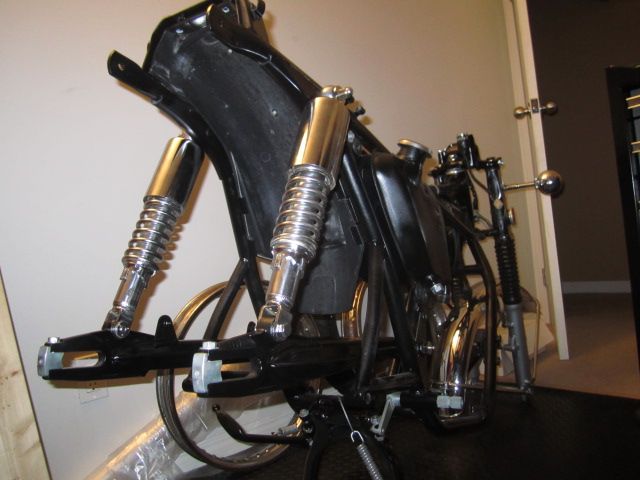

Got the shocks on.
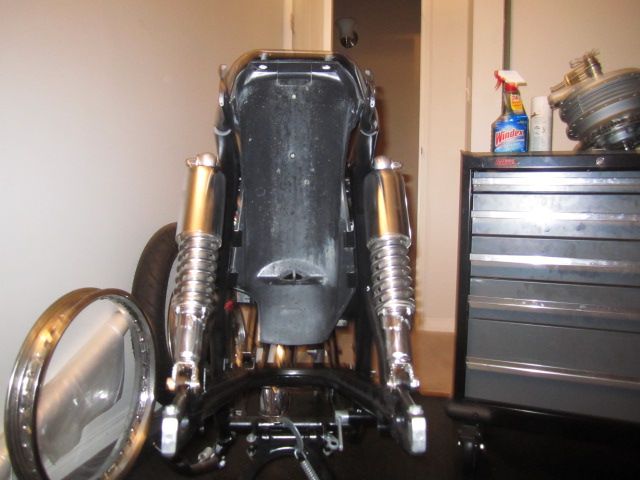

A view from my vantage.
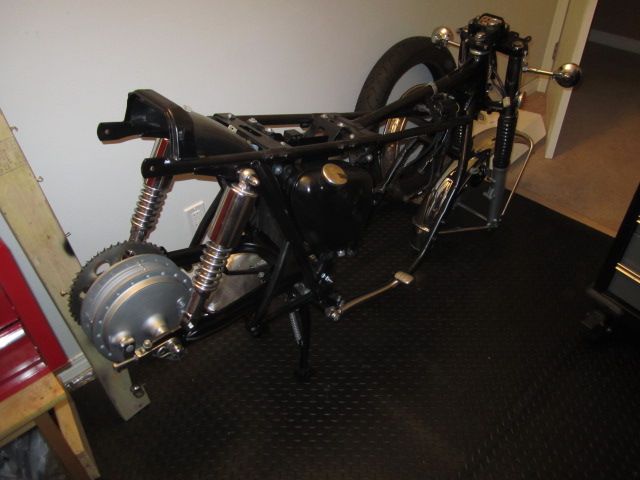

Starting to come together and look like a bike again.
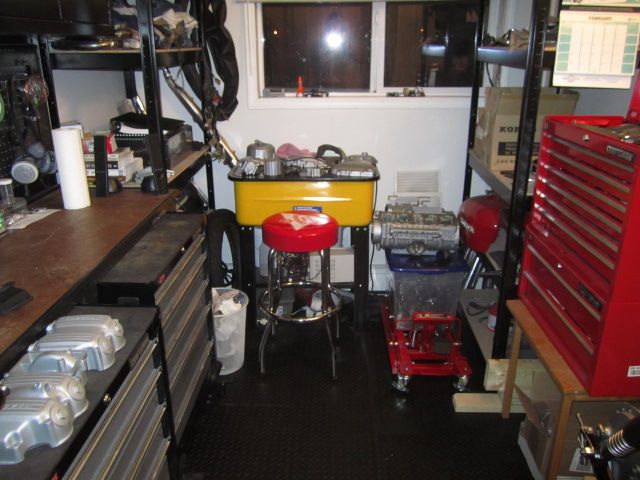

Clean up and put away some #$%*. You can see the cases in the corner. Nice and clean out of the dish washer. No blasting grit to ruin my bearings.
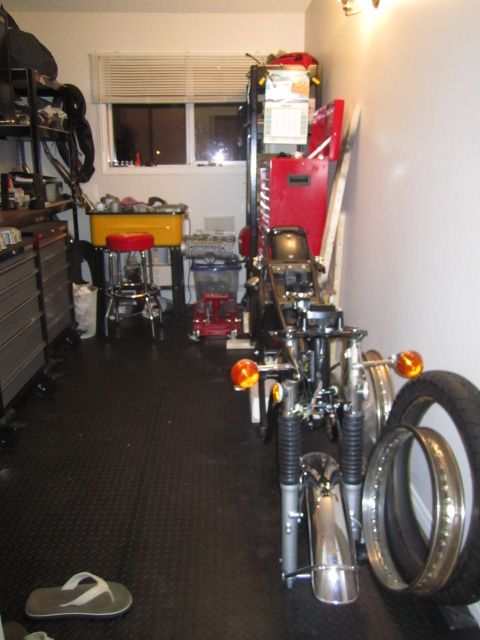

Bikes got some mean rake with no front wheel. lol

So as you can see I got a bit done today. I thought all these things would take less time than they did but ... you know how it goes.

IW


Offline Scotty J

  • Full Member
  • *
  • Posts: 87
Re: Project: 7-Fizzle built in the Man Room!
« Reply #254 on: February 09, 2013, 07:54:46 PM »
Holy friggin update, I-dub!  Glad the grab bar found you in due time.  The GF, she's a keeper.  My wife gets tweeked if the garage smells like polishing compound (which is ALWAYS).  Keep it up, dude.  We're all waiting to hear this bike wake up.
1972 Honda CB750 Four
2010 BMW R1200 GSA

Offline theofam

  • I'm cold, give me a
  • Hot Shot
  • ***
  • Posts: 598
  • Suffering from MDD - Mechanical Deficit Disorder
Re: Project: 7-Fizzle built in the Man Room!
« Reply #255 on: February 09, 2013, 09:07:21 PM »
IW, great progress!  It was my bike Paddy (and maybe some other poor soul) who seized the rebuilt motor after 15 minutes due to my not checking the oil galley for blast media. It plugged the oil channel up the stud to the 1/2 side of the cam.  Nice idea on the dishwasher to clean it up - wish I had thought about that!  But, I got mine rebuilt (again) and running this week, so it's not all bad.  Just a learning experience.  ;)

Where did you get the rear shocks?  They look mice!

Offline cheftuskey121

  • Super Newbie
  • Expert
  • ****
  • Posts: 1,305
Re: Project: 7-Fizzle built in the Man Room!
« Reply #256 on: February 09, 2013, 09:15:12 PM »
Wow iron, looks great. Now I'm jealous!!! That seal that came with the bearings is for nothing. I Did get a new speedo drive seal though. It's not in the fiche but with the measurements of the seal I ordered one on eBay. Can't wait to see more
Man. So pumped for you!!!

Offline dave500

  • Really Old Timer ...
  • *******
  • Posts: 17,035
  • WHAT?no gravy?
Re: Project: 7-Fizzle built in the Man Room!
« Reply #257 on: February 09, 2013, 11:22:55 PM »
youll be wary of riding it now and getting any germs on it, its all so clean and hermetic.

Offline Garystratos201

  • I have never been a
  • Hot Shot
  • ***
  • Posts: 419
Re: Project: 7-Fizzle built in the Man Room!
« Reply #258 on: February 10, 2013, 12:03:50 PM »
Great progress so far. Cant wait for her to wake up..........Gary
Visit my build project;
http://forums.sohc4.net/index.php?topic=111620.0

Current ride; Bass boat.... 2005 Ranger 521VX,250 hp Mercury Verado, super charged and direct fuel injected. Not a bass on the lake can out run me !!!

Offline iron_worker

  • Master
  • *****
  • Posts: 2,081
Re: Project: 7-Fizzle built in the Man Room!
« Reply #259 on: February 10, 2013, 12:19:32 PM »
Thanks guys. Just started toolin around in the "shop" again. Hopefully will have another, but smaller, update later on.

Scotty J - Definitely keeping the gf around. She supports me in all my crazy endeavors and projects and doesn't b!tch too much. lol

Theofam - Sorry about your engine. Hopefully she is running better than ever now. You can at least feel good knowing that you have prevented myself (and probably many others) from making the same mistake. That may or may not be satisfying for you to know. ha

The shocks came on the bike. Stock as far as I know. I pulled them apart and polished them up as best I could though. I think they turned out nice.

Cheftuskey - Good to know about that seal. I probably won't bother replacing the speedo drive seal. It seems to be in fine shape. I also have gotten the itch to ride recently. I wanna hear it run so bad!

Dave - Ya the first few nights of her sittin outside in the rain (with a cover on of course!) is going to hurt my soul a little bit.

Gary - I can't wait either! I'm shooting for May to get her outside. Hopefully it's possible. This week I'll have to start looking for a place to lay some paint for me. That's the last big $ step.

IW


Offline iron_worker

  • Master
  • *****
  • Posts: 2,081
Re: Project: 7-Fizzle built in the Man Room!
« Reply #260 on: February 10, 2013, 04:07:23 PM »
Definitely a shorter day today. I thought I was done zinc plating... forgot about all the case bolts. wah!


Anyone think I should try to reuse this seat? It has been recovered so the leather is in OK shape. The chrome trim is pure crap. I bought some generic door trim that may or may not work to replace that.


The strap hardware is quite rusty.


No HONDA emblem.


Seat pan is nasty. So the question is ... do I spend the time trying to paint the seat pan, attempting to put new chrome trim on, maybe painting on the emblem, trying to save the strap hardware ... or do I just say to hell with it and buy a whole new seat? Just wondering since the seat is such a visible item on the bike.


Fire up the zinc plating...again.


Camera died so this is jumping forward a couple hours. Some of this is already done.


Freshly polished oil pan hardware.


New zinc on the main bearing bolts.


Some pieces I may attempt to repaint. I may even get the MC sandblasted ... just wondering how I can do that without getting grit into the bore. The MC has a weird texture to the paint. The two covers have some paint flaws that I'd like to handle now.


Steel wool dust! It sticks in your skin and does not feel nice.


Did a little reorganizing.


And even "decorated" ... haha


More parts ready for another life.


Case half bolts.


Then I did my ritual clean up and time to shut er down for the weekend. I got quite a bit done this weekend but it always feels like I should have done more. I expect my rims and spokes and such to show up this week and maybe even my stuff from Cycle X... so next weekend I'll really be swamped with things I could do.

One step at a time...

IW


Offline cheftuskey121

  • Super Newbie
  • Expert
  • ****
  • Posts: 1,305
Re: Project: 7-Fizzle built in the Man Room!
« Reply #261 on: February 10, 2013, 04:42:59 PM »
looks great iron! now I am falling behind waiting on parts. waiting on copper washers so I can get my forks rebuilt, front rotor to get my wheel together, true both wheels (hoping the local shop can do them tomorrow). engine bolts and gaskets, phenolic bushings for swingarm. good news is I am almost done stripping my tank and will have my custom 2k paint here in the next few days, so I will be shooting all my glamour parts ;)

I vote for a new seat, but that's because I don't have a choice for me. keep it up man

Offline iron_worker

  • Master
  • *****
  • Posts: 2,081
Re: Project: 7-Fizzle built in the Man Room!
« Reply #262 on: February 10, 2013, 07:46:28 PM »
Shooting your own paint on the tank?

IW

Offline cheftuskey121

  • Super Newbie
  • Expert
  • ****
  • Posts: 1,305
Re: Project: 7-Fizzle built in the Man Room!
« Reply #263 on: February 10, 2013, 07:52:01 PM »
yes sir shooting the tank, side covers, fork ears, headlight bucket, and airbox. I know I have a k1, but I like the color scheme of the K0. I feel very confident with painting, its about the only thing I am comfortable doing on this bike ;)

Offline iron_worker

  • Master
  • *****
  • Posts: 2,081
Re: Project: 7-Fizzle built in the Man Room!
« Reply #264 on: February 11, 2013, 07:14:53 AM »
That's the one thing I didn't really feel comfortable doing. ha

IW

Offline JC Blues

  • Full Member
  • *
  • Posts: 54
  • HOWDY!!
Re: Project: 7-Fizzle built in the Man Room!
« Reply #265 on: February 11, 2013, 11:28:58 AM »
I think you should do a new seat too! Or maybe just get that one reupholstered. Seems wrong with all the hard work you've done not to top it off with a nice new seat. Great progress on that last update too! :D

Offline iron_worker

  • Master
  • *****
  • Posts: 2,081
Re: Project: 7-Fizzle built in the Man Room!
« Reply #266 on: February 11, 2013, 02:22:59 PM »
I might have to let my credit card rest for a few weeks before I order up that seat. ha

I guess the good thing about the seat is even if I don't get it right away it's easy to just pop a new one on at any time.

IW

Offline JC Blues

  • Full Member
  • *
  • Posts: 54
  • HOWDY!!
Re: Project: 7-Fizzle built in the Man Room!
« Reply #267 on: February 11, 2013, 06:46:13 PM »
Hey IW just checked out my "massive inventory" lol and my stock seat may be what you need the side hardware doesn't have any rust and it looks good,some knicks on the very bottom .i'd have to clean it up a bit to double check but i would give it to you.

Offline Viktor.J

  • Breaking in the forum
  • Hot Shot
  • ***
  • Posts: 530
Re: Project: 7-Fizzle built in the Man Room!
« Reply #268 on: February 12, 2013, 12:04:19 AM »
+1 on getting a new seat. With all your effort in this project it would be a shame to put on that seat :)

Great progress with the assembly, It must feel good cause now the good part starts :D
Please ! Take a look and give me feedback in my project thread, its much needed :)
http://forums.sohc4.net/index.php?topic=112745.0

Honda CB750 K2

Offline iron_worker

  • Master
  • *****
  • Posts: 2,081
Re: Project: 7-Fizzle built in the Man Room!
« Reply #269 on: February 12, 2013, 06:26:47 AM »
JC - Send me a PM with a pic!

Viktor - I'm definitely stoked to start building the engine. As a mechanical engineer that's what gets me going... all the moving parts, chains, sprockets, cams, rockers, pistons, rods, crankshaft ... OH YA!

IW

Offline racinchase

  • Enthusiast
  • **
  • Posts: 164
Re: Project: 7-Fizzle built in the Man Room!
« Reply #270 on: February 12, 2013, 07:12:52 AM »
Looking Great!!!
“The right bike, the right day, the right road, I just pretty much feel at one with the universe. When I feel like I don’t fit anywhere or I’m lonely or I’m all screwed up in the head, I get on my bike and go for a ride and it’s like all of the sudden, I’m fixed.” – Indian Larry

1975 CB750 K
2009 R1

Offline bjbuchanan

  • Master
  • *****
  • Posts: 2,276
Re: Project: 7-Fizzle built in the Man Room!
« Reply #271 on: February 12, 2013, 09:11:45 AM »
That seat is a good rider condition but the problem I see coming is that the rest of the bike is so clean that the seat will look like total sh!t compared to the level of everything else. What about getting a quality repro cover off ebay for like 50$, throw on a honda stencil and be done with it. Clean up the seatpan and shoot some paint on and reuse what looks like good foam. It's hard to tell good foam through a computer screen but hey its a thought

Rest of the build looks great, keep it up
The dirty girl-1976 cb750k, Ebay 836, Tracy bodykit
Round top carbs w/ 38 pilots, middle needle position, airscrew 7/8ths out, 122 main jet
Stock airbox w/ drop in K&N, Hooker 4-1

Don't trust me alone with a claw hammer and some pliers

Offline iron_worker

  • Master
  • *****
  • Posts: 2,081
Re: Project: 7-Fizzle built in the Man Room!
« Reply #272 on: February 12, 2013, 10:12:53 AM »
Ya I'm still weighing my options with the seat. Lookin like a NOS seat is about $300+ and a repro is around $200. Anyone have any comments on the repros?

I have repro exhaust and some other bits and it doesn't really bother me that much as long as they aren't cheap quality. My repro exhaust seem excellent so far as I can tell.

IW

Offline iron_worker

  • Master
  • *****
  • Posts: 2,081
Re: Project: 7-Fizzle built in the Man Room!
« Reply #273 on: February 13, 2013, 06:22:48 PM »
Got an hour or so in tonight. My sweet idea of dishwashing my cases kind of oxidized all the bare aluminum so I thought I should try to clean up the gasket and bearing surfaces a bit at least.


The machine shop that pulled my stud left me a nice burr on my base gasket surface as well.... so I took down the high spots with a dremel.


Is this the kind of work a guy can expect for $500? Sheesh.


Didn't really get any pictures during but I attacked all the gasket surfaces and bearing surfaces with a scothbrite pad.


Glamour shots!


I was actually thinking that the dishwashing made the parts look pretty sh!tty. I was a bit sad about it even though it's only going to be on the inside... However it actually looks way better in pictures so that sort of cheered me up. Maybe I'm just too anal about everything. ha

I hope taking a scotchbrite to the bearing journals wasn't a mistake... I still have to do all the mating surfaces on the covers but that's for another day I guess.

IW

Offline lostinthe202

  • Enthusiast
  • **
  • Posts: 146
  • Quality testing Elite 80's since 1978!
Re: Project: 7-Fizzle built in the Man Room!
« Reply #274 on: February 13, 2013, 09:45:55 PM »
NO,

In regards to the machine shop's treatment of your broken stud.  They should not have left you with burrs.  The burrs could very well be a product of the removal process, but so should have been the removal of those burrs in a way that didn't compromise the matting surfaces.  Even if the shop you went to didn't know jack about engines, ANY machine shop SHOULD know about mating surfaces and that burrs are unacceptable.

Careful with that dremel, it's very easy to create depressions in aluminum.  I'm not an expert in engine mating surfaces so I won't comment further on how to proceed, but if you do a specific search or posted specifically, you'd get an answer I'm sure.

Good work, and good luck!
'72 CB500