Author Topic: Project: 7-Fizzle - V1.1 - If only spring would get here...  (Read 147691 times)

0 Members and 3 Guests are viewing this topic.

Offline iron_worker

  • Master
  • *****
  • Posts: 2,081
Re: Project: 7-Fizzle built in the Man Room!
« Reply #125 on: December 20, 2012, 06:43:24 AM »
Btw, anyone want to sell me a single carb drain screw?! lol

IW

Offline UncleD

  • Full Member
  • *
  • Posts: 44
Re: Project: 7-Fizzle built in the Man Room!
« Reply #126 on: December 20, 2012, 05:51:54 PM »
I'm hoping with a stud extractor right near the base it will help. Seems like with the studs being so long a lot of your energy just going into bending and twisting the stud instead of actually torquing the thread.

Welding in the condo is not the best idea but I'll do it if I have to!

IW

IW, I had the same problem with my spare motor. I had 3 or 4 that didn't want to come out the normal way (whatever that is). For about a week I kept putting PB Blaster on the stubborn studs. Then I heated the case around the stud and I used vice grips clamped about 1/2 inch from the case. I found that the combination of a bent stud and vice grip close to the case gave me a lot of leverage to break it loose. This way there was smaller chance of twisting the stud too.

Offline iron_worker

  • Master
  • *****
  • Posts: 2,081
Re: Project: 7-Fizzle built in the Man Room!
« Reply #127 on: December 21, 2012, 12:14:53 PM »
Too bad you didn't tell me that before I snapped the LAST STUD OFF!  >:(

I had 4 remaining that were stubborn so I figured I wouldn't chance it and I'd get a stud extractor. Got the extractor ... fiddled with it for a bit and pulled out the first three studs no problem. Using it on the 4th stud (right down near the base) and  "bink!" ... there goes the last stud. Snapped off with about 1/4" sticking up out of the case.  >:(

I tried welding a nut onto it (yes, in my apartment). I threw down some wet rags and cranked the window fan. However, my sh!tty 110v spatter core machine was a bit fussy. The feed was erractic and had trouble getting a good weld. Seemed to want to weld to either the nut or the stud and not both. Arg. The nut just twisted off easily.

SO I may just take it to a machine shop before I mess it up further. Probably wouldn't take them long with the right tools to pop it out.

Difficulties of a restoration I suppose. Live and learn. Next time I will use heat on the threads.

IW

Offline knowsnothing

  • Hot Shot
  • ***
  • Posts: 643
Re: Project: 7-Fizzle built in the Man Room!
« Reply #128 on: December 21, 2012, 12:34:40 PM »
Sorry to hear that IW.  Without fail, there is always 1 that is a prick to get out.   >:(
1978 CB750k Green - 811 engine
1978 CB750k Blue - for sale
1974 CB375F Faded Black - had to have that 6th gear
1976 CB400F Red - in many pieces
1973 CB350F TBD - in many pieces

Offline Garystratos201

  • I have never been a
  • Hot Shot
  • ***
  • Posts: 419
Re: Project: 7-Fizzle built in the Man Room!
« Reply #129 on: December 21, 2012, 12:38:45 PM »
I feel your pain.........Its what I call the live and learn process. I believe we all have been there before............Gary
Visit my build project;
http://forums.sohc4.net/index.php?topic=111620.0

Current ride; Bass boat.... 2005 Ranger 521VX,250 hp Mercury Verado, super charged and direct fuel injected. Not a bass on the lake can out run me !!!

Offline UncleD

  • Full Member
  • *
  • Posts: 44
Re: Project: 7-Fizzle built in the Man Room!
« Reply #130 on: December 21, 2012, 01:23:46 PM »
Oh man sorry to hear that.

Offline iron_worker

  • Master
  • *****
  • Posts: 2,081
Re: Project: 7-Fizzle built in the Man Room!
« Reply #131 on: December 21, 2012, 01:51:37 PM »
Thanks guys...

I can't believe it. The LAST stud. What are the odds?  ...

*continues ranting and murmuring as he fades off into the distance*

IW

Offline Garystratos201

  • I have never been a
  • Hot Shot
  • ***
  • Posts: 419
Re: Project: 7-Fizzle built in the Man Room!
« Reply #132 on: December 21, 2012, 02:12:21 PM »
Thanks guys...

I can't believe it. The LAST stud. What are the odds?  ...

*continues ranting and murmuring as he fades off into the distance*

IW

Actually Murphy says the odds are in his favour.lol............Gary
Visit my build project;
http://forums.sohc4.net/index.php?topic=111620.0

Current ride; Bass boat.... 2005 Ranger 521VX,250 hp Mercury Verado, super charged and direct fuel injected. Not a bass on the lake can out run me !!!

Offline lostinthe202

  • Enthusiast
  • **
  • Posts: 146
  • Quality testing Elite 80's since 1978!
Re: Project: 7-Fizzle built in the Man Room!
« Reply #133 on: December 25, 2012, 08:08:13 AM »
IW,

Just read through this thread, you definitely have my vote for the "most dedicated to working with what you've got for shop" award!   Good stuff!

I like the zinc plating.  Are you going to anodize your controls?  The process is similar to the zinc plating, just different chemicals.

Good luck with the busted stud, that's a bummer.
« Last Edit: December 28, 2012, 08:41:18 PM by lostinthe202 »
'72 CB500

Offline MJL

  • Don't listen to me, I'm no
  • Expert
  • ****
  • Posts: 1,162
  • Oh hell, what's one more bike?
Re: Project: 7-Fizzle built in the Man Room!
« Reply #134 on: December 26, 2012, 07:12:16 AM »
Now you are making me feel bad that I'm not going to go far enough on my project.
No matter how fast or how far I rode, I couldn't leave her memory behind.

Offline iron_worker

  • Master
  • *****
  • Posts: 2,081
Re: Project: 7-Fizzle built in the Man Room!
« Reply #135 on: January 01, 2013, 05:20:02 PM »
Thanks for checking in guys.

As for anodizing the controls... I think I'm just going to paint them black. I've seen it done and it looks nice.

Just remember the deeper and more thorough you go into a project the hours and costs start to rise exponentially....

IW

Offline iron_worker

  • Master
  • *****
  • Posts: 2,081
Re: Project: 7-Fizzle built in the Man Room!
« Reply #136 on: January 01, 2013, 05:28:55 PM »
So you'd think having 10 days or so off over xmas would mean I would get LOTS done on the bike. Nope. Not so. Spent 4 days with the gf's family, 3 days with my family, a day celebrating the new year and a day regretting said celebration...

Here is what I got done (not much):
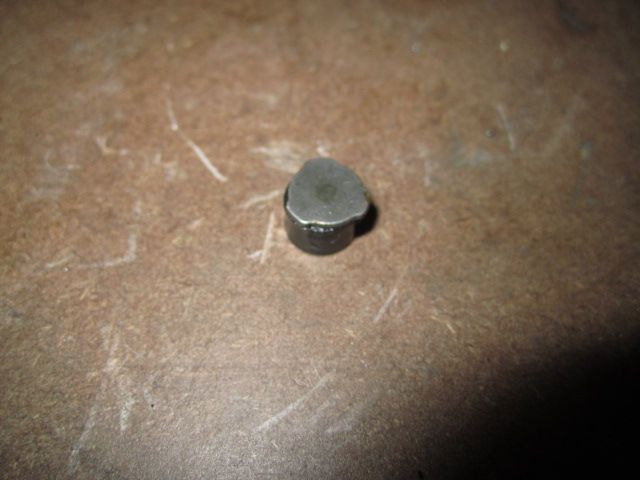

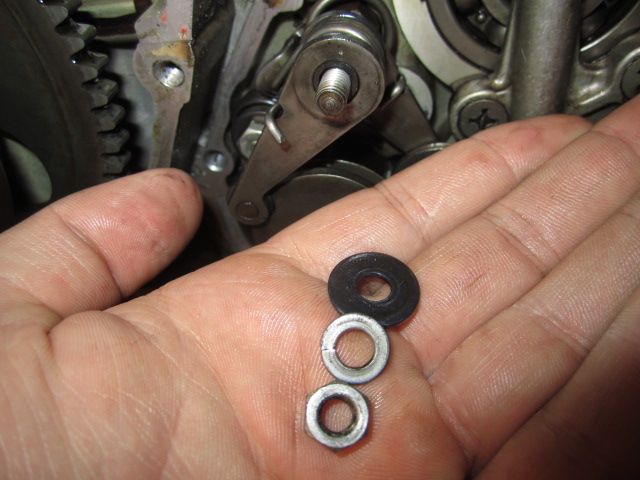
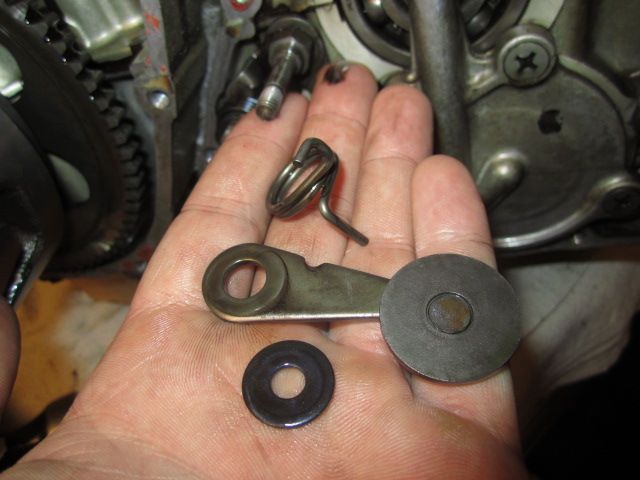
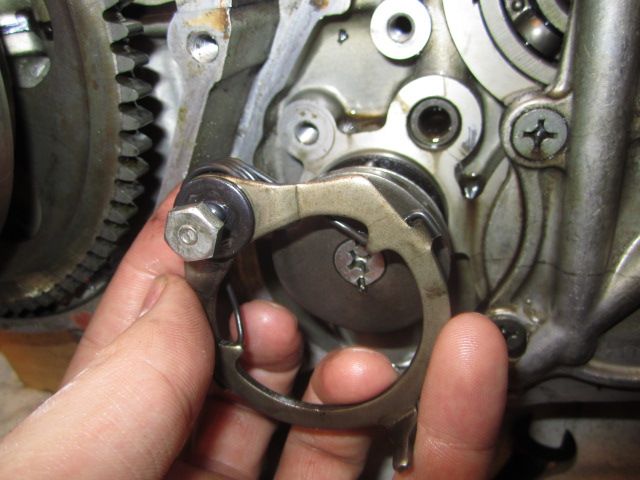
I found this piece sitting out ... what is it?!
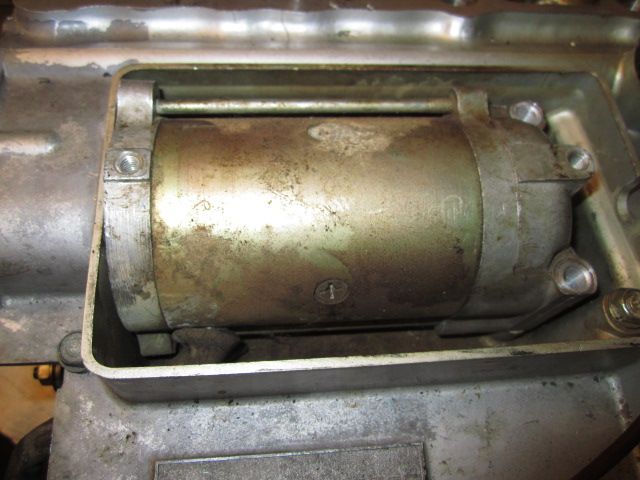

Is there a trick to getting the starter out? Mine will rock back and forth about 1/8" but won't come out.... halp!?
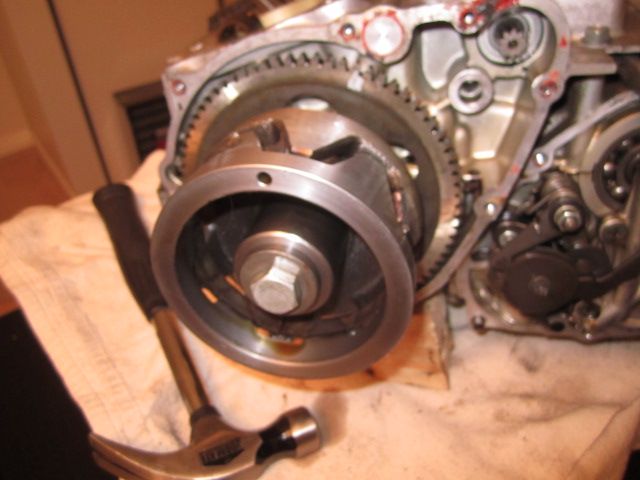

Got the alternator cover off.
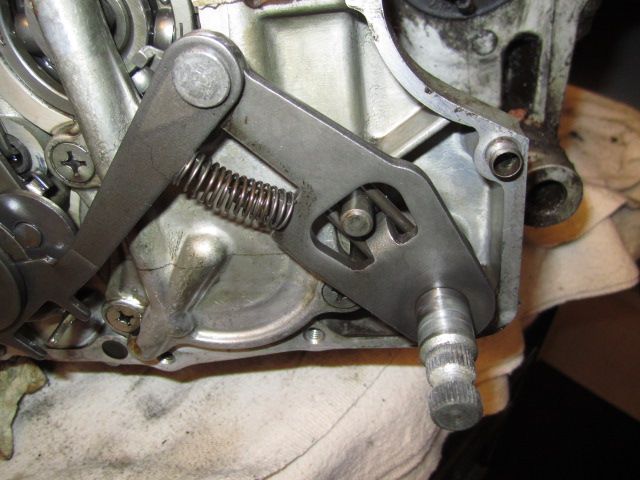

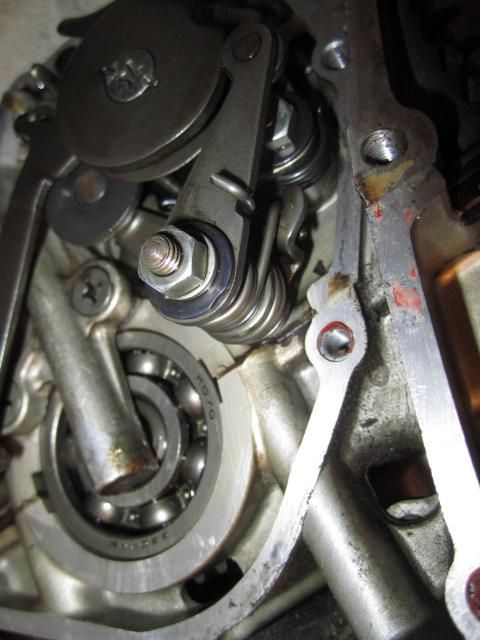
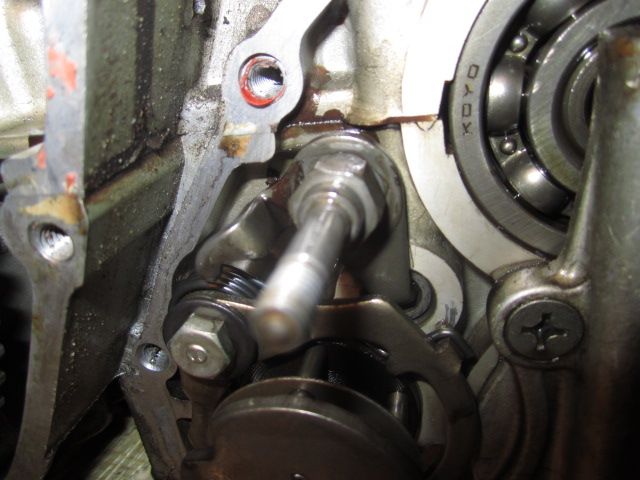
Reference pics of the shifter mechanism.
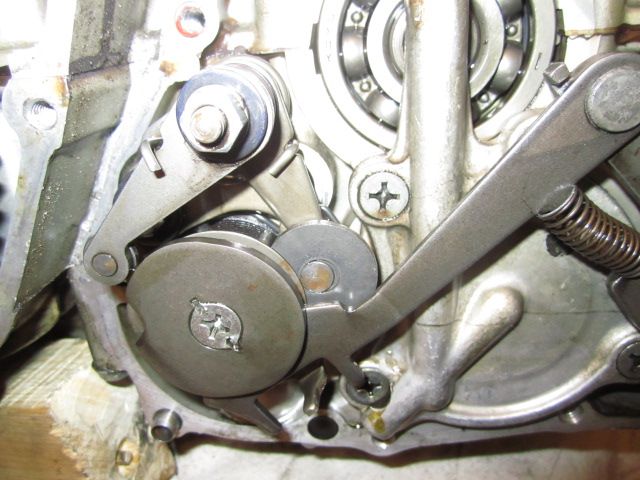

I hope I can remember all this!
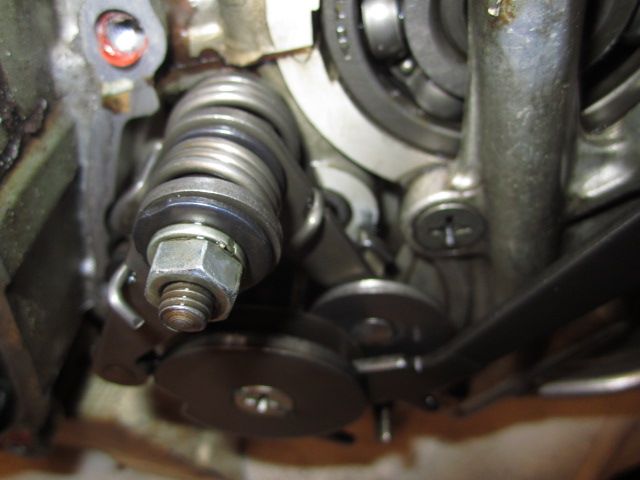


Startin to come apart.


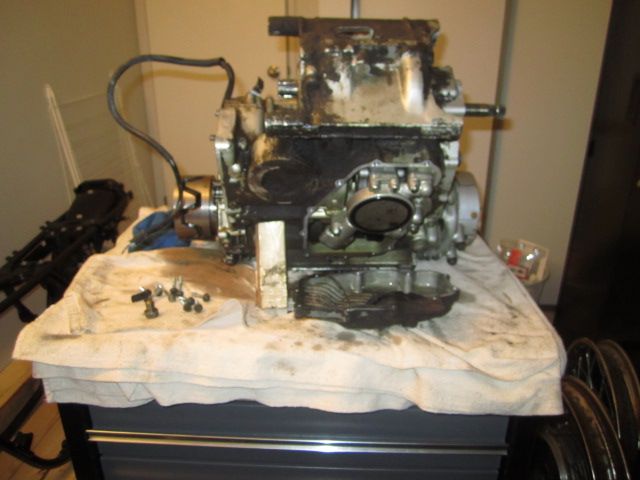
Pulled the pan off.... apparently I didn't get all the oil out...

MESS!
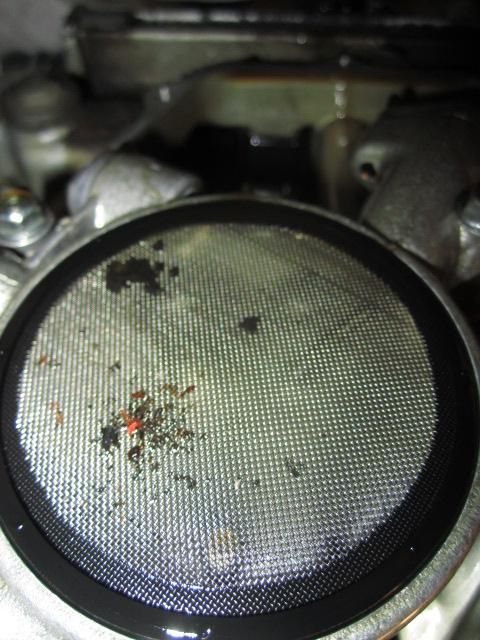

Some junk in the pump screen.
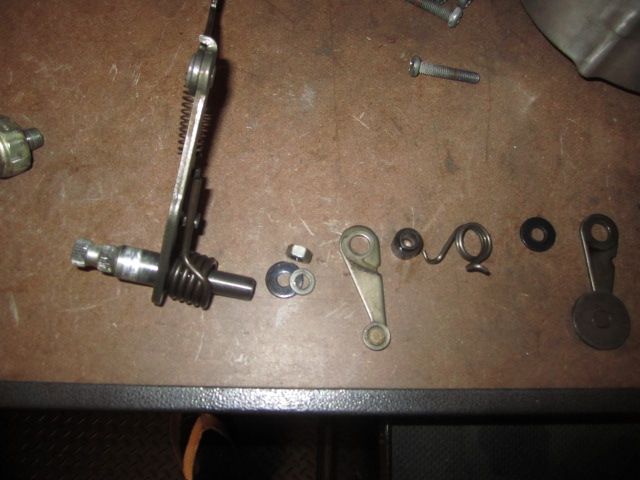

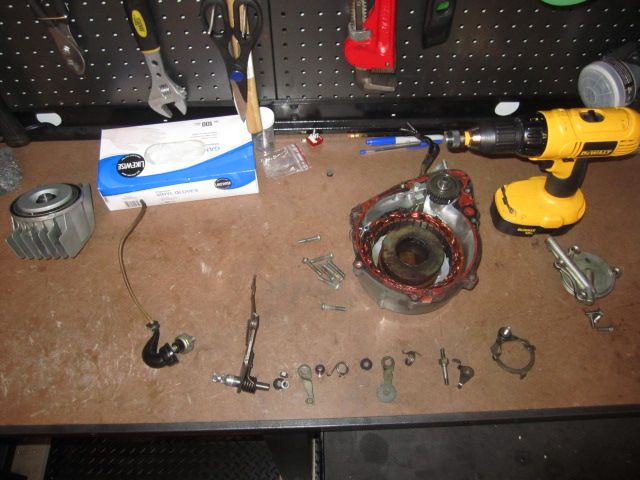
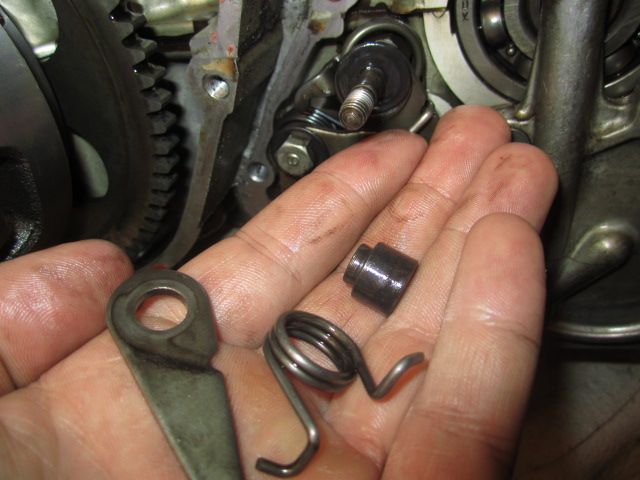
Shift mech parts in the order they came out.
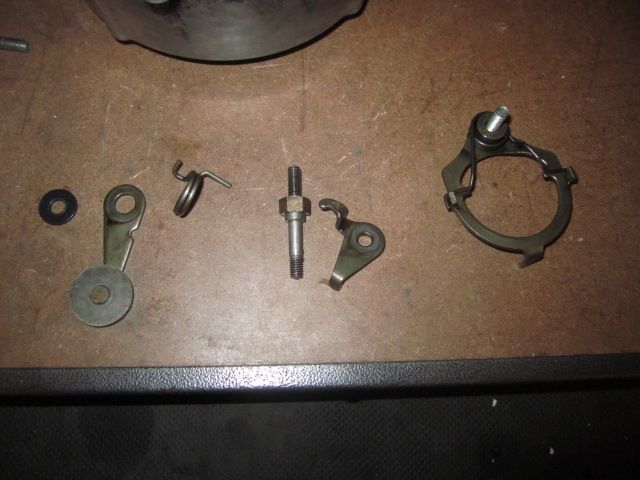


More parts to be bagged and tagged.

So I basically just put in a couple hours tonight ... the night before I head back to work. Hopefully next weekend will be much more productive. I hope to build my crate so I can ship my head/cylinders/crank off to CycleX. I also need to find a machine shop that can pull that stud out and possibly measure my main bearings. Hopefully I can also split the cases this weekend.

Here is to high hopes for next weekend. ha

IW
« Last Edit: January 07, 2013, 07:29:17 PM by iron_worker »

Offline mwvachon

  • Hot Shot
  • ***
  • Posts: 358
  • The Family Heirloom
Re: Project: 7-Fizzle built in the Man Room!
« Reply #137 on: January 01, 2013, 06:06:00 PM »
IW - The piece you showed in the first picture is part of the auto-chain-lube gizmo that goes inside the final drive shaft. Check an exploded view of this assembly to verify how it goes back together. The piece you showed goes on the end of a threaded rod with a lock nut and the unit just screws into the final drive shaft from the sprocket side.

As to starter removal - it is a little tricky, but not too hard. If you look inside the cavity where the starter sits, you'll note that the bosses on the clutch side of the opening have flat sides facing the starter body. As you wiggle the starter and push the body toward the clutch side of the engine, make sure it stays inside those two bosses. If you've got the left side transmission and alternator covers off, you can insure the starter cable is not hanging the starter from moving, and you should be able to push the starter shaft from the alternator side as well (careful not to force or damage the splines). The starter body will need to go straight back about 1/2" - 3/4" before you can even begin to lift the back side of it out of the cavity. The starter body has close-fitting collar and seal where it mates up with the opening inside the alternator area. Hope this helps!
M.W.Vachon
2014 CB1100 Deluxe
1999 Valkyrie I/S
1971 CB750-K1 (Candy Gold)
1971 CB750-K1 (Candy Red)
Project link: http://forums.sohc4.net/index.php?topic=108498.0]
1965 Honda S90
1976 GL1000
1975 CB400F

Offline dave500

  • Really Old Timer ...
  • *******
  • Posts: 17,008
  • WHAT?no gravy?
Re: Project: 7-Fizzle built in the Man Room!
« Reply #138 on: January 02, 2013, 12:22:03 AM »
the auto chain lube is best disabled,some 750 guys here will tell you the best way.

Offline iron_worker

  • Master
  • *****
  • Posts: 2,081
Re: Project: 7-Fizzle built in the Man Room!
« Reply #139 on: January 02, 2013, 07:50:56 AM »
Thanks for the help guys. I'll give it another go on the starter.

I think most of the oil/dirt/grime caked onto my engine is from that ridiculous autoluber. Looking at it now that it's out I think I may have had it on full instead of completely shut off like I wanted it. ha

IW

Offline Tews19

  • I am no
  • Really Old Timer ...
  • *******
  • Posts: 6,465
Re: Project: 7-Fizzle built in the Man Room!
« Reply #140 on: January 02, 2013, 08:34:23 AM »
the auto chain lube is best disabled,some 750 guys here will tell you the best way.

Plus one. I wonder what honda was thinking when they developed it.
1969 Honda CB750... Basket case
1970 Honda CB750 survivor.

Offline iron_worker

  • Master
  • *****
  • Posts: 2,081
Re: Project: 7-Fizzle built in the Man Room!
« Reply #141 on: January 02, 2013, 12:52:37 PM »
Definitely will look into plugging off that hole. Since I'm splitting the cases I understand there is some type of baffle plate that directs the oil to this port. I will also remove this since with an o-ring chain having splash lube is likely very unnecessary.

IW

Offline iron_worker

  • Master
  • *****
  • Posts: 2,081
Re: Project: 7-Fizzle built in the Man Room!
« Reply #142 on: January 02, 2013, 06:39:34 PM »
Tinkered around for an hour or so tonight...


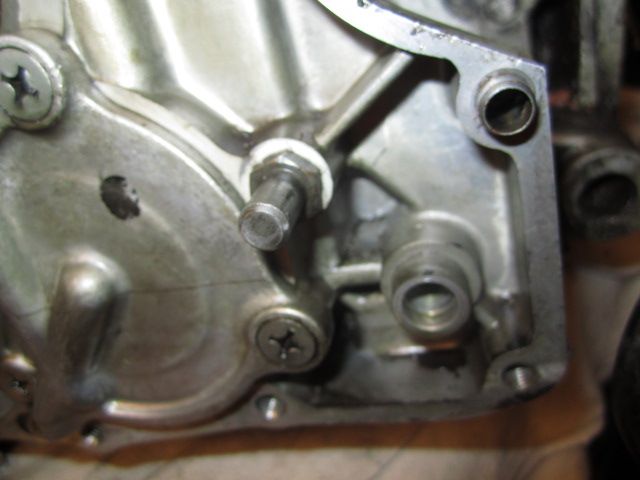
The ol' engine tote is starting to fill up. Got the oil filter housing, alternator cover, and oil pain & hardware all cleaned up. Also managed to get the starter out... just needed a little more persuasion.


Couldn't get the rotor off ... this was my method. I got the bolt out with my impact easy enough. I'm pulling on the back of the rotor with hooks of the puller and it's pushing on the stator bolt *but it's not threaded in all the way*. I think this should be applying the force to the internal crank thread, right?


How does this tool work? Is it just threaded to the size of inside thread on the rotor (the larger thread)?


The hole where the starter once was.

I also bagged and tagged some more bits. I ran out of sandwich bags....

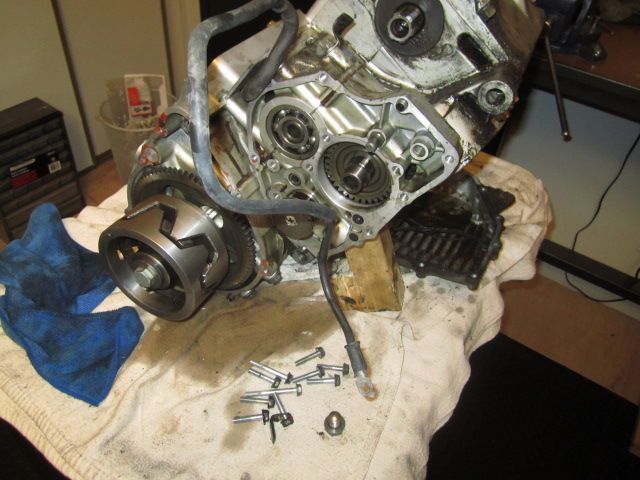
I can split the cases now if I want but I'm kind of nervous to!

IW
« Last Edit: January 07, 2013, 07:30:33 PM by iron_worker »

Offline lostinthe202

  • Enthusiast
  • **
  • Posts: 146
  • Quality testing Elite 80's since 1978!
Re: Project: 7-Fizzle built in the Man Room!
« Reply #143 on: January 02, 2013, 08:01:19 PM »

Just remember the deeper and more thorough you go into a project the hours and costs start to rise exponentially....

IW


Oh, how right you are.  Yeah, paint will look fine I'm sure.  I only mentioned anodizing since you already had the power source and heater which are probably 75% of the cost at least.  But yeah, even 25% of stuff adds up!
'72 CB500

Offline iron_worker

  • Master
  • *****
  • Posts: 2,081
Re: Project: 7-Fizzle built in the Man Room!
« Reply #144 on: January 03, 2013, 07:36:08 AM »
Anodizing seems to be a pretty complex process and it ain't cheap from where I would get it:

http://www.caswellcanada.ca/shop/lcd-anodizing-kit.html

6 tanks, 5 heaters, need a gallon of battery acid, titanium wires, etc. Maybe if I had nothing but time and a huge shop i would consider it.

IW

Offline iron_worker

  • Master
  • *****
  • Posts: 2,081
Re: Project: 7-Fizzle built in the Man Room!
« Reply #145 on: January 04, 2013, 06:24:24 AM »
I picked up some .001"-.003" plastigage yesterday. Hope to get my cases split, cleaned, and all clearances measured this weekend ... I'd also like to at least start gathering the materials to build a crate to ship my parts down to Cycle X.

I also went to several different stores looking for a M20 x 1.5 thread bolt ... I can order one at Fastenal for $18! Sheesh.

IW

Offline Maksimum Hops

  • Full Member
  • *
  • Posts: 22
  • Learning to tell wrench from rear end
    • Photos of 750F0 build
Re: Project: 7-Fizzle built in the Man Room!
« Reply #146 on: January 04, 2013, 09:35:47 AM »
Hey IW,

That 20x1.5 right hand bolt is also a MotionPro product, I got mine for $11 at BikeBandit. The thing that not one of the manuals tells you is what to do with the bolt once you thread it in, hahaha. All you have to do is thread it in there hand tight and give it between a couple and a lot of good whacks with a hammer, retightening along the way, and the rotor just pops off.

Did you have any problems with taking the bearing holder plate out? I had to drill all four screws out for it to come off, after rounding off all the screws with my impact.


Also, the manual asks you to unscrew the shift drum (there's another one i had to drill)...but it doesn't tell you that that's not how you pull that rod out... you have to remove what I can only assume is the neutral switch at the bottom of the case below it.

I think you'll enjoy using the plastigage, it's incredibly easy!
CB750 F0 - cases split! http://forums.sohc4.net/index.php?topic=115414.0

Suzi SV650 K8 - daily rider

Offline iron_worker

  • Master
  • *****
  • Posts: 2,081
Re: Project: 7-Fizzle built in the Man Room!
« Reply #147 on: January 04, 2013, 11:49:10 AM »
Good tip on how to use the puller. Probably alot less galling of the end of the crank snout that way as compared to just driving it in there and forcing it off. I saw the puller from motion pro actually but I didn't want to wait that long to get one.

My bearing support did give me some struggles but with several firm hits with the impact driver they all came out fine. I'm guessing that those ones are have some type of thread locker on from the factory since if they backed out while going down the road ..... Well it would be bad. ha Your case would probably explode.

I didn't try to get the shift drum screw out yet. It looks like it was peened in there pretty good. I was hoping I could possibly get away without removing it ... or do you have to pull that screw out to remove the shift drum?

IW

Offline Maksimum Hops

  • Full Member
  • *
  • Posts: 22
  • Learning to tell wrench from rear end
    • Photos of 750F0 build
Re: Project: 7-Fizzle built in the Man Room!
« Reply #148 on: January 04, 2013, 08:07:30 PM »
Nope, you do not need to remove it. I'm actually surprised the manual tells you to disassemble that part of the shift drum at all. You just have to remove the neutral indicator on the bottom of the case below it.
CB750 F0 - cases split! http://forums.sohc4.net/index.php?topic=115414.0

Suzi SV650 K8 - daily rider

Offline iron_worker

  • Master
  • *****
  • Posts: 2,081
Re: Project: 7-Fizzle built in the Man Room!
« Reply #149 on: January 05, 2013, 05:07:14 PM »
So I spent the afternoon in the shop. I managed to split the cases and get all the mains and rod journal clearances checked...

I had pics uploaded but somehow that led to me deleting all pics out of my photobucket account and then writing up a long post and then somehow deleting it too ... wtf?!?!?!?! So I'm going to walk away from this for now. ha

Moral of the story is most of the bottom end clearances are within factory new spec and all are within wear tolerance. Nice!

Everything else in the bottom end looked pretty solid. Could probably get away with running the primary chain again but I'll replace it anyway. Fork pads look pretty nice. No gouges are heavy wear. Dogs on the gears are in decent shape. All the ball bearings seem to roll smoothe. Overall it seems really nice.

Maybe tomorrow if I'm ambitious I'll start fixing all my pics ... fawk.

IW