Author Topic: 77' 750f2 spring project  (Read 5467 times)

0 Members and 1 Guest are viewing this topic.

Offline excellrec

  • Enthusiast
  • **
  • Posts: 135
77' 750f2 spring project
« on: February 28, 2012, 10:20:47 PM »
So I started off rebuilding this bike a couple years ago-

Then it turned into this-


Now I am addressing some things that bothered me and rebuilding a different motor for it from a 750k.  There is a mildly built f2 motor in it right now but I am going to go a little further with this new motor.


I'm also planning to add a steel seat like this-

http://www.ebay.com/itm/ws/eBayISAPI.dll?ViewItem&_trksid=p4340.l2557&hash=item4cfe7b6b4a&item=330687015754&nma=true&pt=Motorcycles_Parts_Accessories&rt=nc&si=CRJXIEfBGwG1SEVnb%252BUWjuNOIaQ%253D&vxp=mtr&orig_cvip=true&rt=nc#ht_1138wt_1271

Hopefully some of these-


One of these-


Some of these-


these-


Some of those-


Making plates and attaching these-


And before I know it I'll probably be broke, living in one of these-


...down by one of these-
« Last Edit: February 28, 2012, 10:30:45 PM by excellrec »

Offline excellrec

  • Enthusiast
  • **
  • Posts: 135
Re: 77' 750f2 spring project
« Reply #1 on: April 10, 2012, 05:58:11 PM »
Slow progress.  I did, however, get some new shocks in today so I figured I'd post that up.

I purchased a pair of YSS E-302's (http://www.yssusa.com/series-eco.html) and got them in today-


I took it out for a quick, chilly, ride today.  From what I can tell the rear end is tighter and there's no more trail out and general unpredictability in corners.  Of course the stock shocks probably had about 60k on them... so the bar was pretty low. So all in all, with tapered front bearings, rebuilt front forks, new wheel bearings, new swingarm bushings, probably 50-60lbs less weight... it's riding pretty good right now.  Just needs more power! 

Offline brandEn

  • Old Timer
  • ******
  • Posts: 3,205
Re: 77' 750f2 spring project
« Reply #2 on: April 10, 2012, 06:37:21 PM »
subscribed. Looking good.

Offline tweakin

  • tear down
  • Master
  • *****
  • Posts: 1,955
Re: 77' 750f2 spring project
« Reply #3 on: April 10, 2012, 07:07:16 PM »
I love seeing another F getting some love.   

Offline Randawg77

  • Full Member
  • *
  • Posts: 23
Re: 77' 750f2 spring project
« Reply #4 on: April 10, 2012, 08:01:55 PM »
Hell ya!  nice assortment of parts there.   
Don't  Taze me, Bro!

Offline excellrec

  • Enthusiast
  • **
  • Posts: 135
Re: 77' 750f2 spring project
« Reply #5 on: May 10, 2012, 02:38:59 PM »
Slowly but surely some progress.

The seat I am working on making work- 


The transition from tank to seat, as you can see, is pretty abrupt and jagged. 
I will be making the upholstery pan out of fiberglass and plan to use that to, hopefully, create a smooth transition between the two.


The seat is made out of somewhat thin sheetmetal so I've had a sort of sub-frame made for it to mount to, and be supported by-


The mount is way overkill in the strength department but I'd rather go that way when it comes to a seat on a daily driver.  Additionally, the sheetmetal seat is also going to have metal bar reinforcements stich-welded onto it. The stock mounts and stock pan have disintegrated on me multiple times (I've had to rebuild the pan with fiberglass and tap and drill new mount hinge bolts because of it).   I don't foresee any of that happening here. 

Finally, making room for the wiseco's... more to come-


Offline excellrec

  • Enthusiast
  • **
  • Posts: 135
Re: 77' 750f2 spring project
« Reply #6 on: May 27, 2013, 04:26:04 PM »
Right, so after a brief hiatus (only about a year!) I am back to work on this. 

I have been riding the bike and nothing much has changed but I have gotten to work on my additional motor now that I have a little bit of money to spare.

My aspirations from a year ago have become a little more grounded.  For instance, instead of Wiseco's I ordered the cheap ebay 836cc kit-
 
Frankly, these are the reason why I'm able to do this build now.  If I still needed to save for Wiseco's it just wouldn't be happening.  So, to the magical ebay vendor who somehow makes piston kits for pennies (about 12,000 them) and whisks them from Japan to Minneapolis in only three days... thank you. 

Additionally, I bought four carb kits from the same whimsical ebay vendor for a maddeningly cheap $20!!!

The kit seems suitable from my amateur perspective.  It even comes with 3 different main jet sizes.  The only things that it does not come with that I had to locate; the o-rings that go on the metal T's where fuel comes in between 1-2 & 3-4, and float bowl gaskets. 

I entered the garage last Friday all ready to start measuring everything up to see what I needed to buy... and realized I needed to clean everything still.  In the process I discovered that the chain got sent into the lower case at some point (i bought this motor second hand so I didn't know)-

So, that will go to the welder.  Fortunately the mating surfaces are flat and the damage only affected the lower case half.  I don't foresee it being too difficult to fix.

So I put in about 3 eight hour days cleaning and measuring everything that had a spec. The only thing I'm unsure of.. is the crank bearings.  The clearances are all within standard spec, I'm just not sure how to judge the appearance and determine if the surfaces are too rough.  Thus, if there are some veteran builders out there that want to lend any advice; are these bearings shot or good for 50k?


« Last Edit: May 27, 2013, 04:33:27 PM by excellrec »

Offline excellrec

  • Enthusiast
  • **
  • Posts: 135
Re: 77' 750f2 spring project
« Reply #7 on: June 14, 2013, 11:37:29 AM »
Been workin' hard lately but not much to show for it yet, mostly just cleaning and inspecting and organizing things. 

Cut off the oil line clamps with a cut-off wheel-


To get these-


I have 10 AN finishing clamps and stainless hoses to fit on these coming in the mail.

Other than that I've been meticulously cleaning, labeling, and soaking the internal engine parts in fresh oil. 


In addition, I have been doing some mild polishing on outer engine covers using this makeshift polishing setup-


More updates soon!  Boat loads of parts headed this way!


Offline mrrch

  • Hot Shot
  • ***
  • Posts: 652
Re: 77' 750f2 spring project
« Reply #8 on: June 14, 2013, 01:08:23 PM »
+1 on cleaning and bagging your parts, makes reassembly go so easily and quickly (so long as you don't misplace a bag)
my build

1977 CB750K WITH 1976 CB750F ENGINE

Offline excellrec

  • Enthusiast
  • **
  • Posts: 135
Re: 77' 750f2 spring project
« Reply #9 on: June 20, 2013, 05:09:24 PM »
Alright, I've been tirelessly cleaning (that's not true, I'm somewhat tired of it) and slowly waiting for things to arrive.  I had moved a couple of weeks ago and have had trouble getting USPS on board with that.  I spoke with the local post office today and they explained to me that my mail is stuck in some sort of "postal loop".  Apparently since I moved from one place, and to another place, then back to the prior place... this has caused my mail to rotate between the two post-offices indefinitely (I noticed this when looking at the tracking information for some parts).  I asked if there is any risk of property damage or other mail getting pulled into the loop and they assured me there is no immediate danger. 

Here is my shipment from Z1-


I'm particularly happy about these bolts.  They were only $28!


I tried to do some mild deshrouding and cleaning up of the combustion chambers-


I did polish them for fun, I figure that should be good for at least 10 extra hp  ;)   I also checked the head gasket surfaces and discovered that the cylinder head is off by about 1-2 thousandths.  Since I am going to use MLS gaskets this will need to be resurfaced flat  >:(

Hopefully I'll be putting stuff back together soon!


Offline lwahples

  • Enthusiast
  • **
  • Posts: 179
Re: 77' 750f2 spring project
« Reply #10 on: June 26, 2013, 03:11:34 PM »
Watching with interest on the F2 build. The pistons you bought are for the F2?

Offline excellrec

  • Enthusiast
  • **
  • Posts: 135
Re: 77' 750f2 spring project
« Reply #11 on: June 26, 2013, 08:35:26 PM »
Watching with interest on the F2 build. The pistons you bought are for the F2?

Nope, the bike is an F2.  The engine I'm building for it right now is from a K5.  I'm using a K5 because there weren't many parts available for the F2 when I bought it (a few years ago).  Of course, now that has changed and there are many aftermarket parts available for the F2, but I had the motor disassembled and ready to rebuild so I kept at it.

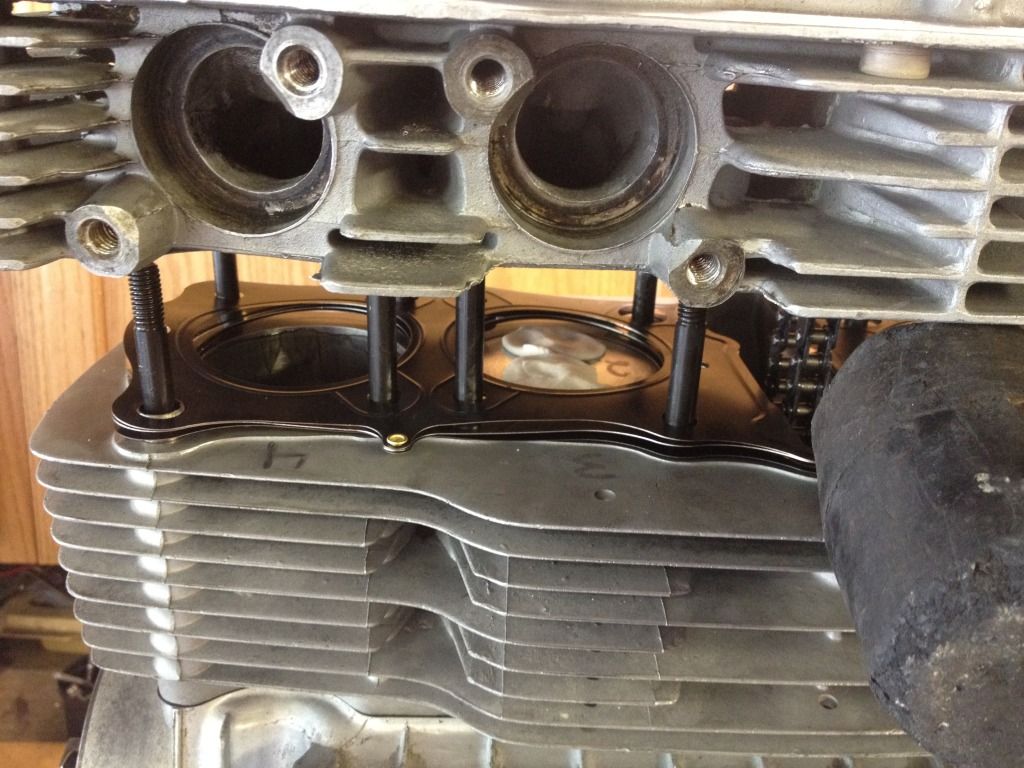
I ordered what should be the last of parts needed for this build today.  When I was getting measurements on the motor I noticed a few valleys on the bottom of the cylinder head and top of the cylinders.  After checking around to see what shops wanted to flatten these parts I decided I'd just do it myself! 

As a result, out came a piece of glass, spray adhesive, and some sandpaper-


Starting with 150 grit, you can start to see the valleys as the surfaces that aren't hitting the sandpaper-


After awhile they get less visible-


Eventually the entire surface looks consistent (you can see where I draw on the surface with marker just to see that I'm hitting everything evenly)-


Once, I got things flat I moved to 400 grit and oil-


That got things pretty smooth-


Then, lastly, I used 600 grit and oil and things were looking real smooth  8) -


If I hadn't mentioned previously, I am using the MLS head gasket from Cycle-X for this build.  I called and spoke with Ken today and he said builders have been using about a 600 grit finish with these to good effect, so I chose to use that as a final surface for the cylinder and heads.  I should also note that if you are thinking of going the glass & sandpaper route make sure you have a damn thick and flat piece of glass.  The piece I used here was slightly bendy (we're not talking something you'd notice just by looking at it) and had me chasing a .001-.002" bend it was putting on the head.  In the end, however, the head and cylinders are within .001" from end to end and no longer have the little valleys around the combustion chamber.

Oh, and lastly, I ditched my clubman bars-


« Last Edit: June 26, 2013, 08:37:57 PM by excellrec »

Offline excellrec

  • Enthusiast
  • **
  • Posts: 135
Re: 77' 750f2 spring project
« Reply #12 on: July 01, 2013, 11:43:33 AM »
I got my stainless oil lines and fittings in so I decided to put those together. 

I bought these Russell fittings from Summit-


I wasn't very impressed with them, the anodization was crap.

Anyways, I taped the tube and cut it with a hacksaw-


Then assembled the line-


I had the lower case crack fixed, which left a gap on the lower case where it drooped down from welding.  Subsequently, I had the welder build up some metal on the mating surface so that I could machine it level with the rest of the case-


To do that I taped up the surrounding mating surfaces and went at it with a file and sanding block for a bit-


Once I had removed some material i taped some sandpaper to my pane of glass and sanded like that until things were level-


The welder warned me that, due to the impurities in the casting aluminum, small holes would probably turn up once I machined it down.  He was right-


I wasn't very worried though, I figured I'd just fill them with threebond when I mated the surfaces. 

Next I cleaned the case halves for the final time before assembly and pulled out my bag of bearings and connecting rod bolts-


The new bearings (I purchased bearings in accordance to the bearing charts using the case and crankshaft markings, I also plasti-gage'd the bearings to verify proper clearances were present)-


Everything laid out for final assembly (I had CMSNL's fiche and the manual from this site on my ipad in addition to my shop manual for reference)-


The bottom end coming together-


The lower case half repair left some tight clearances but fortunately nothing was interfering-
http://smg.photobucket.com/user/excellrec/media/null-36.jpg.html?sort=3&o=21

Here is a comparison of the stock K5 rod bolts compared to the new F2 bolts I'm replacing them with-


The rods installed-


Threebond applied to the cases-


A long awaited reunion-


I assembled the shifter stuff (I probably forgot to take pictures during that process since it's such a p.i.t.a) and attached the shifter cover-


That's as far as I got last night.  I ordered a couple little parts that I still needed from Cycle-x yesterday.  Fortunately I usually get my parts from them next day so this engine should, hopefully, be test fired by the end of the week!
« Last Edit: July 01, 2013, 11:48:22 AM by excellrec »

Offline lwahples

  • Enthusiast
  • **
  • Posts: 179
Re: 77' 750f2 spring project
« Reply #13 on: July 01, 2013, 02:26:49 PM »
Coming along nice.

Offline brandEn

  • Old Timer
  • ******
  • Posts: 3,205
Re: 77' 750f2 spring project
« Reply #14 on: July 01, 2013, 04:20:43 PM »
great pics. keep them coming.

Offline excellrec

  • Enthusiast
  • **
  • Posts: 135
Re: 77' 750f2 spring project
« Reply #15 on: July 06, 2013, 09:00:27 PM »
Ok, did a ton of work over the past few days. 

Moving along with putting the engine together, assembling the clutch-
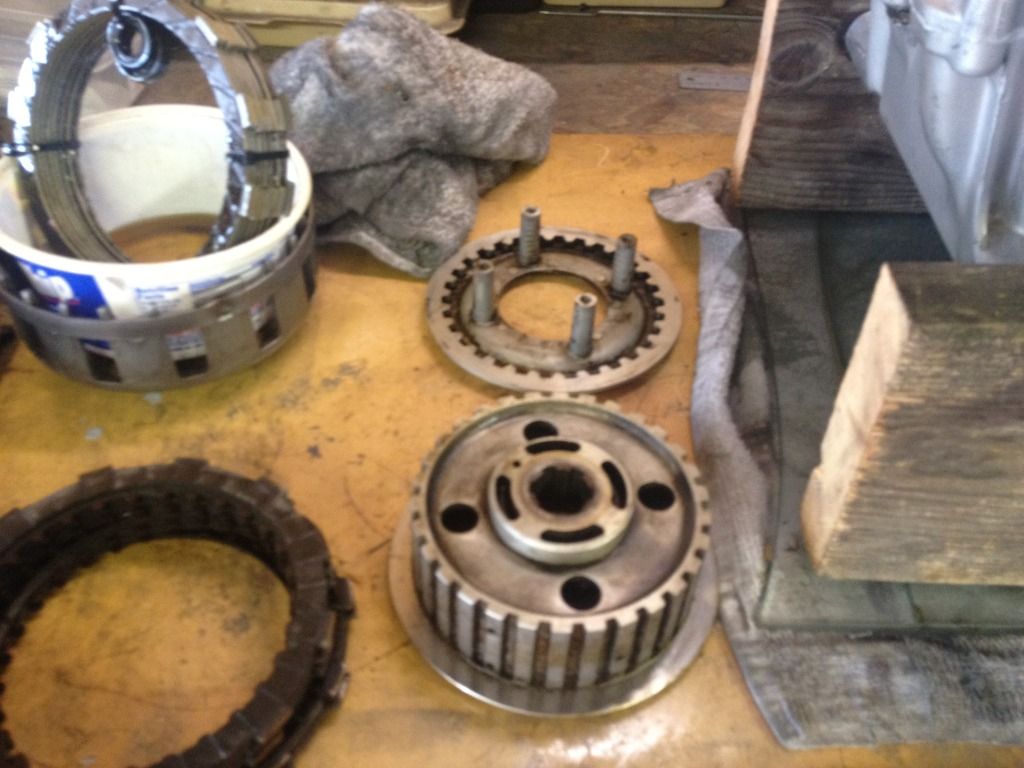

New friction discs from cycle-x
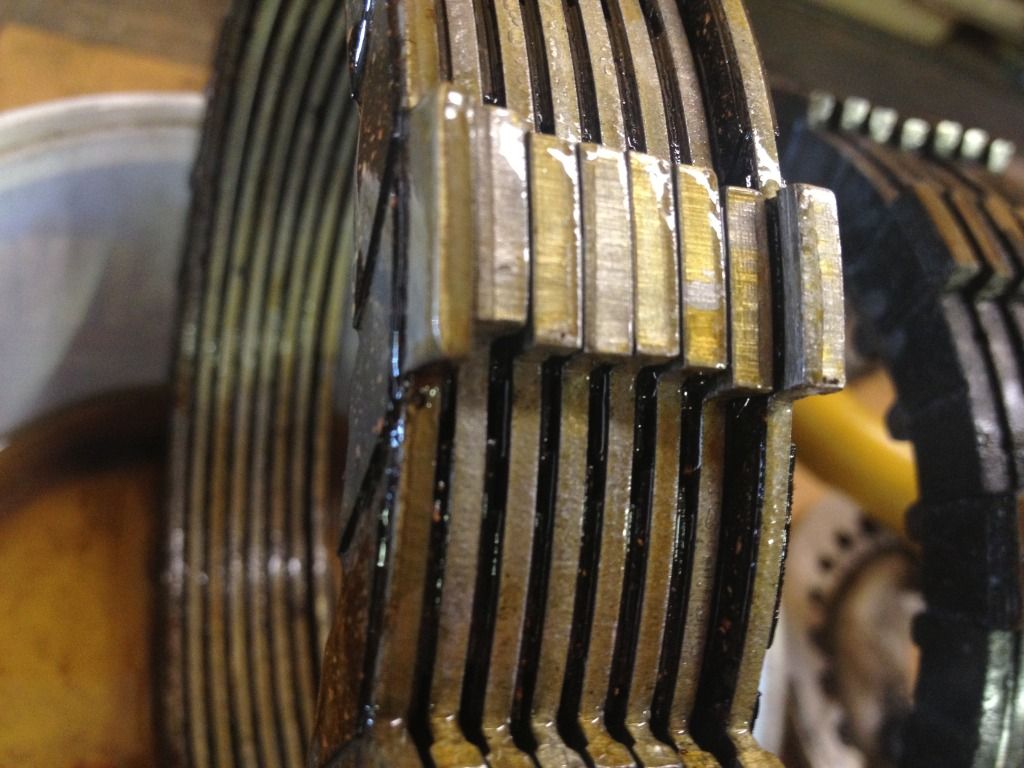

Compared to the old discs-
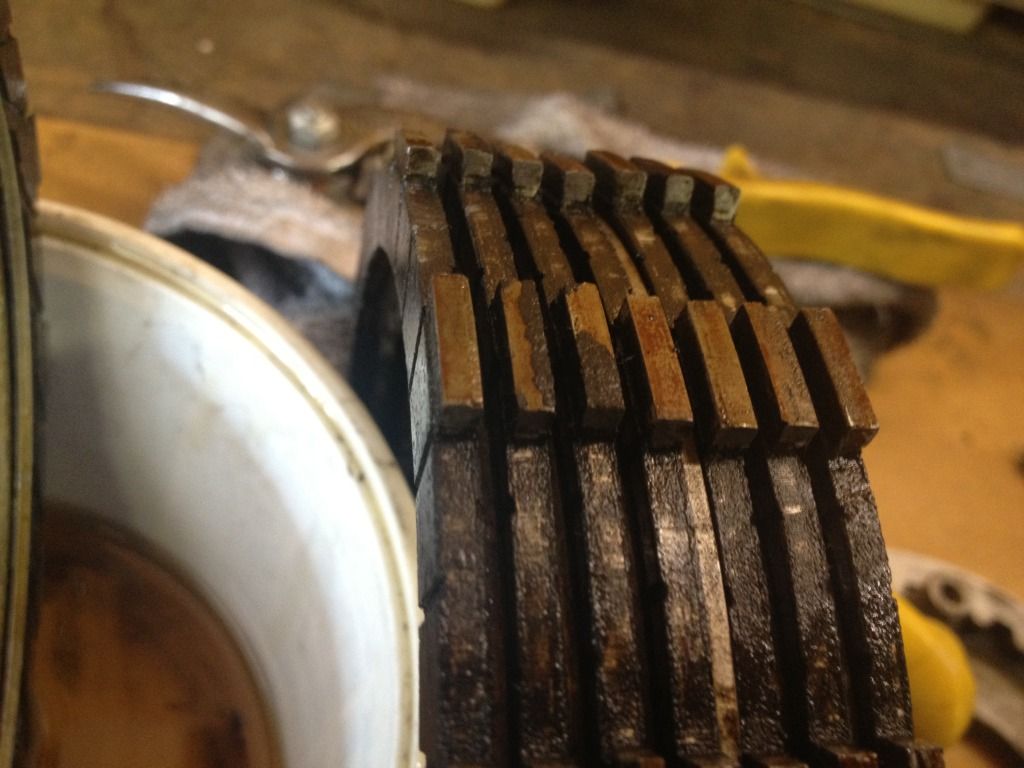
As you can see, one doesn't belong.  I'm not sure what models use those.

Clutch packed-
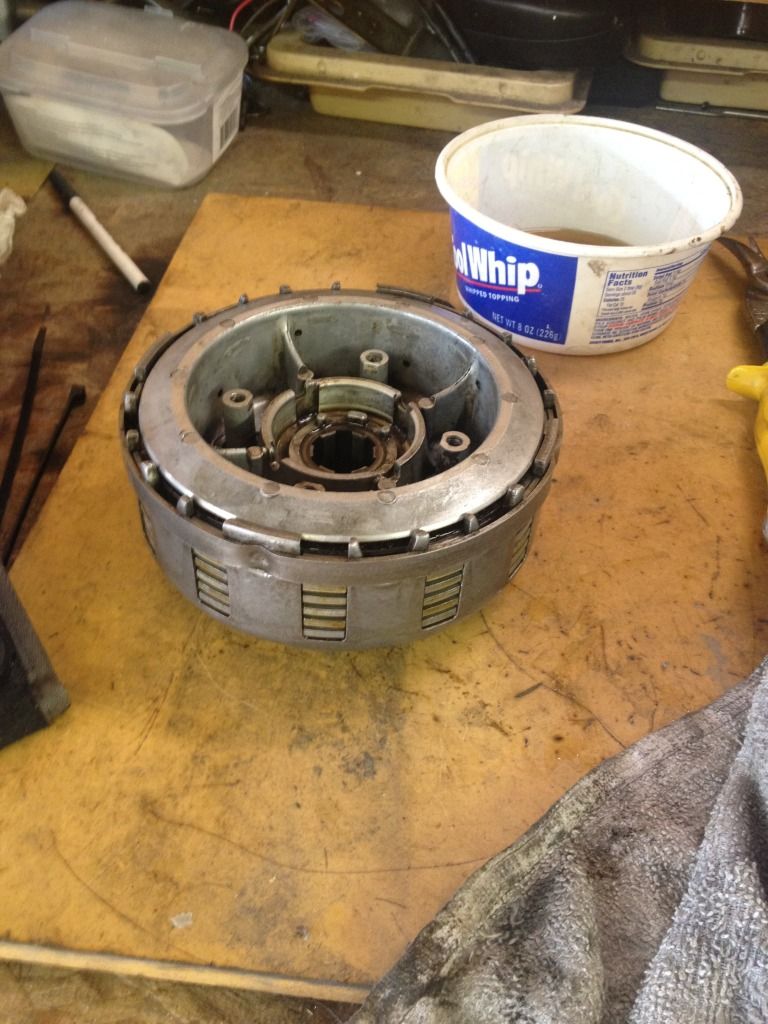

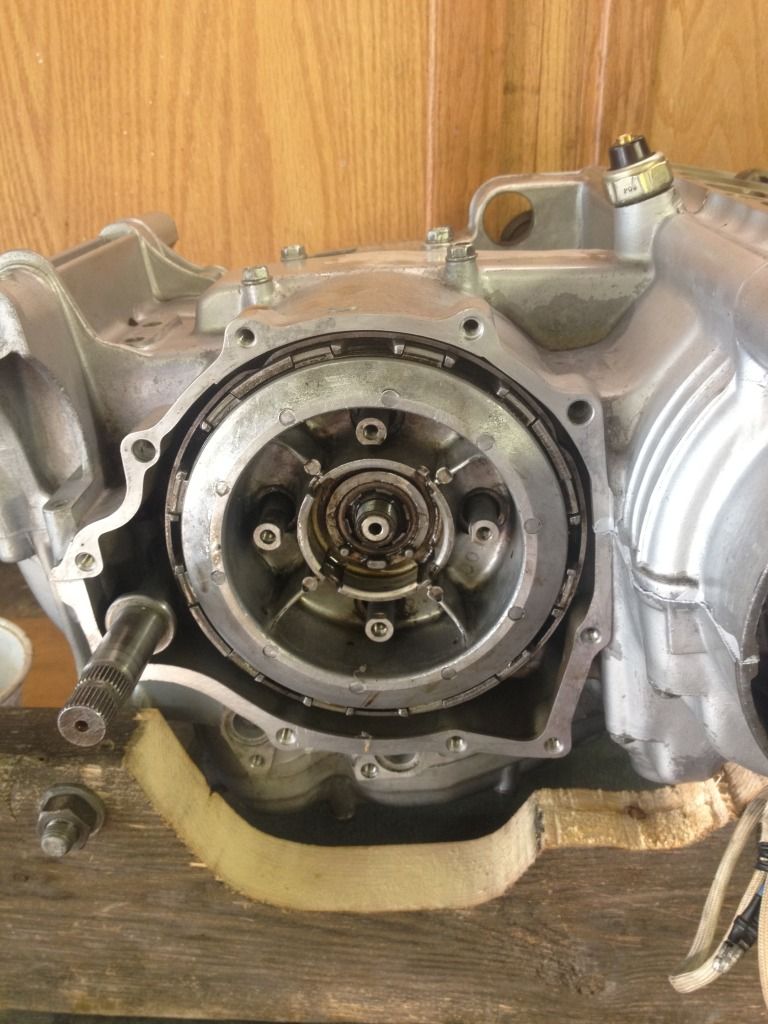
In she goes-

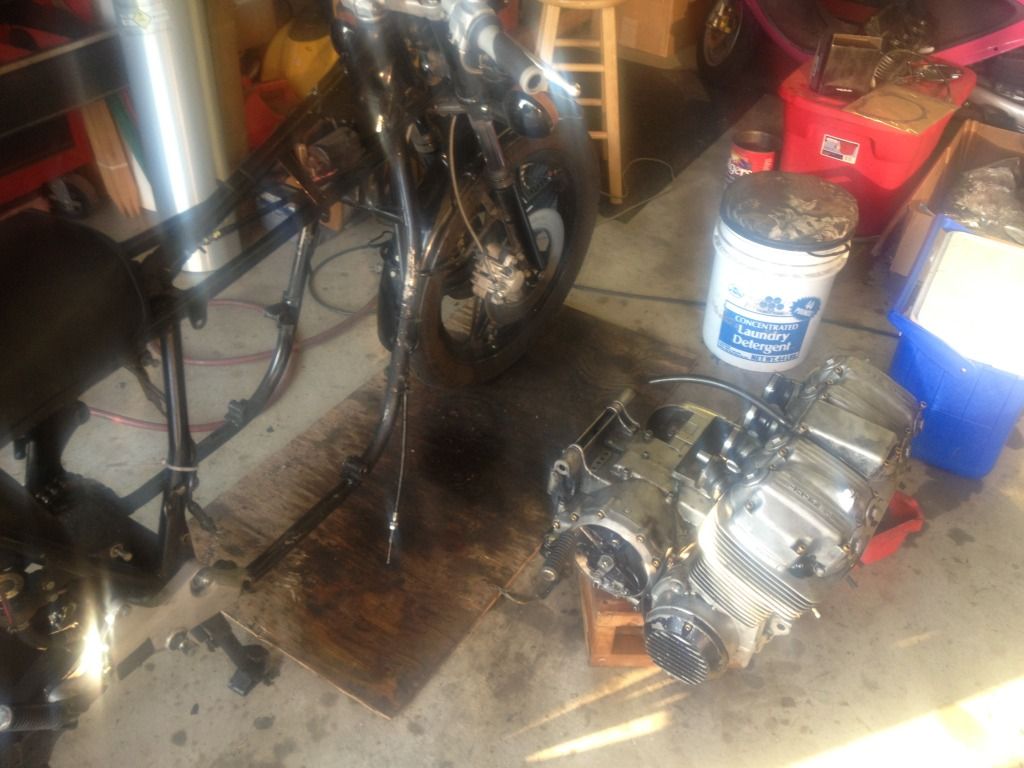
I had to take my tired old engine out to steal some parts-

A couple of those parts are the stator and rotor-
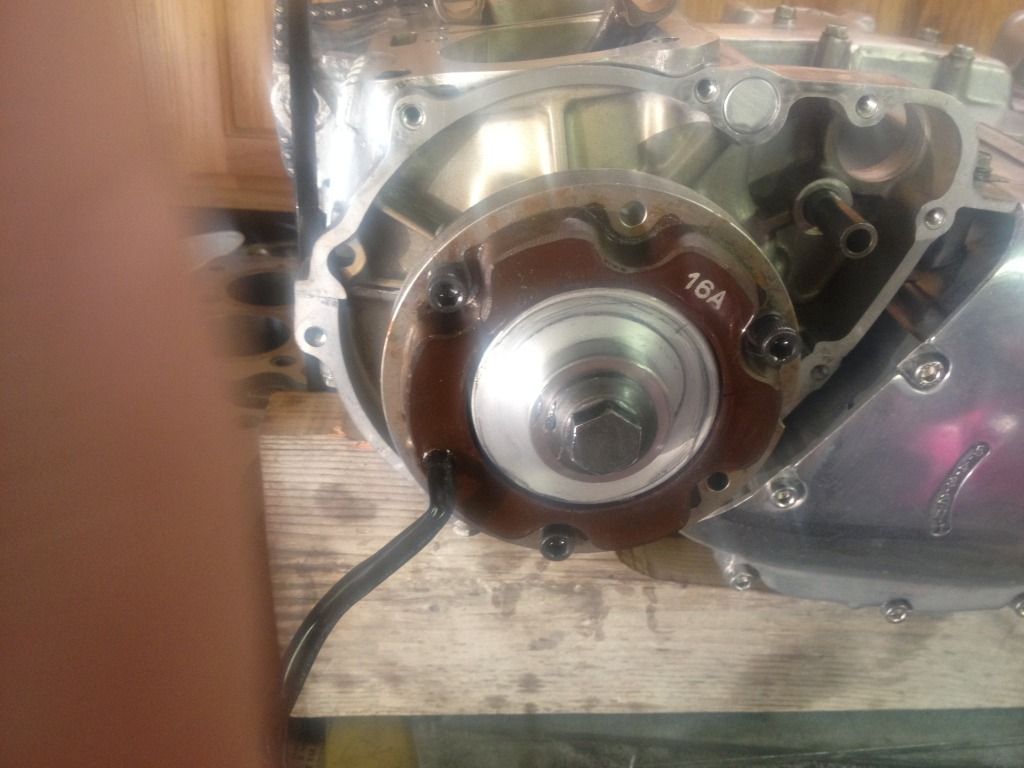

These are aftermarket parts for british bikes that have a permanent magnet rotor and two wire stator.  Cycle-X sells them in a kit with the machined part to fit the stator in the cb750 generator cover as well as a reg/rec and wiring for it. 

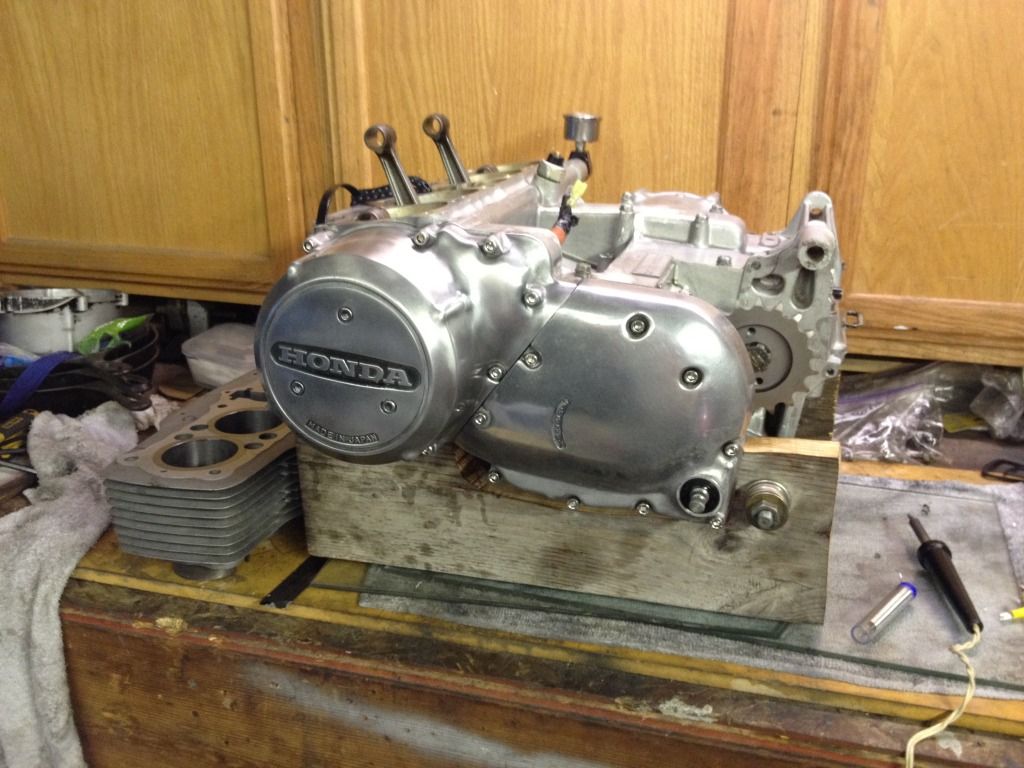
Covers back on-

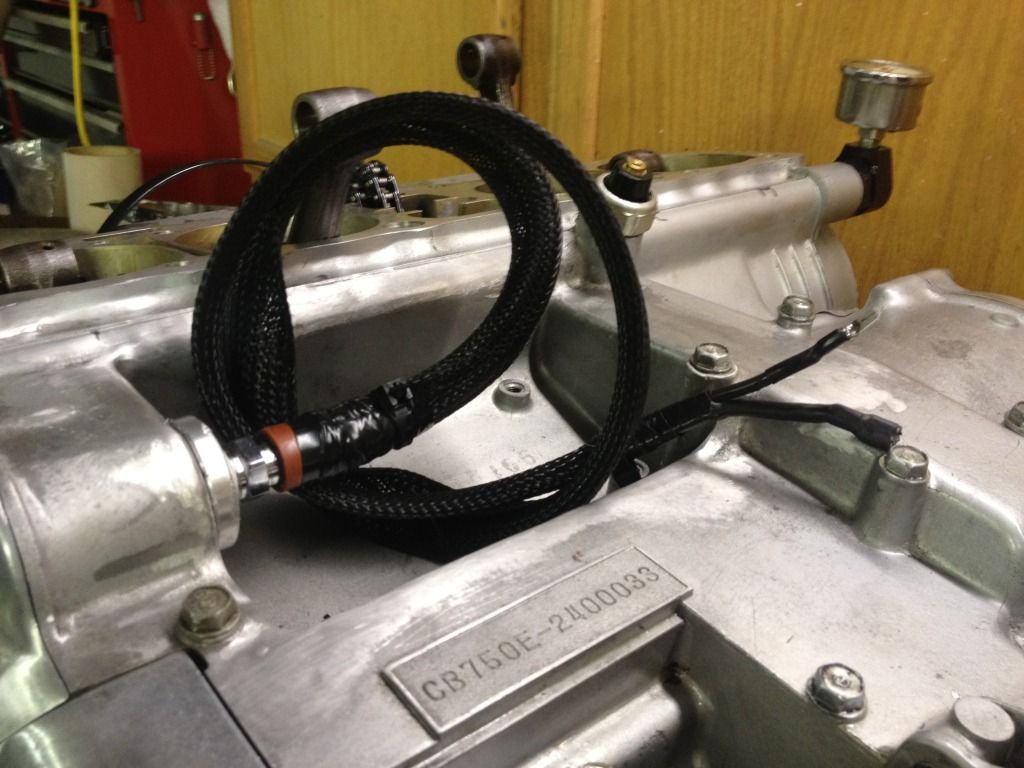
New wiring ready-

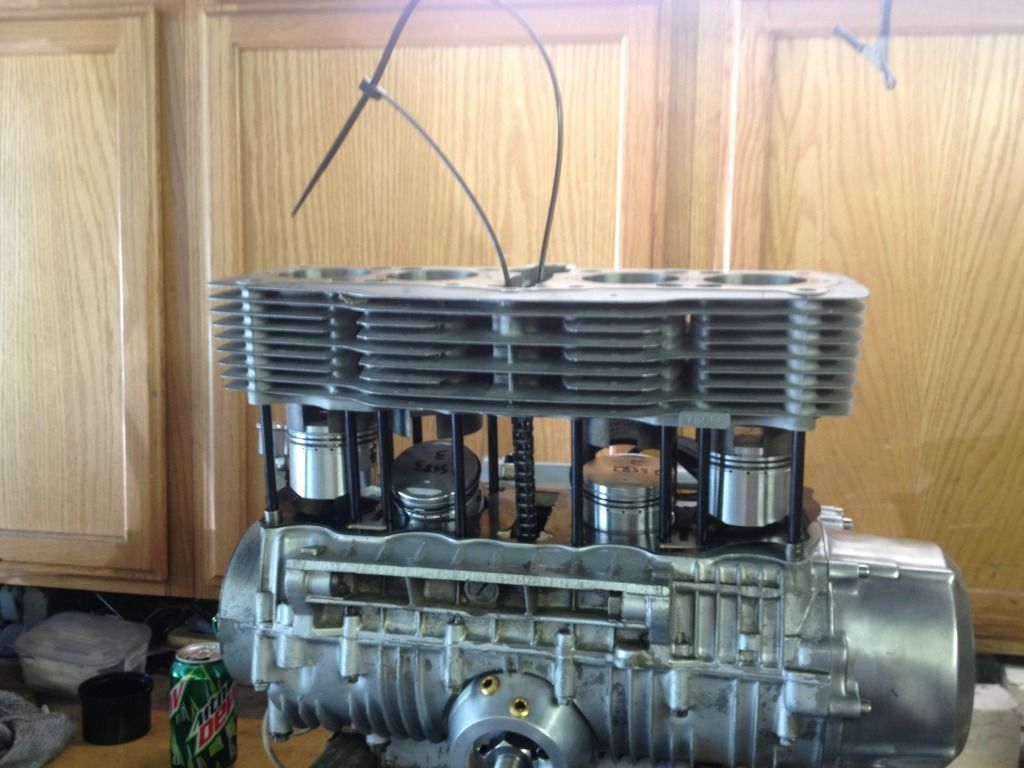
Dropping the cylinders back on-

Had to run to the store to get a specialty tool for checking piston valve clearances-
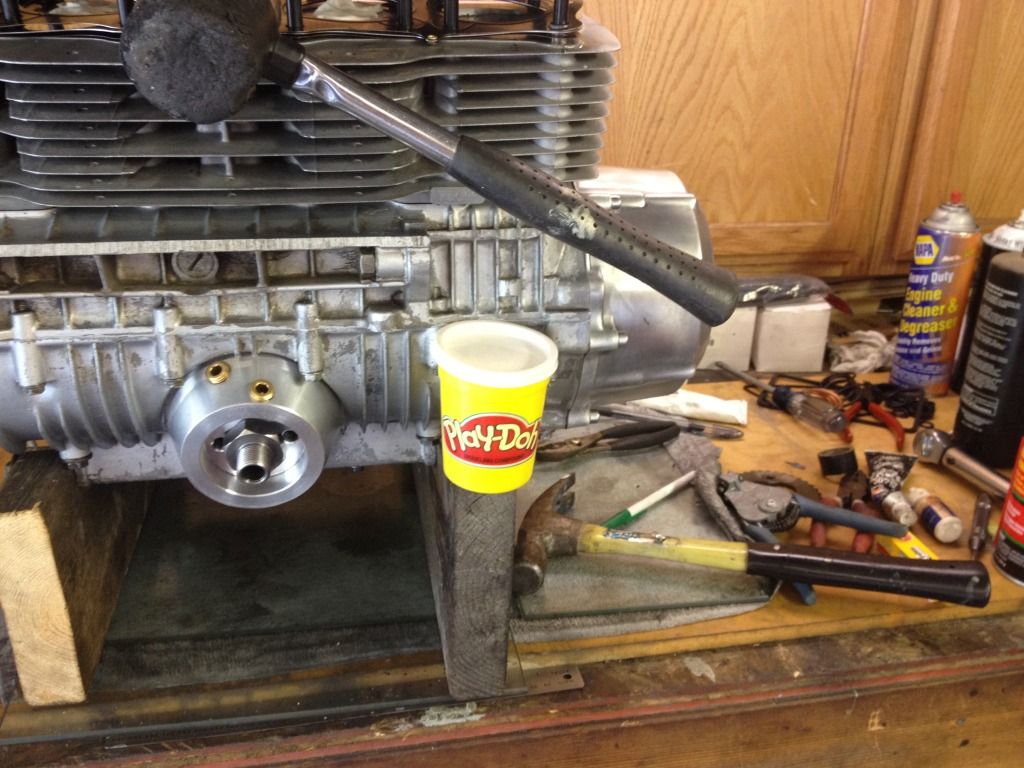


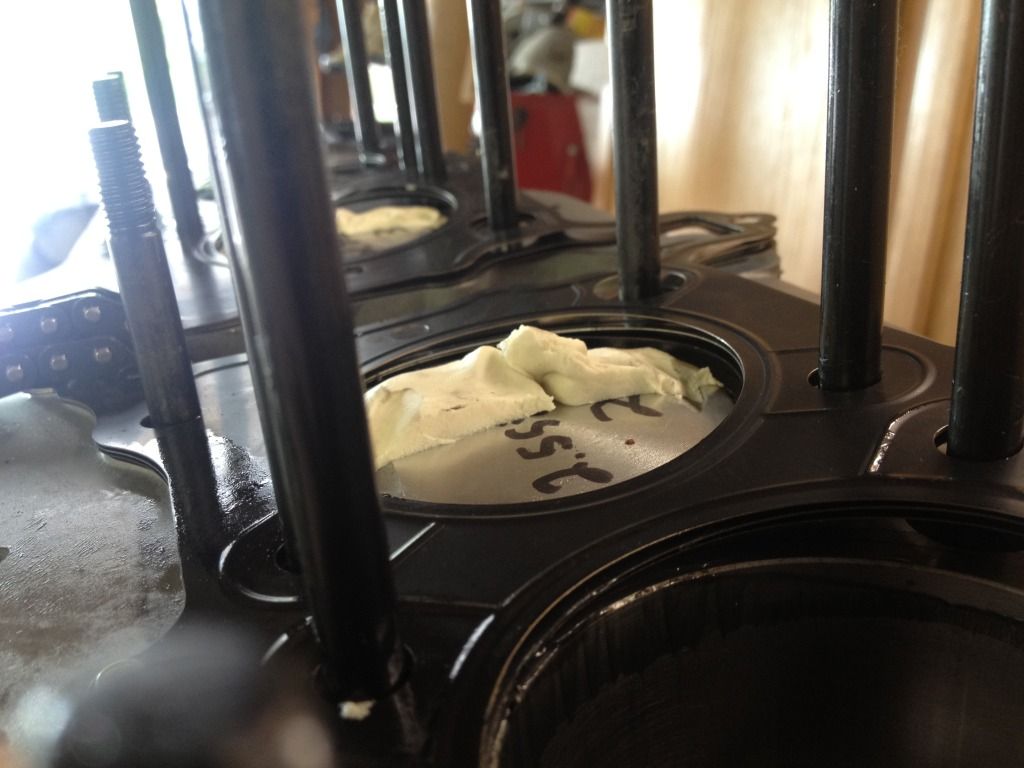
Unfortunately my photo documentation fell by the wayside a bit over the past two days of slaving away in the 100 degree garage.  I torqued down the head and left it overnight and rechecked, dropped in a webcam camshaft, and buttoned it back together-
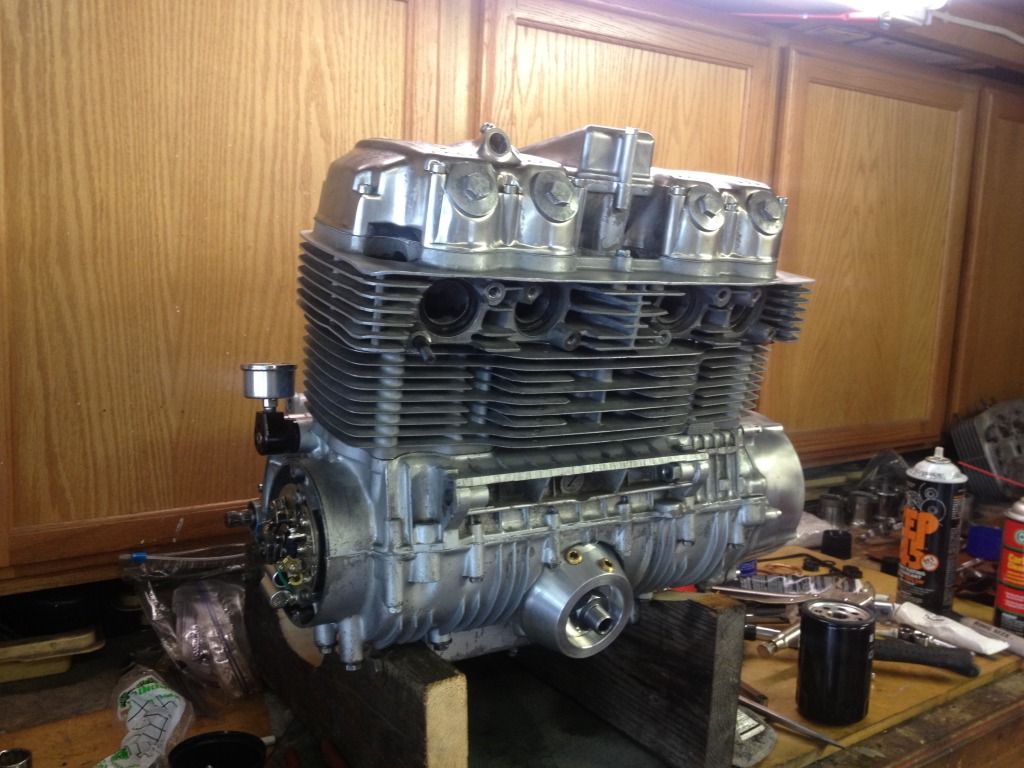


Earlier today I finally got it back in the bike and fired it.  Fortunately, it started after only two kicks.  Unfortunately, the gearbox sounds like a rock tumbler with the clutch out.  Tomorrow I aim to poke around at it and try to convince myself it will fix itself, or some other miracle will prevent me from having to crack the bottom end open to figure out what's going on.  Aside from the rock collection in the gearbox, it seems to run OK.. but I will have to dial everything in before I get a good idea of how it's really working. 

People have spoken a little about throwing a K motor in an F2 bike before but here is a good list of what's different-

-Stock F2 airbox won't bolt back in, the K carbs sit different and the mounting brackets won't match up.  I don't know if a K box will fit, I don't have one.

-The intake inlets are different sizes, so you cannot just take the F2 carbs and throw them on the K motor, the rubber holders I.D. is too large the K motor intake spigots.  Opposite problem if you try the F2 carbs in the K carb holders, the I.D. on the carb side is too small for the F2 carbs.

-The countershaft is about 10mm shorter. This means that, unless you set the front sprocket out about 10mm more, the chain will not be aligned with the rear sprocket. 

-The throttle cables from the F2 won't work.  This one caught me by surprise.  The cables from the F2 are too long or the cable sheaths are too short, however you want to look at it.  Subsequently, you will end up with so much throttle slack that you can twist it all the way around and it won't begin to open the carbs.

I might remember a couple other little things tomorrow... I just remembered I forgot to check the carb to tank clearance.  The K carbs sit a good deal higher than the F2 carbs.  IF they hit the tank that will be a nightmare  :o


Offline brandEn

  • Old Timer
  • ******
  • Posts: 3,205
Re: 77' 750f2 spring project
« Reply #16 on: July 06, 2013, 11:37:57 PM »
Great update. And awesome news she fired right up. As for the noise, since you were messing with the clutch could it just be the clutch plates rattling around?

Offline bert96

  • past ride
  • Expert
  • ****
  • Posts: 1,388
Re: 77' 750f2 spring project
« Reply #17 on: July 07, 2013, 05:22:14 AM »


Where did you take your rod bolts?


Bert
QA50 1969,ST-90 1974,mb5 1982,rz350 1983,shadow 1100 1985,vf1000f 1985,BMW K1 1990,shadow tourer 1100 2001,vfr 750 1994,vtr250 199?

Offline excellrec

  • Enthusiast
  • **
  • Posts: 135
Re: 77' 750f2 spring project
« Reply #18 on: July 07, 2013, 05:09:16 PM »
Got right back to work this morning.  Had to shorten the throttle cable before doing anything else.  After a failed attempt at cutting the old end off, drilling a hole through it, and trying to silver solder the old end back on  after trimming a couple inches off the throttle cable; I went to the hardware store and bought one of these removable cable ends-


Next I noticed that the countershaft sprocket cover interfered with the chain with the 10mm offset sprocket. 


Subsequently, I had to take a notch out of the cover along the chains path-


After addressing those things, syncing the carbs, and poking around with all the other standard tuning things.. I took it around for a brief ride.  I heard some top-end noise and found one of the tappet adjusters came loose, or I forgot to tighten it.  The bottom end still has some noise with the clutch out but everything seemed to be working top-notch so I just chalked it up to a chattery clutch.  I know there is a lot of controversy about break-in procedure; personally I just take the things out and let em have it once it seems like everything is working alright. 

This motor seems to run pretty strong.  The front end lifts on heavy acceleration and makes steering difficult.  It also has a very aggressive throaty tone on hard acceleration.  Although I'm bummed about using the velocity stacks right now, and I fear rain water getting in and hydrolocking the engine, they do produce a wonderful sucking sound when you accelerate. 

Offline excellrec

  • Enthusiast
  • **
  • Posts: 135
Re: 77' 750f2 spring project
« Reply #19 on: July 21, 2013, 01:05:36 PM »
Still tuning and tweaking the motor.  I had a Trail Tech spark plug temp sensor hooked up the the Vapor computer.  That thing, however, finally broke from being taken on and off when checking and replacing the plugs.  I never did like that style sensor so I decided to get an oil temp sensor from trail tech and install that somewhere. 

Here's the sensor as it came-

I'm not sure that the hell I'm supposed to do with that short of a cable, so I made it longer-


My first attempt was to drill out and tap the stock oil pressure sensor that I don't use since I have a pressure gauge-


I was a tad reluctant to put it there because it's a small passageway and having the sensor in there could restrict oil flow.  So, after I wired it all Up I decided I would worry about it constantly and tore it all back apart to try a different location.

This motor has a spin on oil-filter adapter from Cycle-x with two plugged holes that are meant to be used for an oil cooler if you are so inclined.  So, I went and bought a 1/4" NPT plug and tapped it for the M6 sensor-


This location sets the oil temp sensor right in the middle of the main oil flow and should not restrict oil flow at all.

Here's a crummy pic of the thing all tied in-

It looks deceptive in the pic but the sensor wires are zip-tied in position at least a couple inches from the headers at all points.
« Last Edit: July 21, 2013, 01:07:39 PM by excellrec »

Offline excellrec

  • Enthusiast
  • **
  • Posts: 135
Re: 77' 750f2 spring project
« Reply #20 on: July 25, 2013, 10:40:44 AM »
Did some more work on my day off yesterday.  My bike had a cone engineering muffler on it.. but then one night I came home and it didn't.  I think this may have been from issues using the F header clamp system on a K head.  I ended up having to shim the F clamps after the muffler was gone and I noticed the F 4-1 header was just a little loose.  Sigh  :(

After the muffler disappeared I rode it a little bit with no muffler, which does sound awesome... albeit impractically loud.  While I was shopping for parts at the local Fleet Farm to make an air filter setup for my velocity stack I happened across tractor mufflers, particularly this one- http://www.fleetfarm.com/detail/stanley-muffler-john-deere-vertical-tractor-muffler/0000000004694 .  At 4lbs with reasonable dimensions for my bike, I figured it was worth $30 to clamp it on and see what happens.  The OD of the inlet was the exact same as the OD of the outlet of the stock F 4-1 header so I had to buy an adapter for $3 to mate the two.. then two clamps to hold them together.  So, this slip-on setup all said and done was around $40.  Here's how it sounds-

No muffler-

Tractor muffler-

Also, I decided to redo my gauge mount system because the old one sucked.

old one-

As you can see, I had just hacked the stock gauge mount to work for the trailtech computer.

I picked up some 3/8" 6061 plate and freehanded a bracket template-

Then I used a variety of poorly suited tools to hack away at the plate-


And more hacking-


and it's done-

The happy gauge in its new home-

What it lacks in symmetry it makes up for in functionality-


Next job is velocity stack air filter housing, after I move across the country and setup a new workspace.. so that could take awhile.

Offline SOHC4 Cafe Racer Fan

  • Speak up, Whipper-Snapper! I'm a
  • Really Old Timer ...
  • *******
  • Posts: 15,733
  • SOHC/4 Member #1235
Re: 77' 750f2 spring project
« Reply #21 on: July 25, 2013, 04:36:44 PM »
I like the guage bracket.  I wonder if you might want one with a double-L bend so it raises the guage to the height of the stockers??
1975 CB550K1 "Blue" Stockish Restomod (http://forums.sohc4.net/index.php?topic=135005.0)
1975 CB550F1 frame/CB650 engine hybrid "The Hot Mess" (http://forums.sohc4.net/index.php/topic,150220.0.html)
2008 Triumph Thruxton (http://forums.sohc4.net/index.php/topic,190956.0.html)
2014 MV Agusta Brutale Dragster 800
2015 Yamaha FZ-09 (http://forums.sohc4.net/index.php/topic,186861.0.html)

"There are some things nobody needs in this world, and a bright-red, hunch-back, warp-speed 900cc cafe racer is one of them — but I want one anyway, and on some days I actually believe I need one.... Being shot out of a cannon will always be better than being squeezed out of a tube. That is why God made fast motorcycles, Bubba." Hunter S. Thompson, Song of the Sausage Creature, Cycle World, March 1995.  (http://www.latexnet.org/~csmith/sausage.html and https://magazine.cycleworld.com/article/1995/3/1/song-of-the-sausage-creature)

Sold/Emeritus
1973 CB750K2 "Bionic Mongrel" (http://forums.sohc4.net/index.php?topic=132734.0) - Sold
1977 CB750K7 "Nine Lives" Restomod (http://forums.sohc4.net/index.php?topic=50490.0) - Sold
2005 RVT1000RR RC51-SP2 "El Diablo" - Sold
2016+ Triumph Thruxton 1200 R (http://forums.sohc4.net/index.php/topic,170198.0.html) - Sold

Offline excellrec

  • Enthusiast
  • **
  • Posts: 135
Re: 77' 750f2 spring project
« Reply #22 on: July 27, 2013, 09:44:09 AM »
I like the guage bracket.  I wonder if you might want one with a double-L bend so it raises the guage to the height of the stockers??

Thanks.  I do actually like the gauge being low and tight into the headlight.  Besides, I don't have any way to bend that 3/8" 6061.  I could have made it with some thinner 5052 or something but I do like the way overkill look of the 3/8".  I'm making some other brackets and such that I'll post up soon.