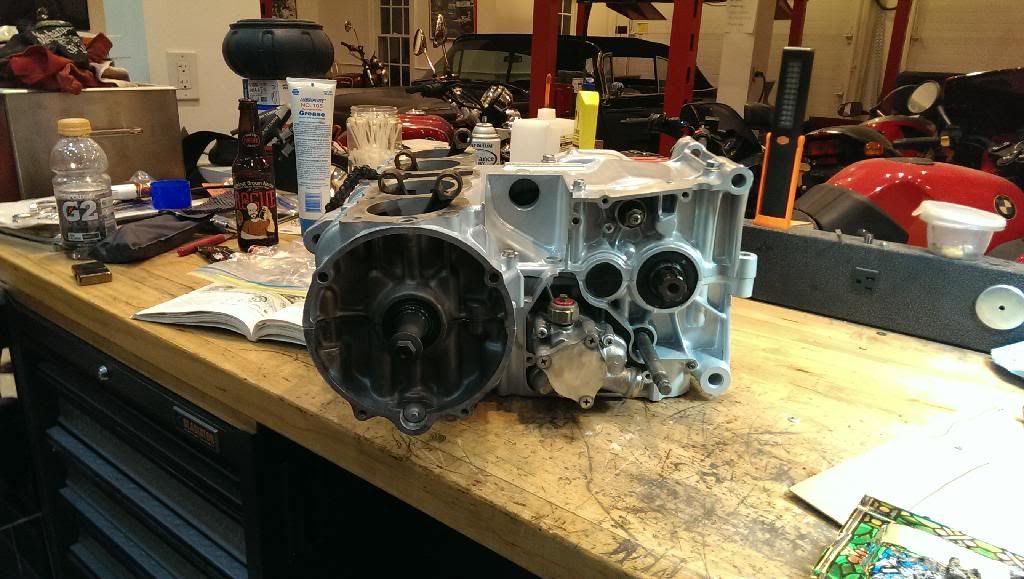
The Rebuild begins!
Not a lot accomplished, but the engine is ready to go back together. I wanted a dry run to check everything and then also to make sure I could get the Shift Forks to line up so that the case halves could come back together.
I also realized that in my Powder Coating, I neglected to mask off RH Rear Upper Mount surface where the Ground Strap is Secured, thus Grounding the Engine to the Frame. A quick hit of the Tan 3M Rocloc on my Die Grinder solved the issue. Oh, please make sure to wear eye protection AT ALL TIMES!!!! (Whew, that was close, deadly bits of Powder Coat hurt your face!)
The First piece installed back into the engine is the Starter Reduction Gear making sure to lock the bolt with the Locking tabs on the washer.
Then the Crank.
I wanted to check the clearance of the crank and main bearings, so I went to my local Napa and bought some Green Plastigauge. Since I did not pull the crank apart and the bike ran strong, I am going to assume if the clearance of the crank and main bearings checked out, I would just leave the Connecting Rods alone. The bike was 100% out of service due to the horrendous state of the Carbs.
When I went to put the cases together to check clearance, Mr. Murphy found me and pointed out where all the Glass Bead was actually hiding. It was all in the 8mm Threads in the Upper Case that torque the Crankshaft. So out came the Metric Tap kit with lots of grease to get that nastiness out of there.
Anyway, long story short, the clearance was all in spec and I am ready to assemble the lower end.
I started back on the uppercase assembling the Shifter Forks and Drum. The assemblies must be put together inside the case. The Center Shifter fork as some small bits (the locating pin and clip) so be patient and aware of them.
As you can see here, I did not do it correctly the first time… no I did not use the hammer….
Ahhh, much better... Seriously, make sure the “Long” parts of the shifter fork are facing each other. And look, no hammer necessary!
I then Attached the Neutral Switch after cleaning up the contact at bit.
Here is the Bearing and Retainer on the other side of the Shift Drum. Make sure the bearing is flush to the case.
Here is the Shifter Cam assembled on the drum
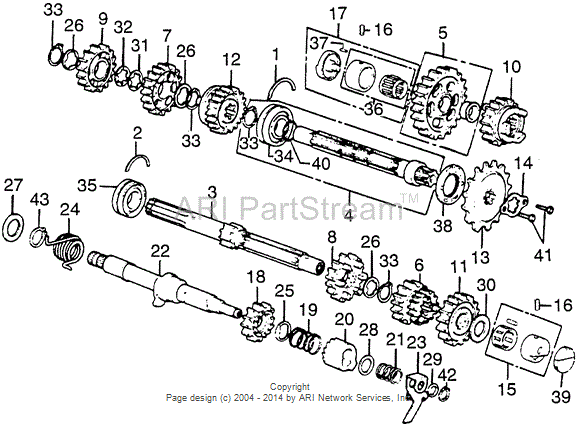
I then turned to the Lower Case Assemblies. I had left the Primary Shaft Bearings in the freezer for a few days. I heated the Lower case where the LH Bearing sits near the Oil Pump and Starter Motor Mount and the Bearing was easily reinstalled. I then put the Starter Clutch Assembly into its place on the Primary Chain and inserted the Primary Shaft until the RH Bearing was flush with the Case. I put on the Bearing retainer (Part #2) on the RH side, but left the Top Bolt off as the Shifter Assembly will use the Upper Bolt as a mounting point when the cases are joined. This is why the Upper Bolt is longer than the lower one – even though the parts diagram shows only the one 6 X 14 bolt (Part #22). The Longer Bolt is shown on the Shifter Fork/Drum Parts Diagram as Part # 24 (6 X 24)
I then installed the Kick Starter and Shifter Spindles. I messed up on the Kicker and fortunately was set straight by Dave500.
Here is that discussion:
http://forums.sohc4.net/index.php?topic=135531.0When Assembling the Kick Starter I found it easiest to use my body (read as Beer Belly) to stabilize the outer part of the shaft where the Kick Arm Attaches so that you can “pull” the Inner Assemblies together in order to get the final washer and 12mm circlip over the end of the shaft. It’s a pain in the arse, and took up a good majority of my day. At least I will know how to do it next time…
I then Moved onto installing the Transmission gears.
It is important to note that as you can see from the pictures, I have been replacing the oil seals as I go.
So, now I am ready to dry run the joining of the cases
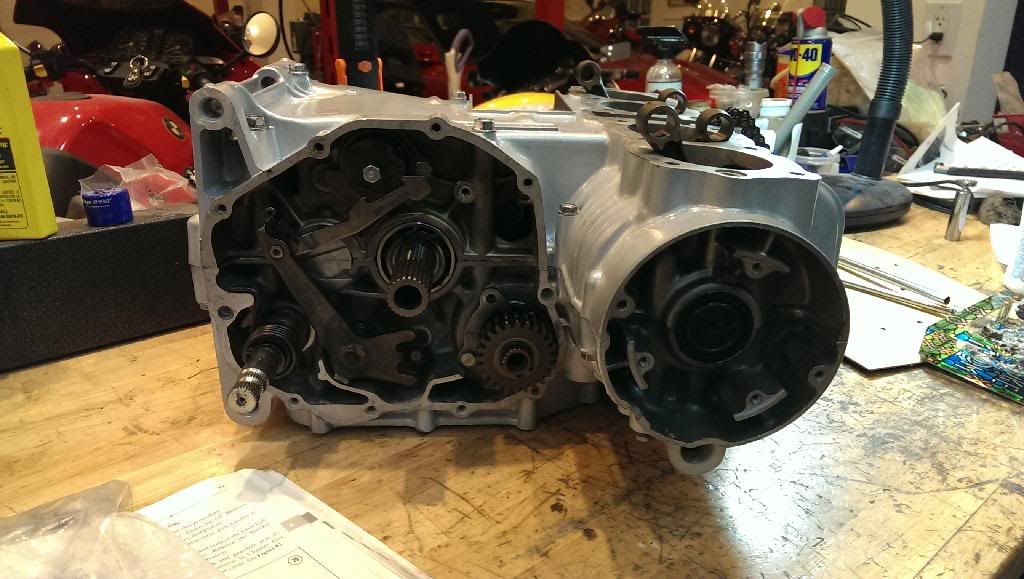
Upper ready to go:
Lower Ready to go:
I just cleaned up the outer surface of the oil pump of oxidation. I wanted to leave the cast texture of the rest of it as it gives it more surface area to cool. When I had the bike running I checked under the tappets for oil flow, and all was very well, so I am leaving well enough alone.
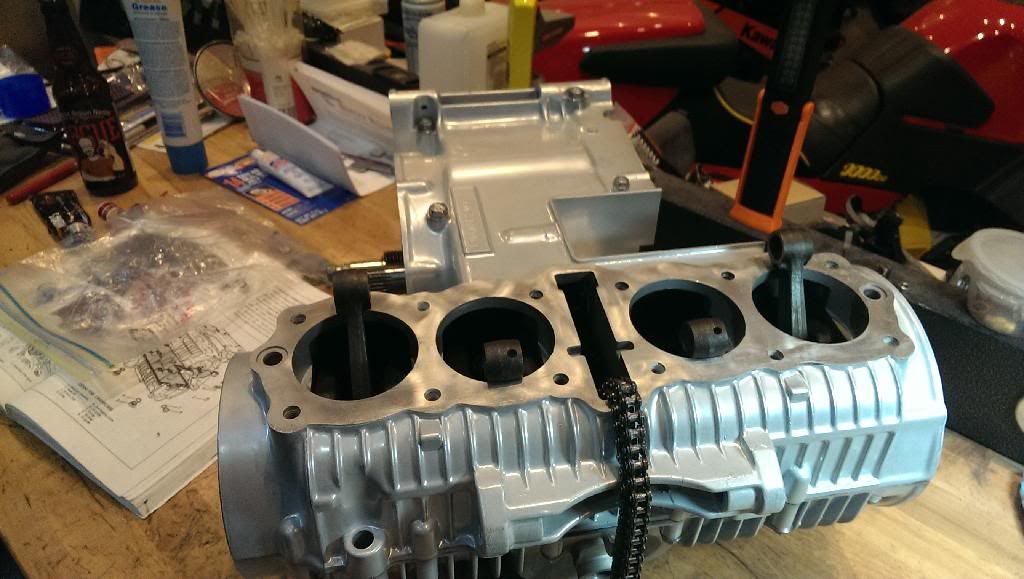
As per some advice, I made sure the gears were in neutral, ie they spin freely. I then carefully lowered the top case onto the bottom. It took a few tries but after some massaging I got ‘er done.
Mind you there is no Yamabond here… I will be doing it again for real this upcoming weekend. I say this because on my 450 Project I totally forgot to use the Yamabond and had to completely disassemble the completed engine to put it between the cases. No, seriously, that happened
Gratuitous Pictures to follow….
Next up, joining the cases and taking apart the frame, wheels and swingarm.
Gersh