I got a boatload of work done over the past 2 weeks. Most all of it cleaning, Powder Coating and Polishing. There are going to be a ton of pics so here we go.
Let’s talk a bit about cheap Chinese made tools for a minute:
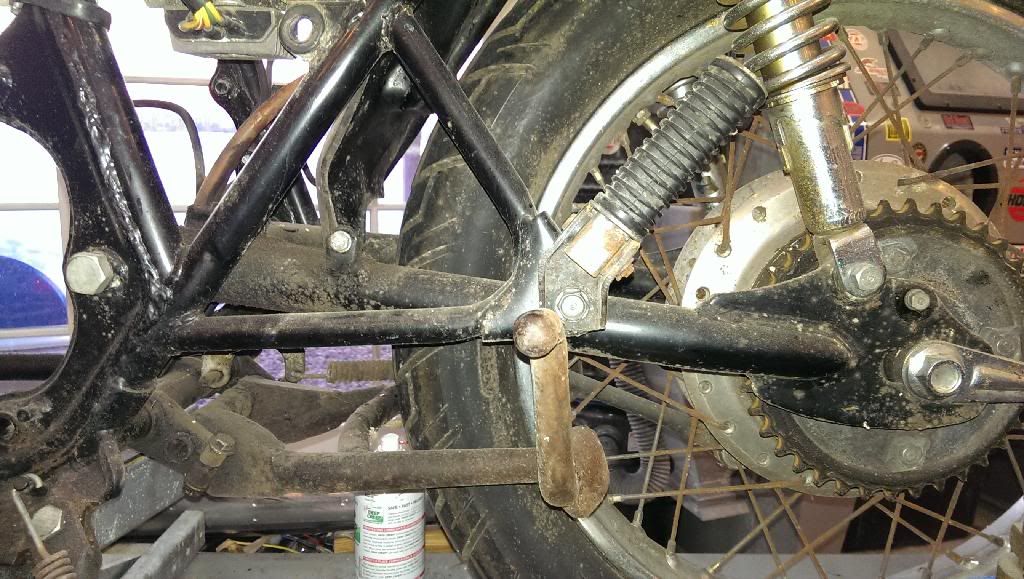
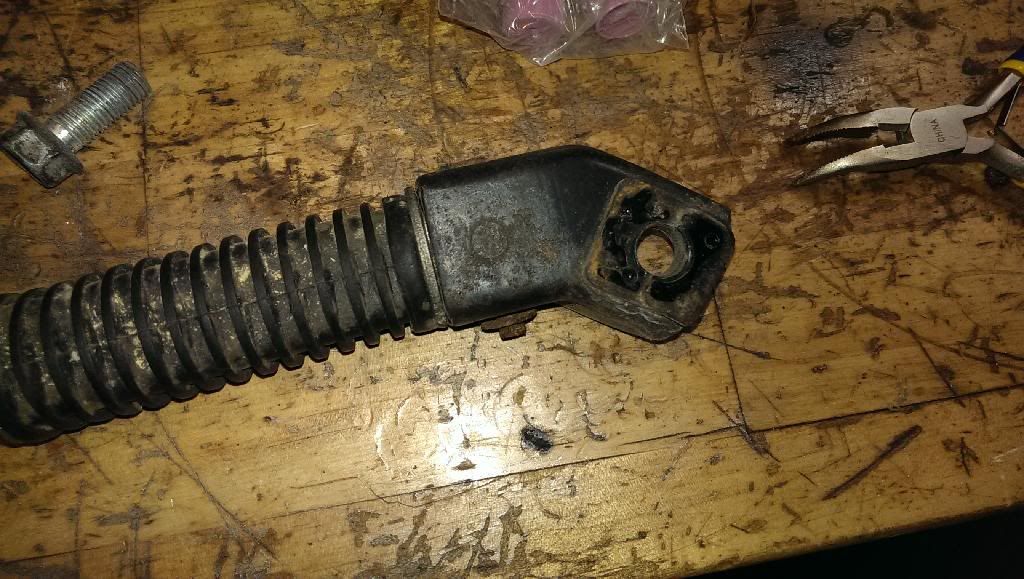
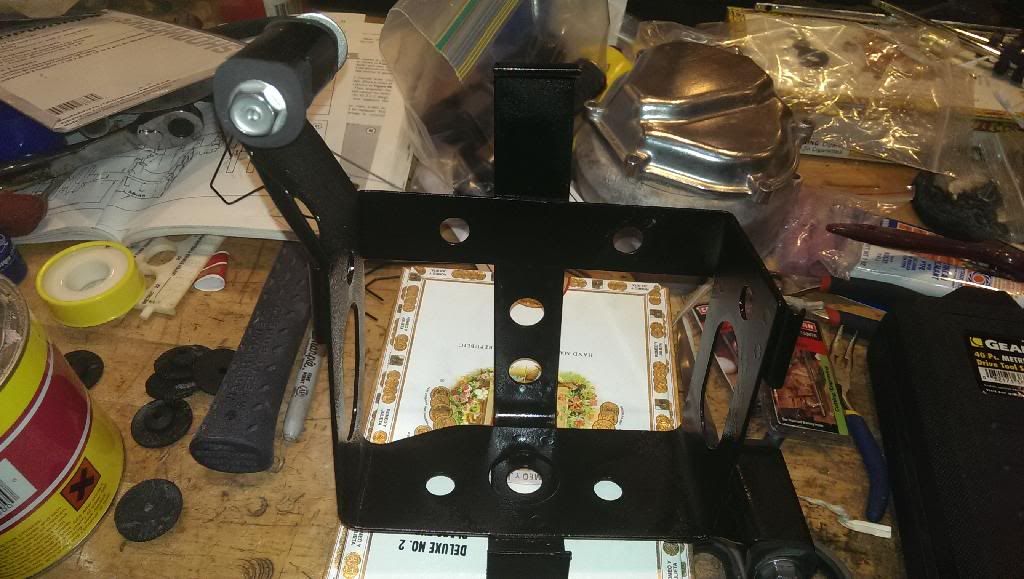
Here is a close up of the Swingarm and Passenger Pegs.
It is pretty representative of the condition of the frame components over all. I wanted to experiment a bit with glass beading parts so I went to my local Tractor Supply and picked up a small media blasting cabinet dedicated to glass beading.
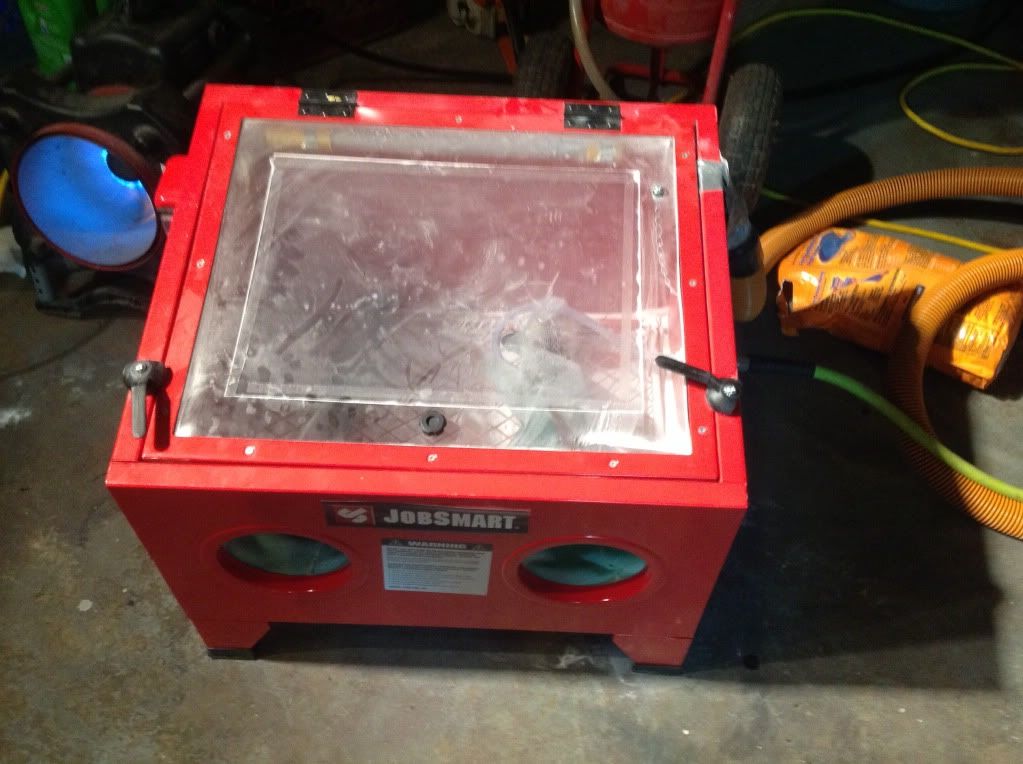
TSC unit:
My large Soda Blast cabinet works great, but when mixing in glass bead in the main, large hopper it just does not get the job done die to the amount of spent soda that is mixed in with it. The problem is that the spent soda immediately creates a dense cloud which is really tough to see through, and just does not cut enough paint and crud before you need to let everything settle so you can see what you are doing.
That said – the TSC unit is a POS – it leaks like crazy, sending glass bead all over the workshop, even using a shop vac as an air draw. To make this thing worth a damn, I will have to replace the poly window with real glass, seal off all the seams where the case comes together and seriously beef up the seals o n the top loading door. I did check out the HF unit, priced similarly, and it looks to be a much better unit – but I don’t know that for sure…
The HF Unit:

Alright, rant over – Let’s get back to work!
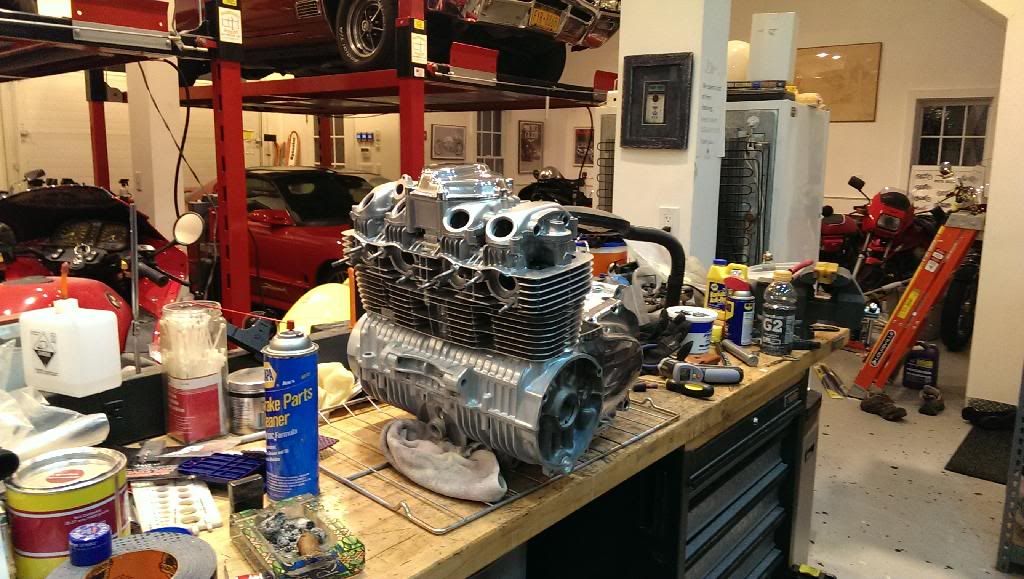
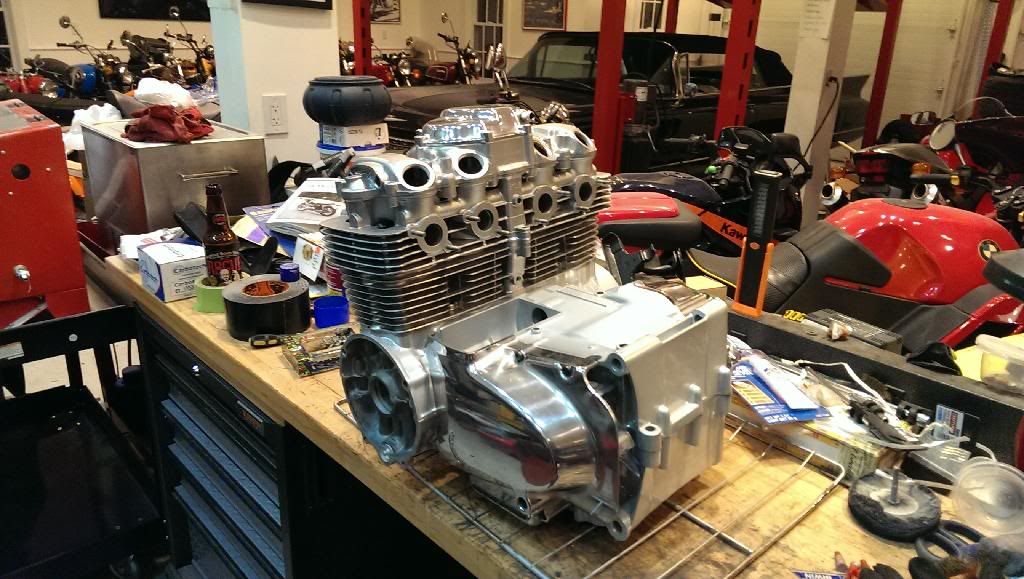
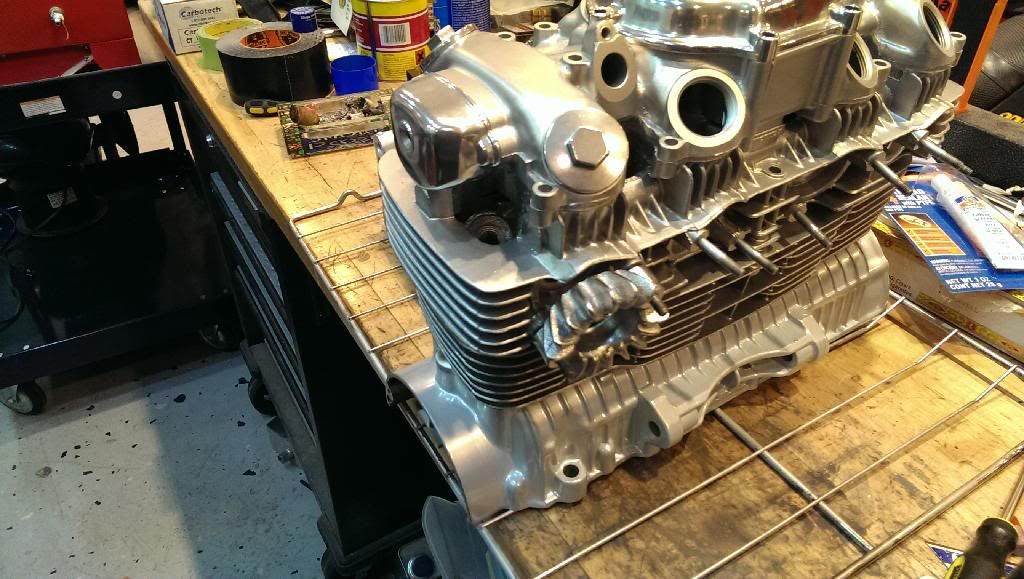
Here is the general condition of everything coming off the bike:
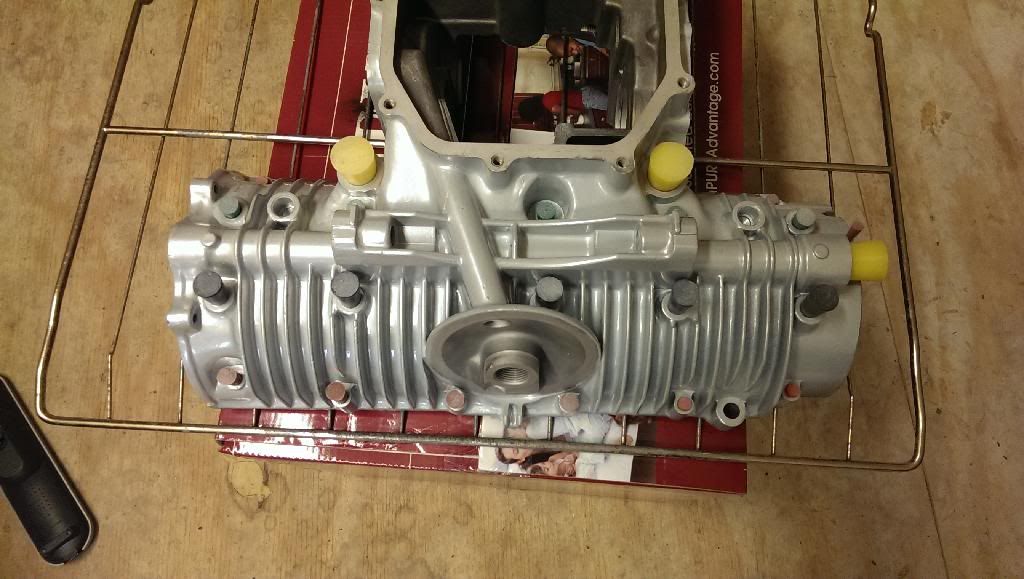
I Bead Blasted everything. I put the rubber steps into a Simple Green Bath after a hot water cleaning. All the bare metal parts went into the tumbler for a bunch of days with Dri-Shine and a dollop of Simi-Chrome. I then Powder Coated the Frame Mounts gloss Black. Here is everything put back together:
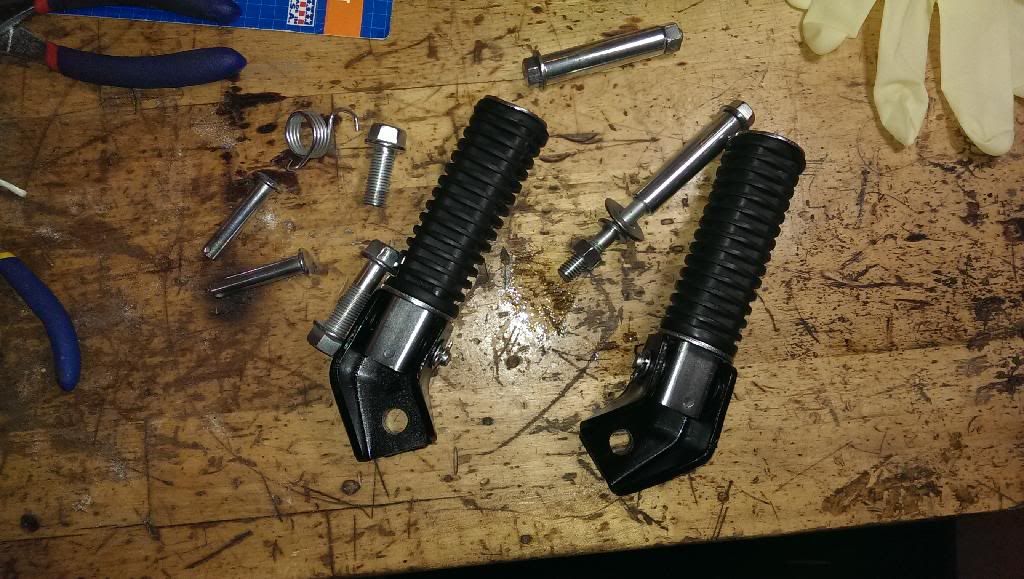
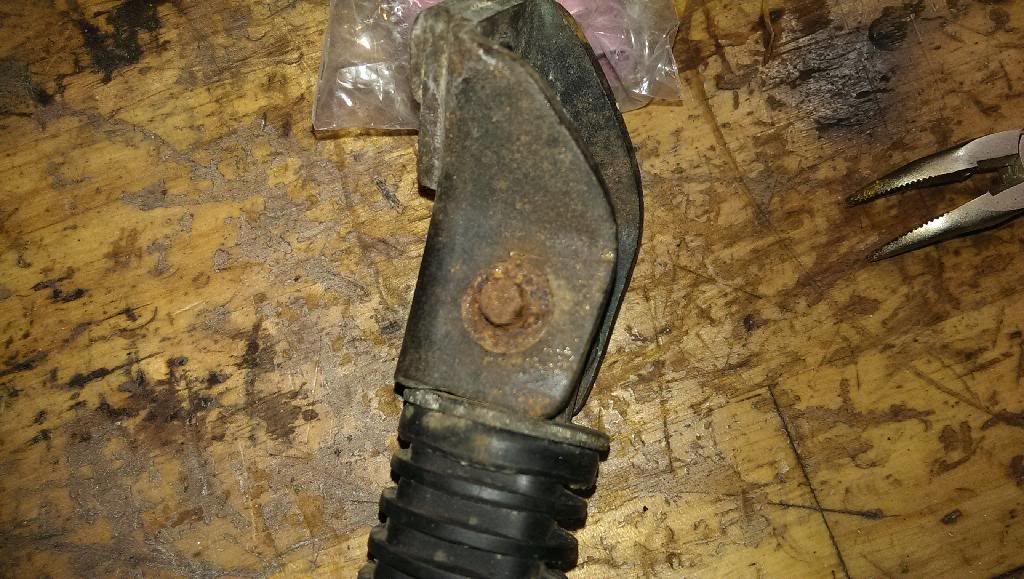
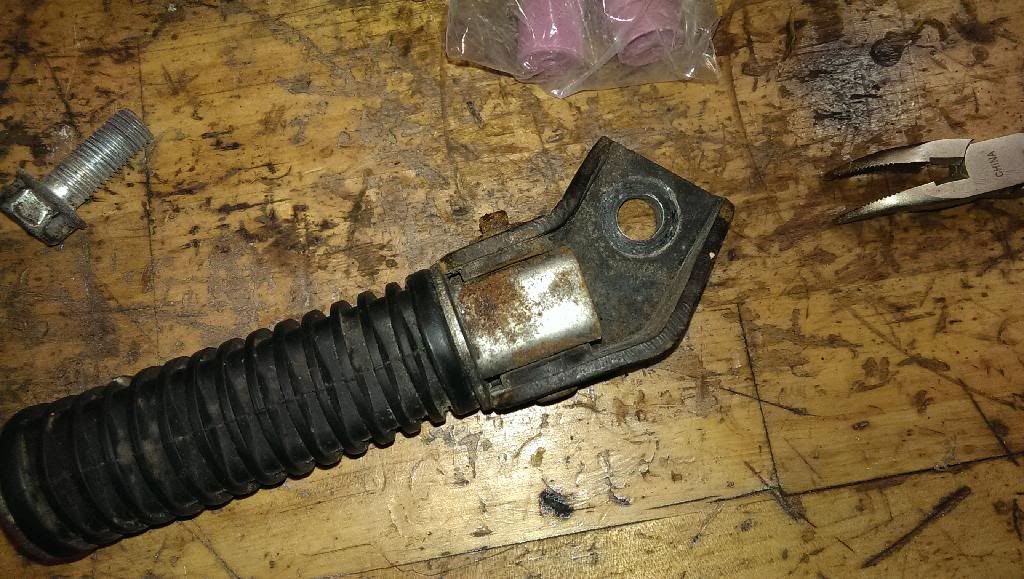
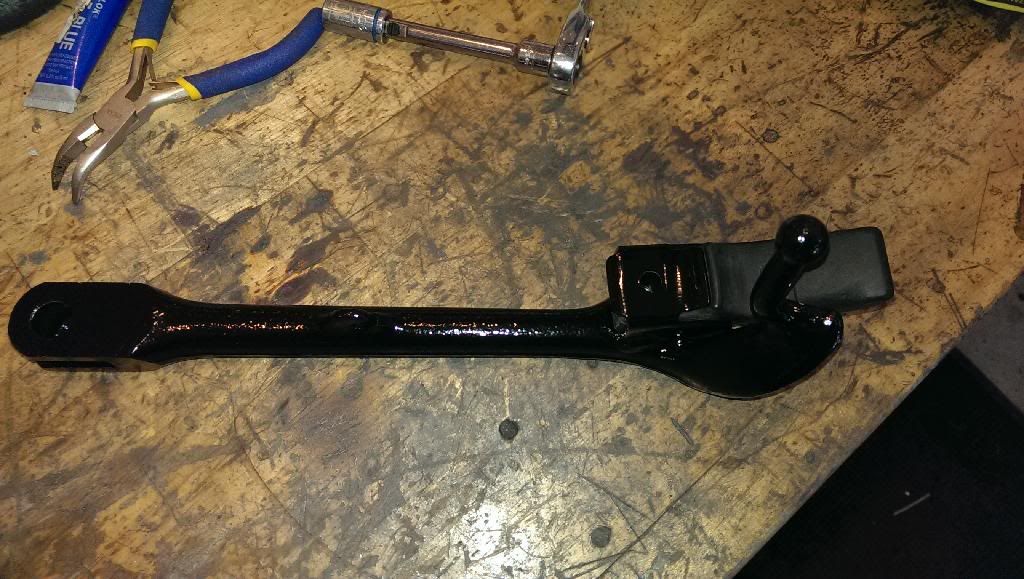
You can see the mounting bolts as well as the Hardware for the Drivers Pegs that all received the same treatment. I will Post pics of those later on (I forgot to do it,,,,,) Along with the pegs, I did the Front Engine Mounting Plates, Muffler Bracket, Kickstand and Battery Box.
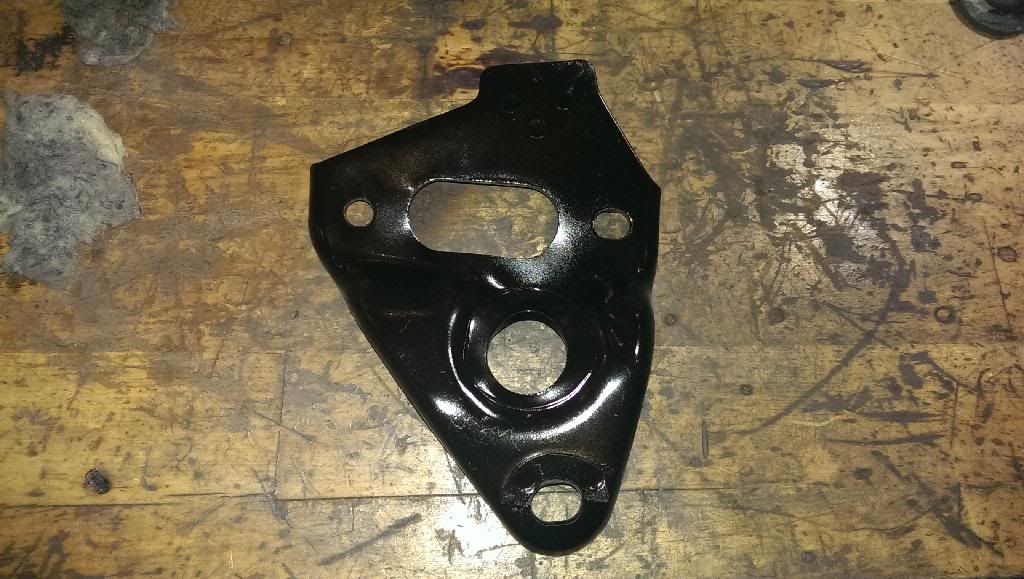
Muffler Bracket
Kick Stand – The Rubber Stand was soaked in Simple Green for 2 days, came out nice and pliable
Here is the completed box – although the SG ate up the Battery cushions. I will try to salvage them, if not I have another battery box somewhere….
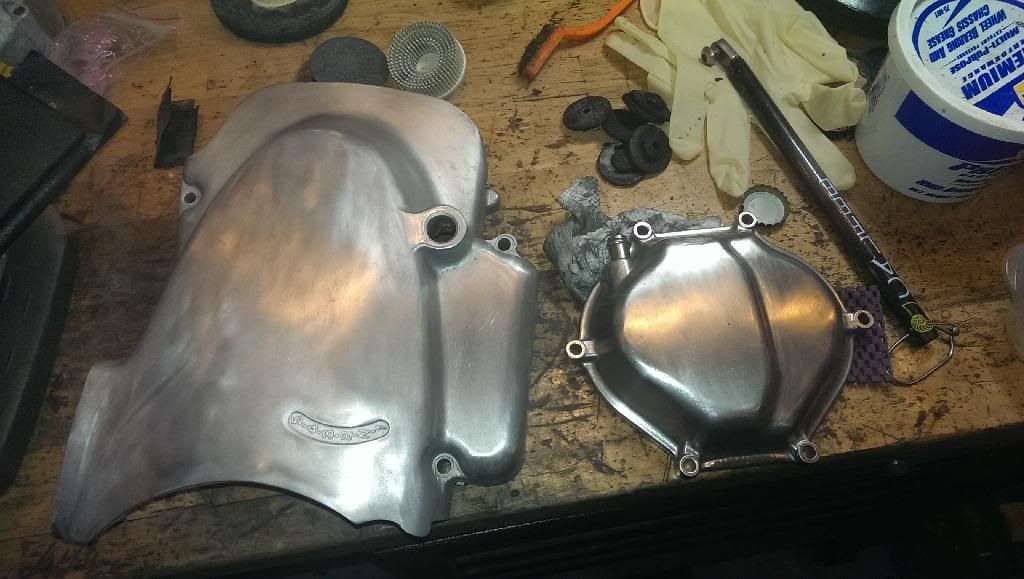
We had some beautiful weather over the weekend, so I pulled out the buffer to go after the engine covers. I had done a little wet sanding to the breather cover and sprocket cover as they has some deep scratches – Wow, I have no patience for wet sanding aluminum….
After a round of 400 and then 600 – where is my buffer?

Ahhh – that’s better!
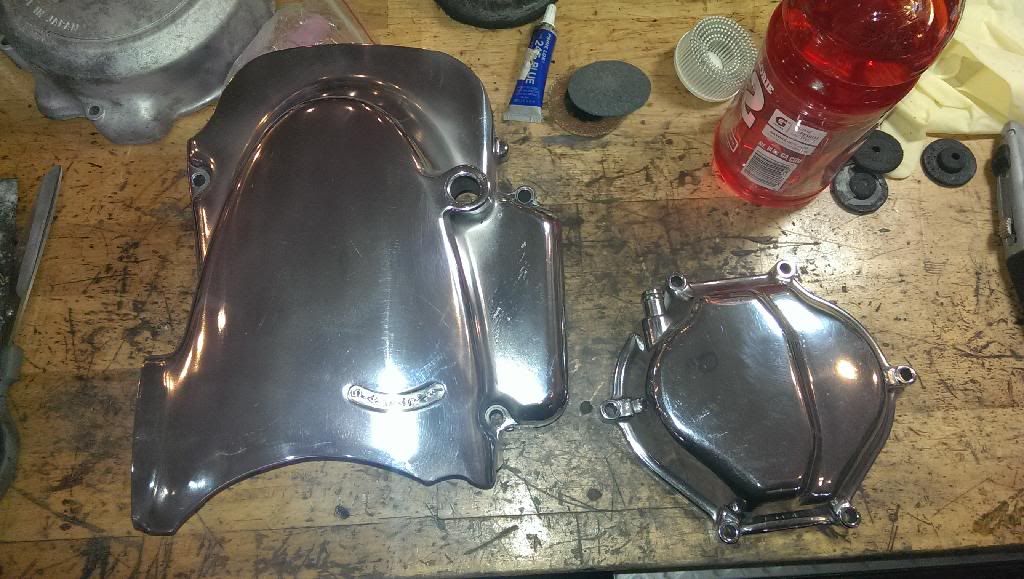
I will have to back over these as there are still scratches visible in the light – but it had started raining and buffing indoors makes a bloody mess… hmmm, even outdoors as well! Anyway – here is where I started compared to almost finished
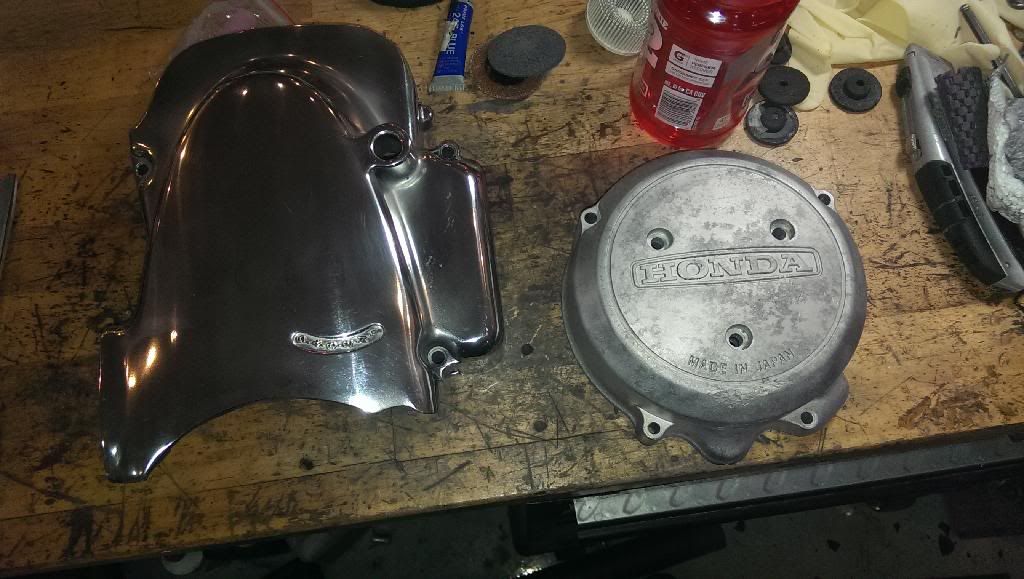
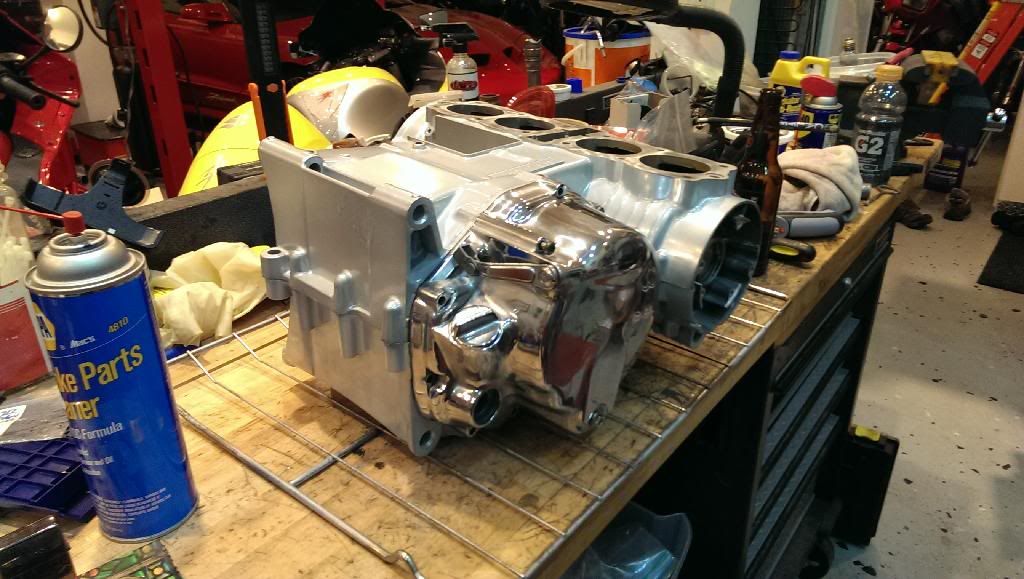
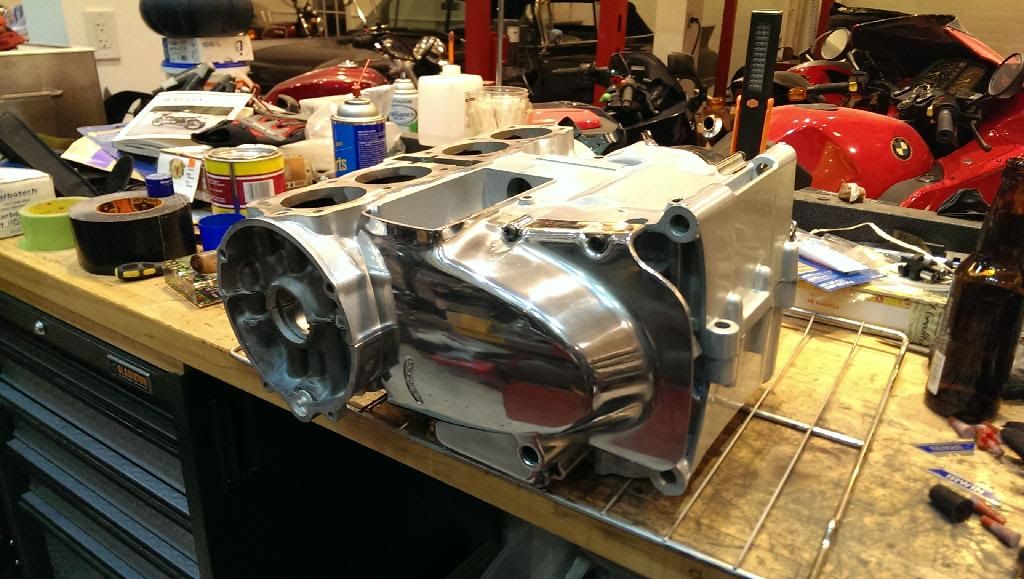
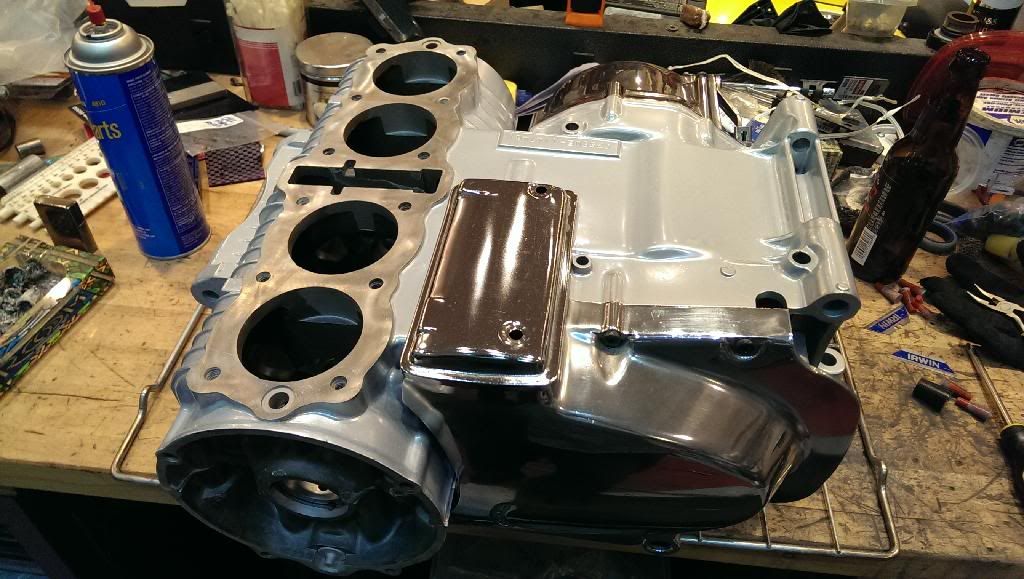
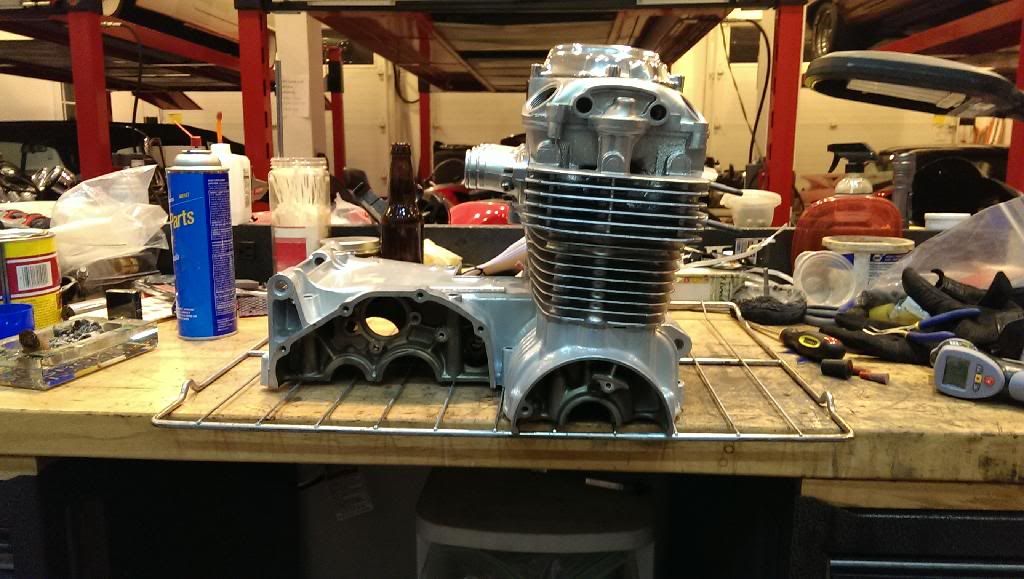
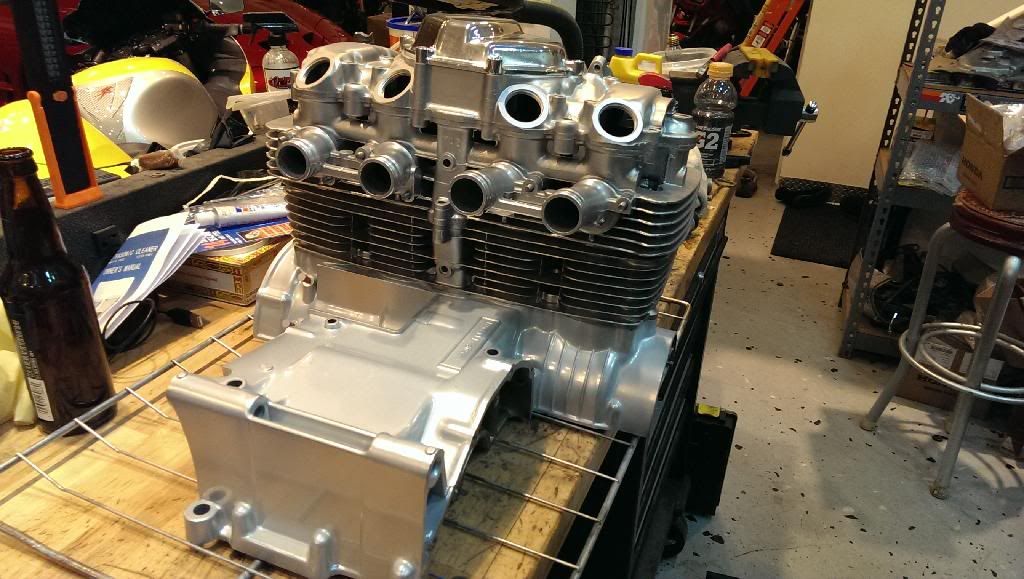
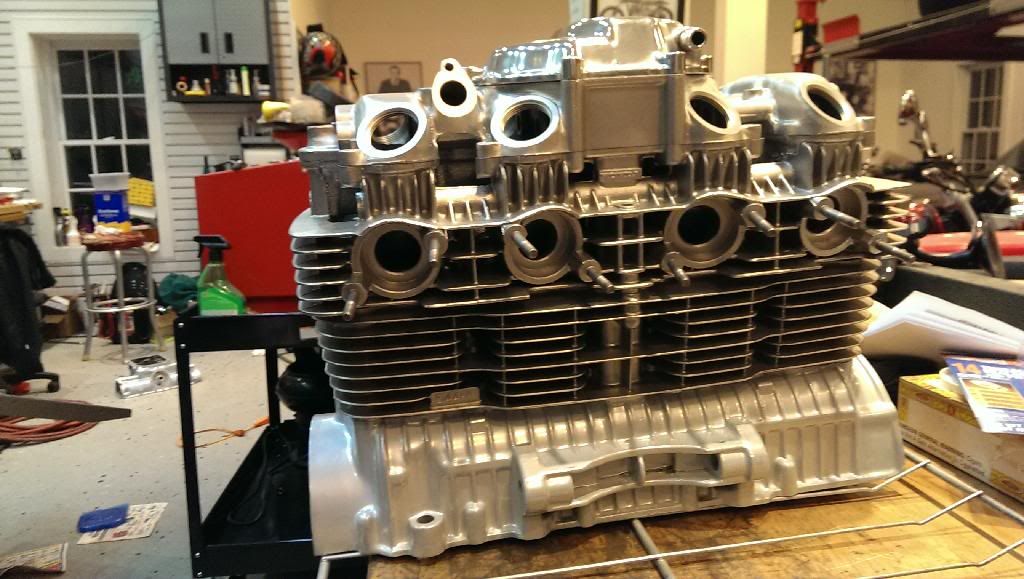
Calj – here is some more porn for you with a shiny cherry on top!

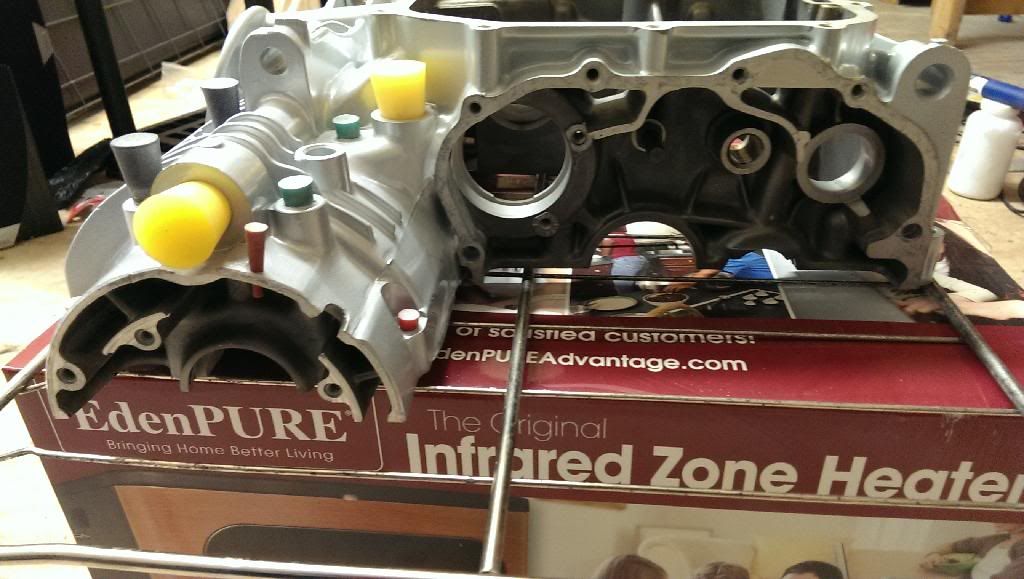
So – on to the monster… Powder Coating the Engine Cases. Earlier, I had thoroughly cleaned, blasted and re-cleaned, re-cleaned and you guessed it, re-cleaned again the cases. After copious amounts of Brake Clean and compressed air, along with a soft pipe cleaner I am 99% confident that all the glass bead is out of the oil galleys, bolt holes and any other place the bead can hide. I then put them back into a water bath and shot compressed air and water through everything checking the bottom of the tub for any grit. Like the little ghost hunter in Poltergeist said, “This house is clean!” Oh wait, she was wrong, wasn’t she?

So first up, I sprayed down the outer cases with brake clean, let it evaporate and then Baked everything for a half hour at 450 degrees. I did this with the Oil Pan a few weeks prior so when I started this they were well cooled off (Ya’ Think?)
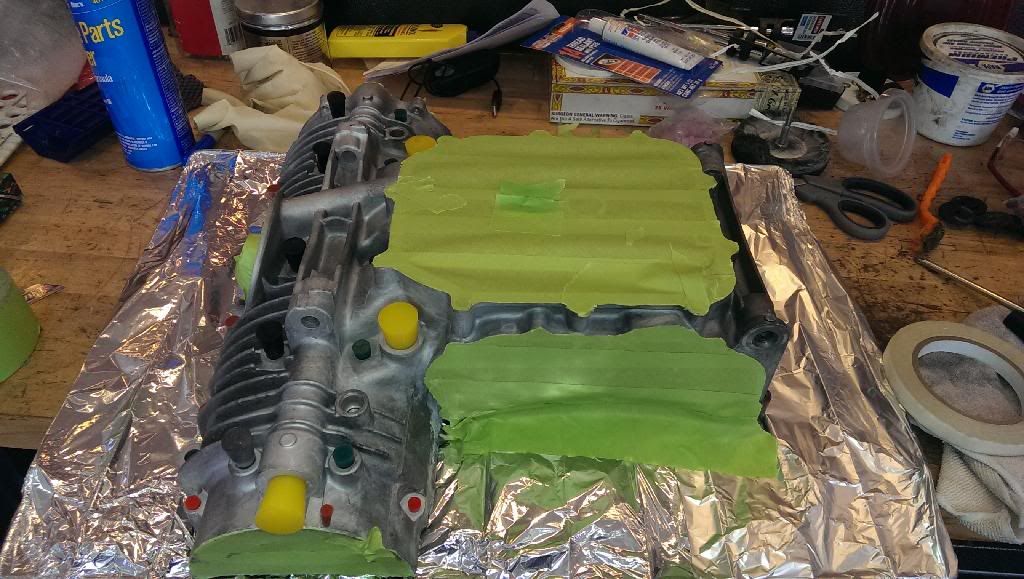
I again sprayed everything down with brake clean and dried it with compressed air. I took the rack from my oven and set the bottom case on it after wrapping the rack with tin foil to keep the mating surface free from powder. I used green painter’s tape and covered the areas I wanted to protect from the powder.
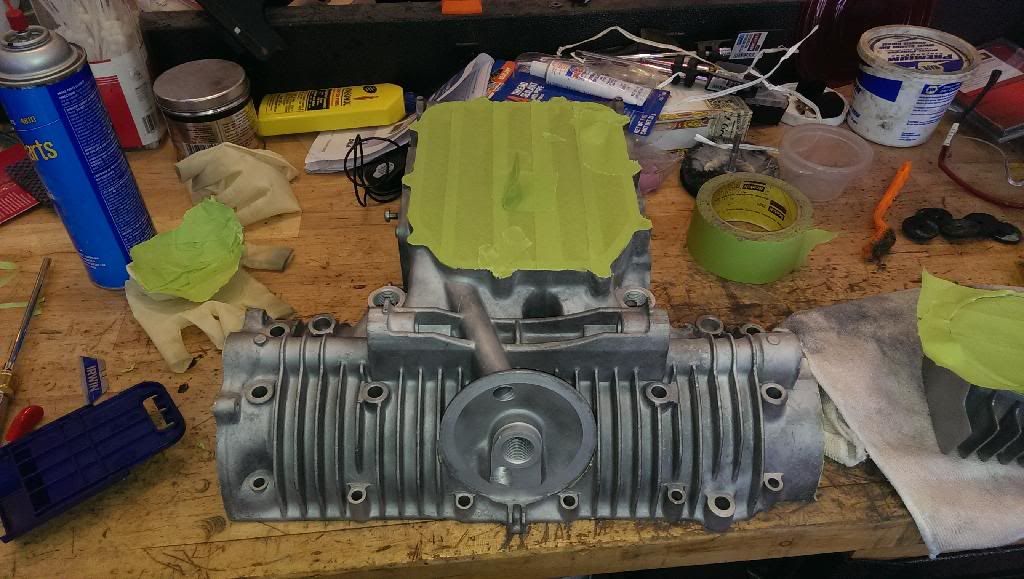
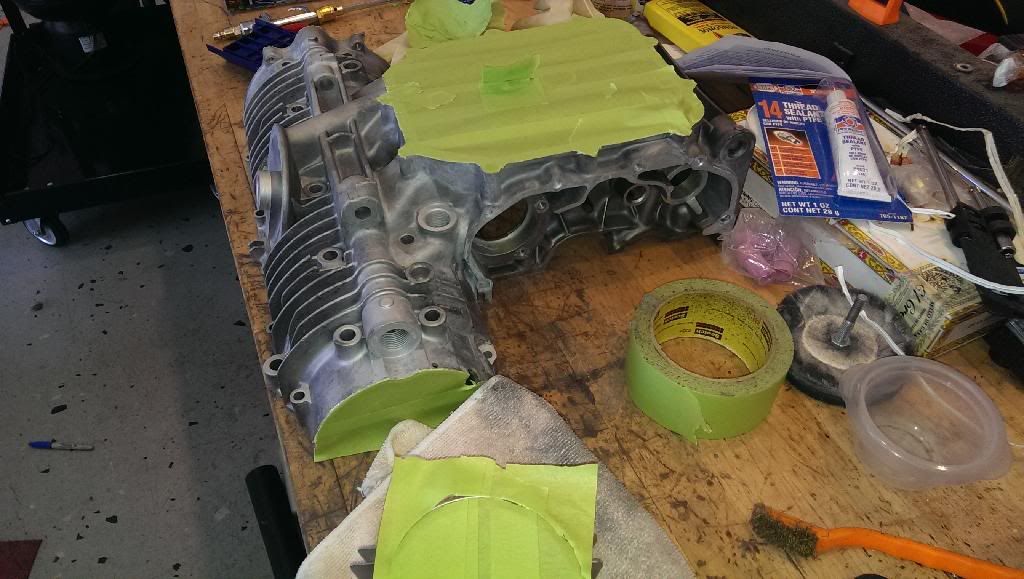
I covered what I wanted, and then traced the the outlines with a razor blade. It would have been MUCH easier to use an X-Acto blade or scalpel.
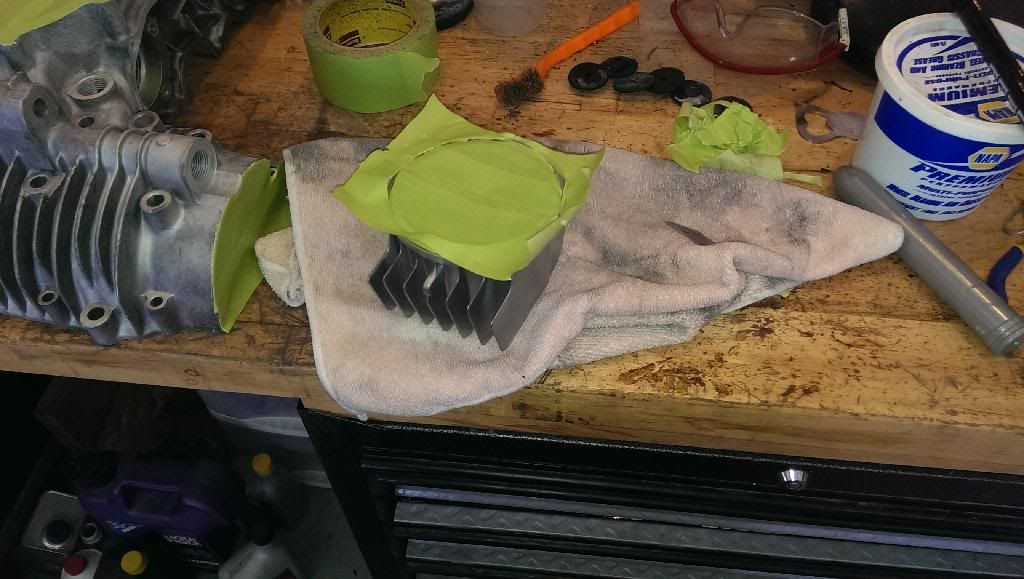
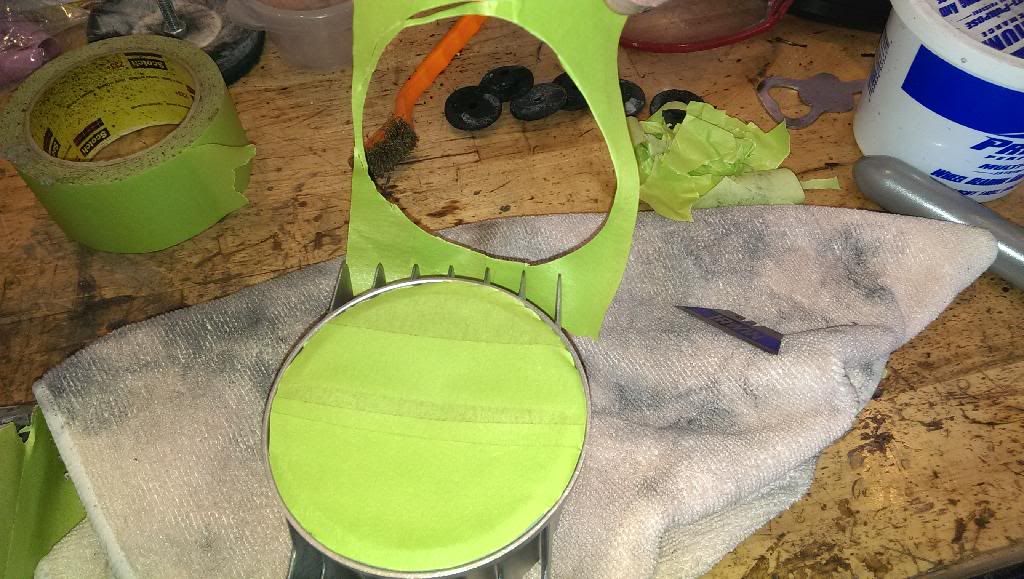
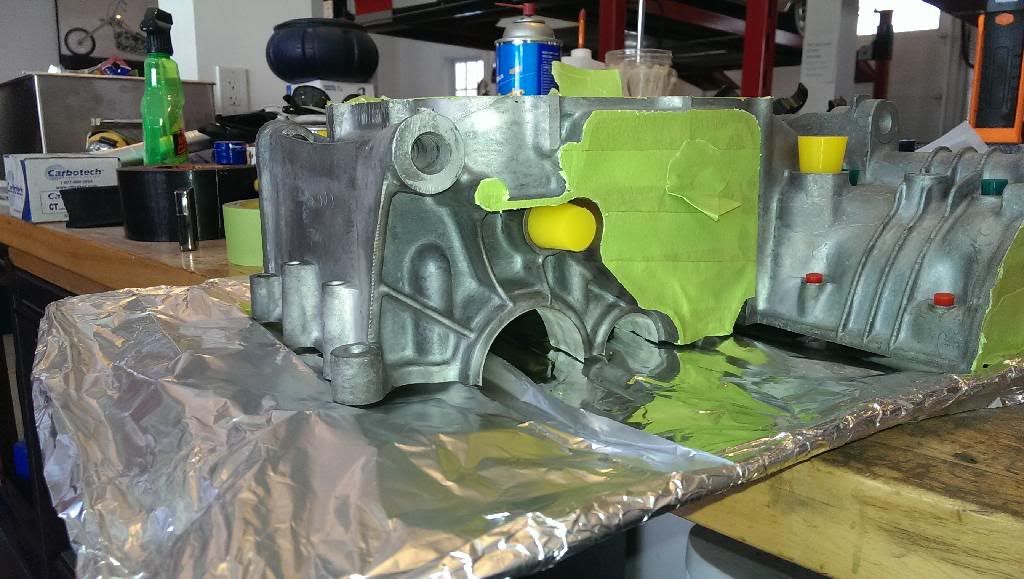
In order to cover the oil filter mounting, I used the Filter Cover as a template. It was a bit crowded to get the right shape of the mask on the Lower Cover itself, so this made it much easier,
Taped the cover opening, and cut out the inside for the shape
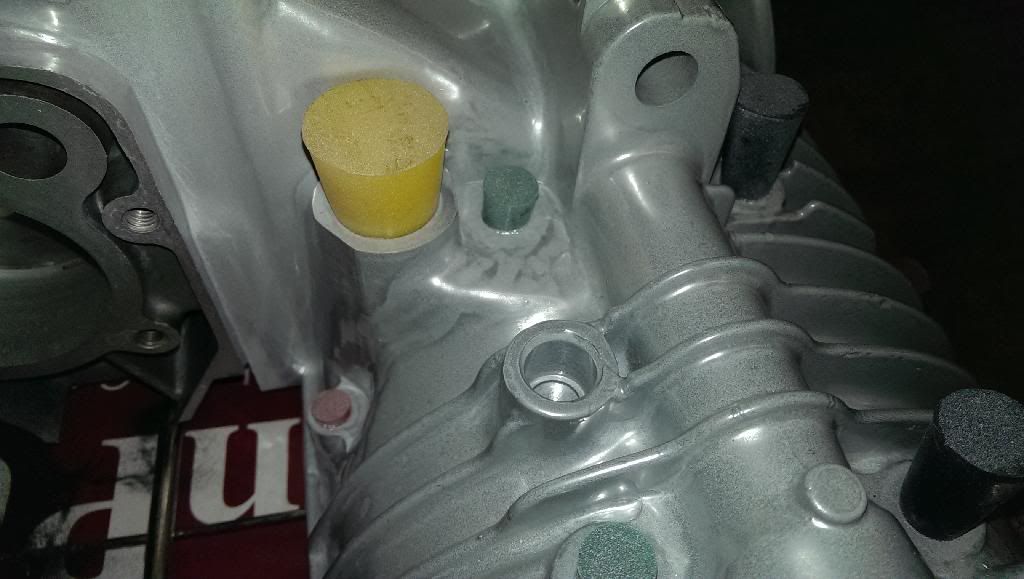
On the Case after cutting a relief in the middle for the bolt receiver which was then just covered up.
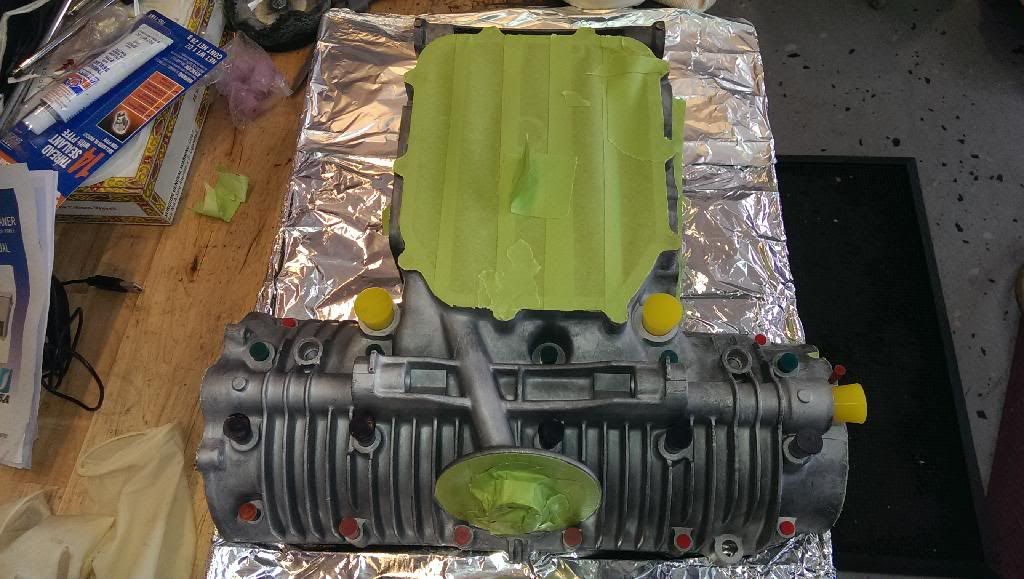
All set up and ready to go. I covered the bolt holes to keep powder from getting inside the case. At this point, I carefully sprayed brake clean over areas that I thought I might have touched during the masking process - the tape kept sticking to my gloves

- to make sure there was no oil or grease on the bare metal. Be careful around the tape, but it will hold up even if you get a little Brake Clean on it.

Once I applied the powder, I carefully pulled the masking tape off making sure not to touch any powdered surface. At this point, if you do, You will need to clean everything and replace any removed masking. Basically, start from scratch.
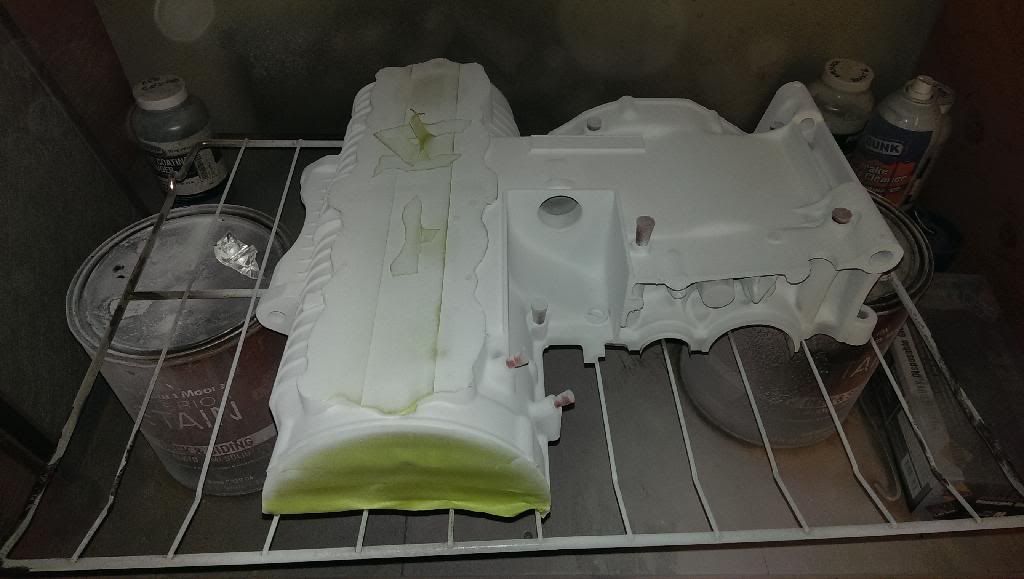
Here is the uppercase after powder, but before removing the mask. The color I am using is “Silver Speed Metallic” from
www.powderbuythepound.com It applies white in uncooked form, but will transform in the oven.
In the oven.

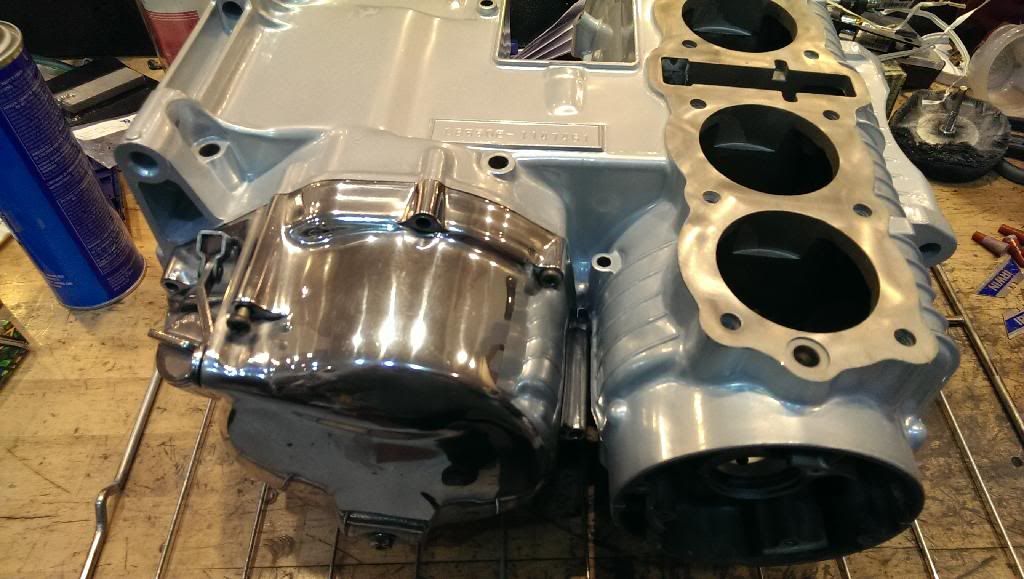
Here is the finished product:
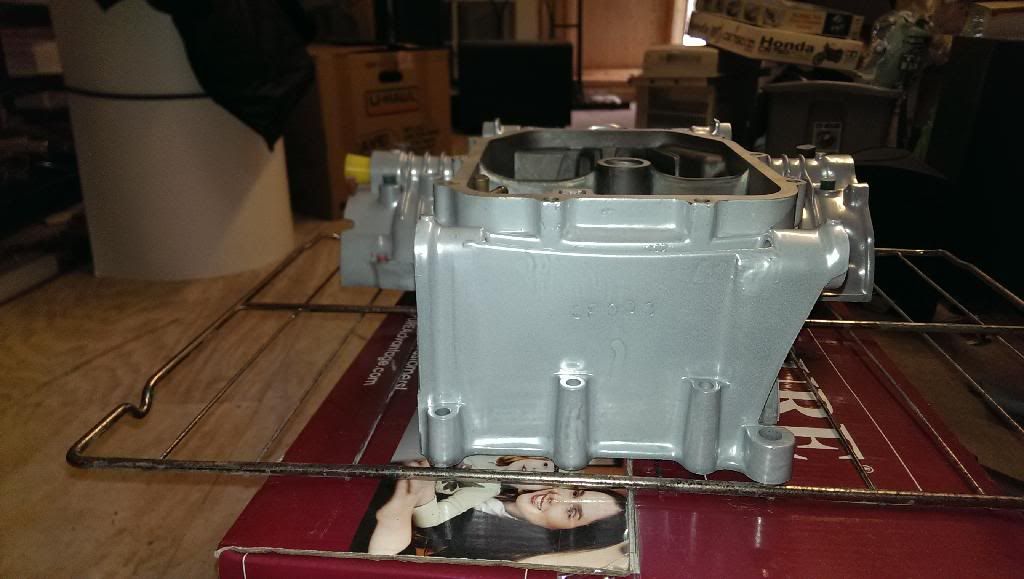
I don’t know what happened here. Its discolored, but very smooth so I am not sure it will be a problem down the road – and its underneath….
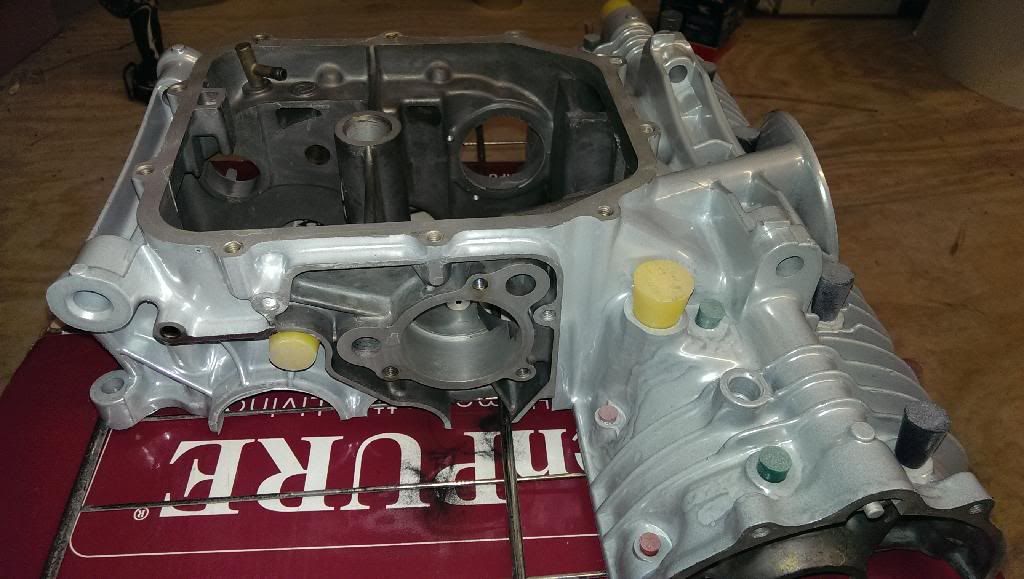
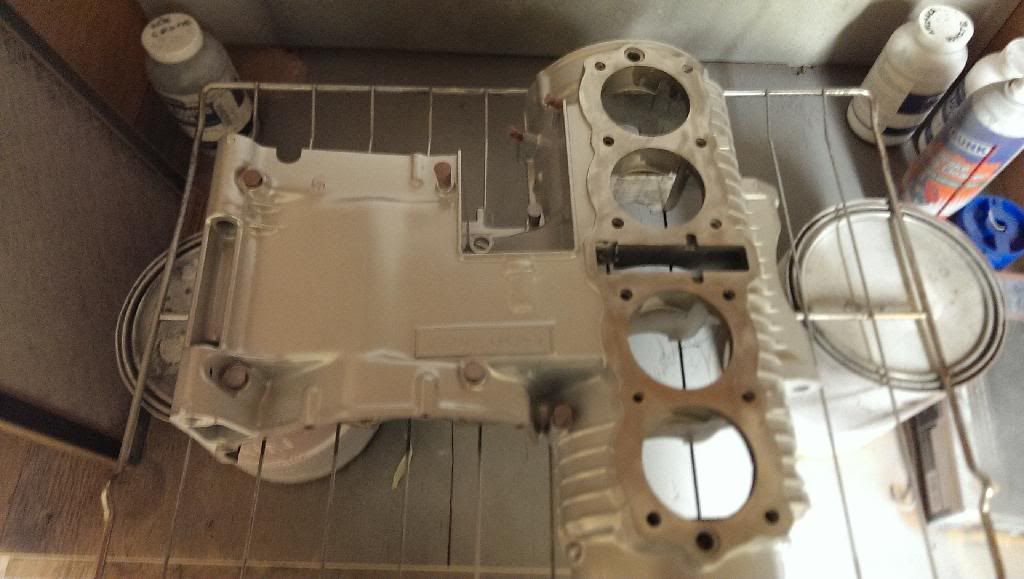
Uppercase masked:

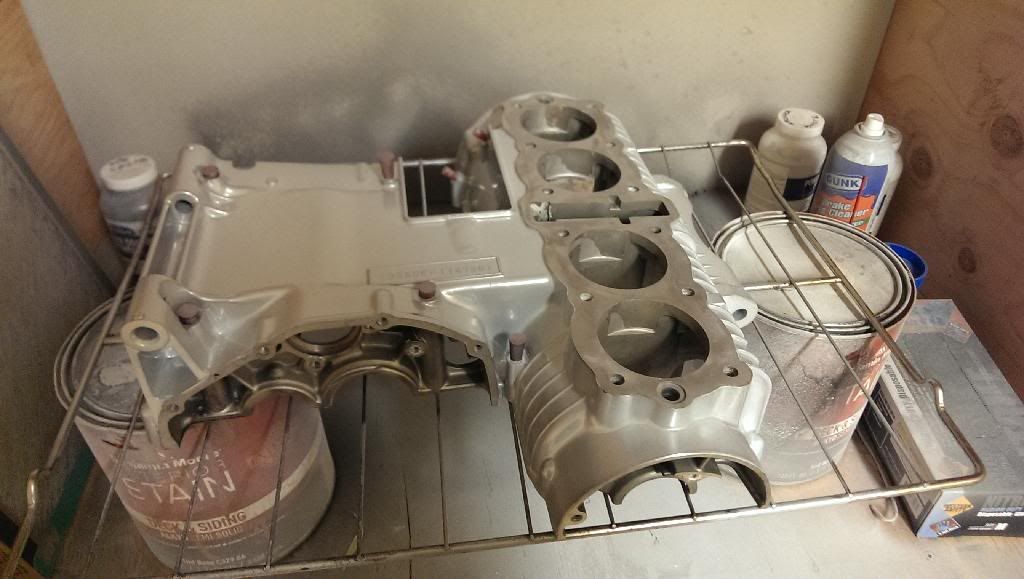
Done:
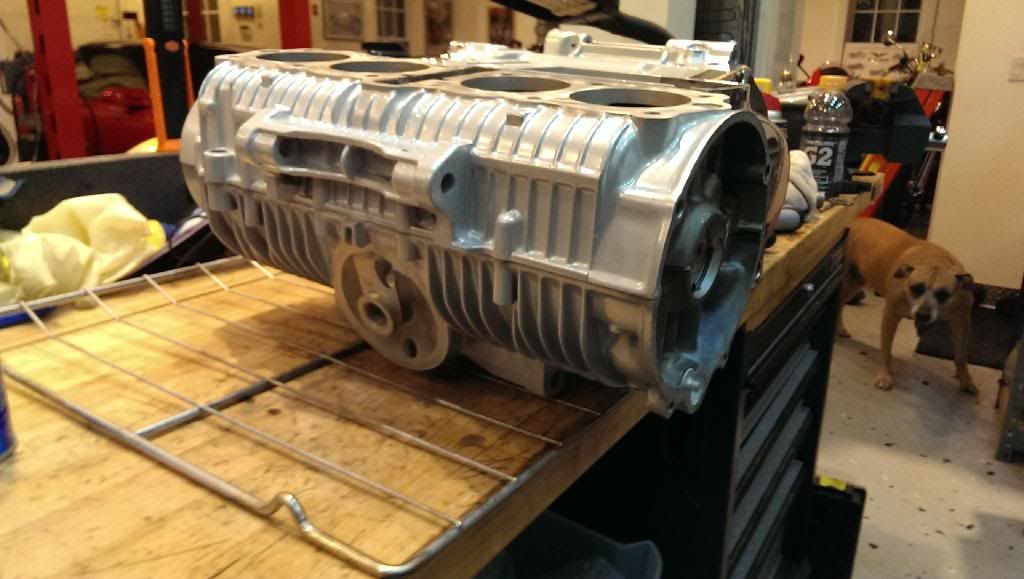
Okay – at this point I was at least 8 Rogue Hazelnut Browns in… I wanted some $$$ shots. Not in any conceivable order… Enjoy!
Oh boy!!!!!! Let’s get this beast assembled!
Gersh


