Hi Folks,
I got the Pamco Ultimate Ignition Kit and will be installing it in my 1978 CB750A. Not knowing at all what I am doing, I looked for videos for anyone doing an install on a CB750A or honda in general but had no luck. I reached out to PamcoPete and asked him if he had one but he said he didnt, but to give it a shot and he could help along the way, and that people have been successful installing it with the instructions on his site thus far. Unfortunately, he underestimates the power of my stupidity. So I thought I would create a thread to track my install and ask questions from you guys and PamcoPete along the way. I will update the thread with the correct steps as I progress so that other noobs such as myself can hopefully make use of this thread. Some of the steps or this thread in general might be painfully obvious to some of you guys but hopefully you will bear with me. My old computer science teacher once told us, "if you can't explain a concept in a simpler form to a third grader, you didn't really understand it yourself."
I've copied some of PamcoPete's instructions for my specific kit and pics (
http://www.cb750ignition.com/installation3.htm) and will add my own pics and questions as well. (Hopefully this is ok Pete, please let me know if otherwise). I do not know names of parts. The ones used below are those from PamcoPete with me cross referencing eBay auctions to see what they look like. Please let me know if I am using incorrect wording, or if any of my steps and/or pictures are wrong and I will update.
Thanks,
John
So let's start.

- Remove the phillips screws and remove the cover.

- Remove the nut in the middle and the three screws holding the points plate. Underneath the points plate you will see the advance mechanism.
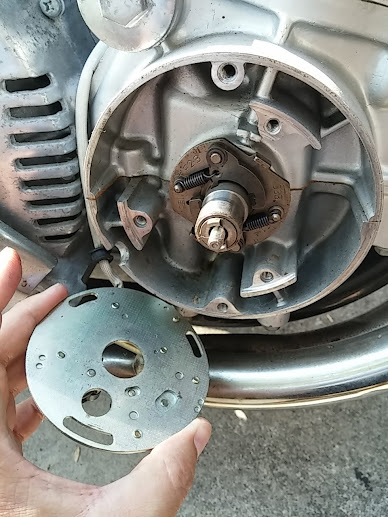
- Remove the advance mechanism

- Remove the points cam. You will need to position the weights in a position so that it releases the points cam. I did this be removing the springs and then putting it back after I removed the cam. Here is a pic of the cam when it is free

- Apply a light coat of grease to the shaft and bolt
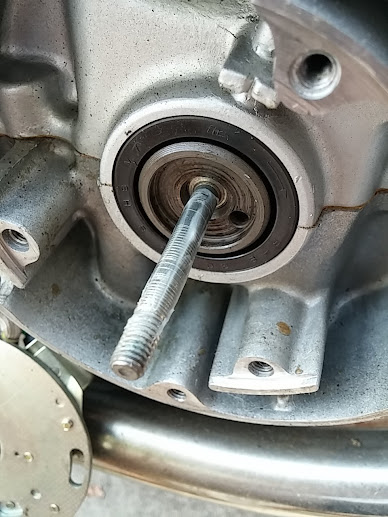
- The below is from PamcoPete's instructions. Unfortunately, I do not know what it looks like and where I should be looking for the small pin. Help here please.
Note: On some advancers there is a small pin located on the shaft of the advancer. If you have this pin on your advancer, follow these instructions:
1. Check for the pin and if there grind off with small grinding tool or file. If
necessary clean with WD-40 to remove metal particles then apply
light oil to prevent rust.
2. Apply a light coating of grease on the advancer shaft.
3. Once the rotor is bolted to advancer check for free movement and spring return.- Next, what will need to be done is to create a sandwich of the following items: rotor, then pamco plate, then advance mechanism. You have to do it in a certain fashion in order for it to work properly, the call out here is the orientation for the rotor (from the kit) and the advance mechanism due to how the weights have to be situated in order for the two to fit together. Here are the two without the Pamco plate in the middle for demonstration purposes. You will need to have it in the same orientation but with the Pamco plate in between.

You can do this by doing the following:
- Place the rotor on a flat surface

- Place the Pamco plate on the rotor

- Hold the weights in the extended position and insert the tabs on the weights into the slots of the PAMCO rotor.

- This is how it should look like together (front and side view)
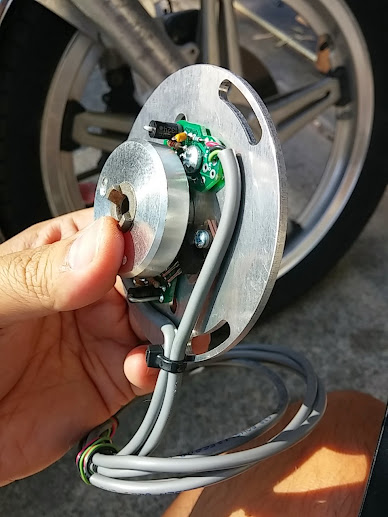

This is how she looks like put back in
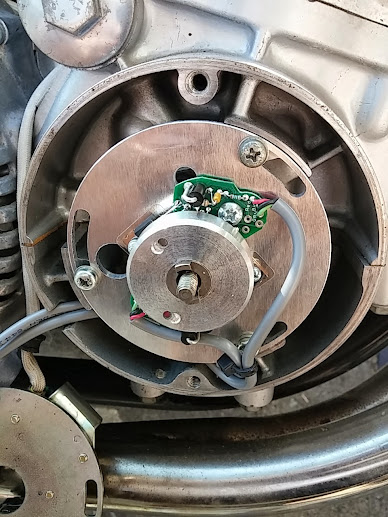
Since I bought the Ultimate Ignition Kit, it came with new coils as well so I had to remove the old ones. Here is how the old ones were attached. (View from both sides)


Here's how it looks like removed:
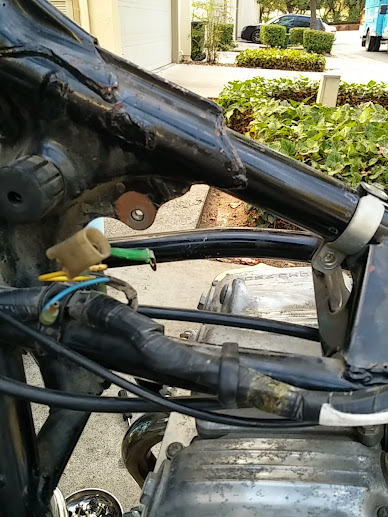
The kit came with four bolts, two of which will be used to hold up the new coils. Unfortunately, I did not see any nuts in the kit. I kept everything together so I'm wondering if I misplaced it, or if it was missing in my kit. In looking at the pics of the kit where I bought it from, I believe it normally comes with it.
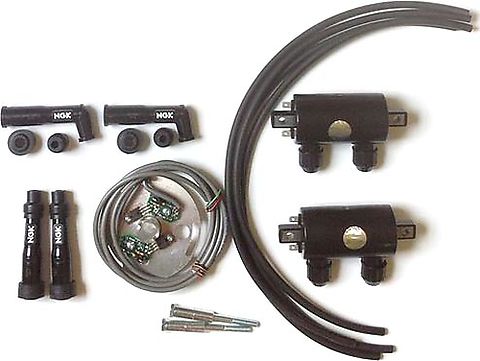
I'll try to pick up some nuts from Home Depot to use. However, I ran into a slight problem.
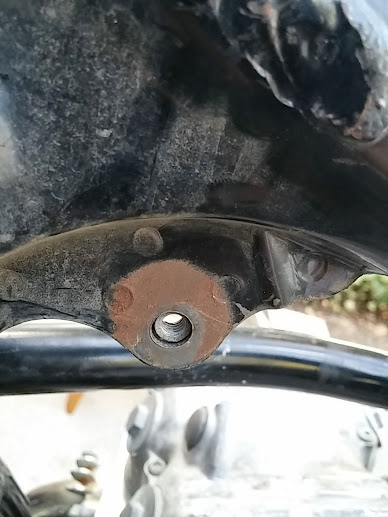
Although the rear bolt could slide through the hanger fine, I was not able to lace through the front bolt since the the original nut was attached to the frame. Does anyone else have this same issue?
