So, I don't know if this belongs here, but I figured most people don't do this except maybe you guys.
Anyways, one of the cardinal rules I was taught while engine building was to always check for dirt under your balls and clean them well

. Mainly, it's because i've gotten a lot of basket cases, and got knows what gets into the crevices of crankshafts and the oil galleries of stripped cases and cranks. Considering the F2 crank I'll be using in my build is from such basket case (known history, hardly any use...but has been sitting around), I figured I'd get around to cleaning the crank by removing the balls and tapping it for grub screws.
Now, I've searched a bit on here, and found precisely nothing on the topic, but am familiar with the pressed ball type cranks so I figured it'd be a good chance for anyone searching to find some info. I also decided to try it out on my junker K5 crank, which will be my test bed for my orifice fluting and lightening experiments.
Now onto some pictures (note, viewer discretion IS advised. This was from a RUNNING NOT STORED BIKE. keep that in mind when you see the amount of crap that was in there....):
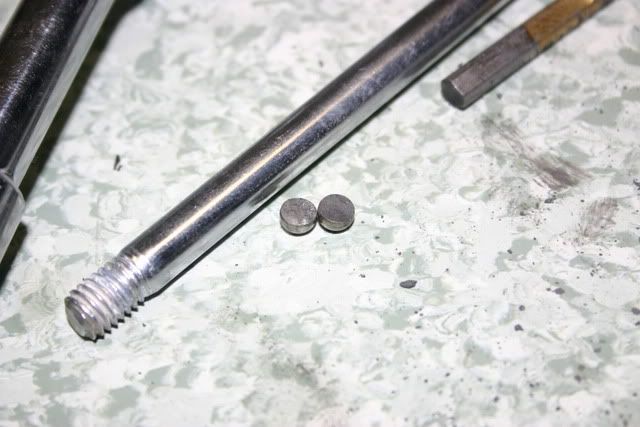
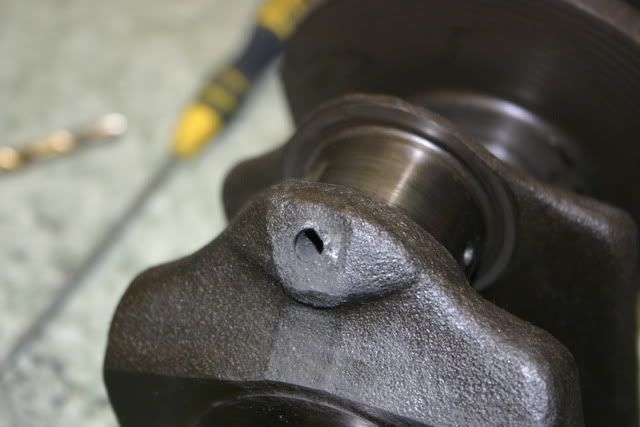
How to remove the balls...take a coarse dremel bit (I use the green/tan el-cheapo ones that are marked as "medium"), and grind the top of the ball flush with the crank. It helps to use the 1" circular grinding wheels as the control with them is very good. I usually remove all the rods from the crank before grinding the balls off. This is because the crank will sit on two of the rods when you try to remove the balls, and it's easier to work with the crank when it's sitting on on the counter weights. When ready to remove, install a rod on the journal that is closest to the ball, with a used set of bearings and plenty of oil as lubricant. You don't have to do this, but it helps to avoid nicking the journal...just in case. Now just hit the edge of the ball with a nailsetter until you can see the ball start to move. Then I use a flat head screwdriver that is sacrificed for the job to tap the ball almost completely over before removal. End result:

At this point, it should be noted that there is NOT casting/welding covering the oil holes, but is in fact the crap that has accumulated in your crank.

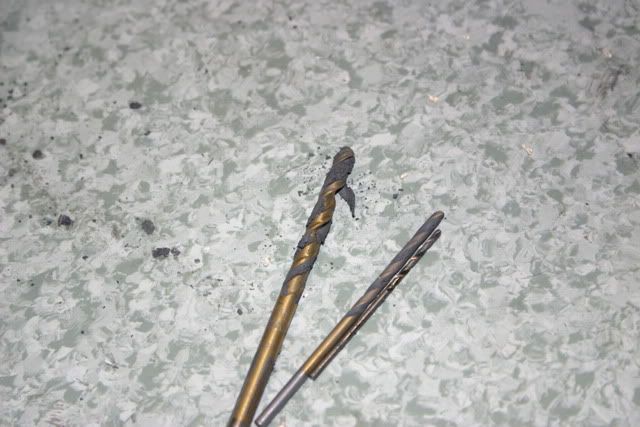
Lookit all that stuff in there!!! Note: The drilled holes connect each rod journal to the nearest main journal diagonally. Cleaning was done using a drill bit first, followed by bore brushes.


I just got all four out tonight, will be visiting the hardware store for a #3 drill and some 1/4-28 grub screws this week to finish off the job, and will post pics.
Cheers, and hope that helps a bit!
MnL
P.S. Don't try anything in the above mentioned post without thinking first, or without reading on it further. I take no responsibility if you make your crank useless or damage it in any way....