So I knew that the engine turned over, It had developed an oil leak at the head gasket based on the old gummy oil on the front left side of the jugs and it was leaking oil at the stator cover if you kicked it over. The motor was the original motor with the bike and had ~35,000 km on the odometer. I had no idea of the condition of the top and bottom end and didn't want to risk running it in fear of it exploding or damaging anything in the bike. It must've been parked for a reason.
My plan of attack was to refurbish the top end with new piston rings and regrind the valves, new gaskets, hone the cylinders, install new studs and oil seals all around. I purchased the necessary tools and parts and got to work. Mind you…this was the dead of winter around late January/early February and I tried to do as much of the work as possible in the basement since my fingers and toes were freezing off in the garage.
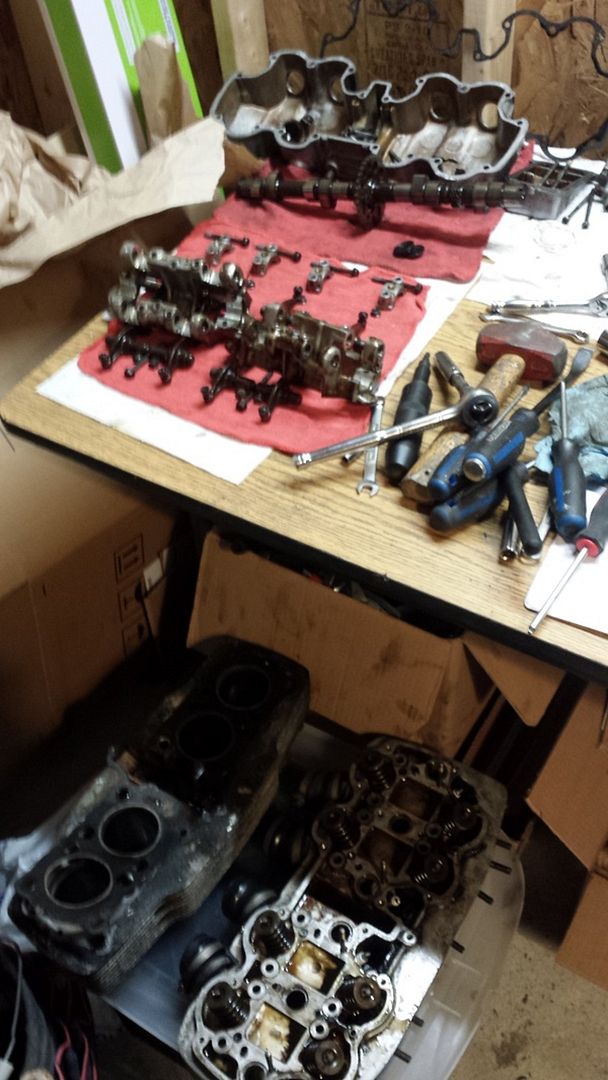
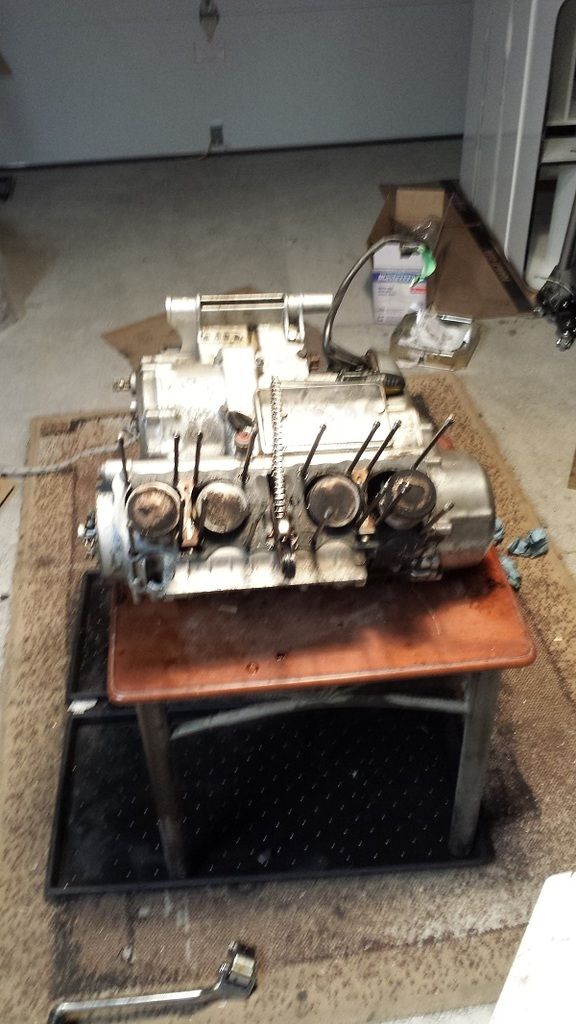
Nothing was broken in the top end, camshaft appeared to be in good condition (based on my untrained eyes), rockers alright and valves unbent. Took my time and measured each part to ensure it was in good working order. Only issues I could find were that a few of the oil rings had too much gap but the new rings solved that and one new piston pin courtesy of Honda.
After a lot of scraping off the old gasket and cleaning the carbon off the piston, valves and combustion chamber this was what it looked like. Mating surfaces had acceptable straightness? Measured with a feeling gauge and straight edge of a ruler.
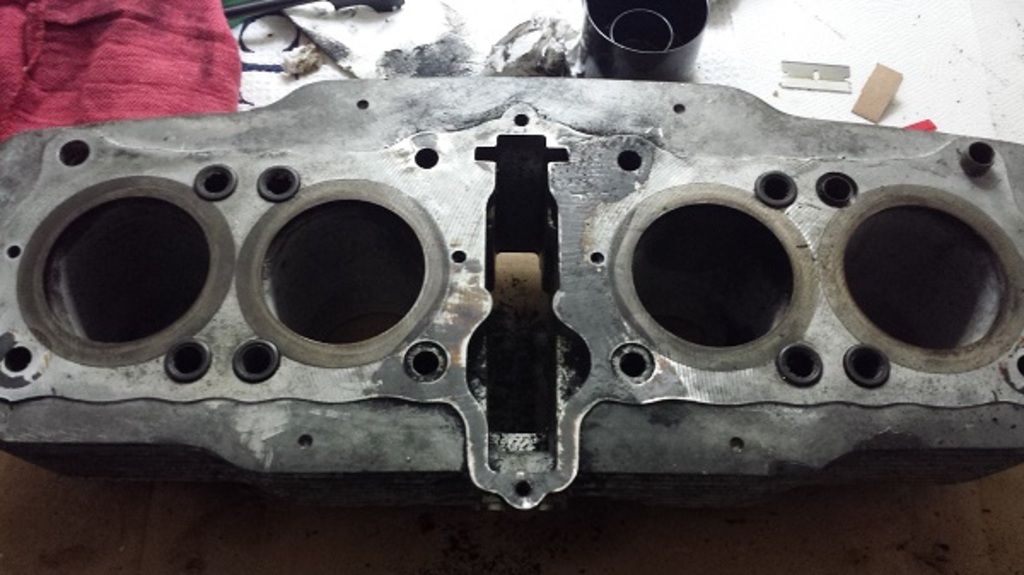
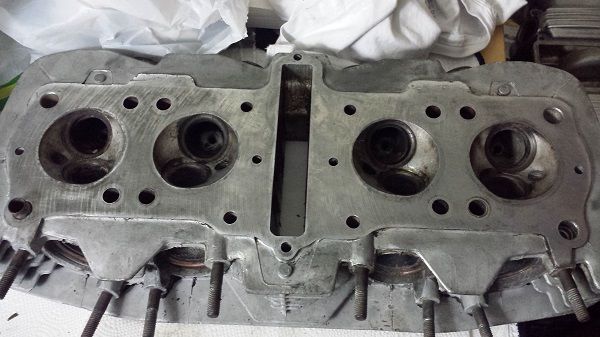
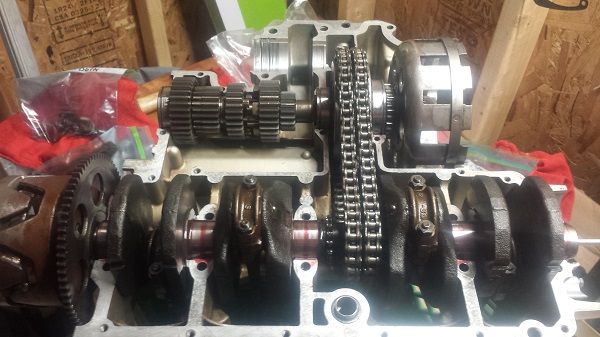
Now I was left with the bottom end and what to do with it. I had already come this far and it would probably be okay the way it was. But seeing as how my whole goal of this project was to get as deep into the bike as possible I split the cases to inspect all the parts and learnt how everything worked (in hindsight this was completely unnecessary after reading about how the bottom end for the most part was bullet proof especially if I believed the odometer to be true but nonetheless I did gain a lot of valuable information and confidence doing it). The studs were difficult to remove without a stud extractor. Double nutting only worked on a few studs, the rest I bent and twisted them out slowly – very unsettling experience. Removed the kick starter mechanism for some reason only to reinstall it after inspection and cleaning (such a pain).
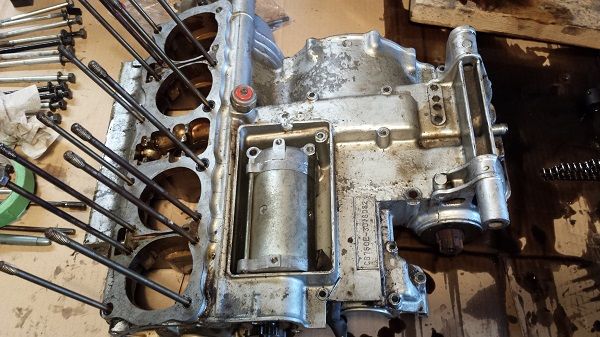
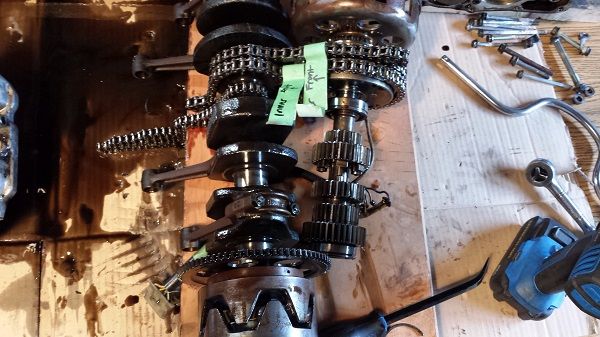
Only thing I replaced in the bottom end was one green bearing as it had a slight scoring on it.
So after cleaning all the cases multiple times and extremely thoroughly I decided it was time to paint! I really liked what other members did with the black top end with aluminum fins and aluminum bottom end. So I painted the top end gloss black – looks slick. And bottom end aluminum with engine paint.
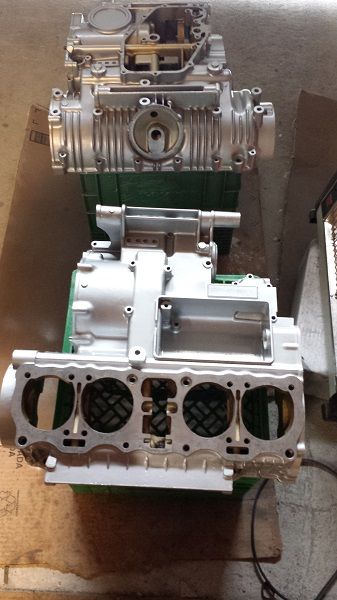
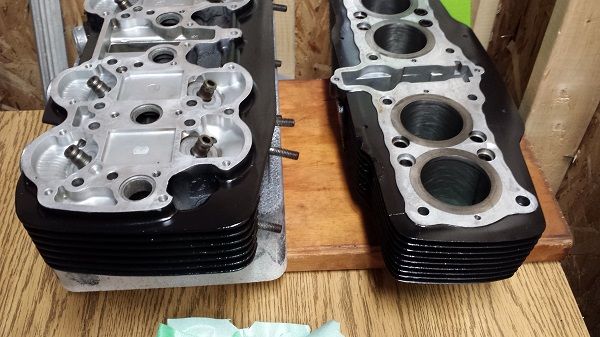
I was a lot more thorough in the prep and paint than I was for the rims. Call it a lesson learnt as I wasn't happy about my last painting results.
Once paint was done it was just a matter of putting aside a full day to tackle the reassembly. Putting the case halves together was tricky doing it alone and I had to fumble my way around with installing the pistons into the sleeves but after a lot of trial and error it went in without too much of a hassle.
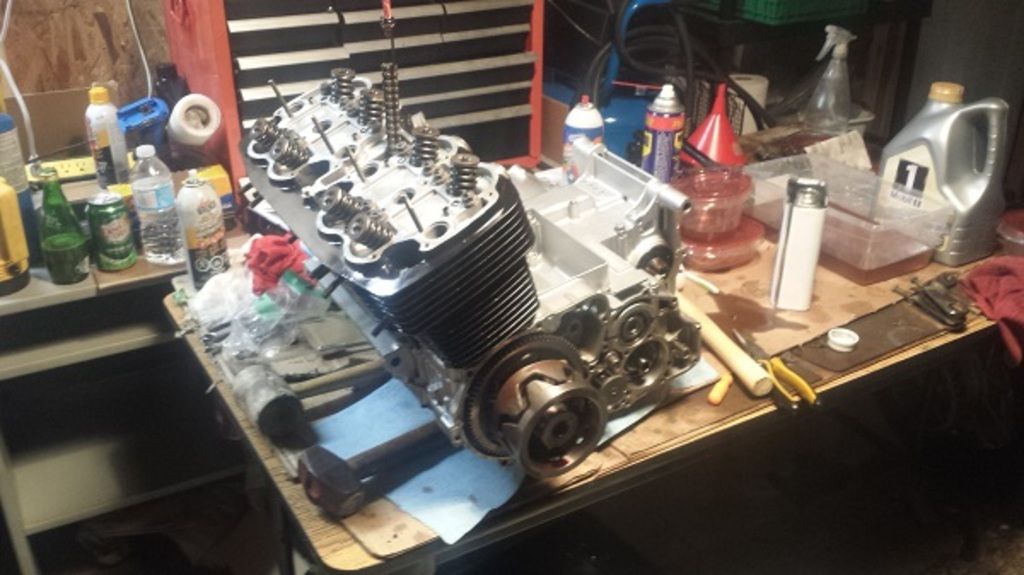
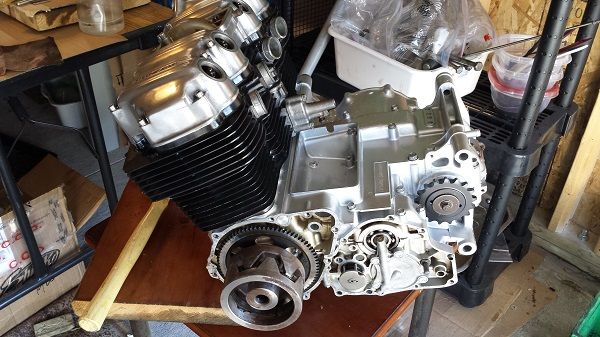
Now that the engine work was out of the way it was time to tackle the frame.
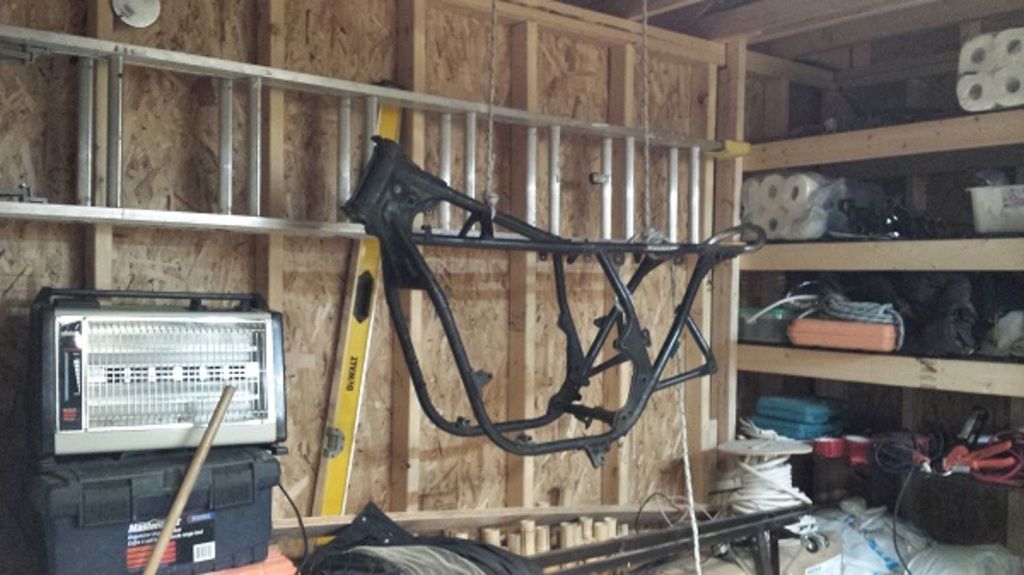
By now it was mid March with not much left to do. I should be done by my deadline of spring and all I had to do was clean the carbs, clean and paint the frame, derust and paint the tank, install the wiring harness, coils plus electronics, polish my covers, install some cables and done! Off we go on a cross country road trip to California! Ya right…
Tbc