And of course, no teaching post is complete without pictures!
Seen better days:

The rolled pin approaching freedom (oh, and a hammer may be required, just be sure to properly support the opposite side):

Once the rolled pin is freed, then the bottom "cone" can be liberated. I used my thumbnail around the base of it to work it free, then the cylinder slides out the top:
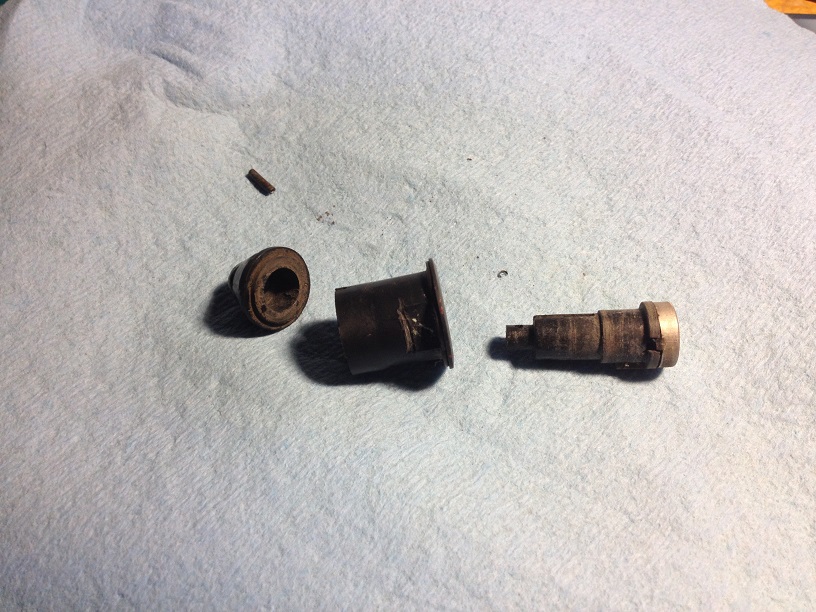
There are a total of
nine ten parts (there's a little plastic washer under the collar/bezel that rests on the tank lid). I recommend doing this over a large tray while sitting at a table. See the little key "door"? I dropped that on the garage floor and had a heck of a time spotting it. See the little key door spring next to it? Glad I didn't drop that! The outer "cap" is secured by two tabs that are bent over to hold it in place. Be careful not to bend those tabs too far down when reinstalling or they can interfere with the key door. Insert and remove a key after putting the cap on to verify freedom of movement of the key door. The picture below is an "after" shot after I had already treated the cap to a hammer and punch on the anvil:

VIOLA'!
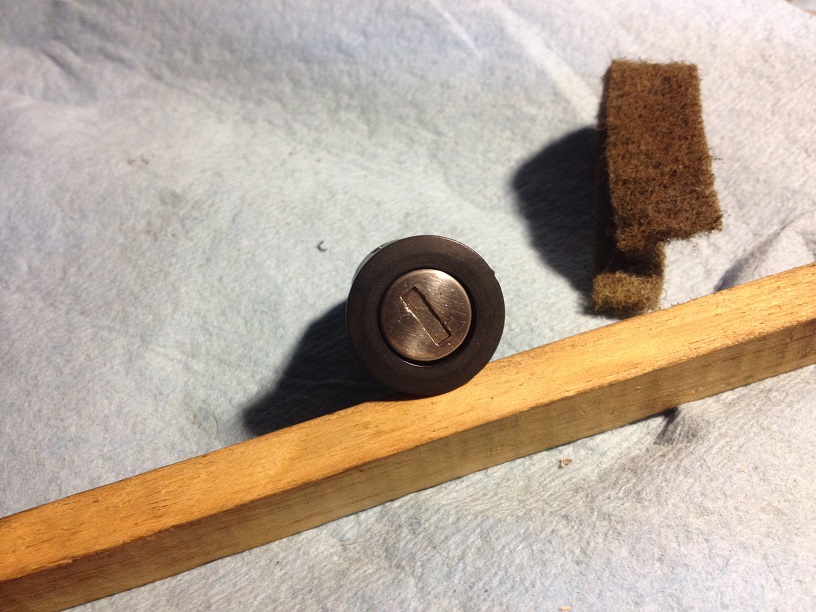
and TA-DA!

I did this this evening after making the previous post. Took all of about 45 minutes, with most of that being painstaking care removing the rolled pin. That is probably the most critical step and the most likely to break something.


