Had it all planned out today, was going to get up early, get in the garage and crack on with the TriBSA now that temps have risen to slightly more comfortable levels. What I hadn't factored in was the amount of beer I drank last night, what was supposedly going to be a quiet couple of drinks with the missus turned into a bit of a piss-fest, we ended up at the re-opening of a pub that's been shut for years, my lad and all his mates were in there too and for some unfathomable reason they all wanted to buy me a drink - well it would be rude to say no wouldn't it?

So, feeling like the life had been drained out of me I managed to drag myself in the garage this morning, but the willing and enthusiasm just wasn't there. I was determined to make some progress though, however minor, so I set about making another gasket.
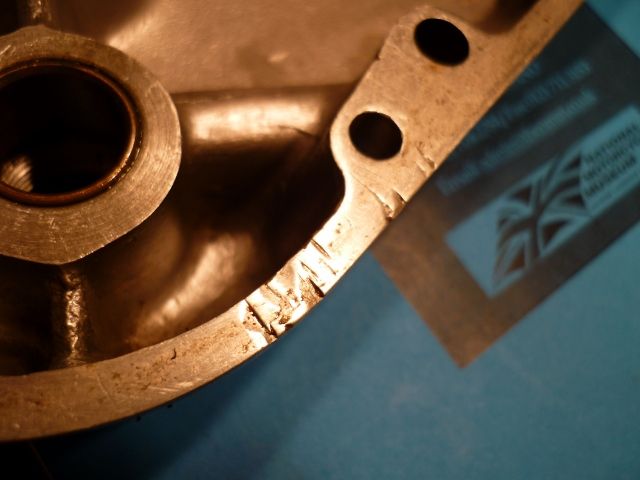
Now for once I can't blame the cheapo-sh1t gasket set for this one. Triumph never fitted a timing cover gasket to these early engines, and actually recommended a smear of grease on both contact surfaces which is probably why most of the buggers leaked. This particular one had been fitted with a black sealant of some description which had all but dissolved, and the cover had come away easily. There were however some tell-tale signs that suggested that there had once been a time when the cover had not been so submissive for a previous owner....
On the cover...
And on the engine case...
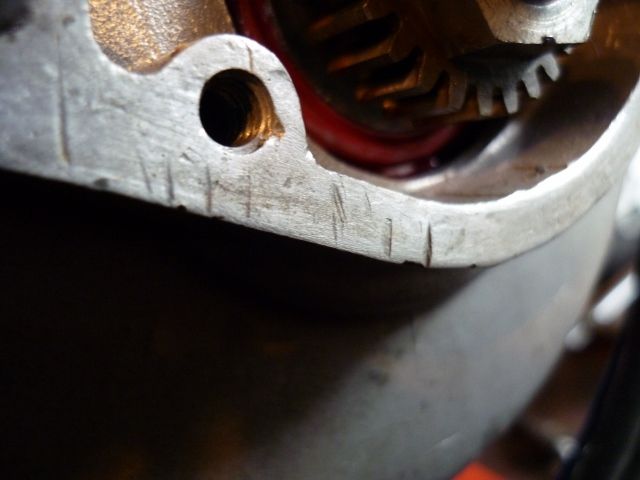
Well I thought, a smear of grease is hardly going to give a reassuring seal where some neanderthal has used a screwdriver to pry off the cover, so my idea was to make a gasket, set it onto the engine case using threebond, and then apply grease to the outside face that the cover bolts to. I'm hoping this will be sufficient to keep the oil in. I'm using grease on one side as I may have to remove the cover again if I've stuffed up the ignition timing and need to get to the advance/retard unit.
As I've been banging on about having to make gaskets lately I thought I would make this post a bit edukashunal and show how it's done, at least how I do it anyway - apologies if I'm teaching grandma how to suck eggs, but hopefully it might be interesting and informative to some.
First, choose your material. There's plenty of proper gasket paper to be had on eBay very cheaply, so there's no excuse for using the back of a cereal box. For this application I've gone 'thin', using .25mm paper as I wasn't sure how critical the end float is for the intermediate gear and I wanted to keep things as close as possible. I may well have worried unnecessarily about this but I do get a bit OCD about these things.
Lay the cover on the paper to make sure it's big enough...
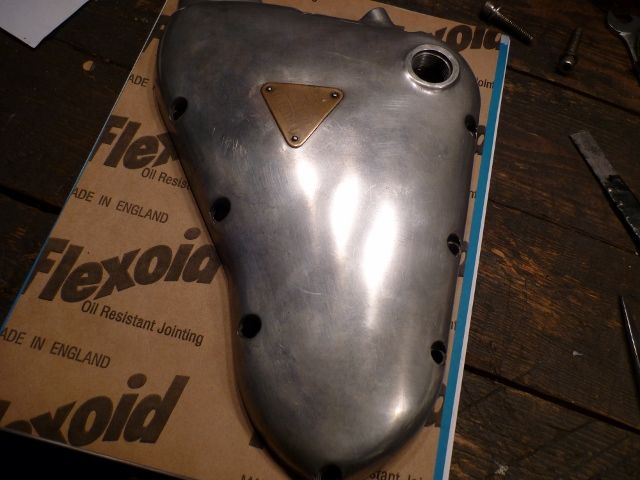
...then flip it over. Locate a fixing hole and tap a ball-bearing into it over the paper. This will 'cut' a hole in which you can place a bolt to provide an anchor point...
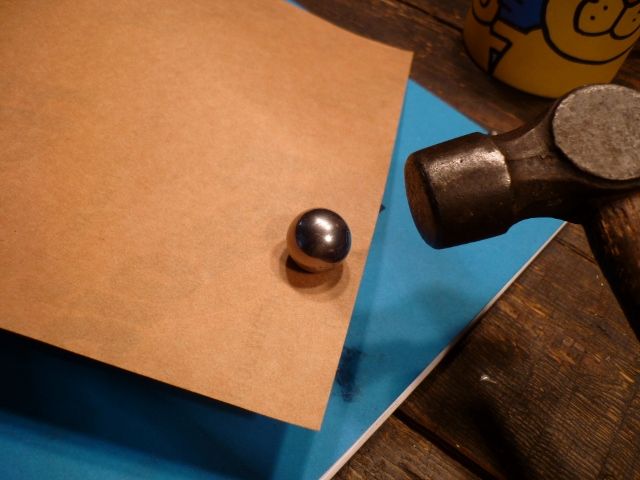
...with one anchor set, go to the opposite end and do the same again. With two bolts located the paper will stay put while you tackle the next bit...
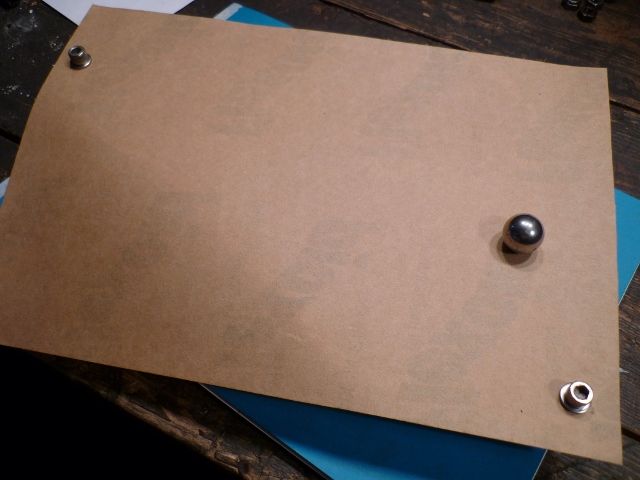
...which is to continue around the cover 'cutting' the rest of the holes...
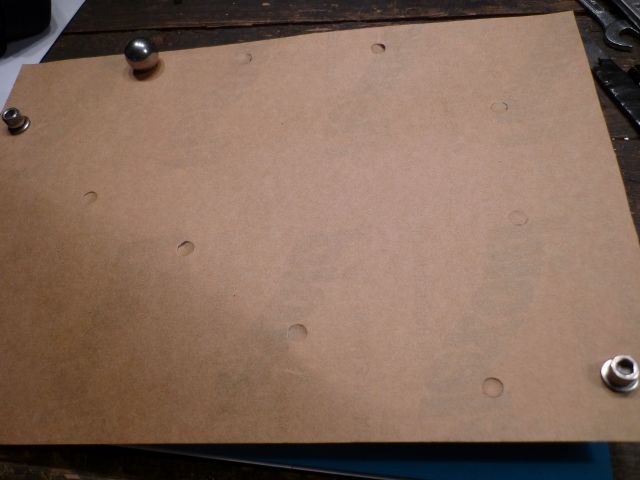
...once the holes are done, I use a fingernail along the inside edge of the cover to mark where the paper needs to be cut. You could just use the ball end of your hammer here, tapping around the profile and cutting the paper against the edge of the gasket face as you go. That's ok for steel components, but personally I wouldn't want to risk dulling the edges of alloy pieces so I mark them this way and use scissors after (admittedly worrying about dulling the edges is pretty academic in this case

)...
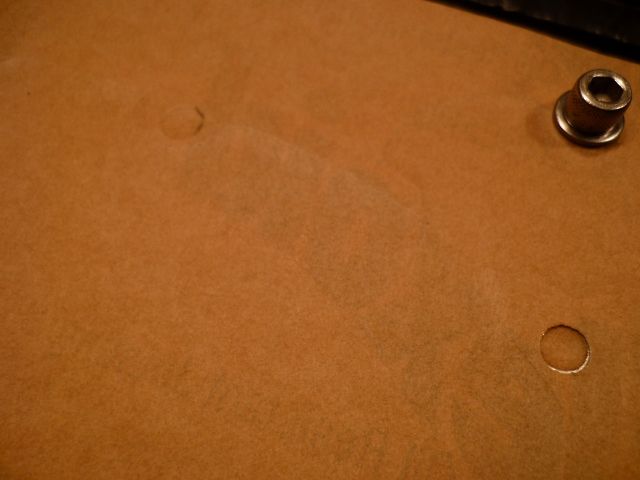
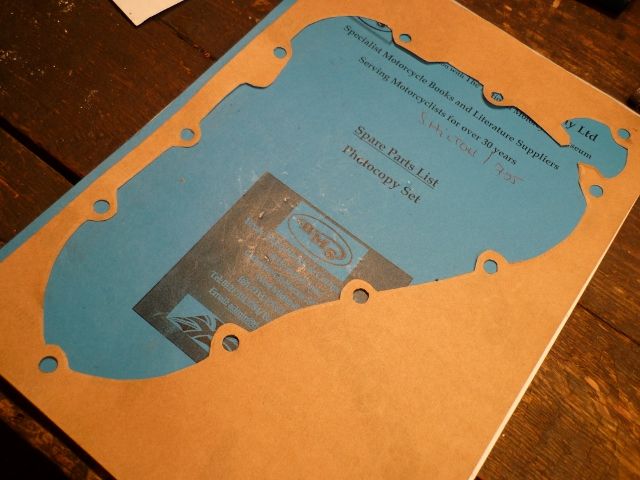
...with the middle cut out, the cover can be re-positioned on the paper and drawn around with a pencil before cutting out with the scissors again...
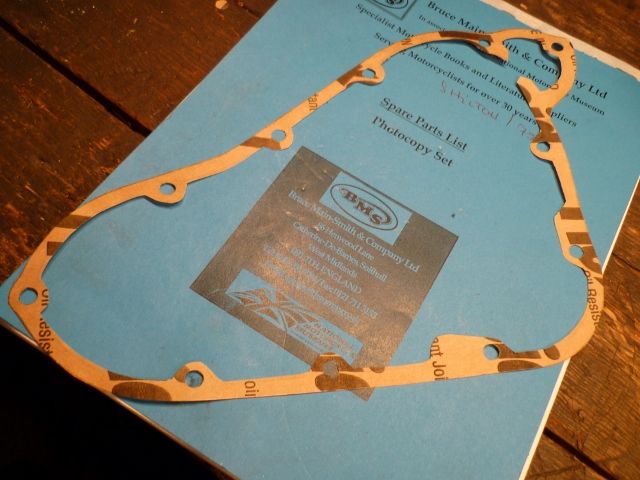
Ta Da!
That's all I could muster today. Afterwards I headed back indoors and fell asleep in front of the TV. Only the sound of my son chucking up for the best part of the day raised my spirits, I don't know, youngsters just don't seem to be able to hold their beer these days.
