Time for an update. Got to admit I went a little off the boil with this for the past few weeks, got my mojo back now though so there's been a bit more progress, and another problem found.

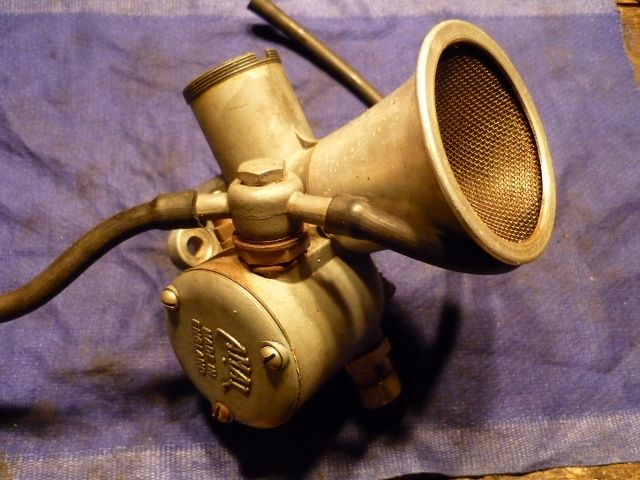
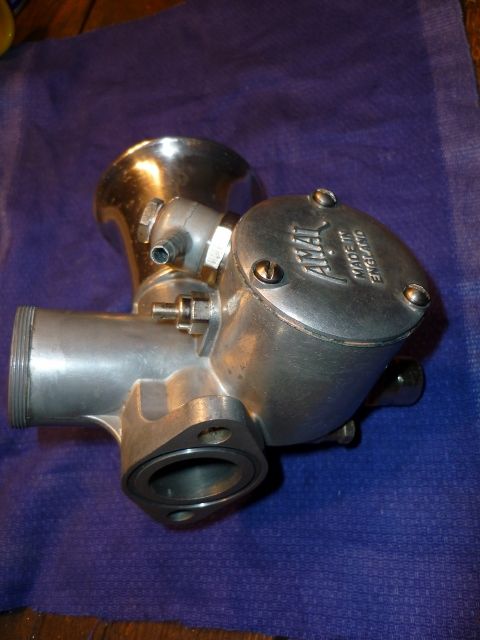
Carb time. This is a Monobloc 376, which wouldn't have been original equipment on a 1953 motor. It would have had a pre-Monobloc 276, with a remote float bowl. The chances of picking up a 276 in good condition are slim, and parts for them are as rare as hen's teeth. From what I can tell a lot of these early engines now run the later carb, which is still made by Amal and parts are plentiful. This one comes with a nice velocity stack with a mesh screen which should prevent the ingress of a wayward pigeon but probably won't filter out much else. Shouldn't be a problem, the rain usually keeps the dust down over here...
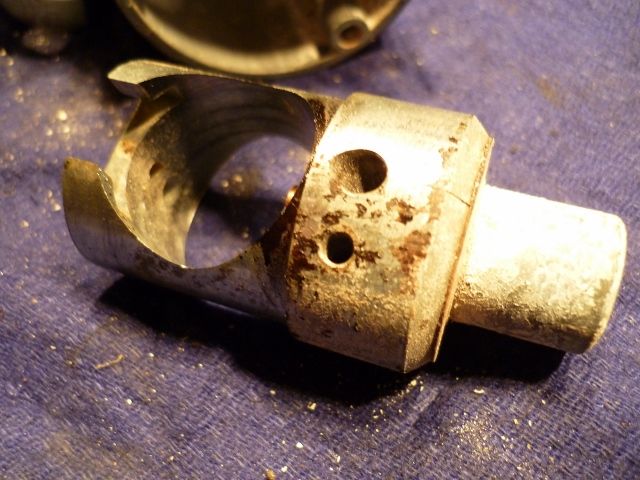
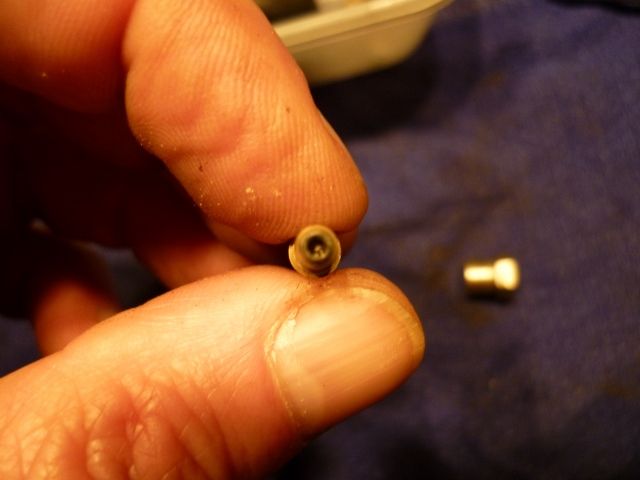
Of course it was a complete mess inside but it didn't take too long to clean up, these are a bit more agricultural than what you'd expect to find on your SOHC4. Here's a pic of the jet block and another of the totally plugged main jet. Remember this bike was running - fcuk knows how!
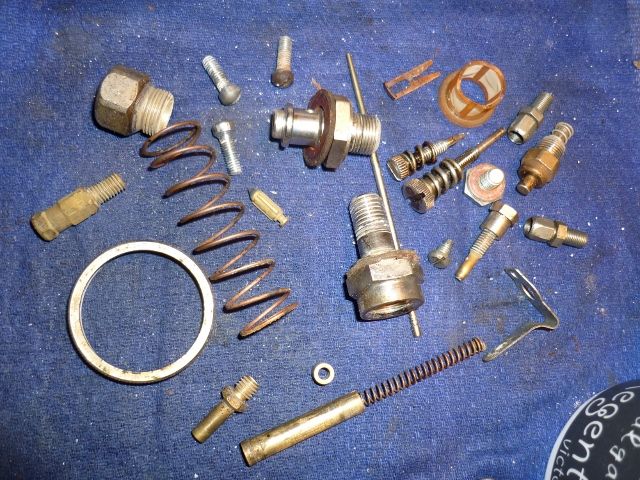
And more assorted bits that actually cleaned up quite well after a few cycles in my ultra-cheap and usually ineffective ultrasonic cleaner....
The mounting flange was bowed through overtightening, very common on these, and needed to be glassed. Here you can see how much it had distorted...
And now nice and flat (yes, lots of superfluous pictures, but we do like pictures don't we

...

Back together...
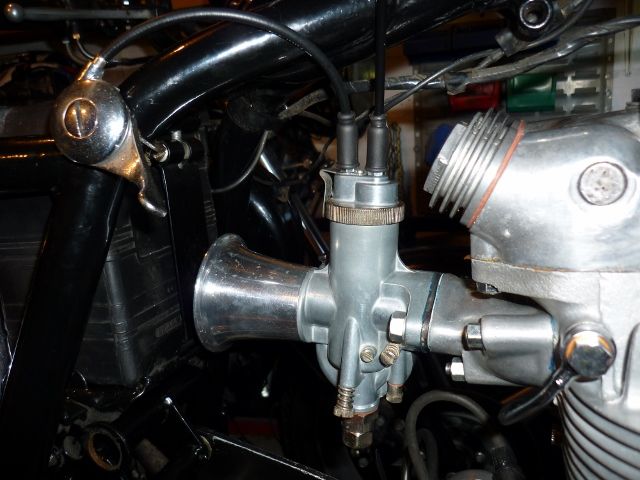
And on the bike. This picture doesn't really tell the full story. I had to make up a new choke cable and had to buy another throttle cable. Unusually a PO had chosen to put the choke lever on the frame rather than the handlebar, it's a bit quirky but I quite like it so I did the same, if nothing else it'll clean up the bars a tad...
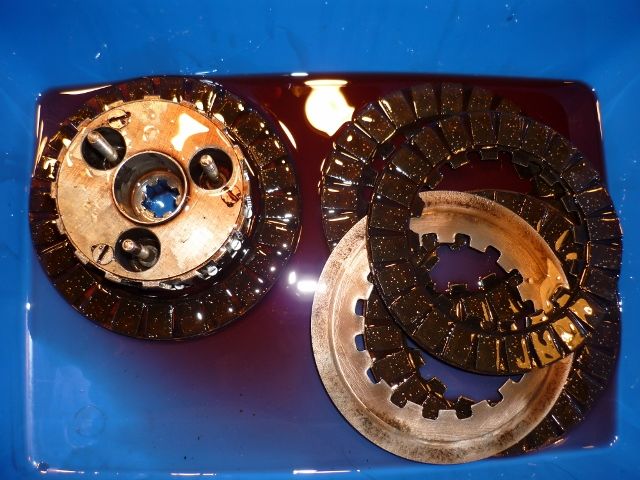
And so onto the primary. I spent a few hours glassing the mating surfaces of the inner and outer primary case, this is another joint that doesn't have a gasket so I'll be using Threebond when I come to button it up. The clutch got a good clean in paraffin before being dried off and then I left the fibre discs soaking in TQF for a few hours. I run TQF in my Norton primary case with no problems with clutch slip so that's what will be going in this one...
On the home straight then right? Well that's what I thought until I fitted the engine sprocket and clutch basket. The problem is probably not too obvious in this view which is why I hadn't noticed anything during the dismantling...
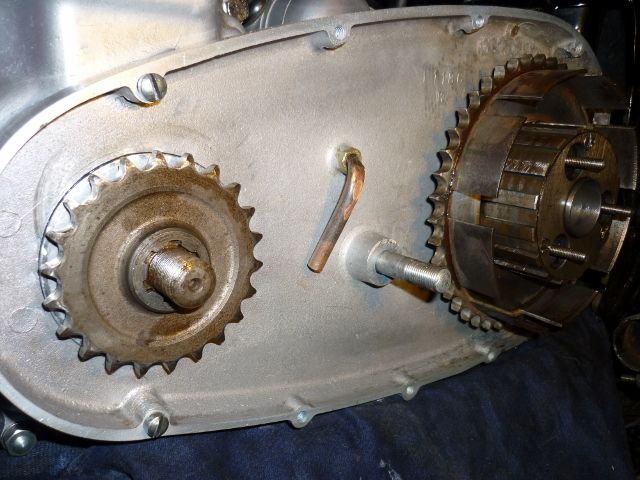
bit clearer from this angle - those sprockets look out of line to you?
...
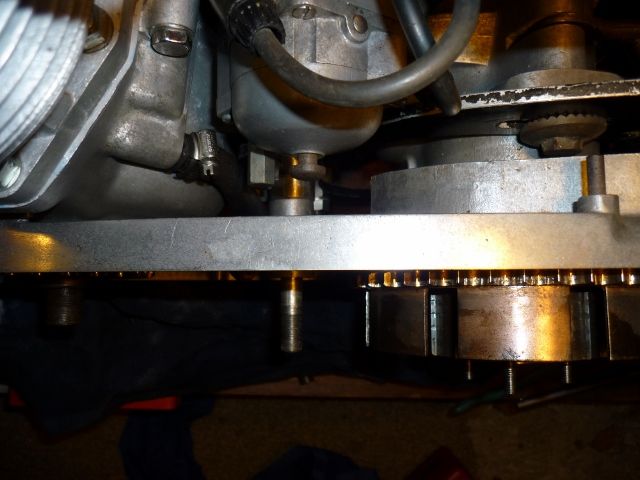
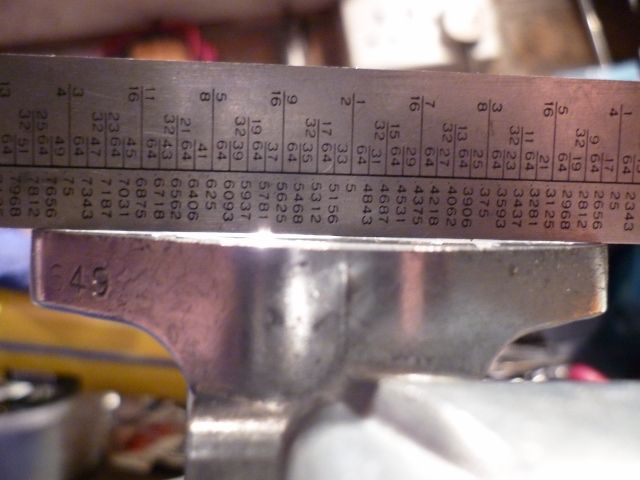
A straightedge across the flat of the front sprocket shows a deflection of around a 1/4 inch...
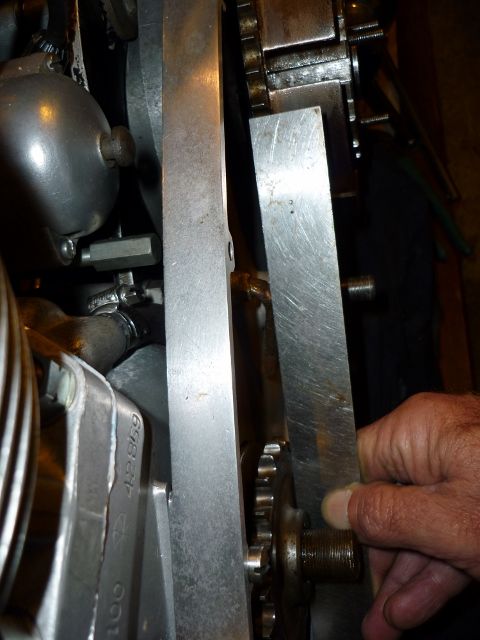
No, I haven't lost any bits, that's got to be how it was when I took it apart. Might have been ok for the PO, but I can't live with that. I'm thinking the easiest thing to do is to make a spacer to go behind the engine sprocket. This bugger is fighting me all the way!


