So a big shout out to forum member Calj737! Over the past month or so he has helped me out big time with the work I needed done to the engine. He stopped by one day in December to pick up my cylinders, piston kit, and the bottom half of my crankcase. While we were talking, he inspected the rest of the engine parts and found a couple of small chips in two of my exhaust valve guides. He convinced me to have those replaced by his machinist/mechanic while he was at it boring out my cylinders. Thanks to him, my engine ended up getting the full treatment:
- Bored Cylinders for 836 kit
- Rings gapped
- Milled cylinder surface
- Piston heads coated (ceramic I think?)
- Piston skirts coated (dry film lubricant?)
- Decked head
- New exhaust guides
- Re-cut valves seats, both intake & exhaust
- Valves lapped
- Intakes ported (PO had a questionable go at it himself so it need it)
- New valves springs installed (I sent the Kibble White HD springs that I had bought with Cal)
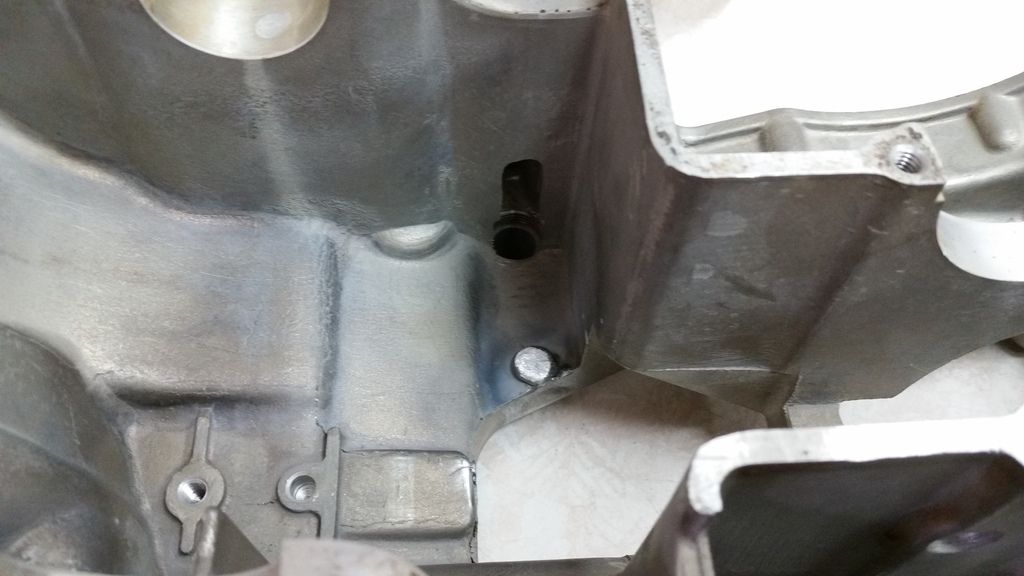
He was also nice enough to even weld up the screw holes that were letting in daylight on the lower half of my crankcase and ship it back. I know I've told him a thousand times but thanks again!
Here's a couple pics of the repaired threads. I'll post pics of the head and cylinders once I un-box them for install.

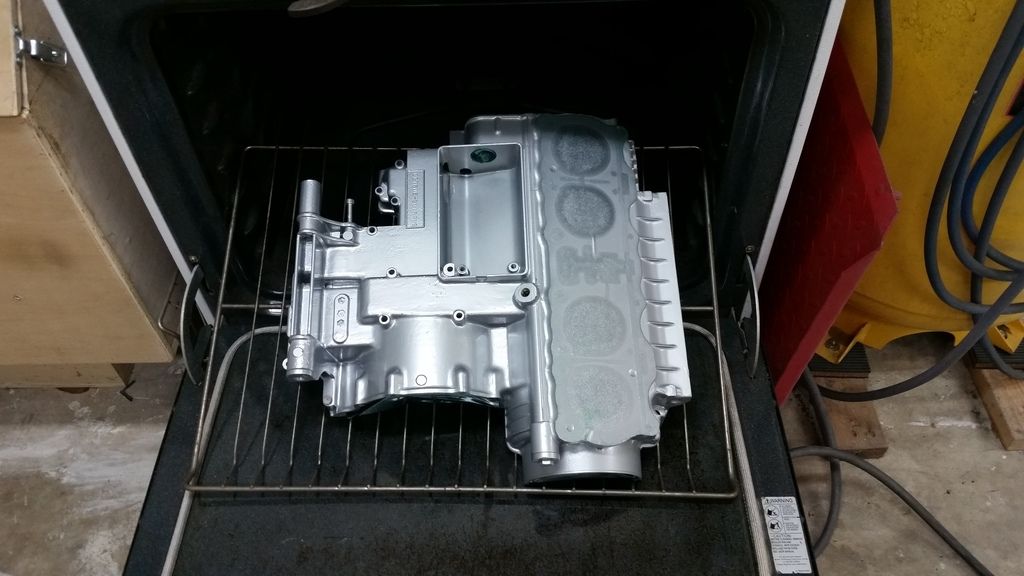
I took a break from working on the bike for the most part while the top end was in Virginia (I think?) with Cal. Now that it's all back and just itching to be put back together, I tackled powder coating the crankcase shells this weekend. For the most part they came out really nice, not show quality but none-the-less nice for such a first time endeavor. I even had to upgrade my oven in the garage to fit them in. I played musical chairs (but with ovens) to make that happen. I bought a new one for my kitchen, moved the kitchen one to the garage, and then moved the small garage one to the curb.

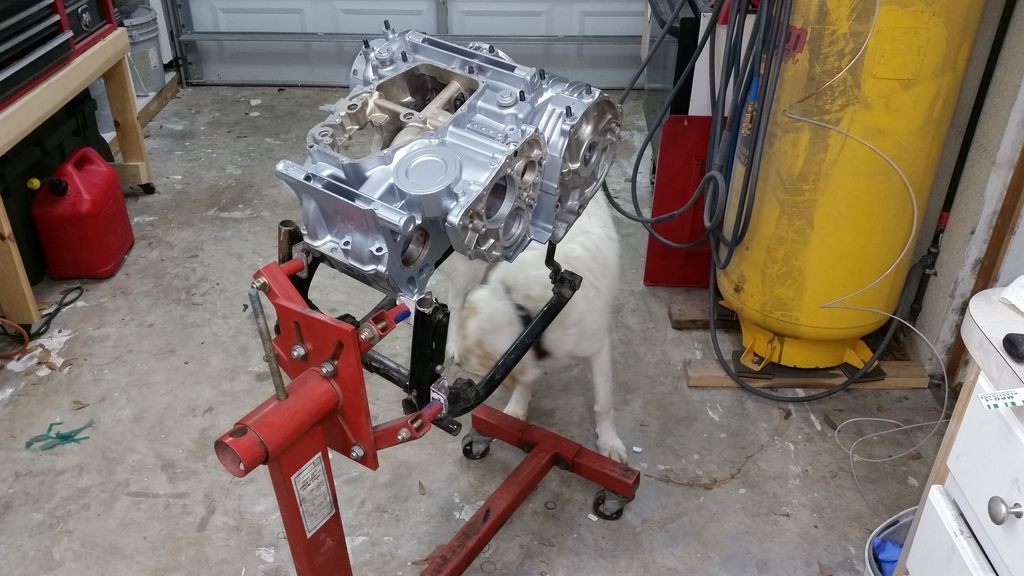
My expertly engineered engine adapter. I had an old junk frame sitting out back behind a shed that I thought would be a perfect sacrificial lamb to hold the engine up for the rebuild.
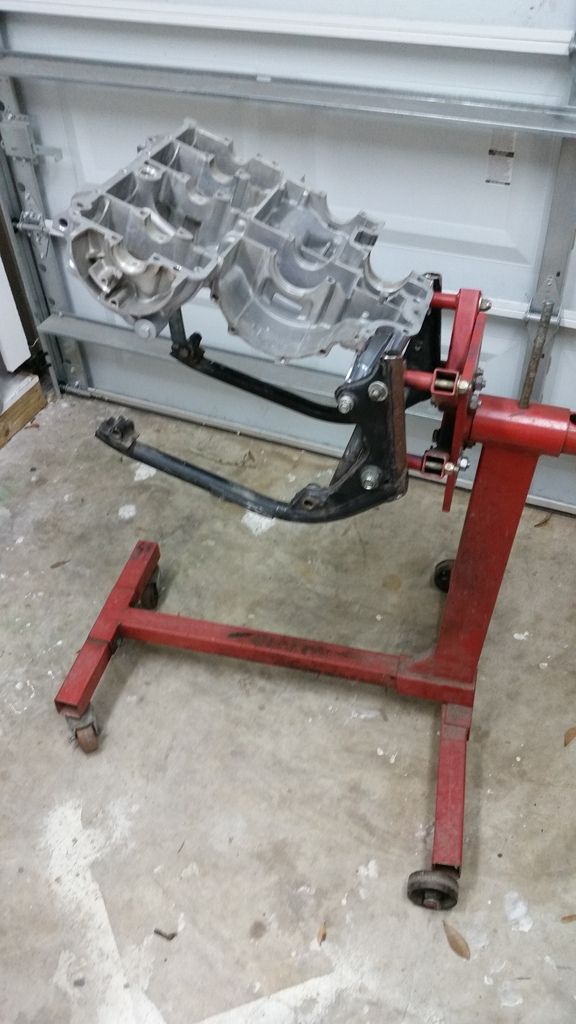
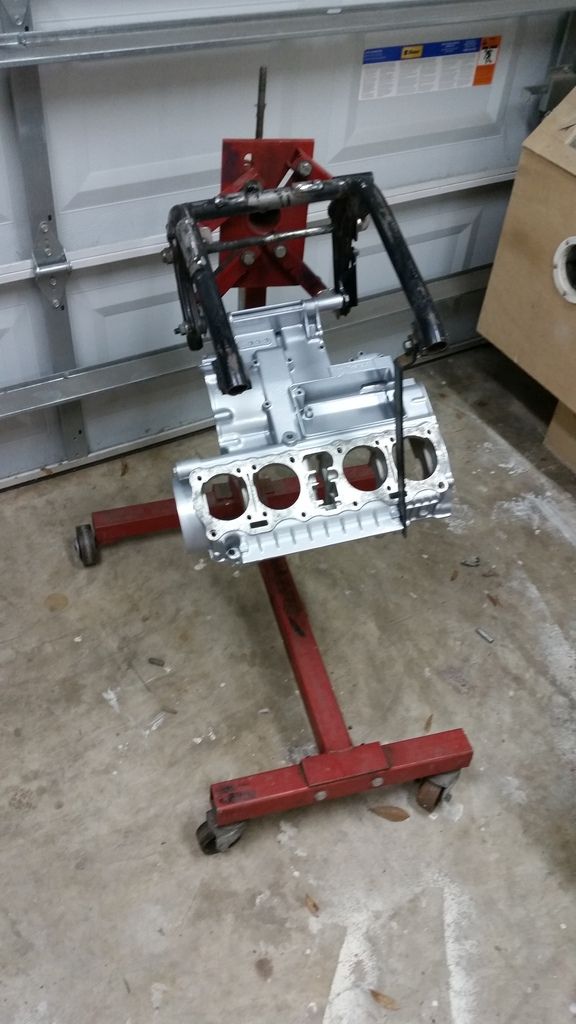
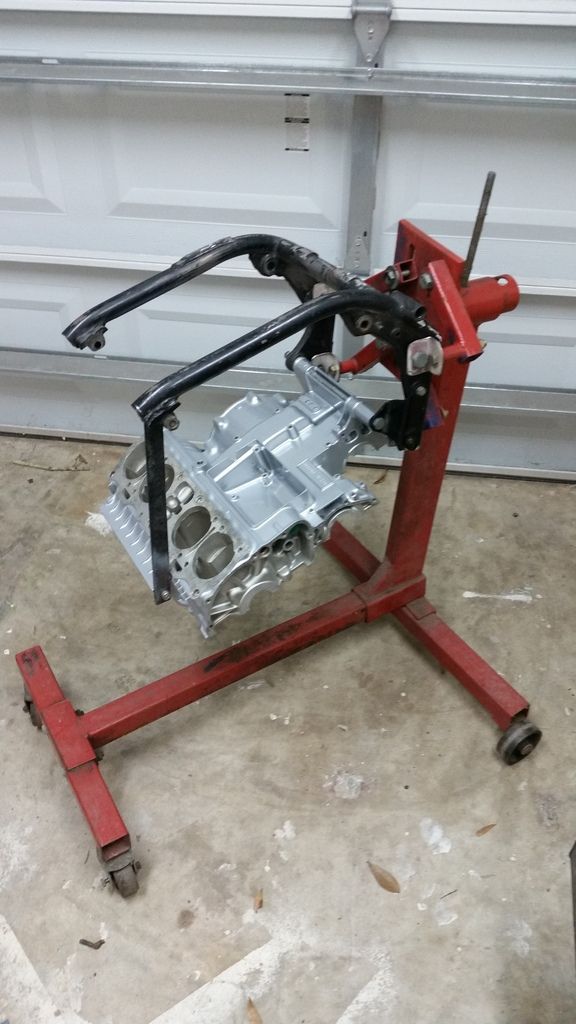
Obviously when I get the crankcase rebuilt, I can just flip it and have it sit normally in the frame for the top end portion of the rebuild. The crankshaft bolts that came with the engine looked like garbage so I bought APE's HD Main Bearing Studs and installed them per their directions on the website.

I used a Motion Pro M8 Stud Installer to torque them into place and ran into a pet peeve of mine. It's obviously designed to be used on metric studs but the mechanism that allows you to relieve pressure off the stud requires an SAE allen wrench. I took me a couple minutes to realize this when trying to get a metric allen wrench to work. We need to just switch over to all metric as a country already. *insert angry fist waving*

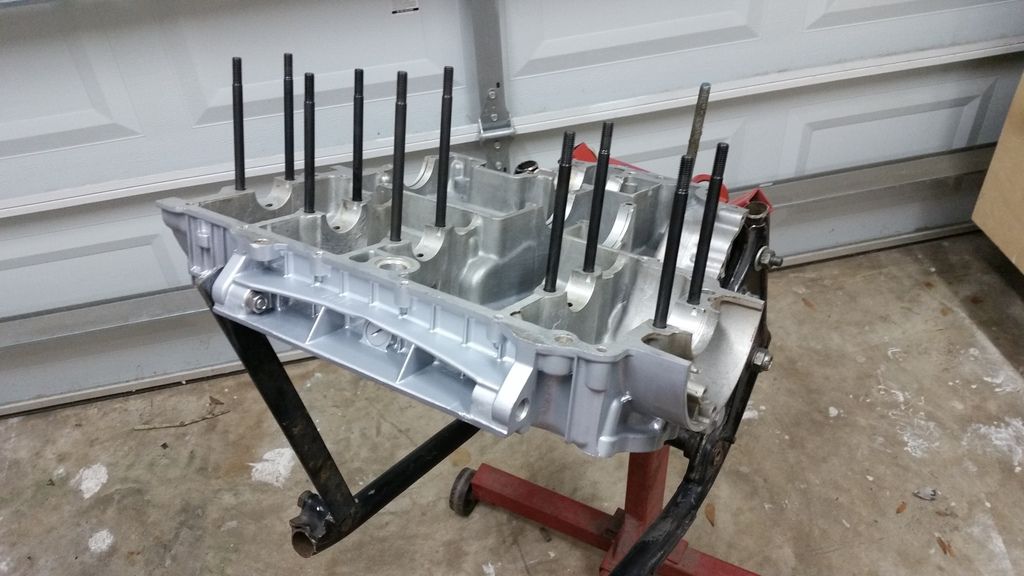
bottom end sandblasted and powder-coated
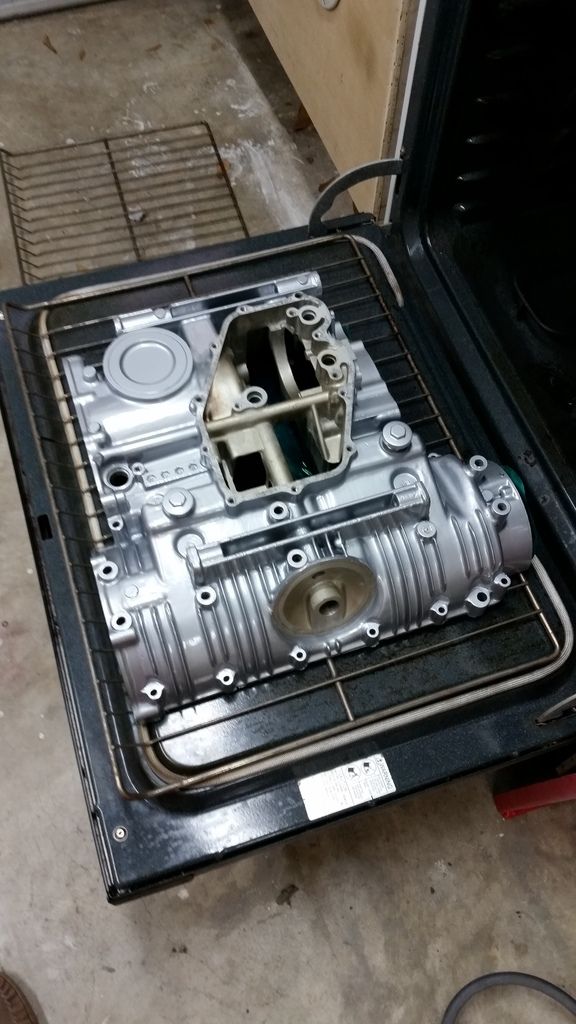
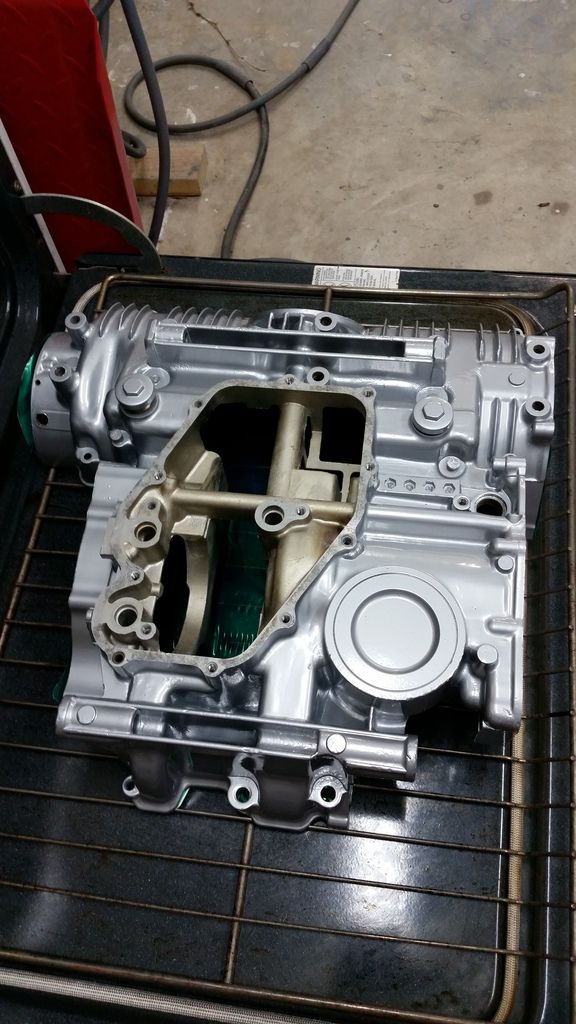

I did purchase two new sets of OEM green crankshaft bearings to replace the two sets that look liked they had been squished. I plasti-gauged them all and they ended up being within the upper limit of .08mm.
My father wants to participate in putting the engine back together so I will have to find some time next weekend to invite him over. He has a CB550 project of his own at the moment so it will be a good learning opportunity for him (and me).