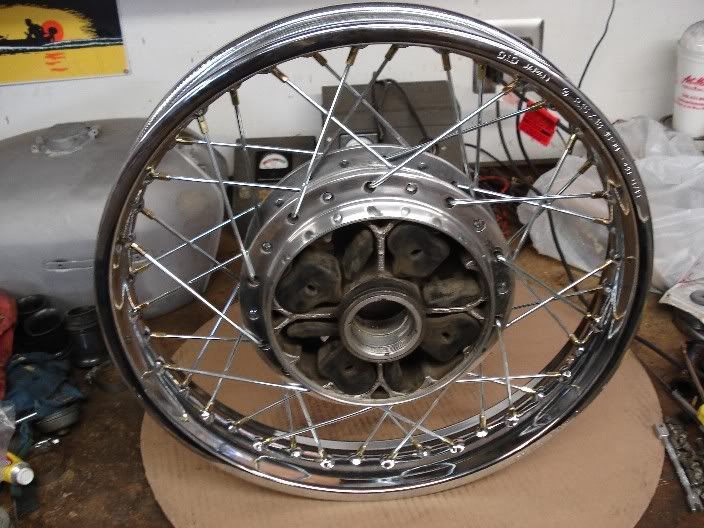
I'm rebuilding the rear wheel on my CB750 and this afternoon all the parts for relacing the wheel had arrived, so I got to it. Here was the wheel before I started:
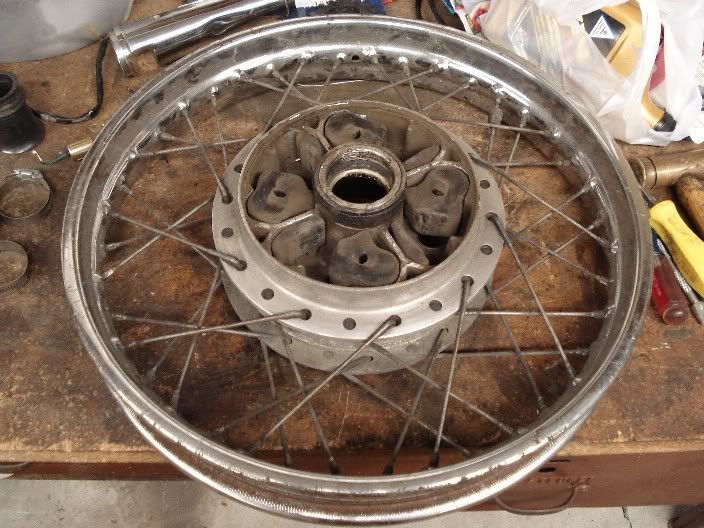
Before dismantling a spoked wheel with the intention of replacing the spokes, it's a good idea to take many detailed pictures of the wheel at different angles so you have a good feel for how the spokes are layed out. Here's one example pic, with the valve stem hole used as a reference point:
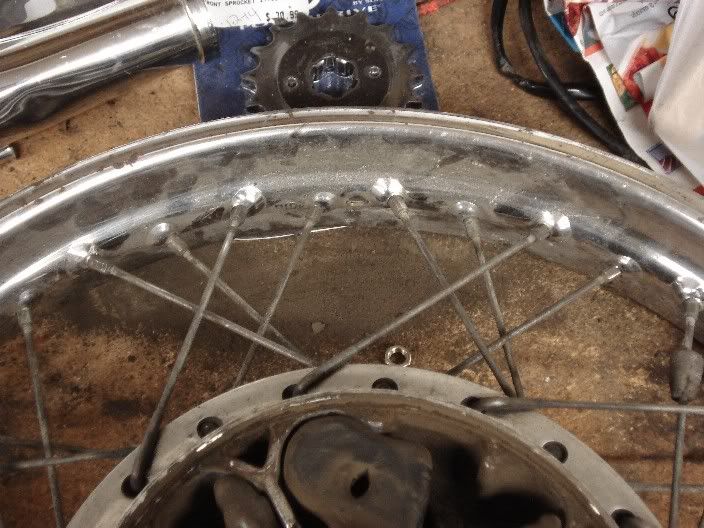
Fast forward to today. The wheel was taken apart, new rim and spokes ordered and the hub cleaned and polished. The replacement wheel bearings will be picked up tomorrow. Gather the hub, spokes and rim on a spacious and well-lit work surface. Make sure your worktop won't scratch the new parts. The large cardboard disc that was strapped to my new rear tire worked nicely here. You will also need a flat screwdriver, a spoke wrench and a bottle of light oil. Lay out the parts in their general positions:

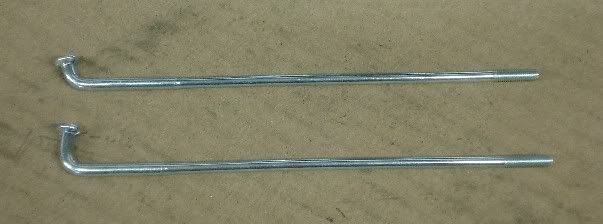
Now, take a look at your spokes. There are 2 different kinds (20 of each for a CB750 Rear in my case), and they are usually packed in separate bags. Note the difference. The spokes with a slight curve at the end are the inner spokes (pictured at the top), and the ones with a more pronounced hook are the outer ones (shown at the bottom):
Also, take a close look at the rim. You will see that the spoke holes are angled either upward or downward, and to the left or right. This is important as this will dictate which spokes go in these holes. (More on this in a minute):
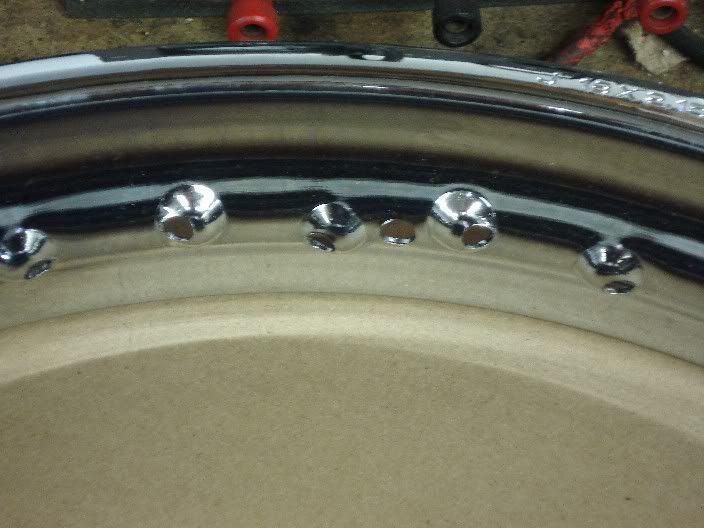
Let's get started. My hub had slight indents in it from the outer spokes, so this helped show the layout. Referencing your pictures you took before disassembly (or another wheel, if you have one), thread the first 10 inner spokes into the hub so the buttons on the end face towards the outer part of the hub. As seen in the "before" pictures, the inner spokes on the sprocket side angled to the left. Look at the holes in the rim and find one that is angled upwards and to the right (so the left-angled spoke will point right to it). Put a spoke through this hole, put a small drop of light oil on the tip of the threads and thread the spoke nipple on 4 turns. Now, the next spoke will fit into the fourth spoke hole in the rim. Here's a pic of the first few:
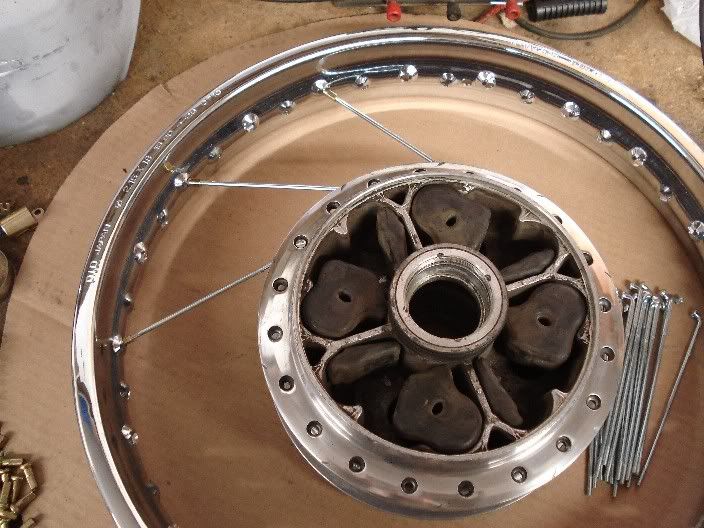
Repeat the process all the way around. When you complete the first set, it will look like this:
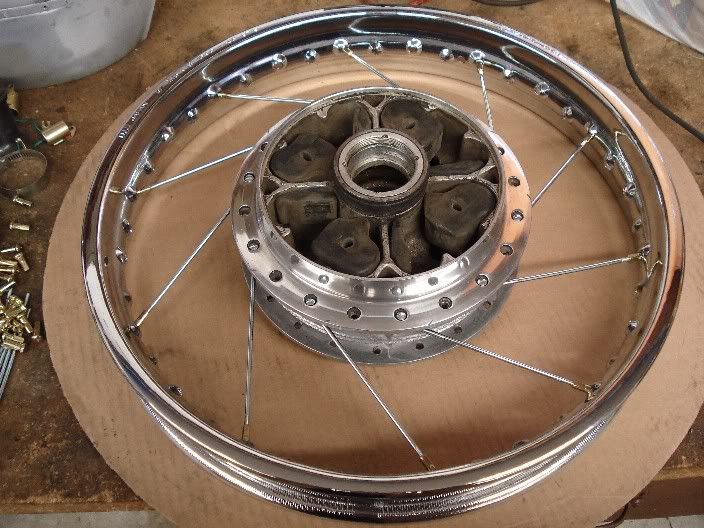
Now, flip the wheel over and do the next set of inner spokes. Once you get them threaded into the hub, make sure they are angled in the appropriate direction and overlapping the first set of spokes
on top. This is important as once a few of these are attached to the rim, there won't be enough wiggle room to move the rest of the spokes into the correct position if they are under the existing spokes. See the pic:
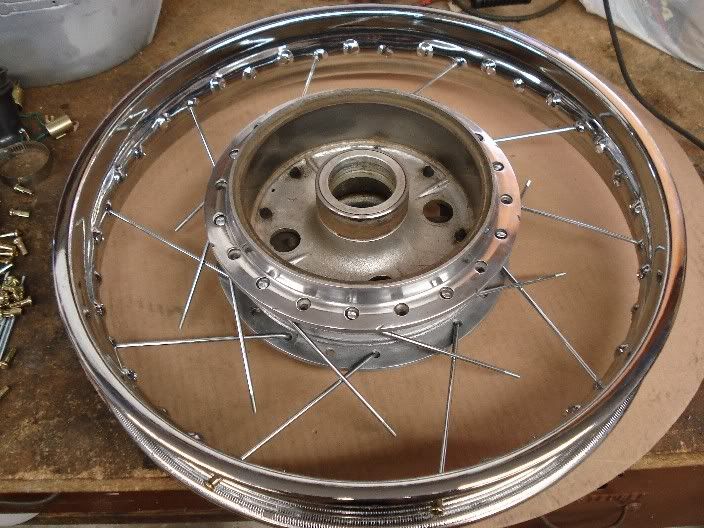
As with the first set of spokes, oil and thread on the spoke nipples 4 turns until you've got all the inner spokes on:
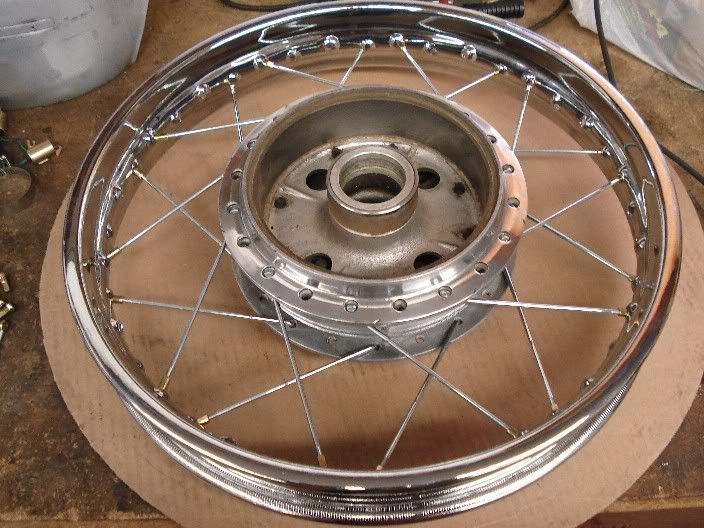
Now we move on to the outer spokes. With the wheel on the same side, thread the first set out outer spokes through the hub, with the buttons on the ends now facing inwards. This set of spokes will be angled in the opposite direction as their inner neighbors. Insert the spokes into the correct holes in the rim (those angled in the correct fashion) and install the spoke nipples as before:
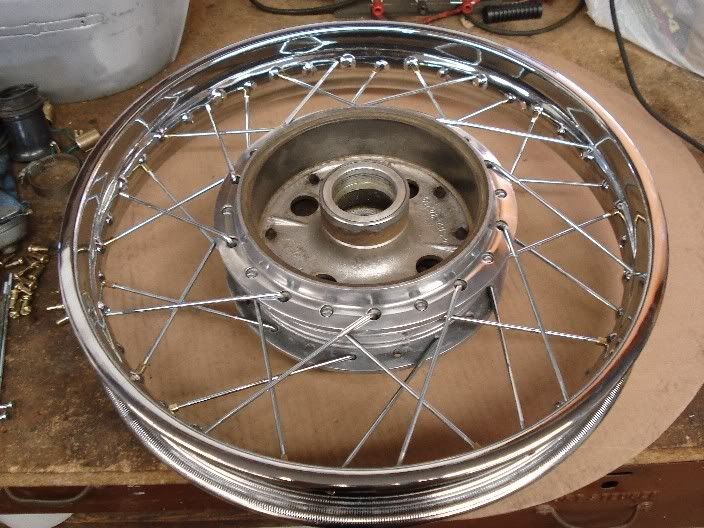
When completed, flip the wheel over and install the last set of spokes.
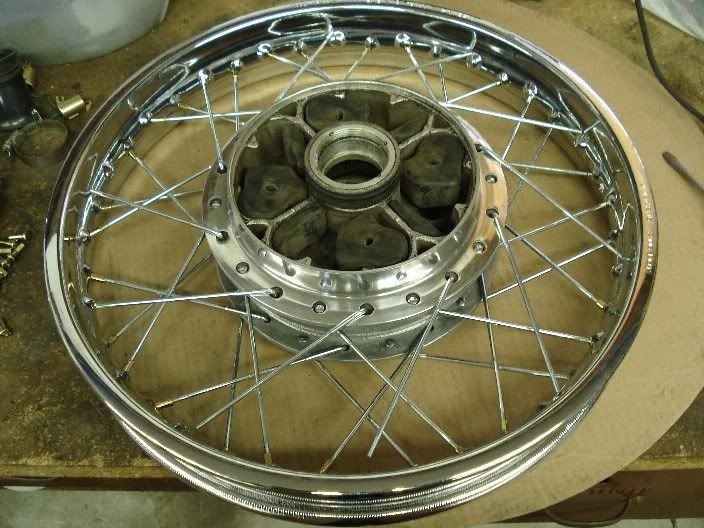
Yay! We've got all the spokes installed:
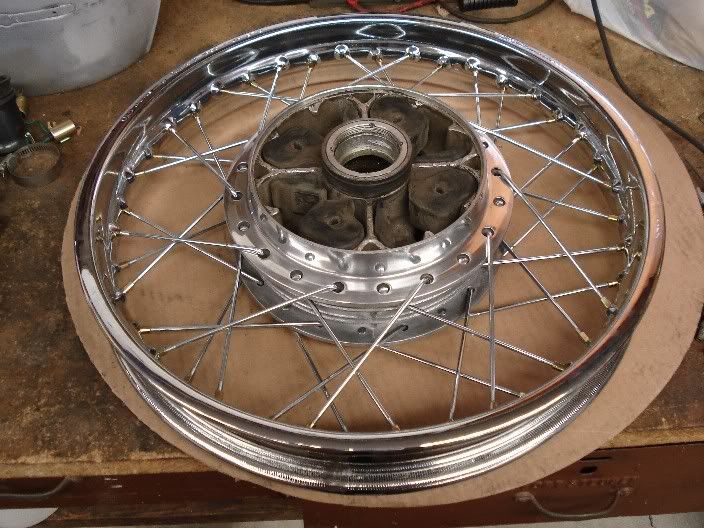
Now, there is still quite a bit of slack in the spokes. We needed this so we could wiggle the hub around in order to fit the ends of the spokes in their respective holes. Put a dab of oil on the head of each spoke nipple. This will aid in tightening.
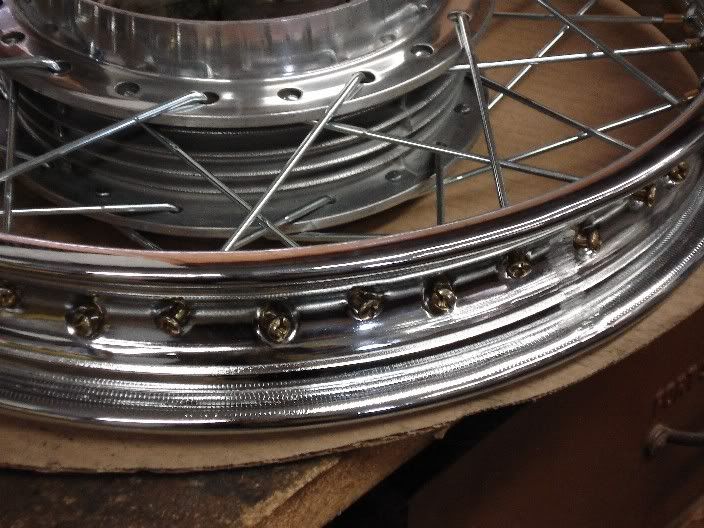
Now we take out the slack. Starting at the valve stem hole, tighten each spoke nipple one at a time with a screwdriver a few turns. The key thing is to tighten each spoke the same number of turns. This will get us in the ballpark for truing the wheel later. Keep working all the way around the rim until the spokes are all just tight. Then, go around the wheel again with a spoke wrench and tighten each spoke a quarter turn. This will ready the wheel for truing and the final tensioning.
In Part 2 I will cover my experience truing the wheel (I need the bearings before I can do this). But now, I think I'll kick back and have a beer! (it took longer to type this than it did to do the job, though...)
