I ran in to a predicament a week or so ago. I'm sure there are many other posts out there regarding broken stops. To some, broken stops aren't a big deal, but to guys like me, it is something that should be considered more than once.
I had a triple tree from a wrecked bike I picked up last summer. The kid had laid the bike(550) down on a loose gravel road. The forks were twisted to hell and after looking at it, the guy was lucky to have just woken up in the hospital 5 hours later. I pulled the front end off and noticed that the triple tree had a broken stop. I didn't want to ride with one broken, but I couldn't live with throwing away a seemingly good triple. So I decide to take a drill press and welder to it and see what I could do.
Tools that I used:
1. 1/8 Drill Bit
2. 5/16 Drill Bit
3. Wire feed welder.
4. Grinding wheel
5. Wire wheel brush
6. Medium table vice
7. Metal dowel aprox 24 inches long.
8. Dremel tool with assorted attachments
9. Assortment of small files.
10. 150 grit wet/dry sand paper
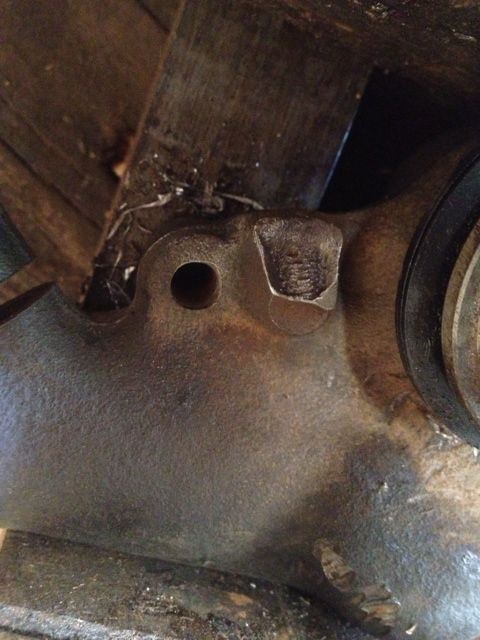
As you can see, the stop was sheered off almost at the base.

I cleaned up the area with a brush wheel and used a punch to better guide the drill bit.

I then took a 1/8 bit and pre-drilled a pilot hole. I would recommend a drill press vice for this to keep the part from dancing around on the press.
After that, I used a 5/16 bit to make the hole. I would use a bit of oil to make the drilling easier.
I then took a metal dowel the same size and cut it down to a 1 inch piece. You may want to take it to a grinding wheel to get burrs off and to make it easier to fit into the hole.
Next, seat the dowel in the hole, taking care to make sure the angle of the piece correlates with that of the other stop, and that it isn't too far forward or backward, so the steering catches evenly on both sides.
Once the dowel is set and looks good to the eye. Tack the rod in place. One 2 second tack will do at first. Look at the part and adjust it in case the rod moved.
Once you are satisfied with how the dowel is seated, weld all the way around. Over welding is ok in this situation. Booger welds are totally fine. This will give you more material to work with for the shaping stage.
Now the part is ready for shaping. It is best to use a table vice for this. You can clamp the part or you can take a metal rod and clamp that down and sit the triple on top of it, where it pivots.
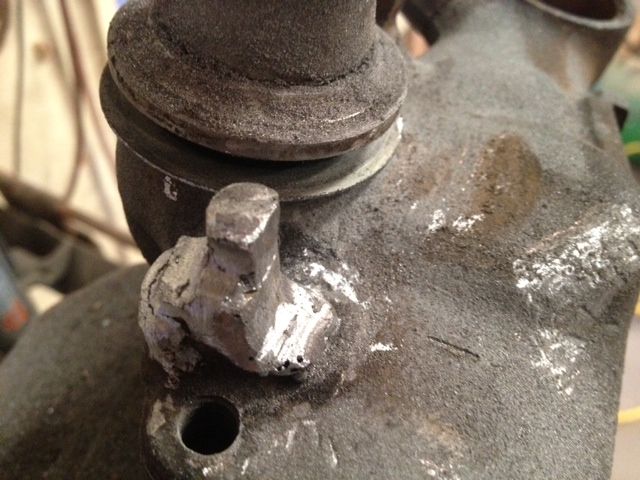
Right now it will look like a metal tumor on the part, don't despair, this is the fun part. Take a file or a Dremel tool and begin cutting the 'fat' off of the dowel. Begin shaping it to look like that other stop. This will take some time.
Be mindful of taking too much off. Also be mindful of front/back and side to side clearances in respect to the stem. If you have the frame handy. Every once and a while, push the triple up into the frame to check the tolerances.
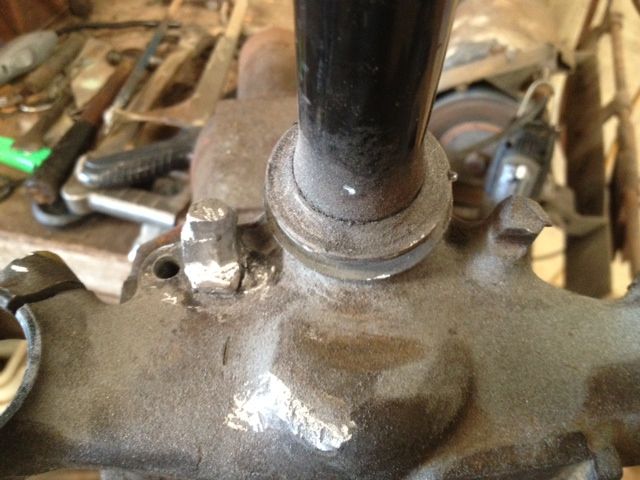
It should begin to look like the other stop.

Something like this.

After blasting and powder coating.

I hope this guide has helped.
Keep the shinny side up guys!