Holy cow! 500 posts!!!!!
I got a lot of stuff done over the weekend. I had 2 goals, the first being to get the frame, swing arm and center stand ready for sandblasting and then powder coating, and the second being to start on the cosmetic restoration of the engine.
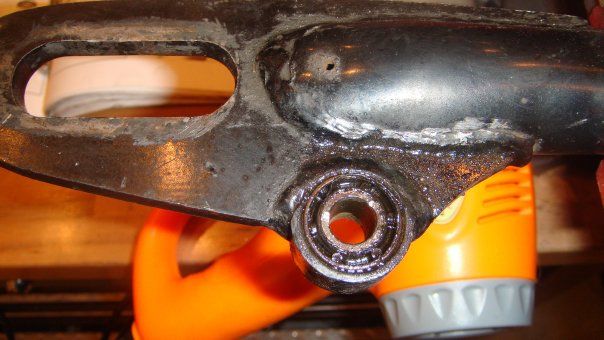
Someone said in another post of mine that after the Armageddon, the only things left will be cockroaches and the shock bushings in Honda Swing arms!
I did not have a press, and after bending up a bunch of washers and bolts attempting to press them out, I resorted to my new favorite tool, the air saw, to cut them out of the arm.. It worked great.
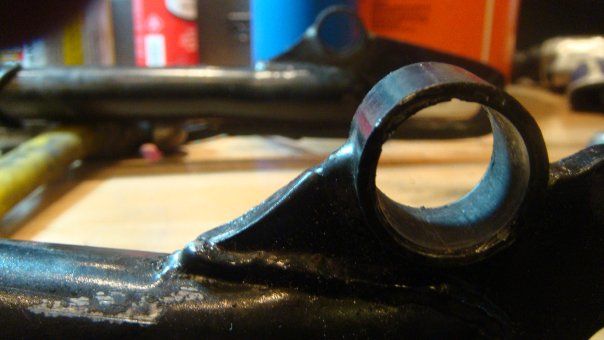
Shock Bushings are out!
Next up were the swing arm bushings. I learned a very important lesson here. When you are taking these things apart, make sure you study the parts diagrams. Study them CLOSELY!!!! I thought I was cutting on a flanged bushing, and it turned out I was cutting on the swing arm pivot. It’s hollow, but luckily, it is pretty robust. I got even luckier when it started to slide out from the swing arm, and I was able to grab it and get it all the way out. Although I put some nice cuts in the pivot, they were not deep enough to go all the way through. I am sure it is still serviceable.
Once the pivot was out, I could then easily see the bushings which needed to be removed.
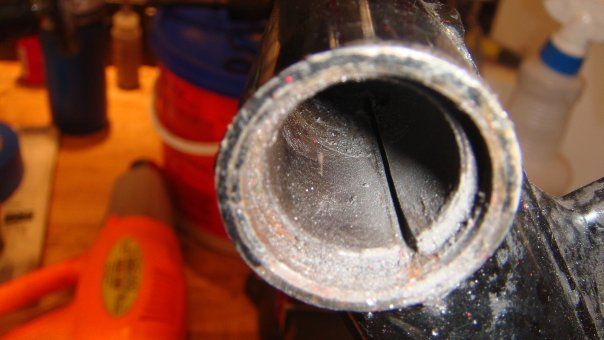
Here you can see the initial cut to weaken the bushing
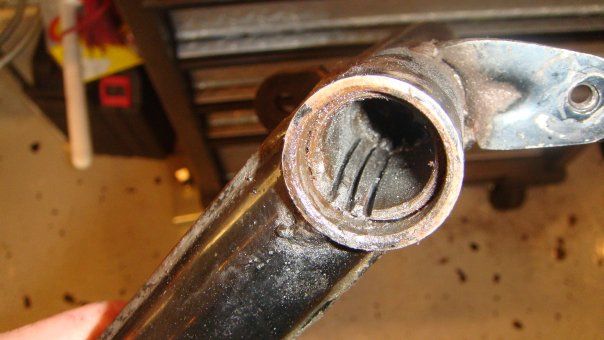
A few more to further weaken it.
The cuts here are not all the way through, I did complete them, I was just trying to be careful as to not hit the swing arm surface. The metal on the swing arm is pretty robust, and Hondaman has said not to worry too much if you actually cut into the swing arm, just make sure not to cut all the way through! Caution and patience was my Mantra here. It worked and they came out.
Once the cuts were made, and the bushing could be moved…
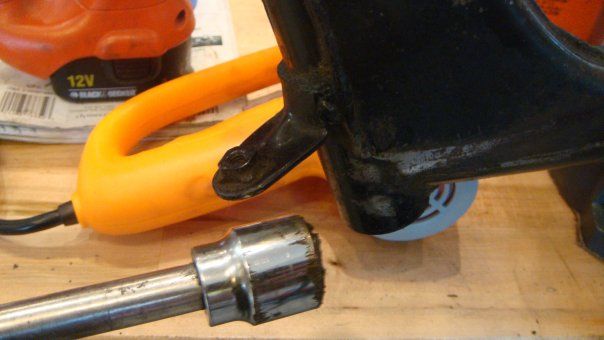
I drove them out with a socket on an extension (Gotta’ love Craftsman!)
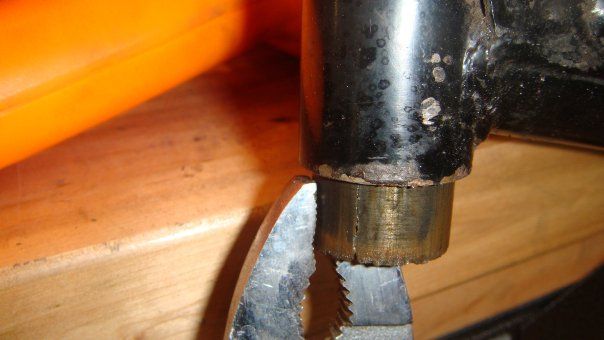
Here it comes…
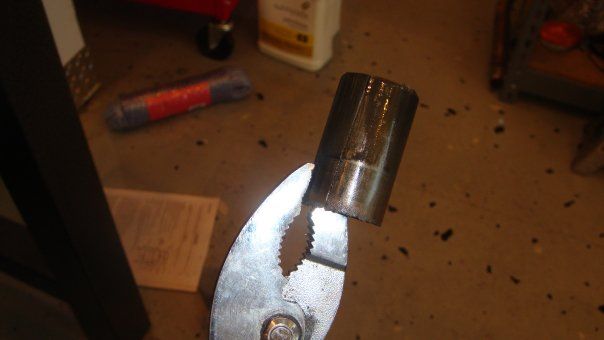
Here’s the Bugger!
Alright, everything was out, and off to my body shop to be sandblasted.
Now on to the engine.
I spent hours cleaning the cases, including running them through the dishwasher. I was not happy how they looked, so I decided to paint them. I also really like the finished look of filing the fins and then polishing the outer ends. The casting looks really unfinished from the factory, and smoothing and polishing the ends makes a nice visual impact. I used a Fein Multipurpose Tool, going through 60, 80, 100, 120, 180, 240 grits. Here is a picture of the machine:
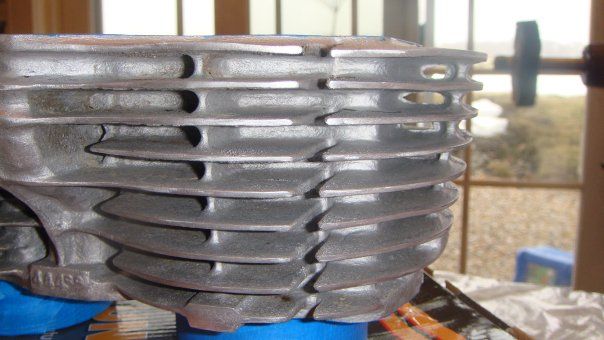
It works really great for this purpose. I was able to do the Jugs in about an hour, and the next day I did the fins on the head in even less time. I then masked up the Cylinders for paint.
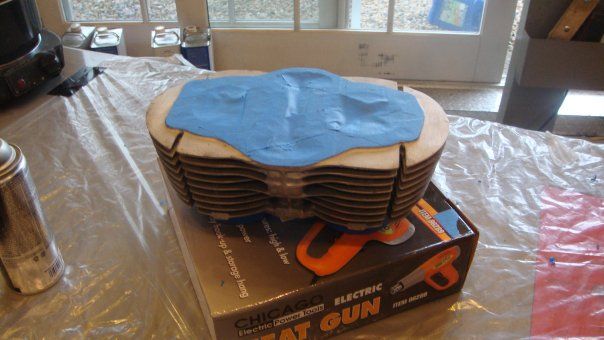
For prep, I doused the piece with acetone, and when that dried, I doused it with Brake Cleaner, and let it evaporate. I made very sure to wear rubber gloves and to not touch the piece. I used Duplicolor Engine Enamel Semi-Gloss Black on the cylinder, and would later use the same brand later in Aluminum on the Head.
I let the paint heat up in a warm pot of water for about 10 minutes, until it was just uncomfortable enough to hold. I then shook it vigorously for 2 full minutes. The first 2 coats were light, with 10 minutes in between all coats. In between the coats, I went over the ends of the fins on their newly flat faces with acetone on a rag tightly wrapped around my finger. It worked great!
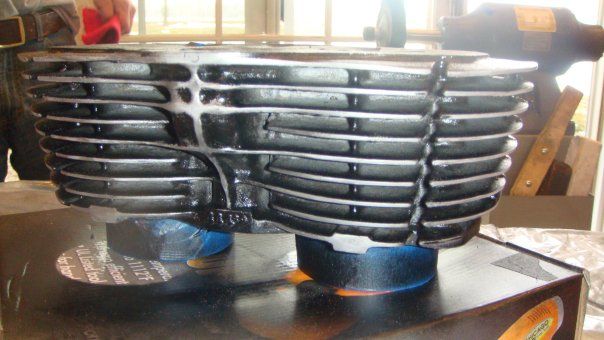
The first coat on… the second looked about the same.
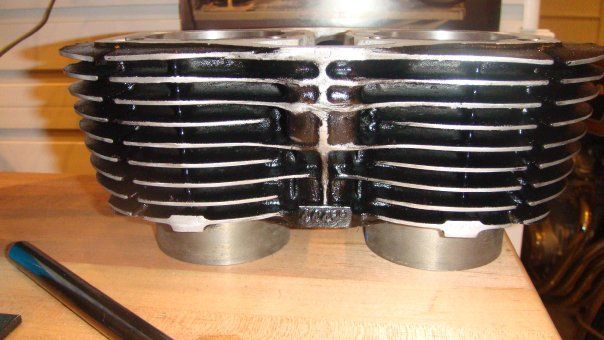
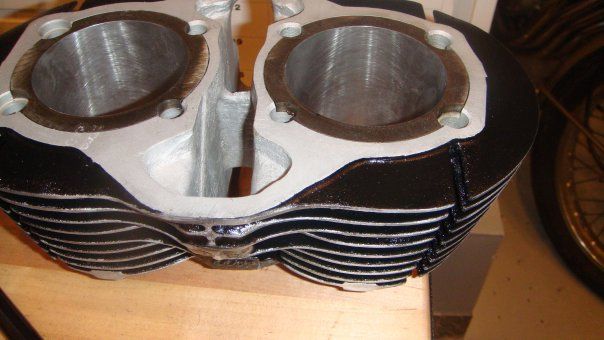
The finished product
I need to touch up a bit in front so thet the “web” will be more defined, but overall, I am really pleased with the results.
For the head, I found masking easier if I used all the Cam covers, pre-taped in low tack masking tape, to protect all the gasket surfaces. I also wrapped the spark plugs, intake and exhaust ports to protect them from overspray. I used the same prepping as the jugs, and painted the same way.
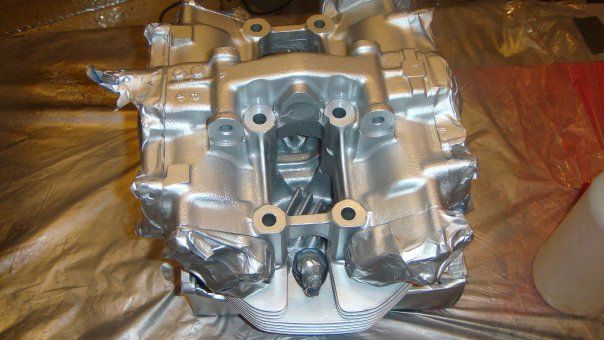
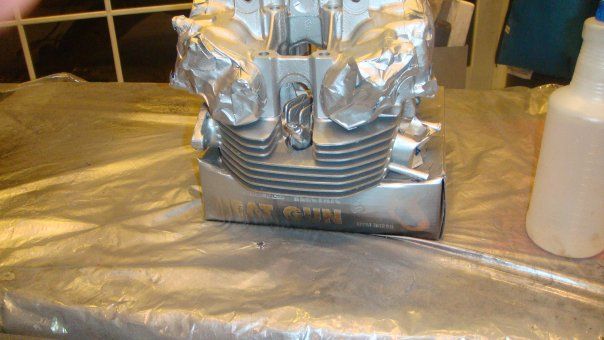
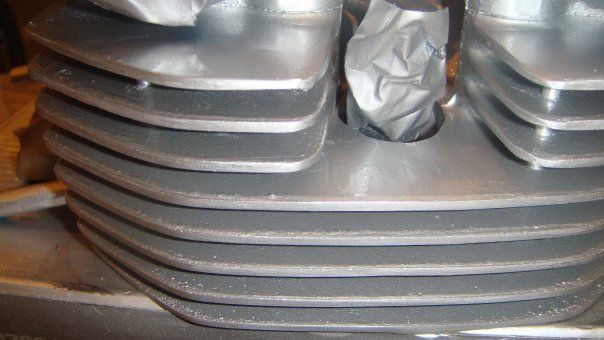
The sanded fins:
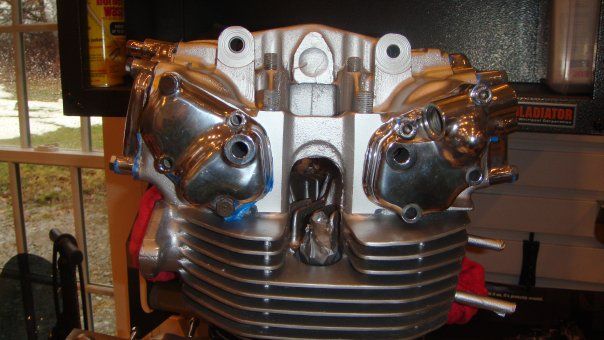
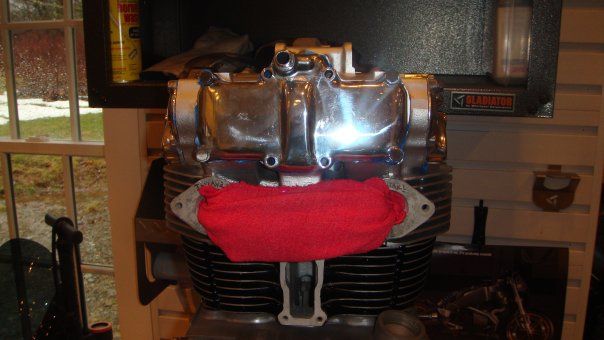
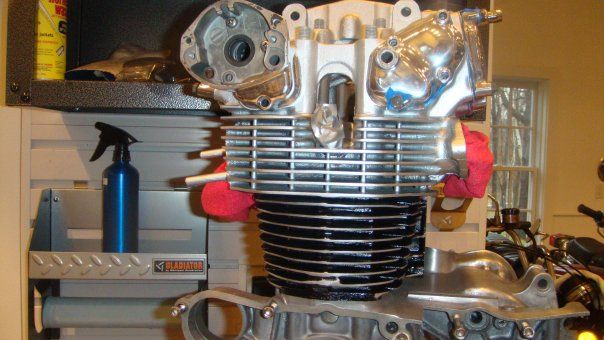
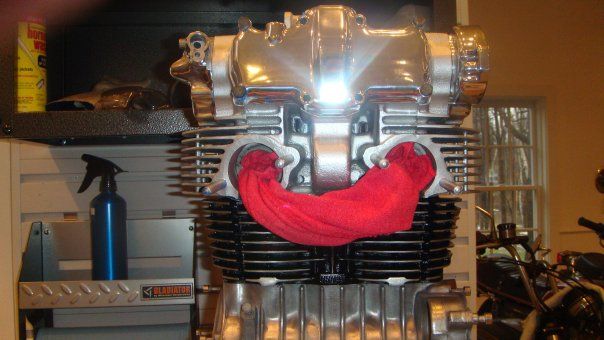
The masking tape pulled off, after the head was dry about 7 hours.
This weekend, I am considering painting the crankcases the same as the head, but I think it would look better a little darker. Anyone that is thinking about painting your cases, do it, it is so easy, and really makes a huge impact on the looks of the engine. I will also further polish the fins using finer grades of wet/dry paper to get a really nice shine.
I have also, while all this going on, been sending different hardware into my vibratory Tumblers to be polished. These are really great, I let the process go on for a day or two, and the results are stunning.
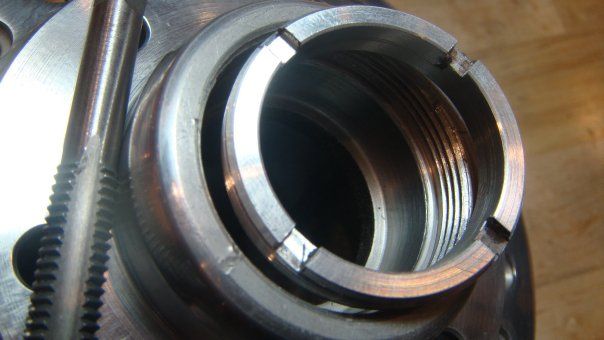
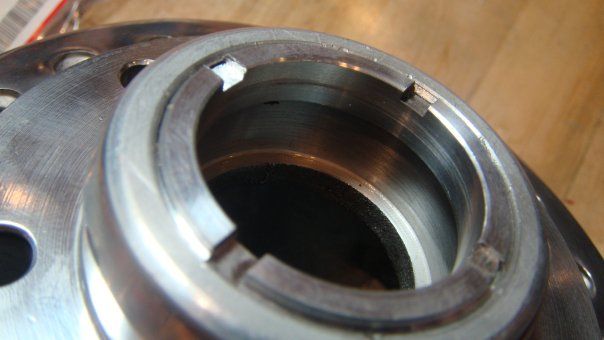
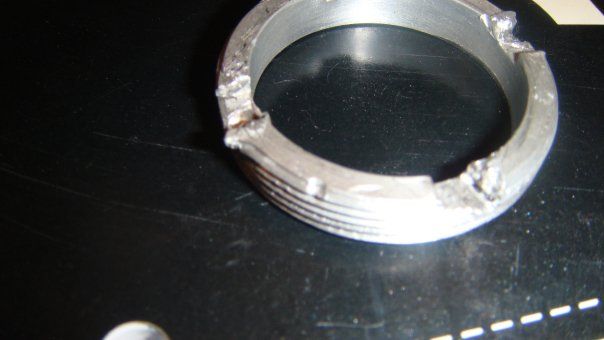
Also, a question. How do I restore the threads inside this wheel hub?
