Wow, I got a lot done over the holiday weekend. However, for the 15 steps I took forward, I dropped back 10 when the Cam Chain fell back into the crankcase.
To say I am frustrated is a major understatement…
Anyways, looks like I will have to tear everything back down again. Unless, someone can give me another option (hopefully, please, pretty please?)
I did document everything I did up to that point though, so here goes.
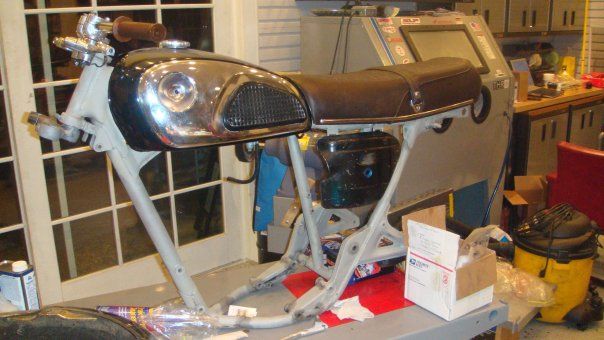
I did get my frame back from the blaster, and at some point I am going to have to weld up new attachment points for the 550F seat . Uh, I should mention that I have to learn how to weld first!!!
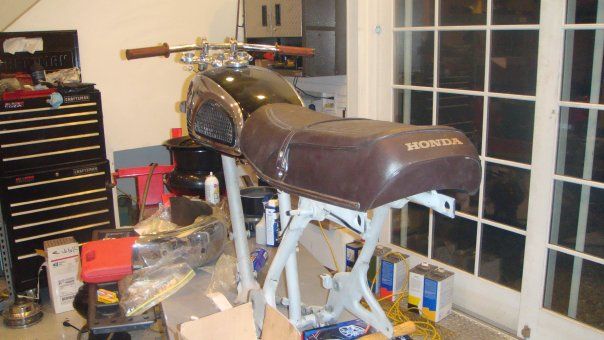
I did want to see a little concept of where I was heading, so here is a little tease

Last update, I had installed the pistons on the cranks. I had a 1-piece ring compressor, but that clearly would not do the job. I completely forgot about the Hose Clamp option, and when I did remember, I did not have one that would work. So my first step was to take the stock piston down to the auto parts store and find a hose clamp that would comfortably fit round it. I say comfortably because the new pistons are oversized, and I wanted to make sure I had enough room to account for the difference in size.
I was then able to use the hose clamp (HC) to compress the rings, one at a time and methodically insert the pistons into the cylinders. This is a task I have been sweating over in my mind for a long time, and I was very pleased to see how easy it actually is to do. I did have a second pair of hands to assist me, so that also made it easier as well. Due to the hands on nature of this process, I really could not document it very well with the camera, so I apologize for the following rambling explanation!
Make sure that you have generously lubed the inside of the cylinders as well as the pistons themselves. The HC needs to slide down the piston so that the rings can expand and make good contact with the cylinder walls. You cannot use too much lube!
I fed the Cam Chain through the Cylinder Block and secured it with wire ties to wherever I could on the crankcase – this is very, very important!!!!!!!
The key to this process is to use the hose clamp to compress the rings. You start by focusing on the top ring. Once the ring is inside the cylinder skirt, you loosen the HC enough so that you can slide it down the piston. If you did it right, the top ring will be seated inside the cylinder wall. I then inserted the piston until the 2nd ring was just below the cylinder skirt. Again, I used the HC to compress that ring and get it seated in the cylinder, loosened the HC and slid it down to make sure the 2nd ring was inside the cylinder. And of course then on to the last set rings, the same process again.
I then moved to the other piston, and got that in the cylinder using the same steps. Soon enough, the pistons were seated in the cylinders, and all was good in my world… for the time being.
As this is an educational project for me, I wanted to use a piece of Hondaman’s advice on hopping up the engine. The CB450, does not use valve springs. Instead the valve train is driven by a torsion bar assembly. Hondaman recommends increasing the closing pressure on the valves by setting the torsion bars one spline tighter than stock. Everything is keyed for proper alignment, so I would have to grind off one spline to get to the tighter setting.
As always, pics speak much louder than my words…
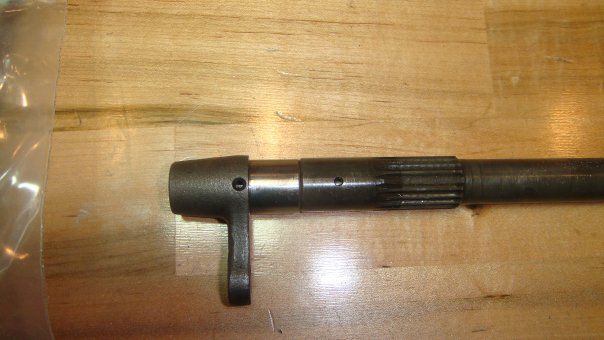
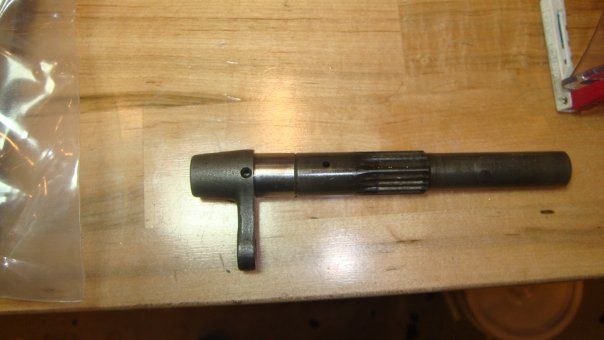
Here is the torsion bar
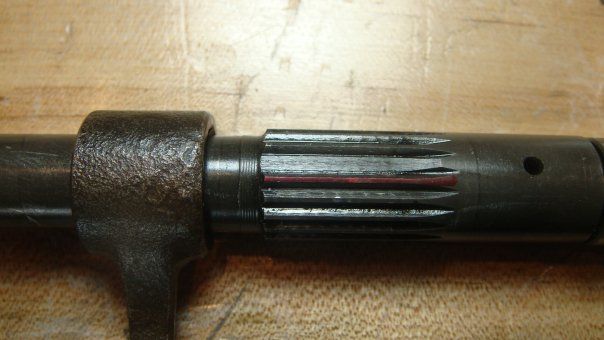
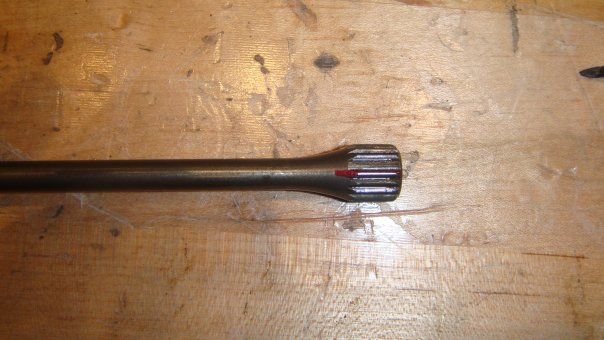
The spline marked in red is the one that will be ground off. You can see that there is a space “above” that spline – that is the key, which corresponds to splines on the outer sleeve. Honda’s parts fiche only refers to the entire assembly, so I am not sure what to call the individual parts. The “Spring Assembly Torsion Bars” are #10 and #11 on the following diagram.
I used a small grinding attachment on my Dremel and had at it
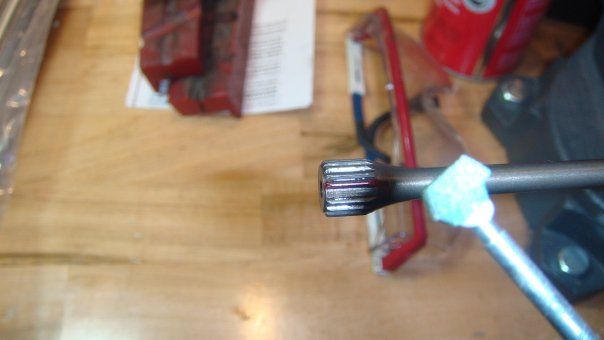
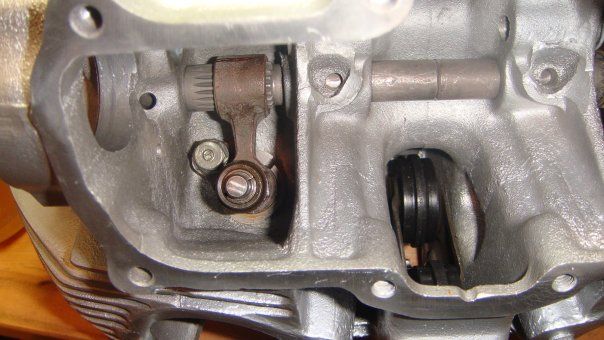
Here is a comparison of the difference between the positions. Notice the Oil Galleys line up on the stock setting and are slightly offset on the new tighter setting.
Stock
1 Spline tighter
The Torsion Bar Assemblies installed in the head, with the Cam Followers installed.
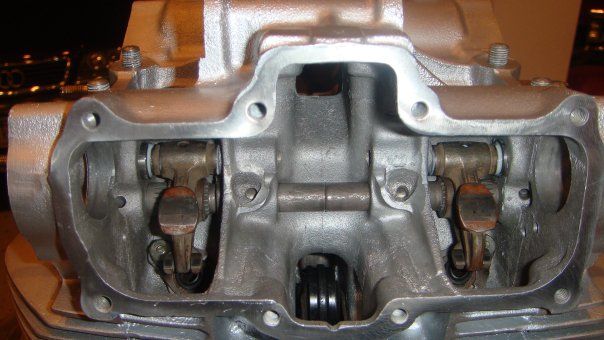
Exhaust
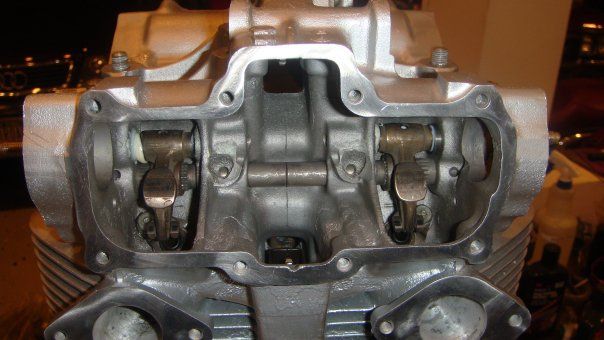
Intake:
Alright, making serious progress, it’s now time for the valves to be installed. Getting my fingers into the head in order to install the valve keepers was an exercise in futility. I tried to use a straight pick with grease to install the keepers, but the grease would keep pulling them back out again. My buddy suggested the following set-up
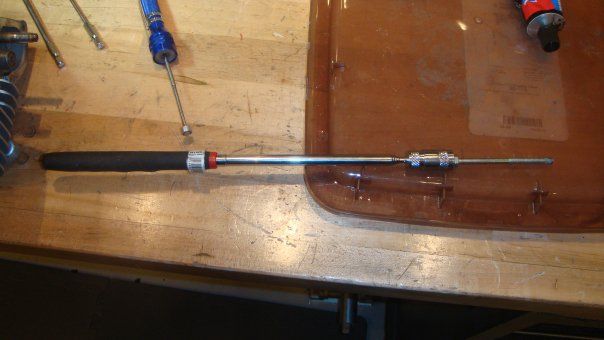
All it is, is a retractable magnet with a long bolt on the end of it. The bolt is magnetized, and will hold the keeper very well. I would then put the keeper in place, and then remove the magnet from the bolt and, voila, the keeper stayed put. Lickety-split, I had the valves installed! Now I am cooking!!!!
Wow, I am ready to install the head! But, I decided to tackle some little odds and ends first…
I polished up the starter with a fine Scotchbrite Rock-lok on my air rotary tool. Cam out nice, and I installed it and the starter chain and sprocket.
That done, I installed some seals around the various points of potential oil leaks – i.e the sprocket carrier and kick starter shaft. For some reason, I was hesitant to install the head…
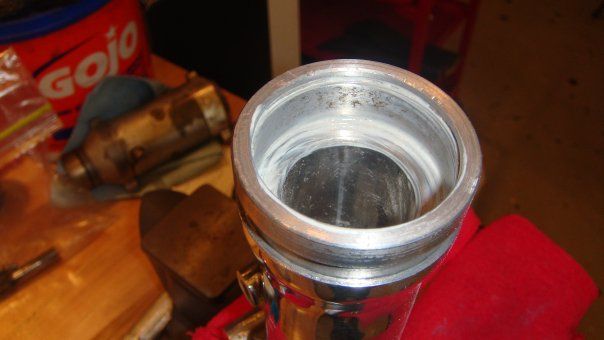
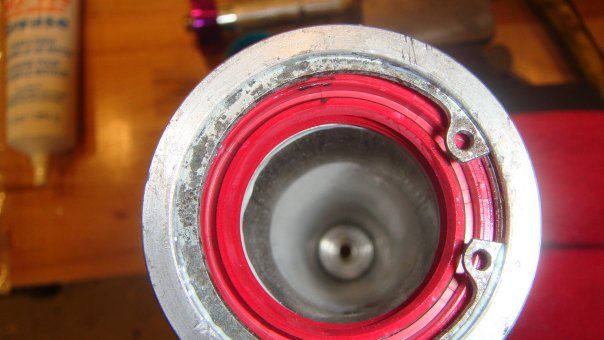
So onto the fork seals!
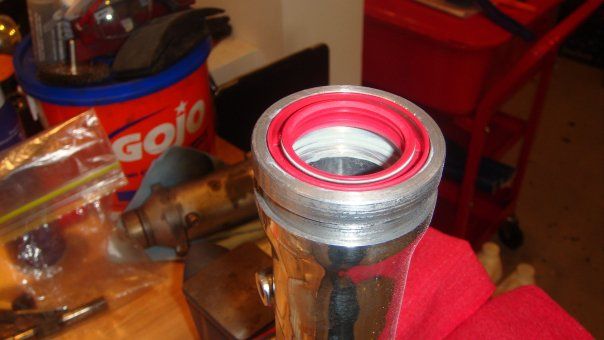
I cleaned up the seal surface with some Scotchbrite (this is the before picture)
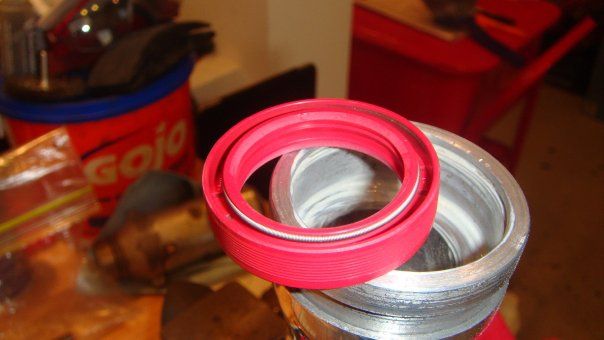
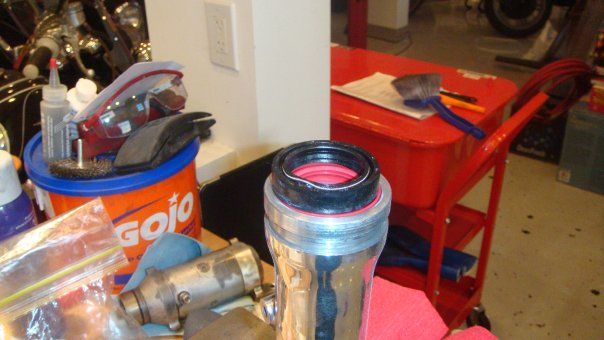
Here is the All Balls fork seal. Looking at the cross section on the box, I determined that this is the air side (Oil Side is down) ****Important – this is incorrect!!!! It is upside down!!!!!****
I lightly pressed in the seal with my fingers, making sure to keep everything level so as not to deform the seal at all
I used the oil seal as a countersink for the new seal
And used my seal driver to seat the new seal in the fork leg
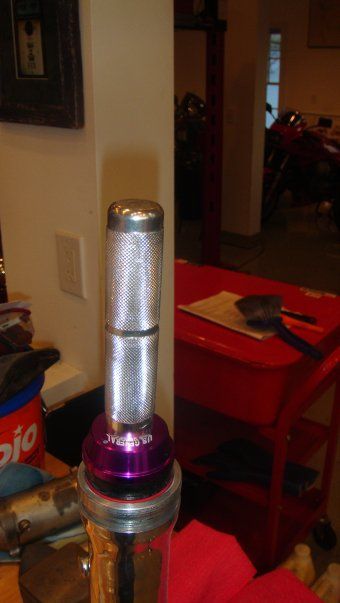
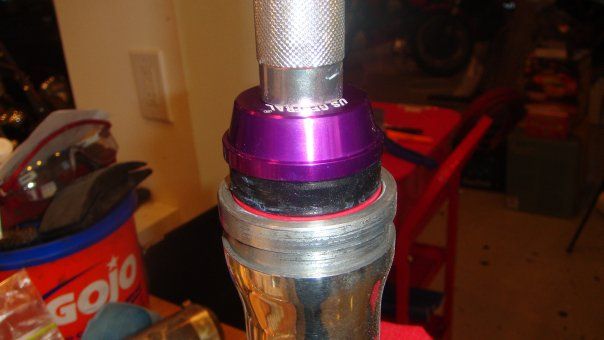
And here she is with the circlip installed.
No ATF, so I stopped there…. I guess on to the head again…
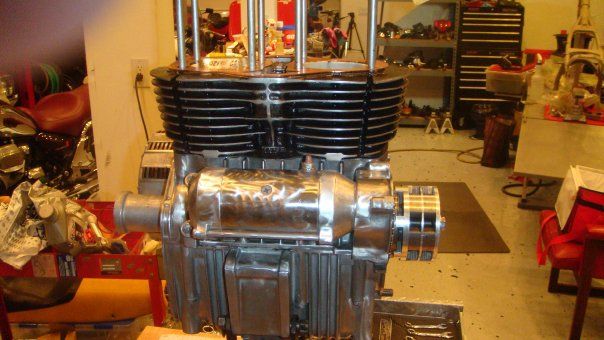
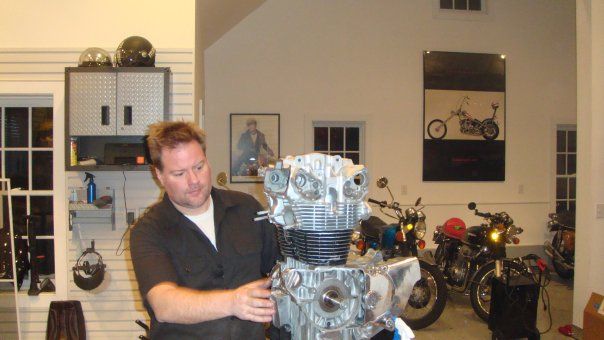
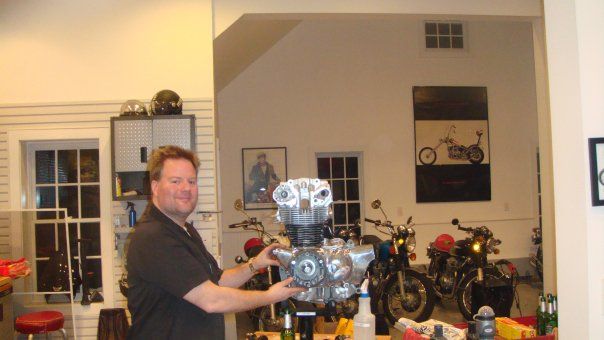
The head, on the engine!!!!
F({K!!!!!!!!!!!!!!! The A$$ Rape Fairy then decided to come screaming through my own little version of paradise….
I dropped the Cam Chain into the crankcase!!!!!!!!!!!!!!
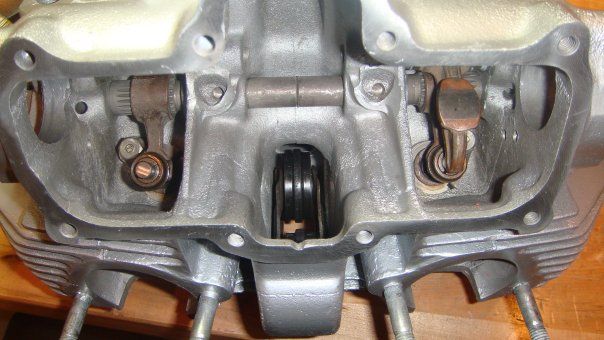
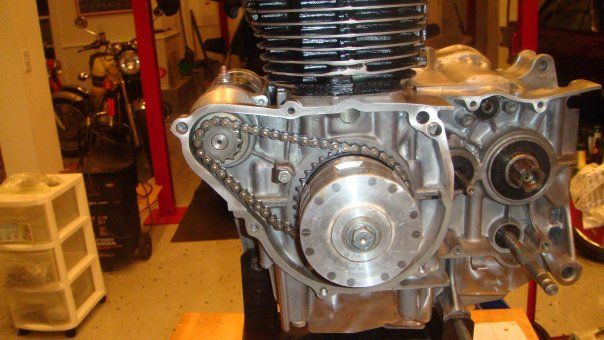
Here is how the engine sits now.

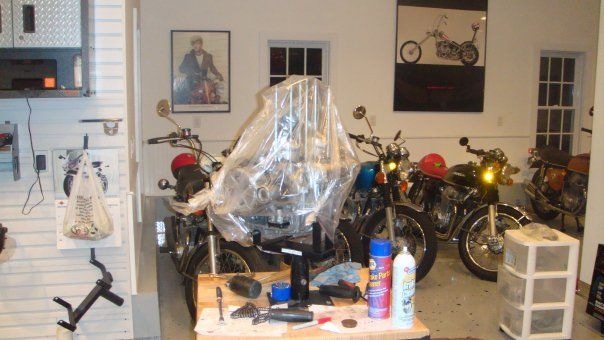
Any thoughts on how not to tear the cases apart are most welcome…..


