So I recently acquired some
Alumiweld rods from the local
Harbor Freight and have been experimenting with them a bit. Although the website claims that you can use these to "Weld aluminum with any low temperature torch", this is not welding. These are basically brazing rods that are designed for low-temperature brazing of aluminum and pot-metal alloys.
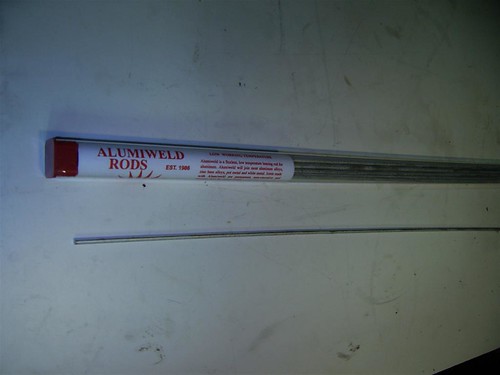
The package came with 8 rods about 18 inches long, and cost US$12.99.
So, to play around with I gathered some scrap aluminum pieces I had in my scrap pile.
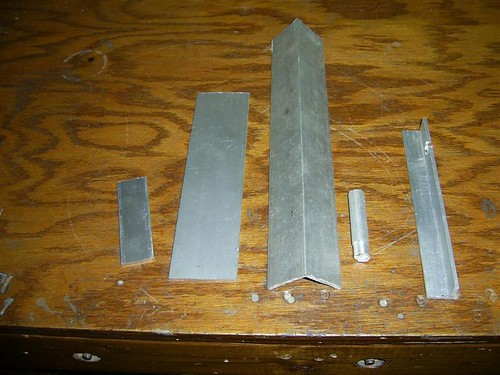
Reading over the literature it remarks that the parts have to be perfectly clean, bare shiny aluminum. My scrap pieces are new and clean, so I just swiped them a few times with a scotchbrite pad to break the oxide a bit. Later on for more irregular parts I used stainless steel brushes.

For heat, I'm using MAPP gas because I had it on hand. The literature states you can use propane also. More on this later on.

Remember your safety gear.

Instructions state that you heat the base material, then melt the rods on to surface using a scratching motion. The scratching action breaks up any oxides that form on the metal during heating. Literature also recommends drawing a stainless steel rod through the molten pool of Alumiweld during brazing. I found this unnecessary and I had no real problems with oxide formation during the process.
To begin with I drilled a number of holes in a piece of flat stock.
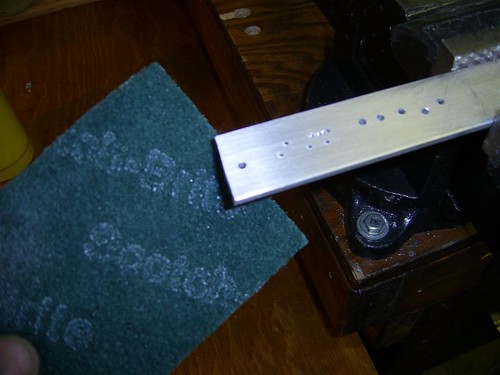
Clamped the part into the vice and applied heat. It took about 30 seconds of heating with MAPP gas to get this part up to working temperature. Flowed out some Alumiweld.
[ur=http://www.flickr.com/photos/21913947@N04/2599219197/in/set-72157605742644616/l]
[/url]
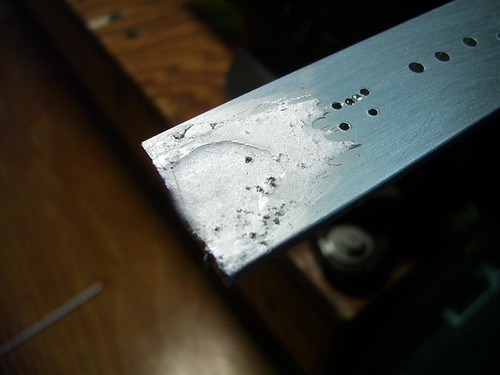
Interestingly, it seems that the Alumiweld etches itself into the parent material somewhat. In the previous pic, you can sees a depressed area. While the Alumiweld was still molten, I dragged a stainless brush through the puddle. What you see is the result. If I hadn't brushed away the puddle, it would have cooled into lump thicker than the parent material. The Alumiweld did not initially flow THROUGH the holes, and in fact as you'll see in a minute the product seemed to work very well for closing up holes.
Back to the fun, I fired the torch back up and really went to town. I intentionally used way more rod than necessary, I wanted to get a feel for how the rods behaved.
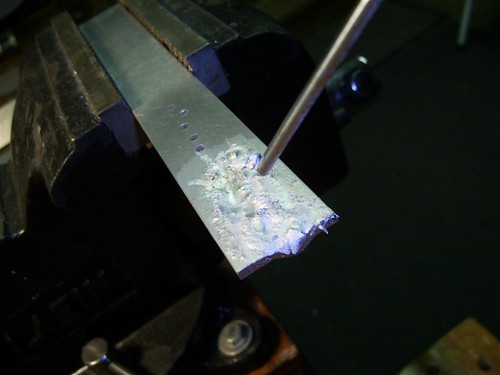
Top view.
Bottom view.

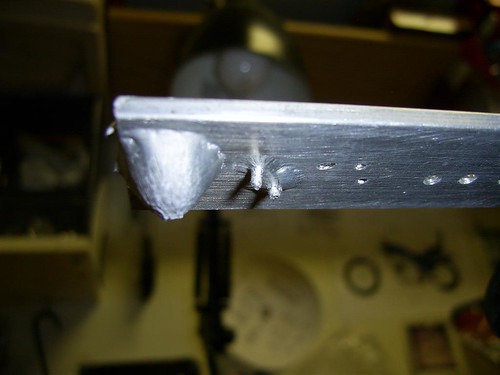
So, if you use enough rod, this material will flow through a 1/16 in hole fairly well. During this pass I also experimented with re-melting previous brazed areas and found that the alumiweld re-melted and flowed in a fashion that felt more like soldering than brazing. This stuff changes state quite suddenly. Thin layers stay in place pretty well when molten but larger applications will drip and/or run when molten.
After about 10 minutes of cooling I took a coarse file to the lumps. The material is quite hard when solid. It's definitely harder than the cheap aluminum scrap I was using.

Hammer time!
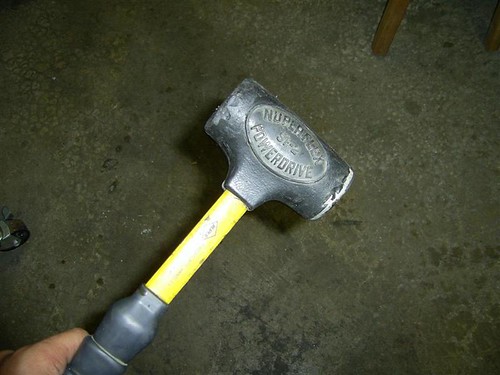
Beat on the lump a bit with my deadblow hammer, in the same spot I filed. No visible deformation after one whack. A bit of flattening after repeated blows. Again, definitely harder than the scrap.
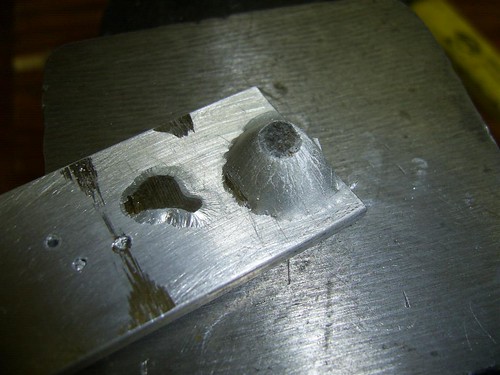
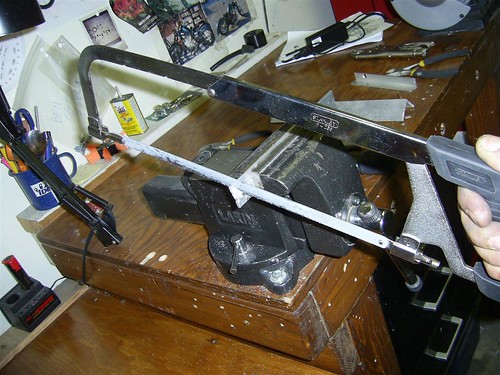
Re-clamped the piece and cut through the lump with a hacksaw, then filed the end with a file.
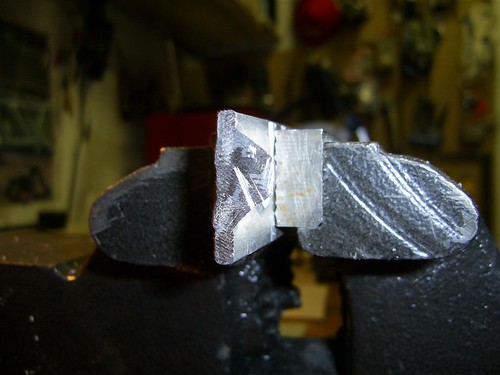
As you can see the junction between the parent material and the Alumiweld is indistinguishable.
Used a spring-loaded center punch to do a seat-of-the-pants hardness test.

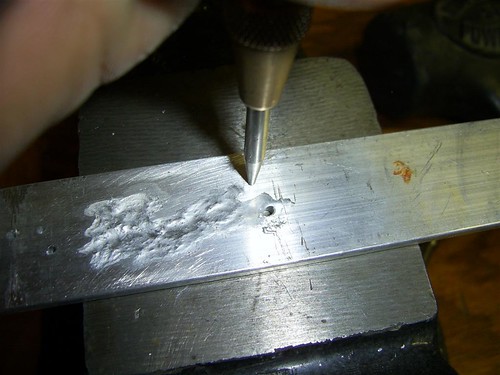
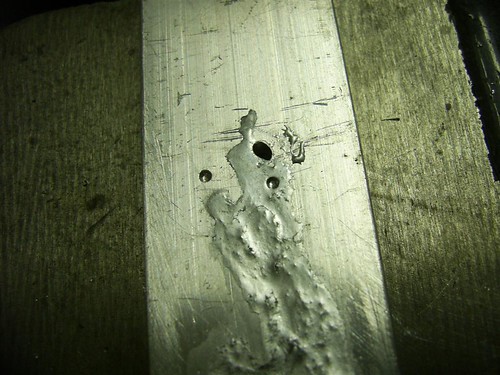
The alumiweld dimples slightly less than the parent material in places where it is thick. No chipping or flaking of the Alumiweld.
continued...