This should help some.
I marked all cuts like Gordon instructions said.
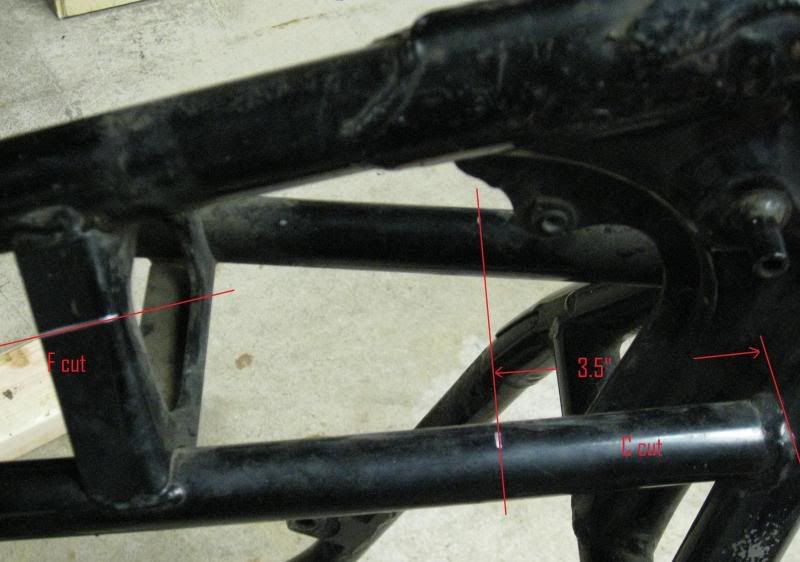
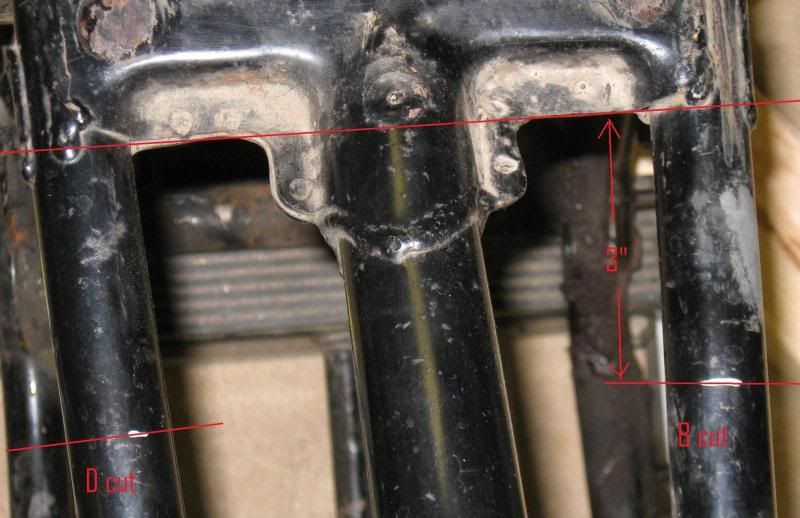
To get a square cut on the tubing I used a tubing cutter to mark the frame so I can cut it. A small tubing cutter could have cut it, but I could not swing this one all the way around.
 EDIT:
EDIT: Before you cut anything drill the holes and test fit the small frame pieces in the triangle frame section. I found it would have been much easier to have done this. Ones you get the 2 holes drilled remove them and start cutting. This holes will let you align the whole piece easier. Keep the hole tight on the bolts I used a 5/16 drill bit.
I cut one with a hack saw and then just decided to use my sawzall to cut the rest. I should have stuck to the hack saw because you can control the cut better and the hack saw blade followed the cut from the tubing cutter very nicely.
Then I marked the removed frame to clearance for Gordon's inserts

Testing how they fit. They are a little tight as is. I used a dremel with a sanding roll to clean the inside and tube seam. After that they slide in very nicely.

I then proceeded to clearance for each insert one at a time using the front face of the triangle frame as a reference
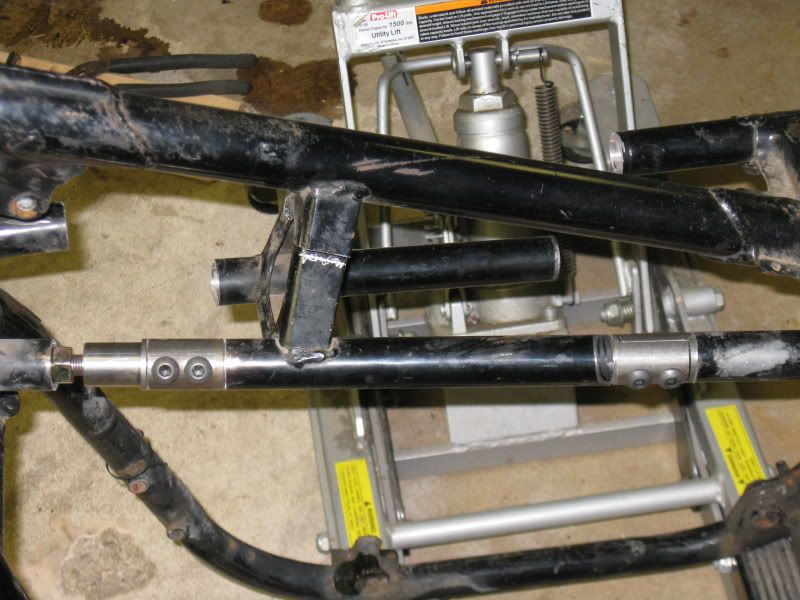

I then drilled a hole in each of the front tubes so I could plug weld the front inserts.
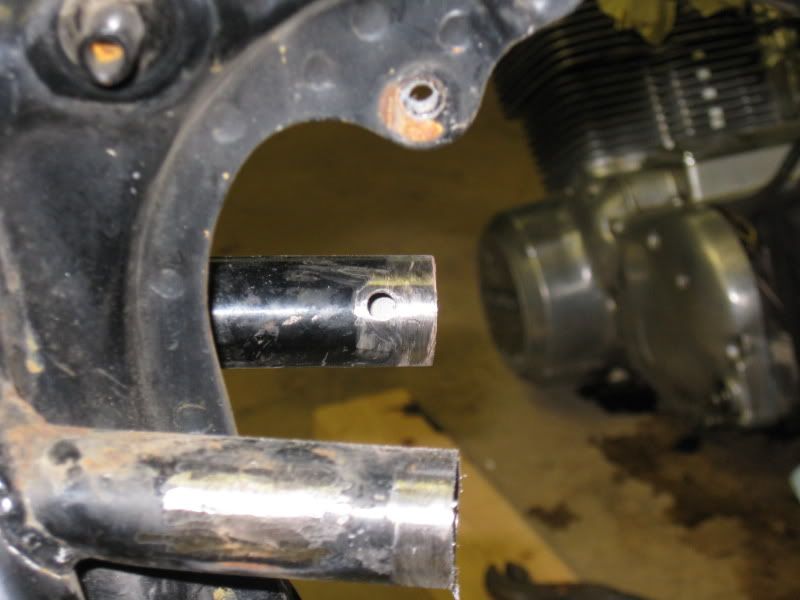
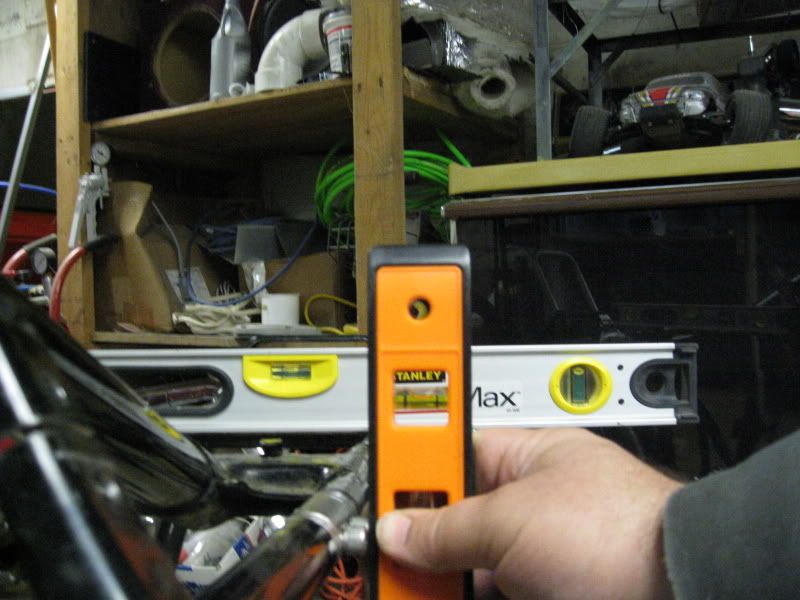
I leveled the rear of the frame across the 2 bars where the seat would sit. I replaced the grade 8 bolts Gordon provided with some socket head cap screws. I will use them until its been finished and powdercoated, and then I will put the grade 8 bolts back in. The nice thing about the socket head cap screws is it provided me a way to plum the inserts So they will all be vertical so the frame can be removed easily.
The tack welding is complete... Man that plug weld sure turned out nice, I wish I would have done that for every insert. Off to the welders for some tig work. I could have welded this and felt that it would have been structurally sound but my welding doesn't look the best so i decided to have some one else weld it. + its very easy to weld into the other side of the insert. One of my tacks stuck the other side of one of the pieces. I guess I should have slid a piece of copper between the 2 when I was welding. None the less I must have done a good job aligning everything cause it comes out nicely.


Thanks Gordon!
