Hello from France,
As promised some months ago we made a refab of the primary rubber dampers for our CB750, K0 to F2 (also for Goldwing GL 1000).
These rubbers are often destroyed by oil and heat, they become very hard and can be cut in two parts or in little bits that can be found in the oil filter. They are located inside the primary driven sprocket, Honda ref. 23110-300-030, not available today, part # 3 below :

The kit contains :
- 12 rubber dampers with hardness matching original equipment
- 12 screws (90°), Ø 6 x 100, Length 15 mm, Class 10.9

Necessary tools :
- Ø 5 drill
- Ø 6 drill
- 90° mill
- a needle or a centering drill
- Ø 5 mm drift punch
- a set of tap Ø 6 x 100 , Length 30 mini
- Left-turn wrench
- « loctite » (blue)
Before any operation, it is necessary to check position and assembly order of every part in order to stay conform to what has been unmounted and keep the current wear position. It is very important to remount every part in its original position.

Put down the bearing. Give a needle shot, well centered, above every head of the 6 rivets, on one single side.
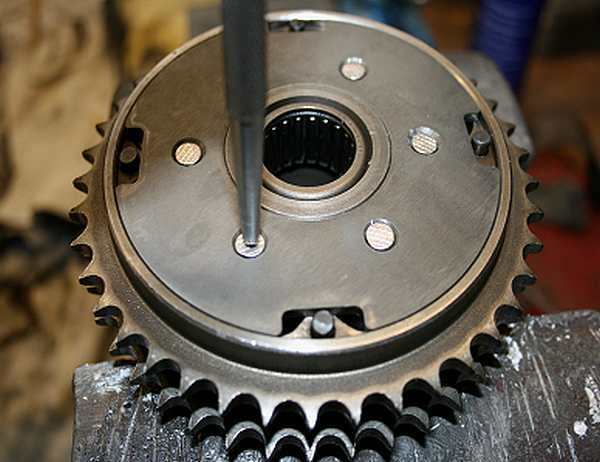
Protect the needle bearing from potential chips (grease + cloth, tap…).
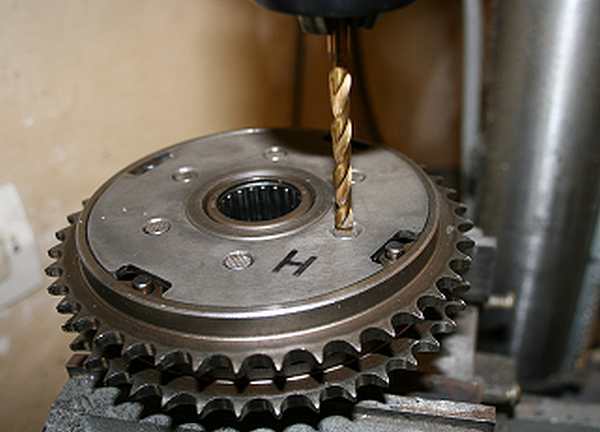
Drill the rivet head with a Ø 5 drill only for a depth of around 5 mm.
The point is to get rid of rivet heads on one single side only.
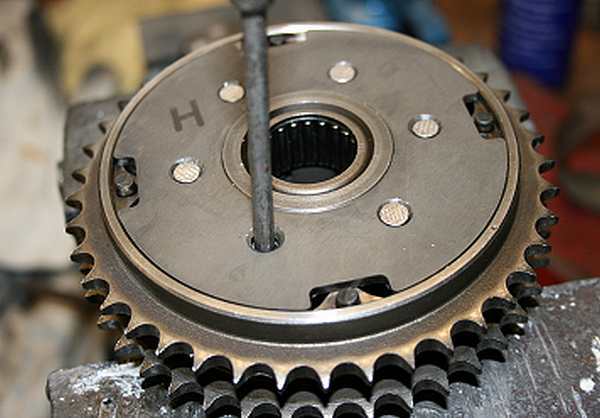
Expel the rivets with the Ø 5 mm drift punch.
Then you can disassemble the parts. You can see below the destroyed rubbers !
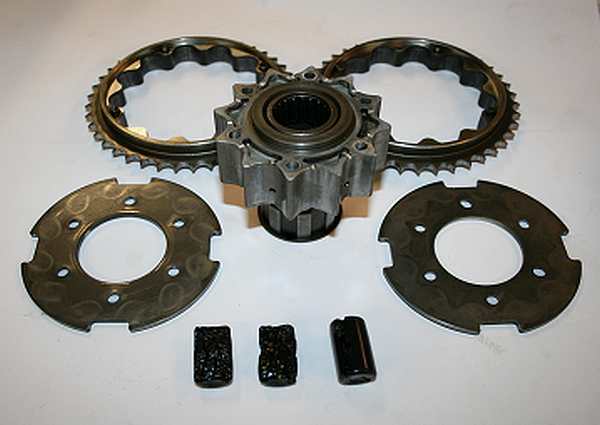
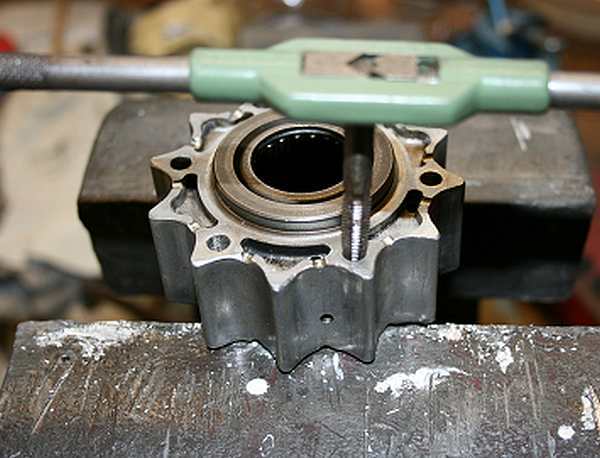
Tap the hub with Ø 6 and thread of 100 by greasing correctly the thread. It is not necessary to drill again the bore because it is already with diameter Ø 5 mm. The tapping must be made form side to side of the hub.
Unburr the beginning of the thread on 2 mm using a drill.
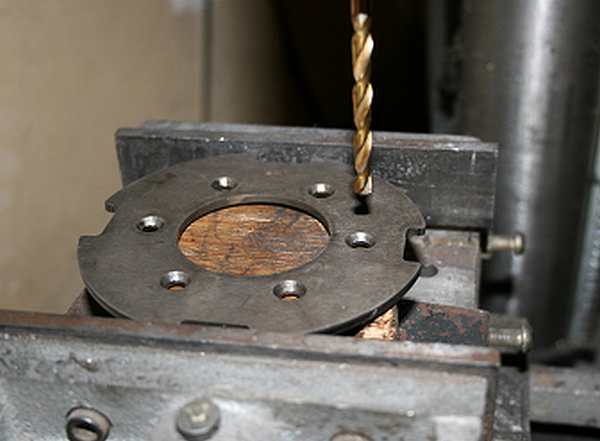
Drill the existing fixation holes on the flanges at the diameter Ø 6.
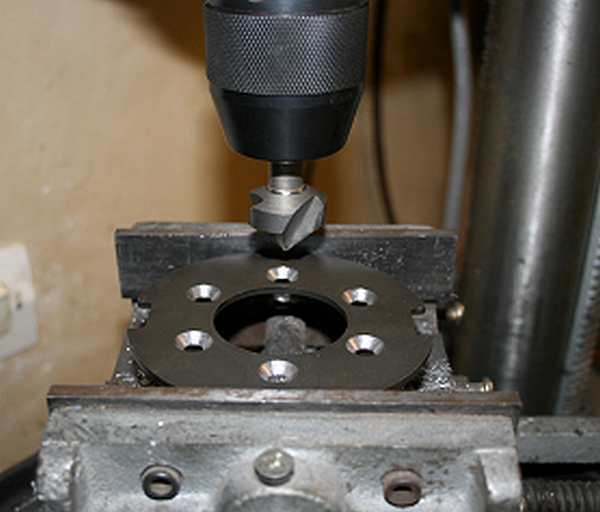
Drill a cone so that you can later put the countersunk head screws ( with Ø 12 mm drill cut at 90° or 90° mill). Screwheads shall not be fully inserted in the flange, they shall jut out above for half 5/10 mm.
Clean every part then proceed to reassembly of the parts. Verify that the 8 axis are in position, the head being positioned inside.
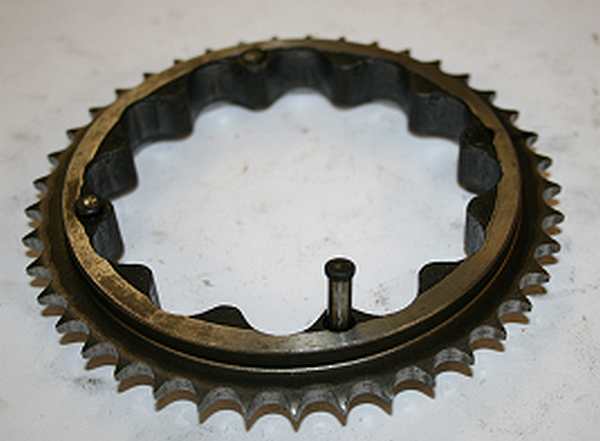
Respect the marks made during disassembly. Place the flanges making sure that the blocks are centered inside the housing. Place and tighten the screws (10 to 15 Nm) after having put some blue « Loctite » on them. Oil the dampers through the holes with some engine oil.

Now your primary driven sprocket is ready to ensure a perfect work for many miles !