Actually I did this step of reassembly a week ago and posted the progress today.
Finally had some time to do some work and download photos and post.
Thing went pretty smoothly, pre-assembly is always a good way to make sure things are going to go together without a hitch. I used yamabond to seal the gasket surfaces and used the old gaskets because they were still in good shape. Yamabond is highly recommend product, and it was available at the shop. I have been told that people run and race using yamabond
without a gasket. Not that I'd want to try that myself, but it is a way to get a bit more compression as it squishes down to virtually nothing, but seals good.
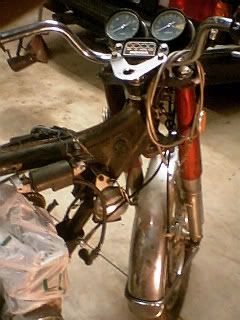
Slowly but surely the parts are coming out of the box and becoming a unit.
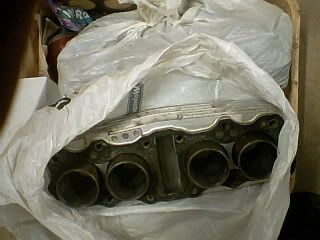
I kept all the stuff in bags to keep it clean while waiting for assembly, including the motor.

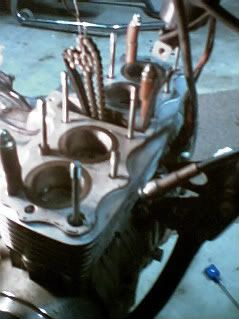
The rings are supposed to be installed with the gaps of each at 120' around the piston. The manual also says do not align any ring gap in line with the wrist pin nor perpendicular to the wrist pin. This was hard to image in a photograph, and hard to be precise once the bores are going on , but an effort was made to pre-position it all in that configuration.
After first fit of the bores I put about a cap full of oil down the bores, pouring it down the back side first and making sure a bit works it's way around.

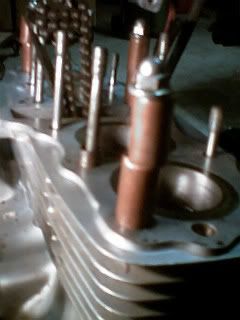
With the inner pistons at top dead center the bores are lowered into place.
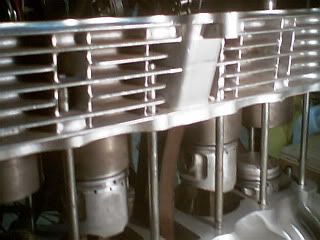
A bit of wiggling and using my fingers and or a very small screw driver to compress the rings and it begins to lower onto the cylinders. No forcing things. A bit if rocking from side to side and they work their way in.
Some posts suggest that using hose clamps to compress rings is the way to do it. I think this sounds like an unnecessesary pain in the butt. It seems that with the small amount of space, it would be just an added hassle. The bores are tapered quite enough that you can tuck the rings in if you are patient. I don't see how the use of any type ring compressor would be of help unless you are assembling something through the top of the bore. This is just not a situation where it would make assembly any easier.
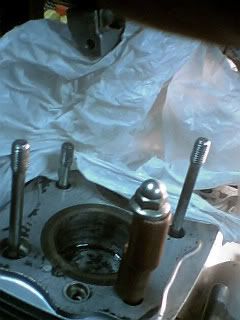
At this point I made sure to insert any alignment dowels necessesary.
I temporarily put a wire through the chain to take up slack and hold it out of the way. After the inner two bores were in, I spun the motor just a bit to bring the outer pistons up and simultaneously feed them into the bores. Again patience and no forcing things. Once they were working their way in, the surface of the top of the motor case was given a thin coat of yamabond.
After the bores are lowered in place , I used some spacers to take up the space of the head and tightened down three nuts enough to seat the bores and squish out the excess yamabond. There was not much, but a bit confirms that the surfaces are being squeezed together. I let this sit overnight before doing anything more. The recommended torque when the head is on should make a very good seal that will last.
SORRY ABOUT THE KILTERED PHOTOS. FOR SOME REASON THEY DON'T POST THE WAY I ROTATED THEM ON PHOTOBUCKET.


