Day 23 update:
Some new parts arrived today (yay!) I always love coming home to find boxes of goodies at the door:
I'm loving the new shocks; they look really spiffy and seem pretty damn nice quality. I'm going to paint the housing to match the frame, however. Only the springs will remain black. I found a place in Oakland, less than 10 miles from me, that offers stripping and electroplating services. They do chrome, nickel, silver, copper, & zinc (maybe others?) I'm going to take my tach and speedo cover, headlight rim, seat strap mounting hardware, and a bunch of engine mounting bolts over to them and see what they estimate it will take to redo. Guy seemed nice over the phone, and he said they prefer to work on small projects. The tach/speedo covers and the headlight rim will go back to chrome. The seat strap hardware and engine mount bolts I'm thinking of satin nickel; something to prevent corrosion of the raw steel, but without the large grain size and bluish tint you get with zinc.
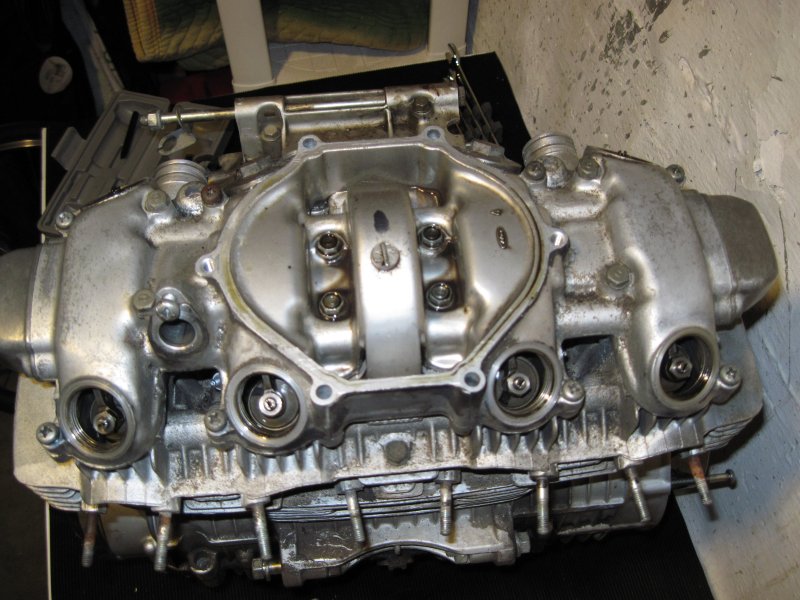
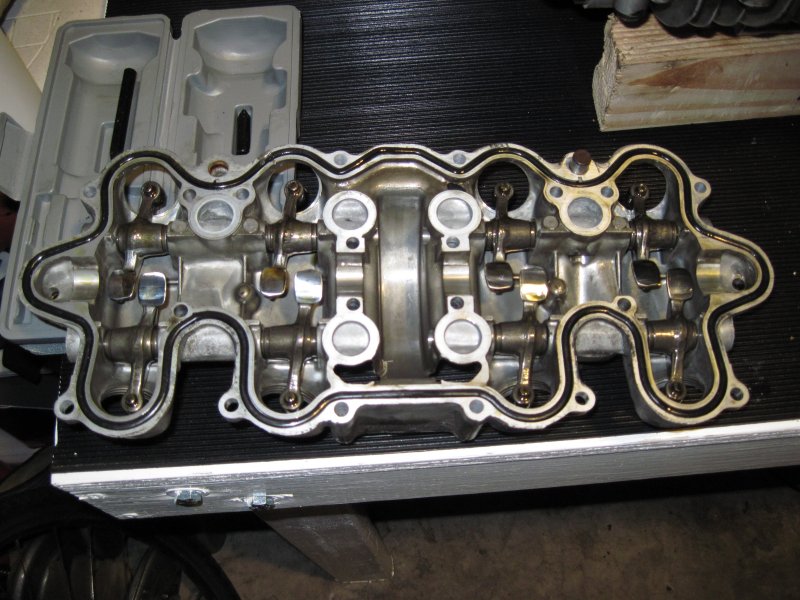
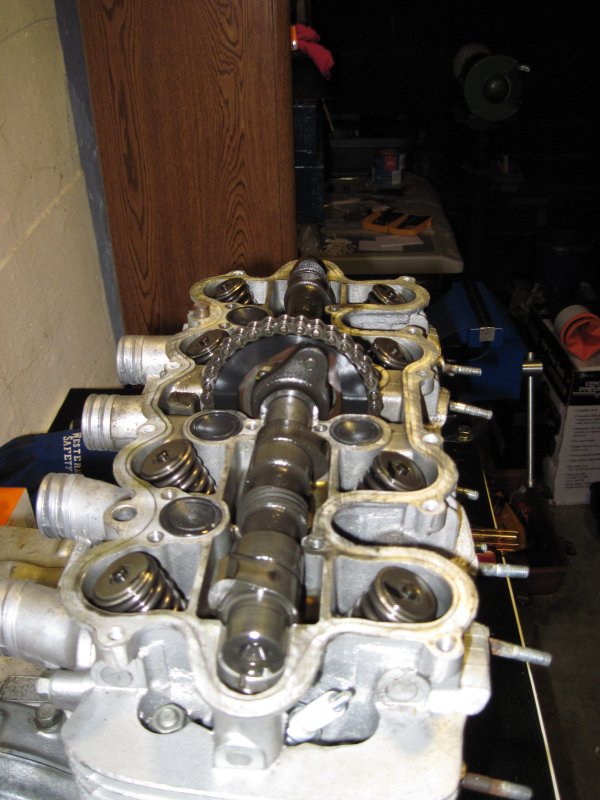
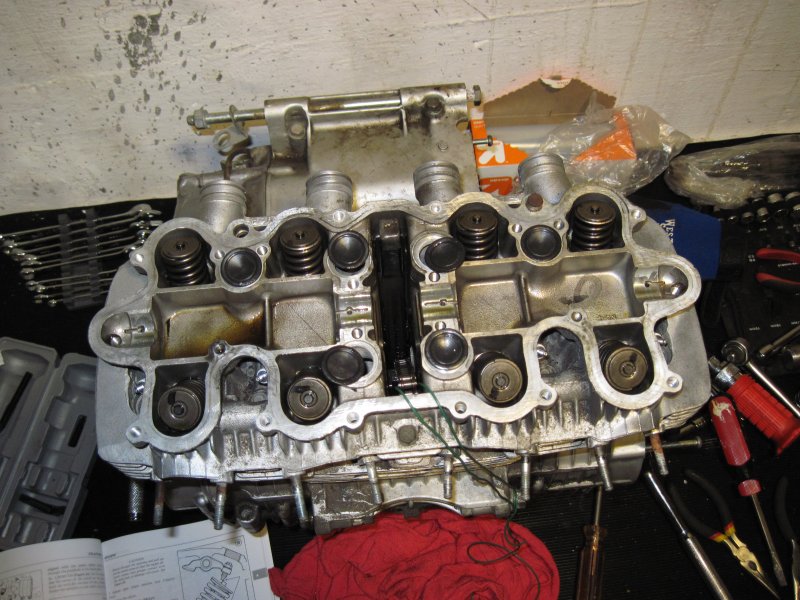
Work on the engine was on call for this evening. I removed the valve cover, tappets, cam, and cam chain sprocket. Went surprisingly easy, after wedging the cover off. Had to bust out the impact driver, of course (this tool is simply INDISPENSIBLE). Had to stop when I realized I didn't have a deep socket for the spark plugs and the auto parts store was long ago closed (damnit!!) I have no idea yet whether the internal engine components are to spec or not, but I bought a micrometer so a more detailed inspection is in order.
To remove the tappet stems, I just utilized one of the M6 bolts (~5 cm in length) recently removed from the valve cover and screwed it a bit into the stem then pulled it right on out. For the "deeper" ones closer to the center, I carefully slid my new bolt "tool" through the hole where the other tappet had been, twisted a few times to catch the threads, and then fished the entire assembly through. Worked really well; it was only the very last stem that gave me any real resistance, and even then it was pretty minor. Just had to wiggle the tappet around a bit to free it up.
I'm really enjoying taking the engine apart; this is my first go at doing anything this extensive with an engine, so it's a lot of learning as I read through Clymer's trying to figure out how best to achieve the desired goal. Of course I'm also taking a thousand pictures and carefully documenting everything I've removed. We'll see how thrilled I am about the process during re-assembly!
Here are some pics:
I'm also debating what to do with the exhaust, considering I am going to be getting stuff chromed soon. I think the current exhaust that the Colgetts (POs) put on is going to work well, as it seems to be in really good shape. It's dirty, and there's a bit of surface rust on the inner walls near the very tip of the muffler, but it's quite minor. No holes or anything. The headers look to be in really great condition.
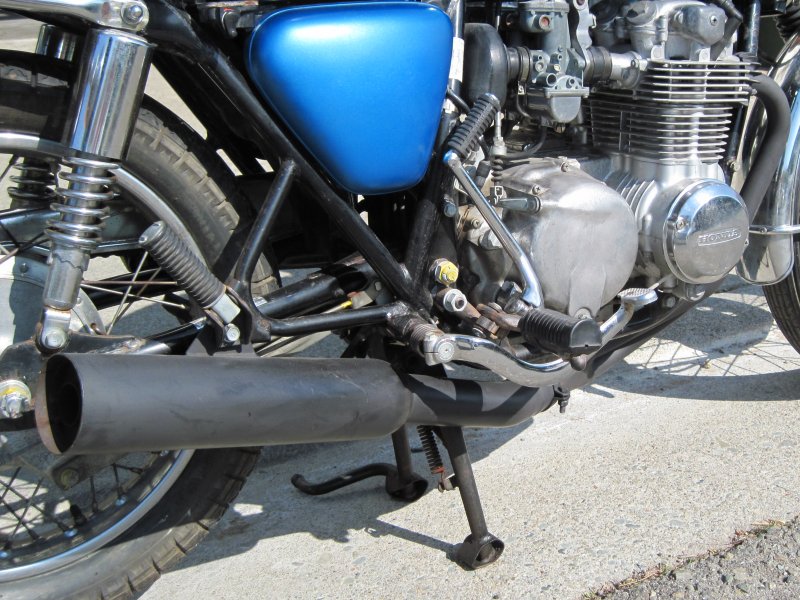
It looks like a
Mac exhaust (Tyler, can you confirm?) They sell 4-into-1 sets that are all-black, all-chrome, or a hybrid with black headers and a chrome tip after the collection point:

I don't care for that look, as the transition doesn't look normal; I want the headers to be black, and the muffler to be chrome, but not the entire section. I'd rather it emulate the look of a slip-on. So I pieced together the two different versions from the Mac web site in Photoshop and came up with this:
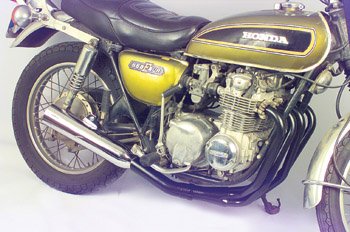
Might have to add a faux clamp there at the black:chrome interface, just to avoid transition inconsistencies. What do you guys think?