Author Topic: seat pan repair with cover in place?  (Read 3971 times)

0 Members and 1 Guest are viewing this topic.

Offline Alan F.

  • We remember the Night Rider, and we know who you are.
  • Really Old Timer ...
  • *******
  • Posts: 7,355
seat pan repair with cover in place?
« on: April 26, 2010, 10:37:30 AM »
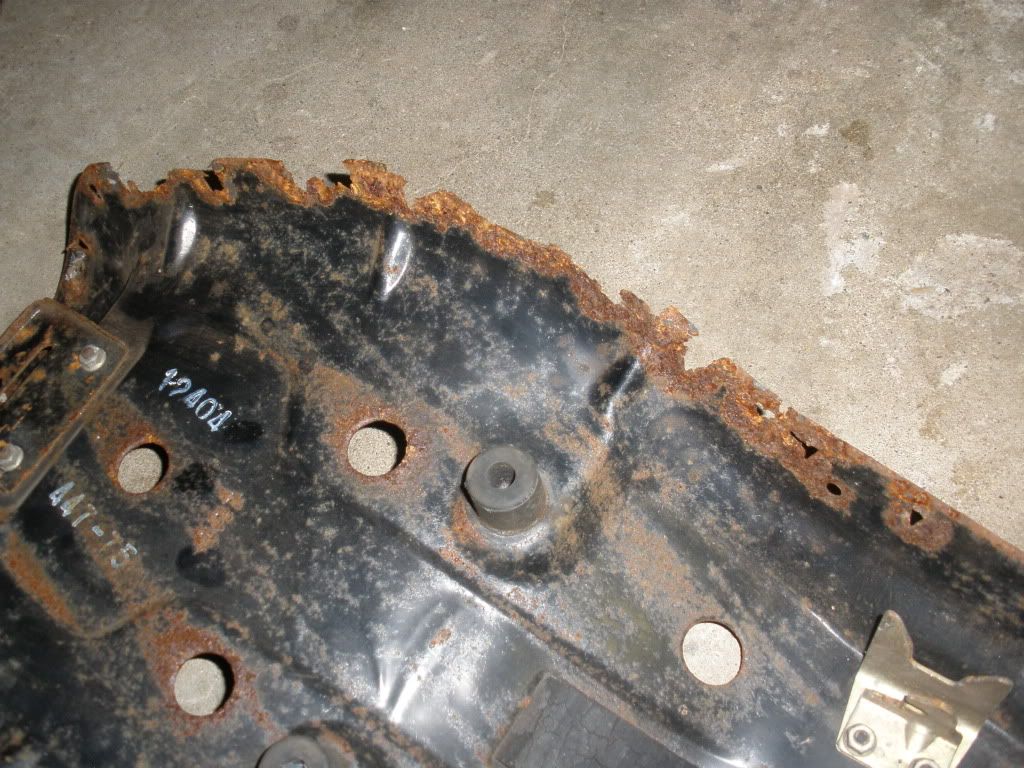
Yes, I searched.  I've got a project that I might get underway soon and it's got the stock seat... The foam is great and the original cover seems solid. It would be a shame not to use it and keep costs down. The issue with it is that the edges of the seat pan are audibly "crunchy" with rust. I was figuring that I could just flip the seat over and pour some sort of product that will flow around the edges of the pan which would harden and thus keep the seat in serviceable condition. Good old JB weld comes to mind first but it's a little thick to pour, maybe add some denatured alcohol or acetone or something to it so it will flow and self level?  Or is there a better yet inexpensive and easily available product that will provide similar strength and will flow as well as reinforce the edges of the seat pan? I'm not concerned about retaining the ability to change the cover.

Anyone have any thoughts on this?
-Alan

Offline Nikkisixx

  • Expert
  • ****
  • Posts: 839
Re: seat pan repair with cover in place?
« Reply #1 on: April 26, 2010, 03:14:20 PM »
Pictures would be good, but can you take the seat cover off without mucking up the works?
If so POR 15 to stabilize (the entire 3 part process of cleaner, neutralizer, paint), then the epoxy or better yet fiberglass to build it up.
It is a proven fact that modifying a SOHC Honda in any way will bring on the apocalypse.

Offline Alan F.

  • We remember the Night Rider, and we know who you are.
  • Really Old Timer ...
  • *******
  • Posts: 7,355
Re: seat pan repair with cover in place?
« Reply #2 on: April 26, 2010, 04:36:47 PM »
There's not much point to pictures. I won't be taking the cover off, its doubtful that it would go back together and be useful.  I'm not looking for a lifetime of service, just a couple of years would be good.  I'm not looking to spend more than a few dollars to fix this issue. I guess I'm just wondering what I haven't thought of along the lines of JB-W but a little easier to pour.  Kind of like loctite's black-max, but cheaper and easily available.

Thanks anyway Nikki, that would be the correct way to restore this seat pan if it were of rare vintage, but it's not.  This project will be all about low cost, not performance, looks or anything else. It's a honda so it'll be reliable.
-Alan

Offline Alan F.

  • We remember the Night Rider, and we know who you are.
  • Really Old Timer ...
  • *******
  • Posts: 7,355
Re: seat pan repair with cover in place?
« Reply #3 on: April 26, 2010, 04:46:47 PM »
I hate to answer my own question..... but I just took a look at the FAQ at: http://jbweld.net/faq.php#faq011

Q: Can I thin J-B Weld to make it pour easier?
A: Yes. Add up to 1 tsp. of acetone or lacquer thinner per 2 oz. (1 full package) of mixed product.


That'll pretty much do it.
-Alan

Offline cookindaddy

  • I sure love this bike!
  • Expert
  • ****
  • Posts: 1,153
Re: seat pan repair with cover in place?
« Reply #4 on: April 26, 2010, 05:07:07 PM »
Good luck.
I had the crunchy edges also.
I did mine last year by taking the cover off, sandblasting, painting the pan and reassembling and it wasn't that bad. I did also get a new cover. Now it is beautiful. It wasn't all that hard to do.
 
George with a black 78 CB750K (in Lion's Head, Ontario, Canada)

Offline Alan F.

  • We remember the Night Rider, and we know who you are.
  • Really Old Timer ...
  • *******
  • Posts: 7,355
Re: seat pan repair with cover in place?
« Reply #5 on: April 26, 2010, 05:12:34 PM »
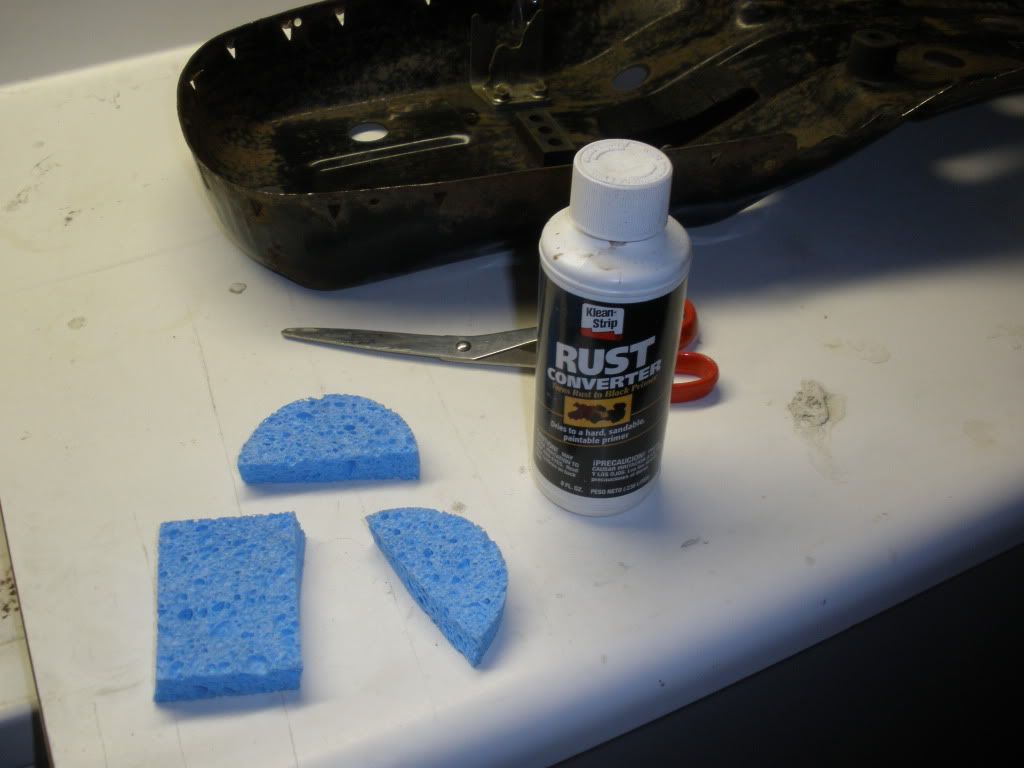
Maybe I'll consider pulling the cover after all, doing it right Like Nikki said is gaining appeal the more I think about it. I've got a half bottle of Klean-Strip rust converter that my 750 probably won't use up.... then some thinned JB-w after it's back together. 
Thanks Gents.
-Alan

Offline Nikkisixx

  • Expert
  • ****
  • Posts: 839
Re: seat pan repair with cover in place?
« Reply #6 on: April 26, 2010, 05:13:55 PM »
I've taken covers off and put them back on some manky seat pans before, but if you can get around it that sounds good too  :)    It would suck to have the vinyl tear durring the process.  Let us know how it works out!

edit:  LOL dang my slow typing!
It is a proven fact that modifying a SOHC Honda in any way will bring on the apocalypse.

Offline Alan F.

  • We remember the Night Rider, and we know who you are.
  • Really Old Timer ...
  • *******
  • Posts: 7,355
Re: seat pan repair with cover in place?
« Reply #7 on: April 26, 2010, 05:28:23 PM »
I think it would be best to make an effort to do something about the rust, it'll take over for sure if i don't.  Maybe I could just drill a line of 5/64" or so holes at say 1/2" spacing around the crunchy edges and when I pour the rust converter on, it'll flow inside and help some. Then after its cured I'll pour the thinned JB.

Not as good as taking the cover off, but better than using only thinned JB.

Offline mystic_1

  • Really Old Timer ...
  • *******
  • Posts: 6,071
  • 1970 CB750K
Re: seat pan repair with cover in place?
« Reply #8 on: April 27, 2010, 05:19:07 AM »
Sounds to me like it'd be less work, and produce better results, to just remove the cover.  Why are you trying to avoid that, worried about ripping it?

mystic_1
"A ship in harbor is safe, but that is not what ships are built for."
- John Augustus Shedd

My build thread:  http://forums.sohc4.net/index.php?topic=68952.0

Offline Alan F.

  • We remember the Night Rider, and we know who you are.
  • Really Old Timer ...
  • *******
  • Posts: 7,355
Re: seat pan repair with cover in place?
« Reply #9 on: April 27, 2010, 06:49:30 AM »
Yup, it's in good shape and I don't want to damage it... I guess I'll give it a shot though.

Offline mystic_1

  • Really Old Timer ...
  • *******
  • Posts: 6,071
  • 1970 CB750K
Re: seat pan repair with cover in place?
« Reply #10 on: April 27, 2010, 07:41:24 AM »
Put the seat in the hot sun for a while to heat up the cover.  That'll make removal and installation much easier.  Warm up the underside of the seat too since that's where you'll be doing the most tugging.

When removing the cover from the hooks, kneel on the seat or have an assistant stand on it.  That will compress the foam and relieve the tension on the sides of the cover. 

Same trick works for installation since you're re-using a cover and the holes will already be there.  With a new cover you have to be more careful about alignment when installing and can't just crush it all down.

OTOH you may opt to use rivets to re-attach the seat cover.  If so, re-install the cover using a few of the standard hooks, say every third or fourth hook.  This will hold the cover in place in the proper position.  Now drill and rivet carefully so as to not pierce the topside of the cover or the foam.

While it's off, replace the edge trim on the seat pan unless what's there is immaculate, and maybe even then.  That will help protect the cover where it wraps around the edge, when you put it back on. 

This would also make a good opportunity to use some spray adhesive to attach one large piece of thin (1 mil [0.01"] or so) plastic to your seat foam.  Pleat the corners so it all lays smoothly.  Most seats already have this but I'd bet a dollar that yours is torn or otherwise degraded.  This will keep rain from soaking your seat foam too badly.

Finally, if the edges are rusted badly enough to produce crunchy sounds, you can bet the topside of the pan has some rust somewhere too.  Good opportunity to repaint the seat pan here.  Of all the things I've listed so far this would be the most effort, you can just touch-up if it's not too bad off.  None of this is visible until you open the seat and then only the underside of the pan shows.

Aside from the painting none of the above adds too much time or effort, since you'll have the cover off anyway.  I believe you'll be glad you went this route instead of a "quick-fix".

mystic_1
"A ship in harbor is safe, but that is not what ships are built for."
- John Augustus Shedd

My build thread:  http://forums.sohc4.net/index.php?topic=68952.0

Offline Alan F.

  • We remember the Night Rider, and we know who you are.
  • Really Old Timer ...
  • *******
  • Posts: 7,355
Re: seat pan repair with cover in place?
« Reply #11 on: April 27, 2010, 09:42:51 AM »
That's a great method Mystic, I don't think I've ever read that anywhere before. Thanks!
-Alan

Offline mystic_1

  • Really Old Timer ...
  • *******
  • Posts: 6,071
  • 1970 CB750K
Re: seat pan repair with cover in place?
« Reply #12 on: April 27, 2010, 11:37:52 AM »
Whatever route you go, do post pics :D

Good luck!

mystic_1
"A ship in harbor is safe, but that is not what ships are built for."
- John Augustus Shedd

My build thread:  http://forums.sohc4.net/index.php?topic=68952.0

Offline Alan F.

  • We remember the Night Rider, and we know who you are.
  • Really Old Timer ...
  • *******
  • Posts: 7,355
Re: seat pan repair with cover in place?
« Reply #13 on: April 27, 2010, 12:38:41 PM »
Yes, I'll do that after I get a few small projects out of the way.

Offline Alan F.

  • We remember the Night Rider, and we know who you are.
  • Really Old Timer ...
  • *******
  • Posts: 7,355
Re: seat pan repair with cover in place?
« Reply #14 on: July 15, 2010, 06:09:42 PM »
OK, I finally got around to taking care of this seat. I wasn't expecting too much to come of this endeavor, and  wasn't really planning on pouring all of my energy and resources into it either.

Here's the first pic I took, after I'd taken the trim strip off
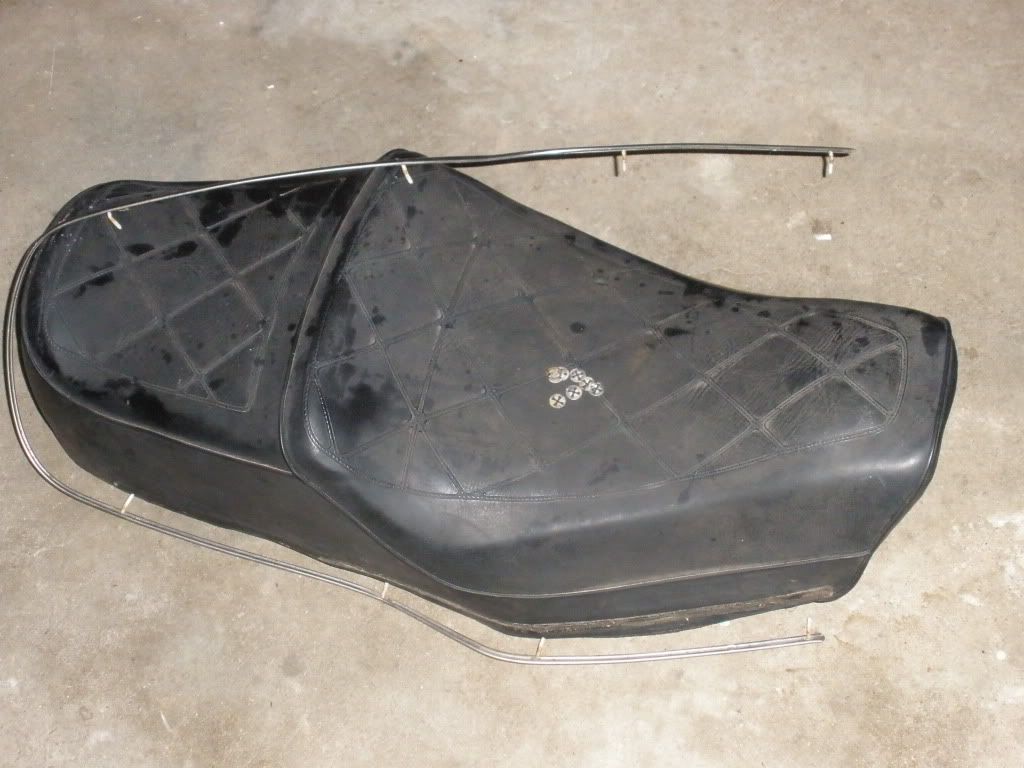
The edges of the steel seat pan were pretty crunchy with rust, that's the whole reason for doing all of this.
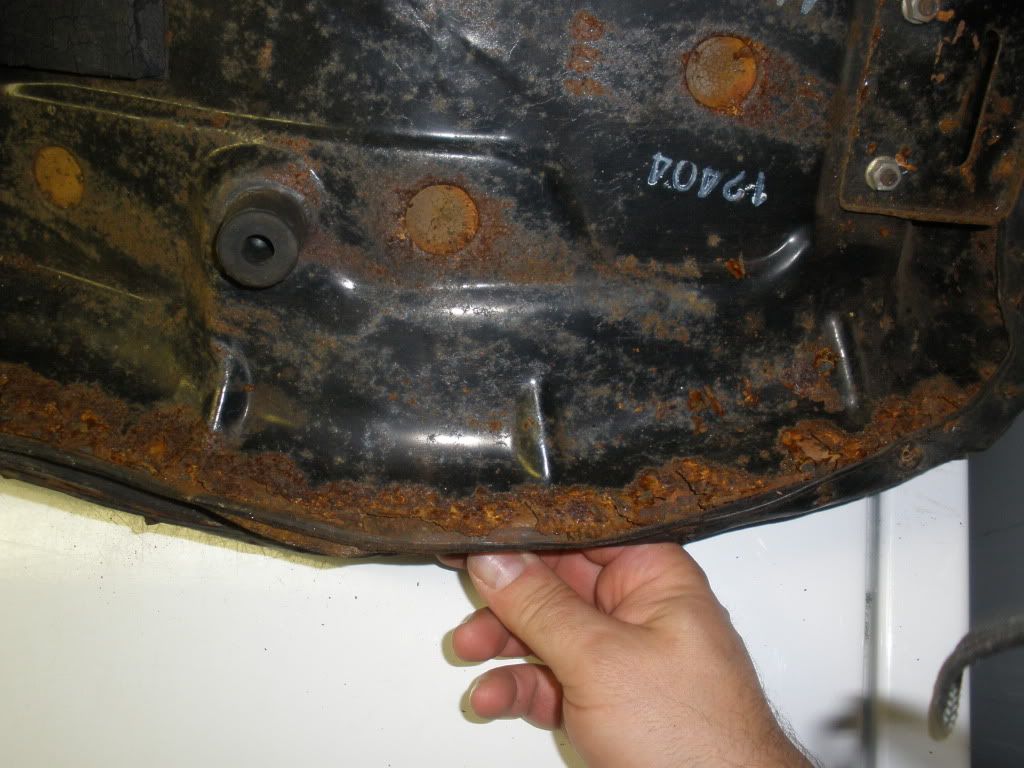
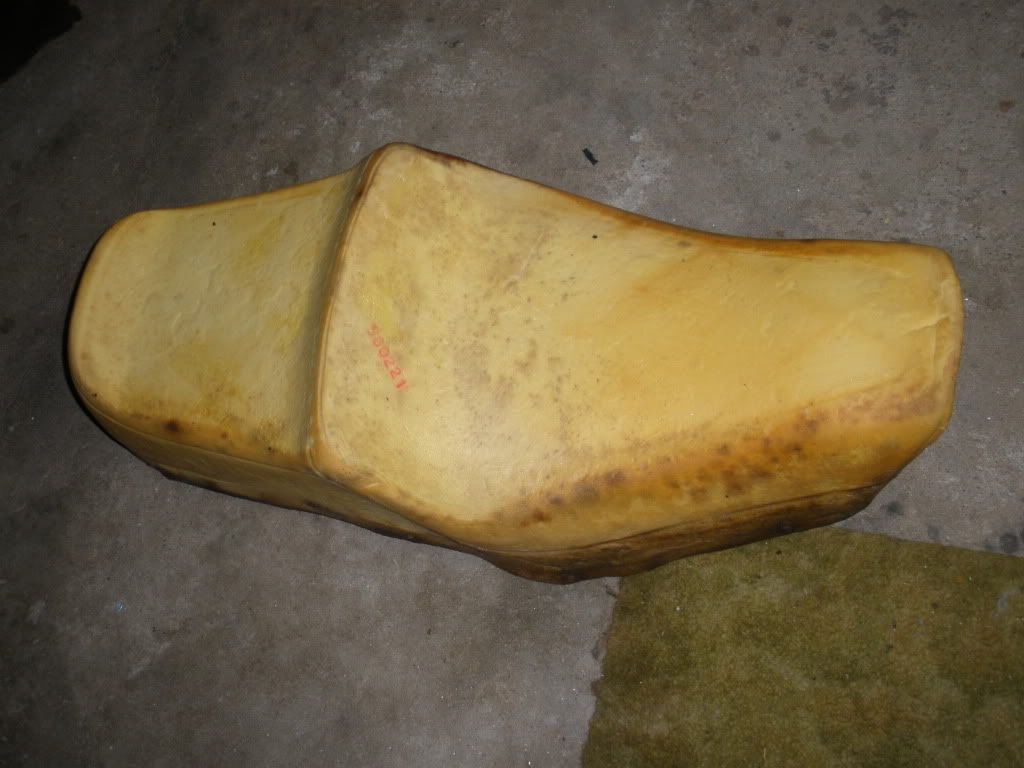
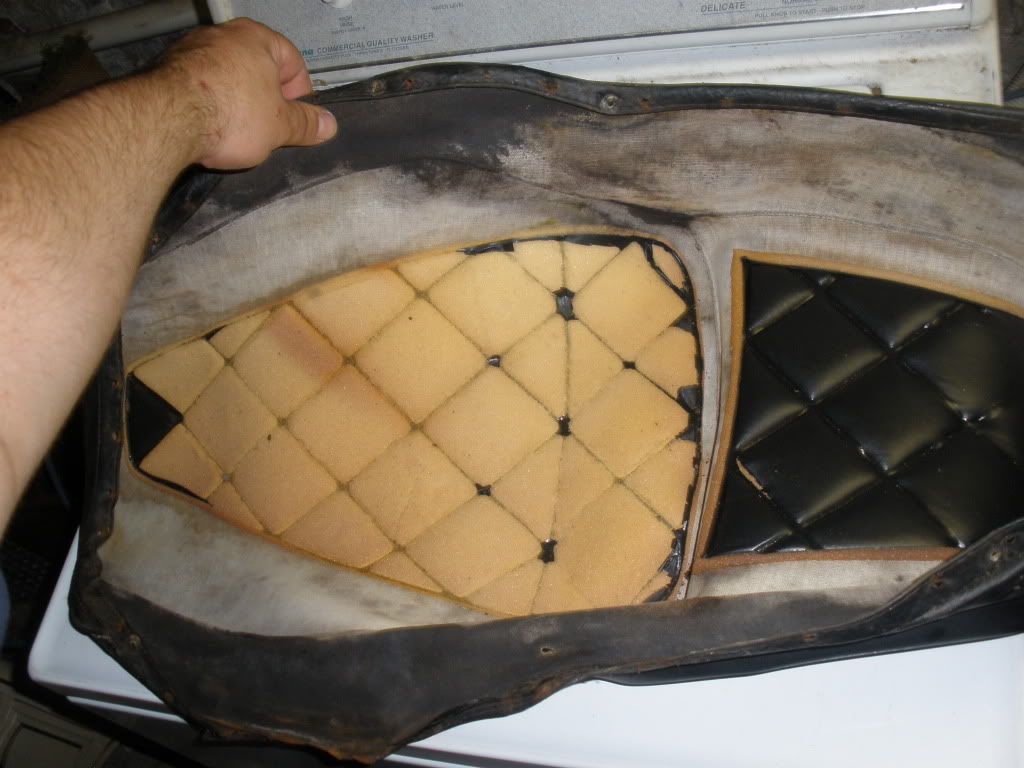
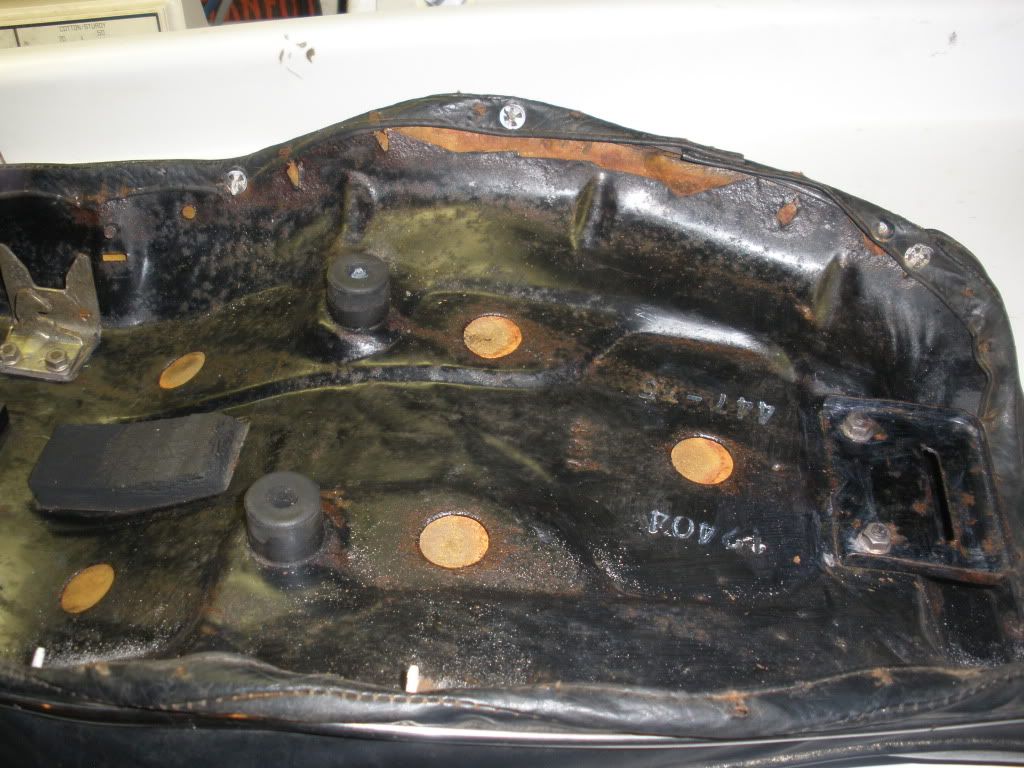
Once I got the pan off the foam I found this mess
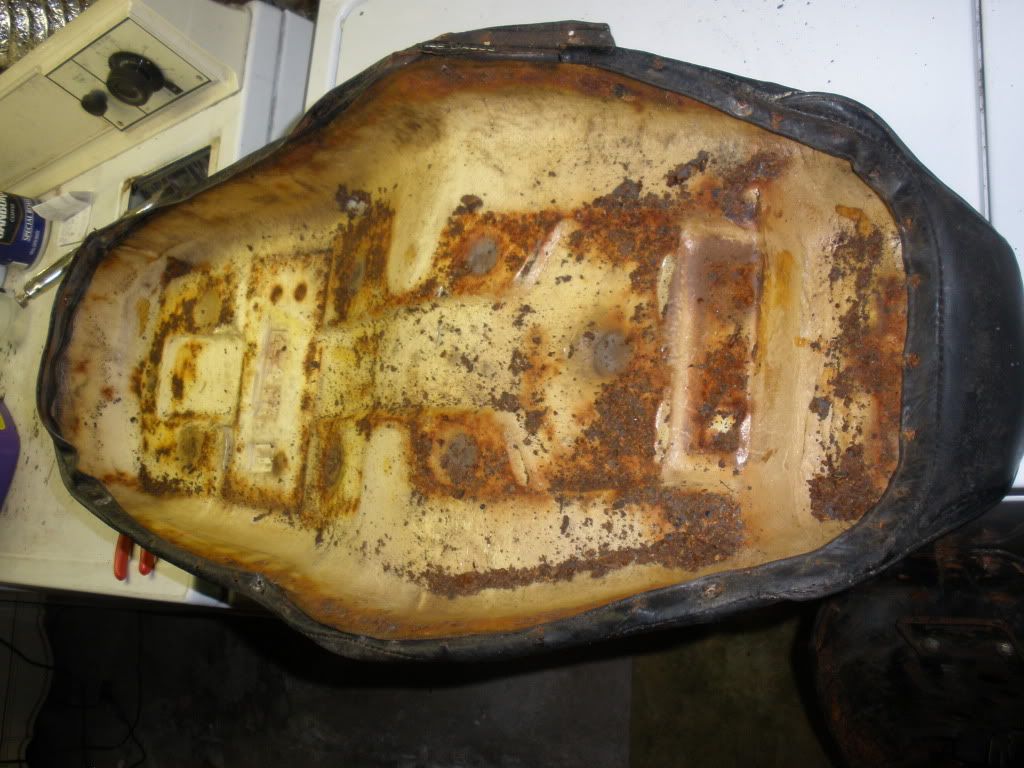
but the foam was in nice shape
but I found out how enough moisture got in there to rust the pan in the first place
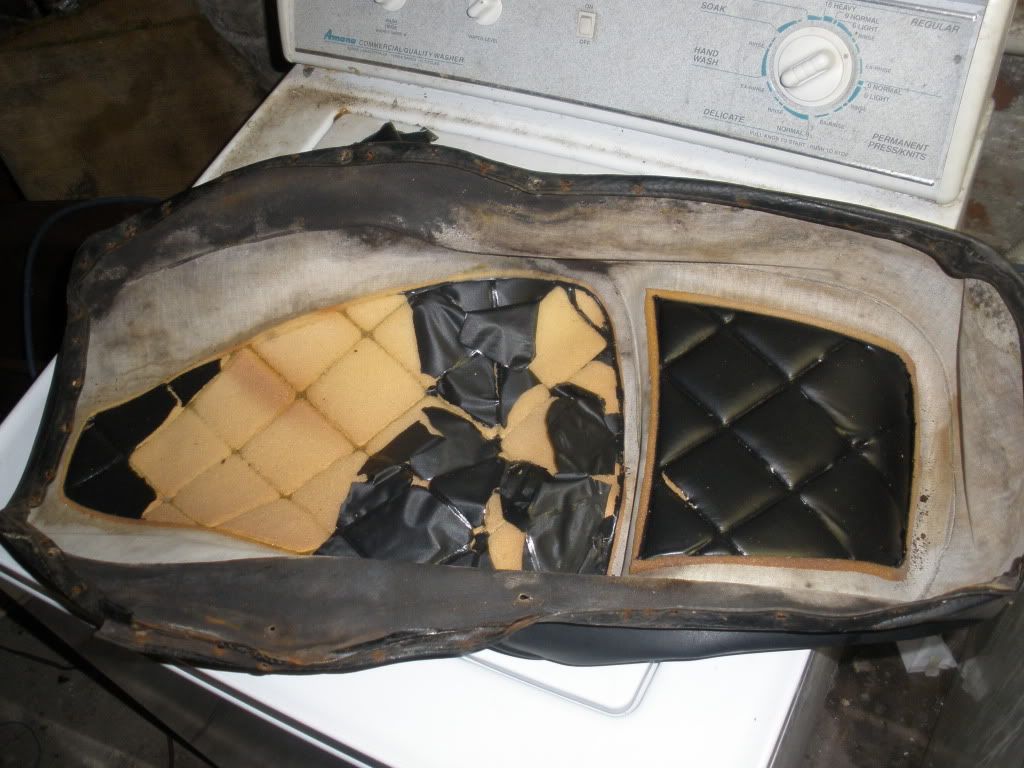
the black plastic that was heat fused over under the stitching had degraded and fragnented...cleaned that all out
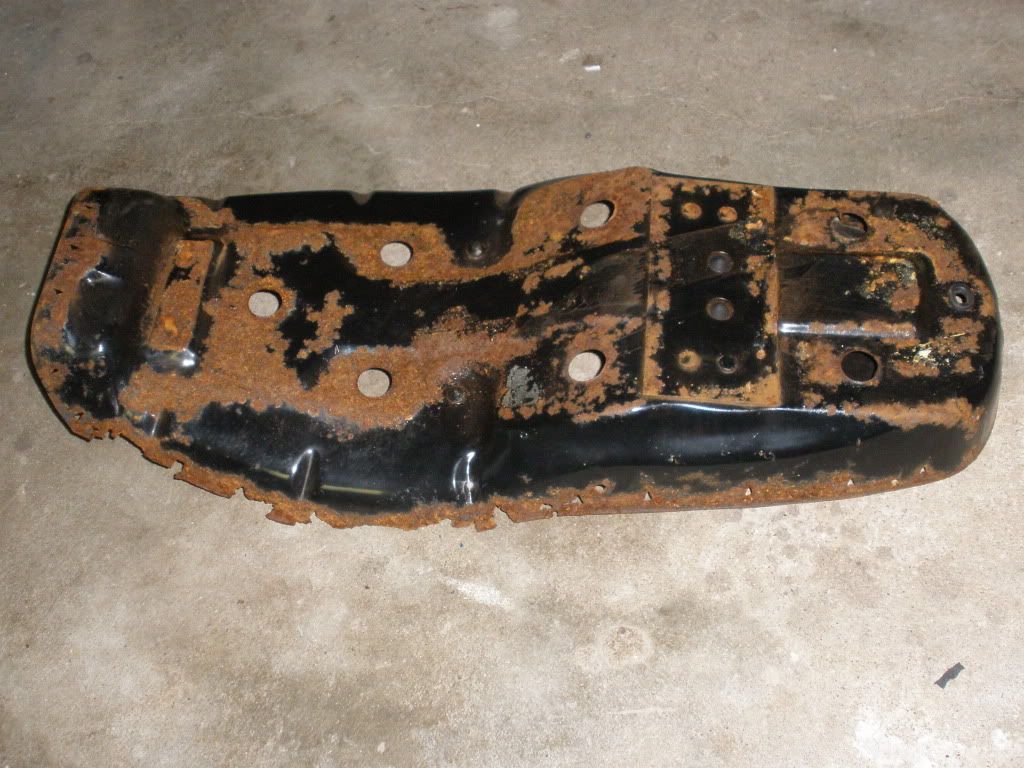
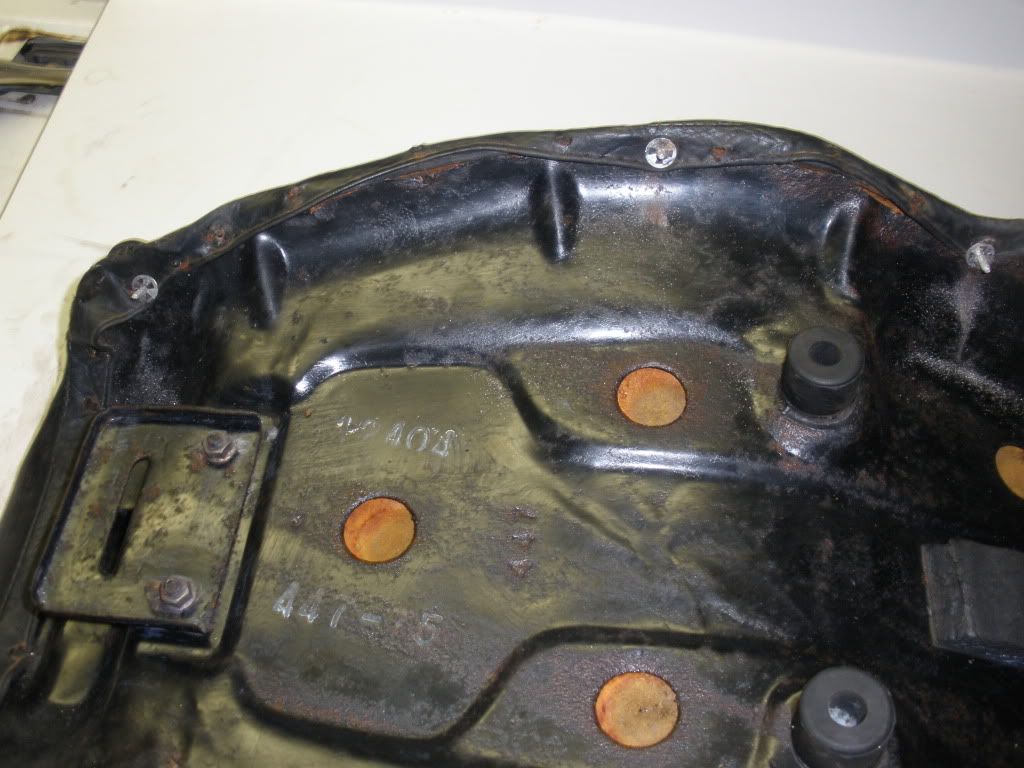
back to the pan, a little while with the wire wheel and a few minutes with a pair of tinsnips removing the flaky bits and thin spots...
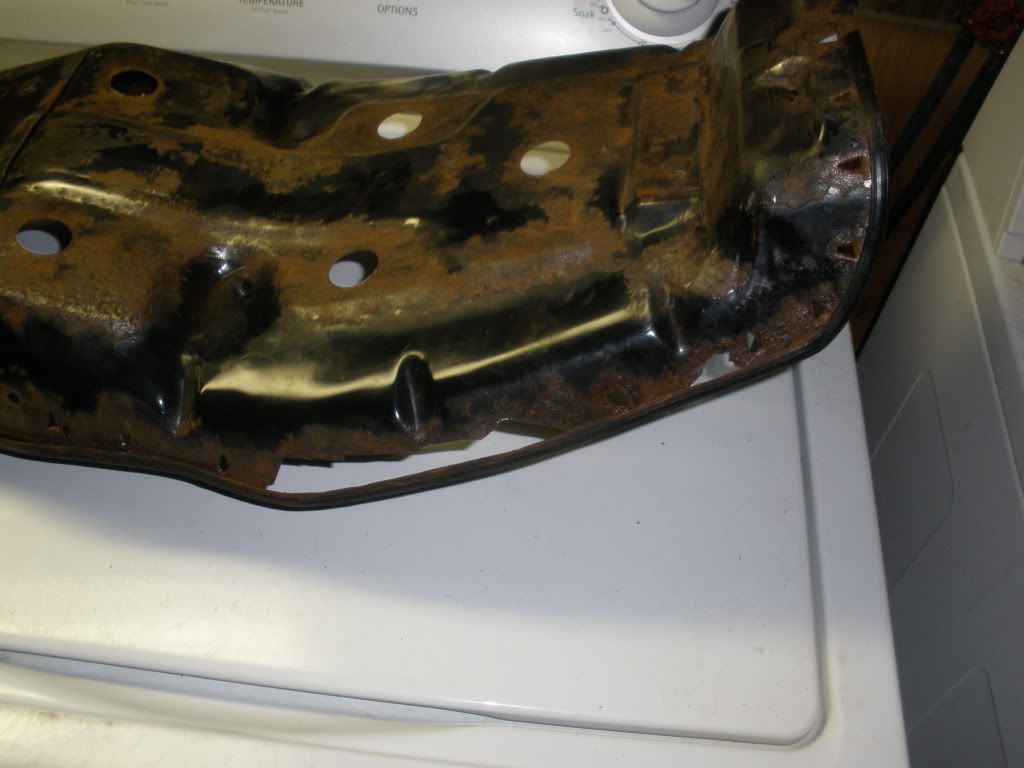
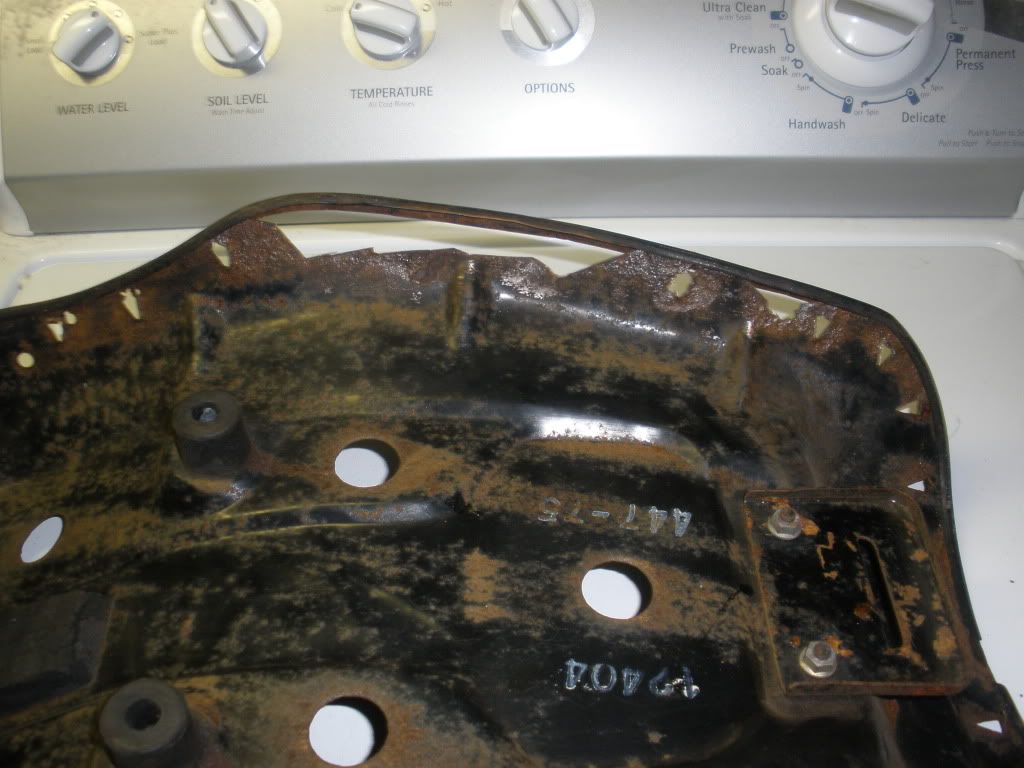
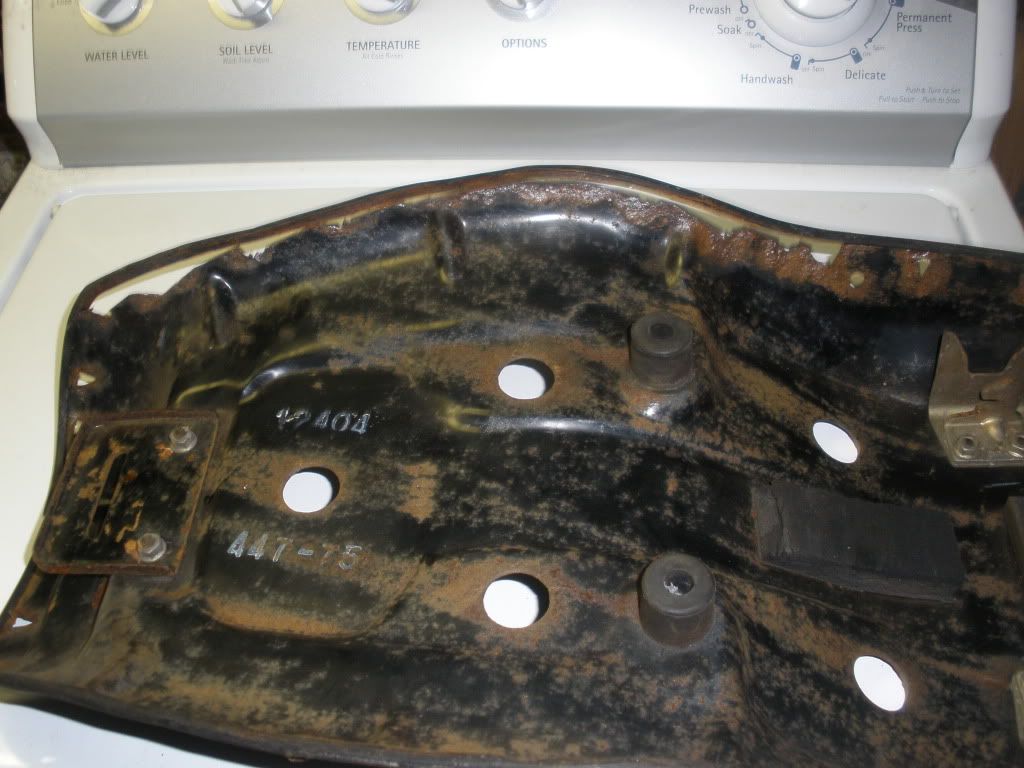
Then I hit it with my favorite, Klean-Strip rust converter
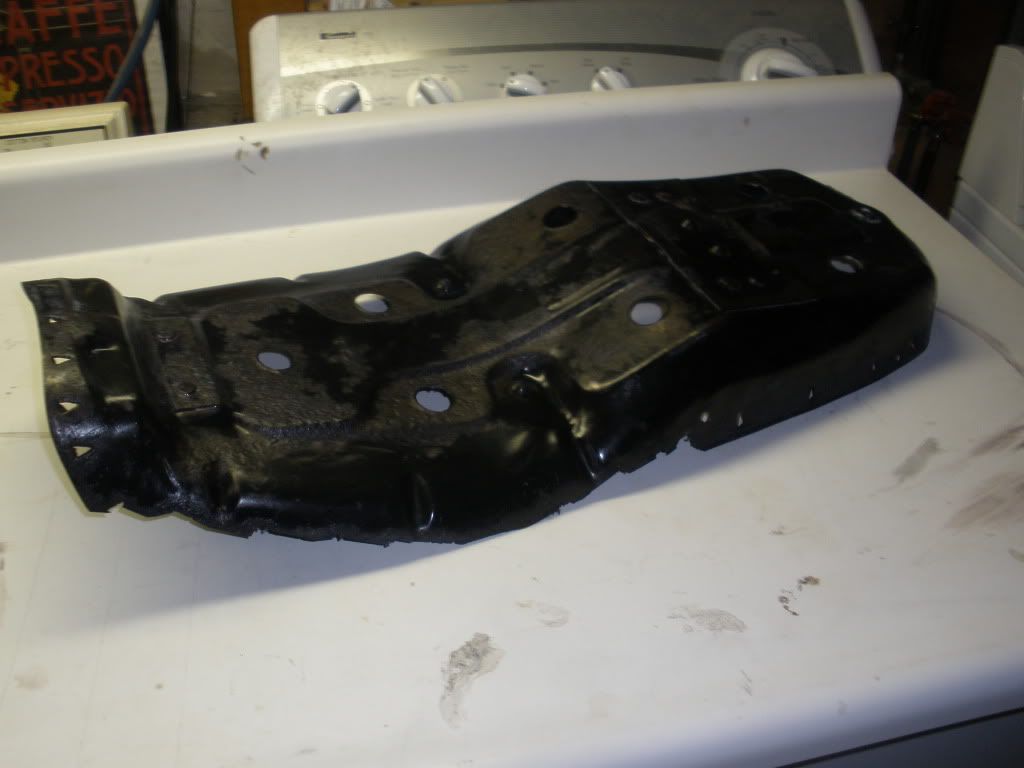
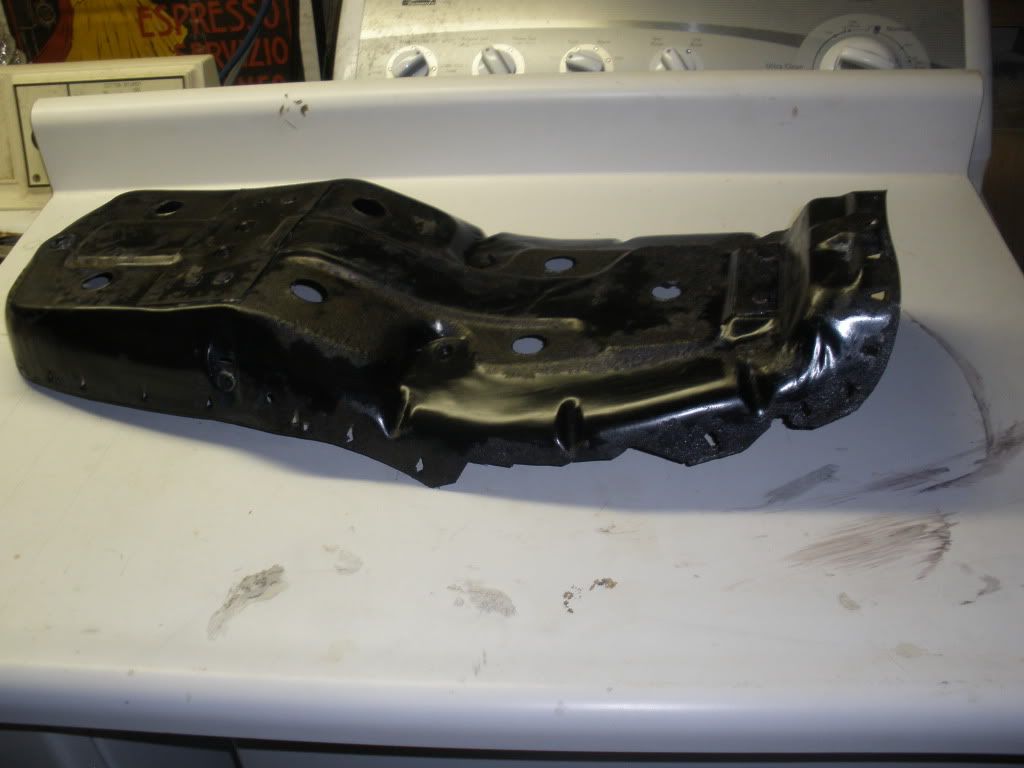
To functionally replace the black plastic sheeting under the rider seating section I used a sheet of closed cell packing foam I had handy
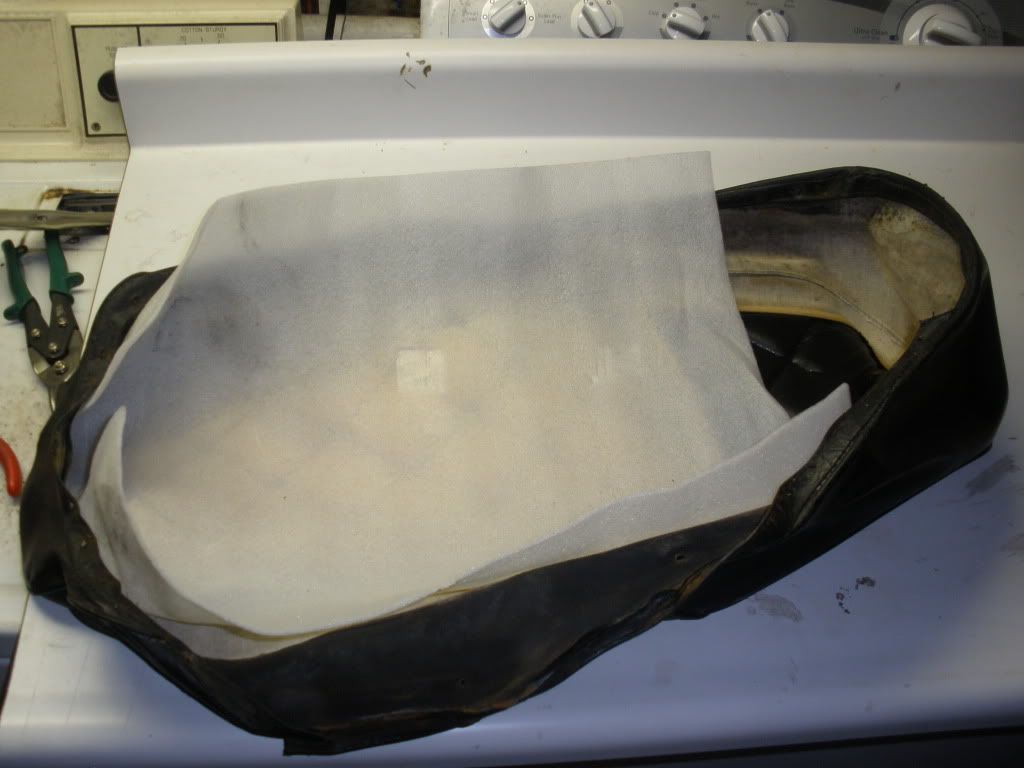
Then stuffed the foam and the pan back into the cover and reattached the cover as well as possible, many of the pointed sheetmetal tabs that were once part of the pan are now gone, Most of the front and rearward taps are in place and functional though.
Whats holding the majority of the cover to the pan now is the aluminum trim strip
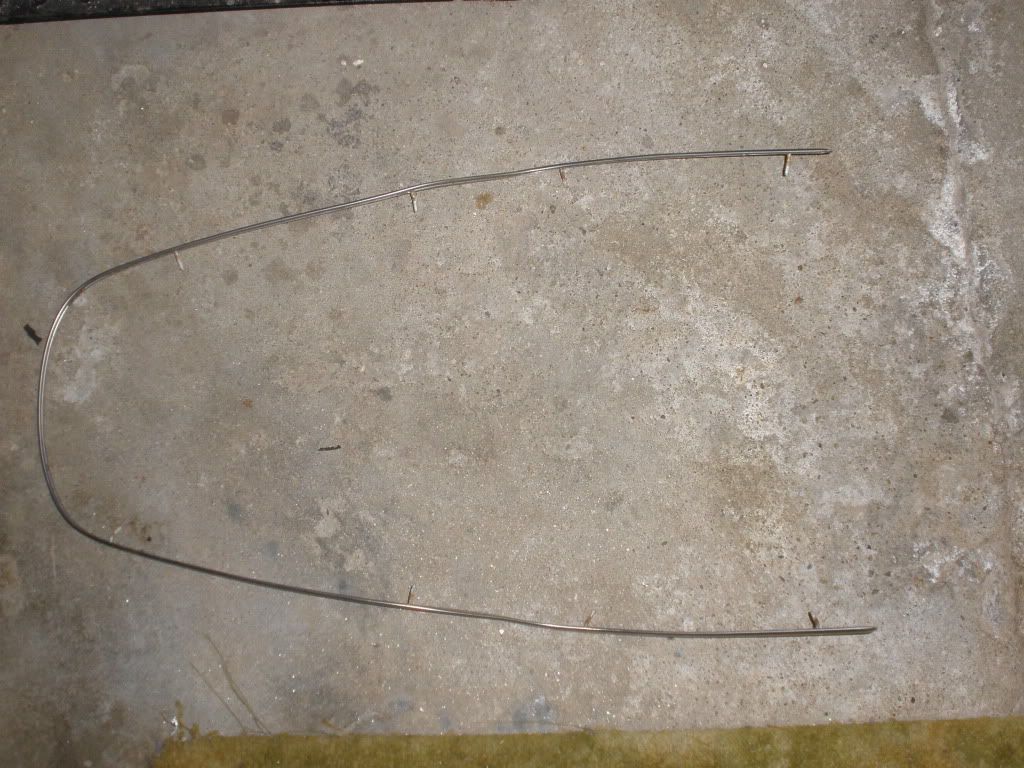
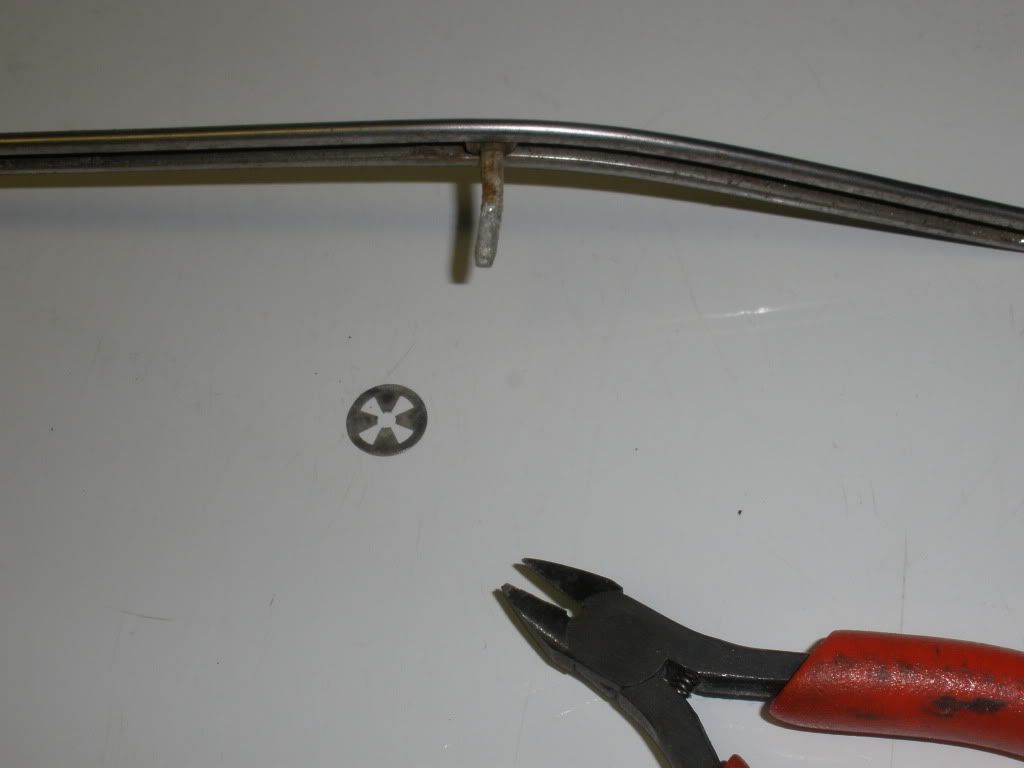
The trim strip is held by aluminum rivets that slide in a groove at the backside of the trimpiece. There are 8 rivets in all, two at the rear corners, 2 at the front corners and the other 4 evenly spaced on both sides.

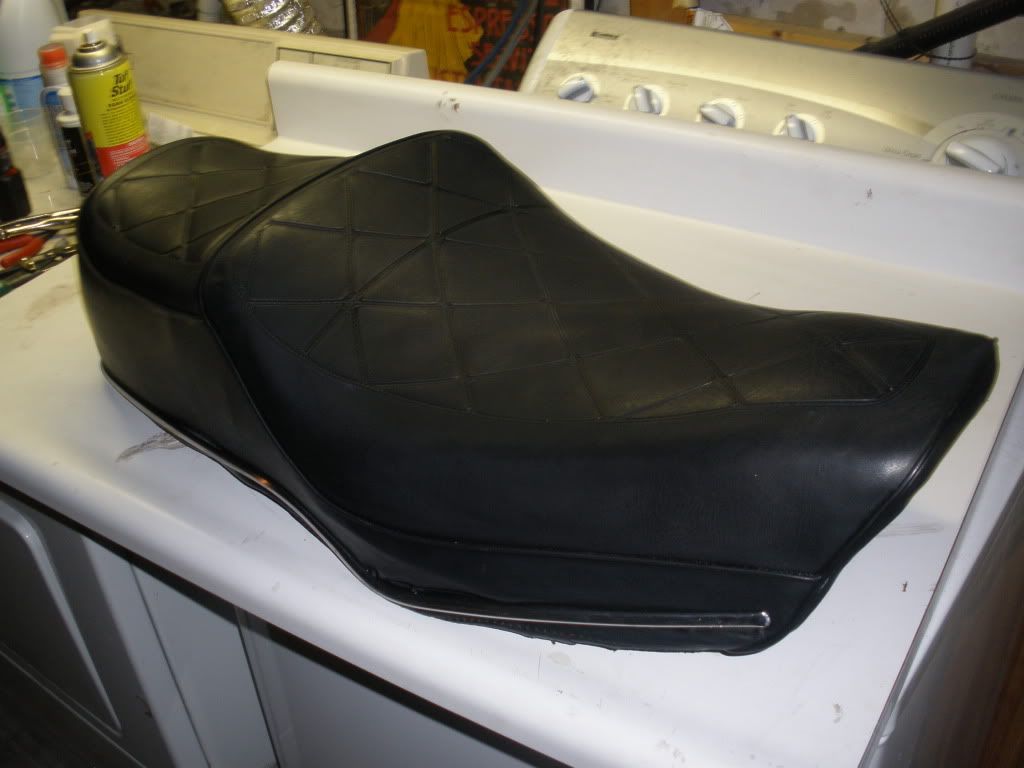
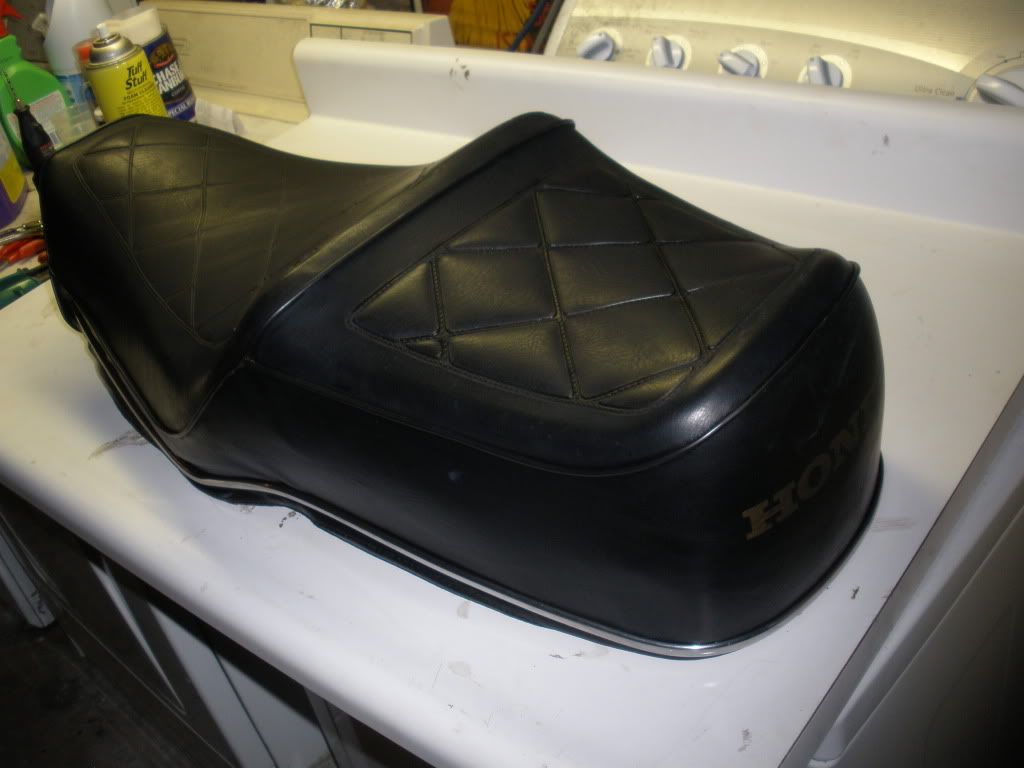
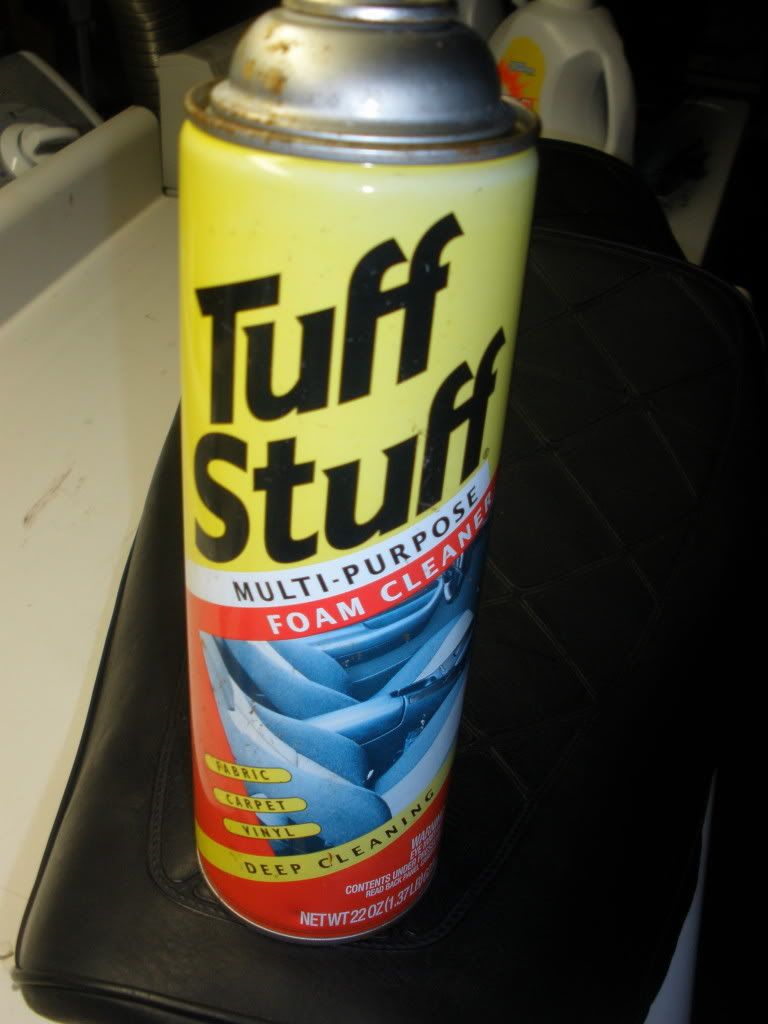
Then I cleaned it up with some vinyl upholstery cleaner we had lying around
Looks alright, it's comfortable, and no more crunchy spots.
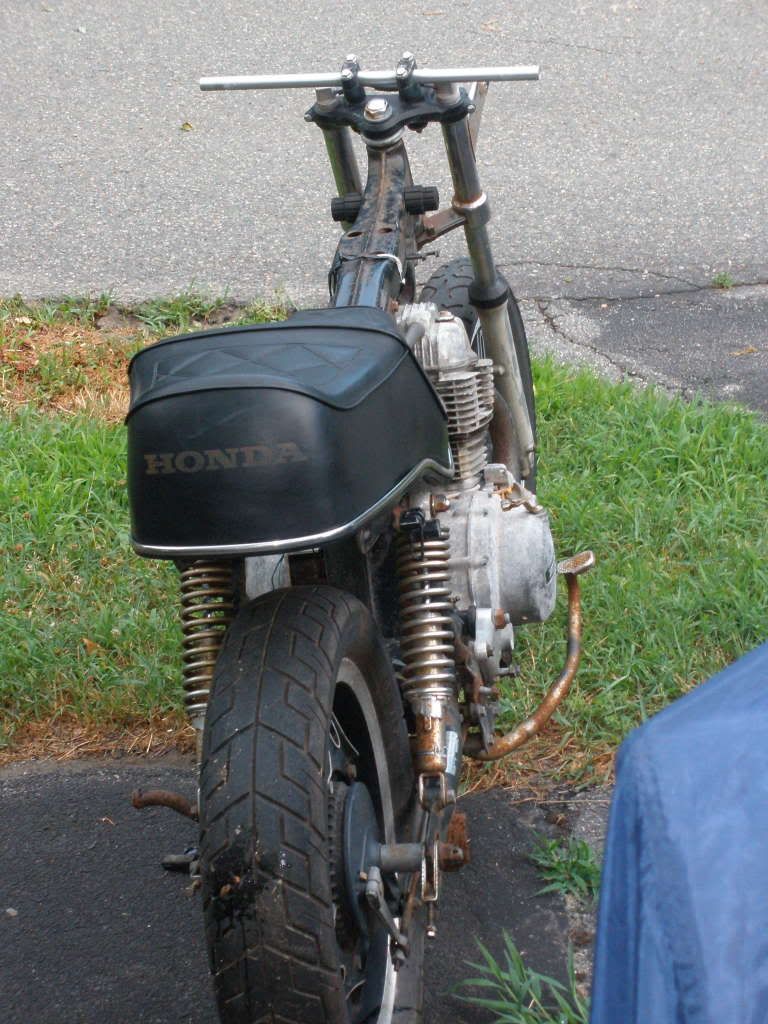
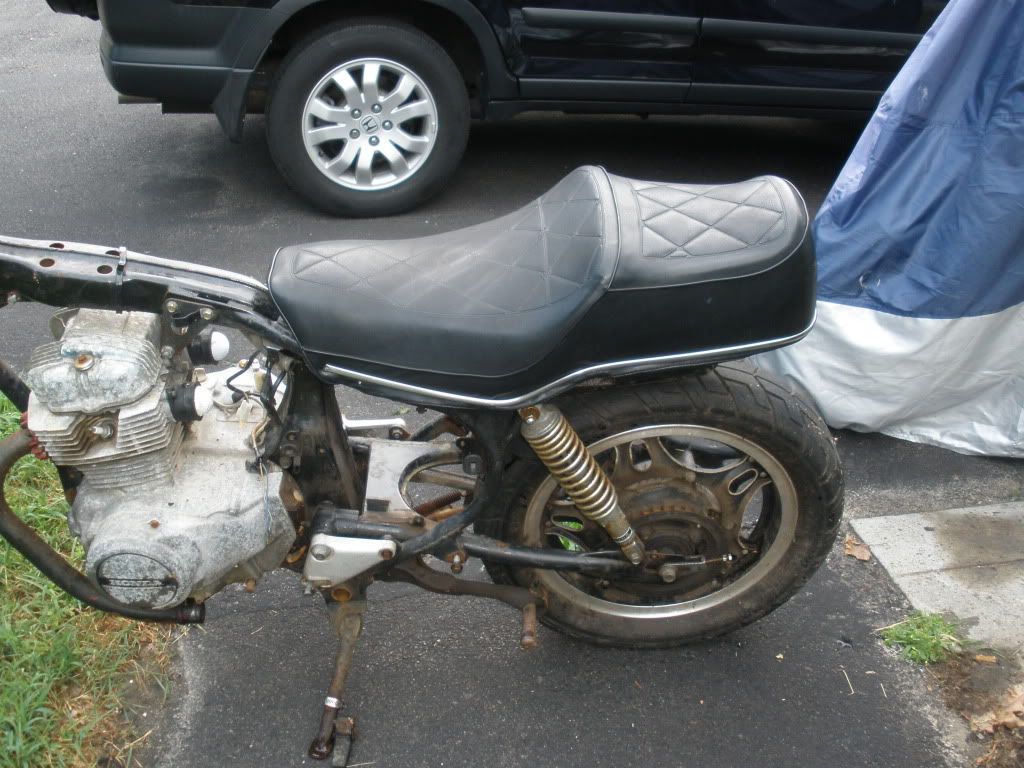

All in about 3 hours.


« Last Edit: July 15, 2010, 06:58:23 PM by Alan F. »