I thought I would start a 'build thread' on my PD46's. As the subject says, I am applying my SU, and Weber knowledge to some of the known problems with these 'lean burn' carbs. Mainly the low / mid-range flat spot (1500-3000), along with jetting for my intake / exhaust combination. Looking for a user friendly commuter bike, that won't disappoint in the twisties, and pull clean, and strong from idle to WOT.
What's being used:
77 550 PD46A's on internally stock 77 550K engine with a fresh top end.
Swarbrick 4 into 4 mega pipes
custom mounted FCR 60mm velocity stacks (filter to be determined / custom air box later).
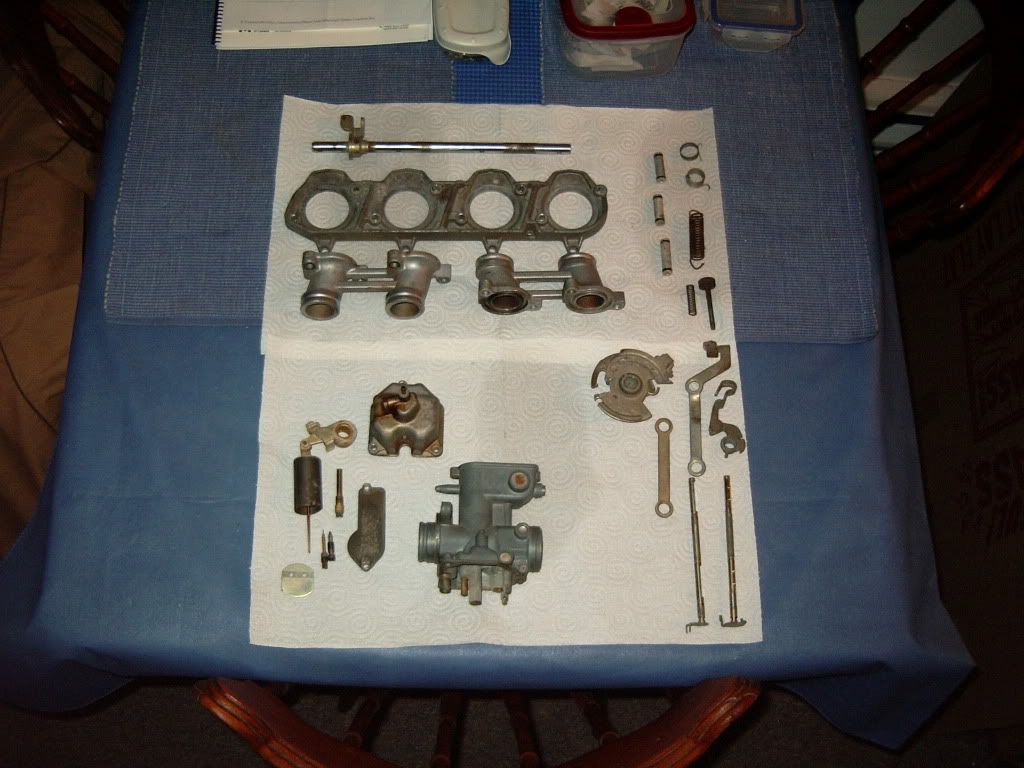
What's been done so far - stripped carbs completely, including separating mains from emulsion tubes, and pulling slow jets.
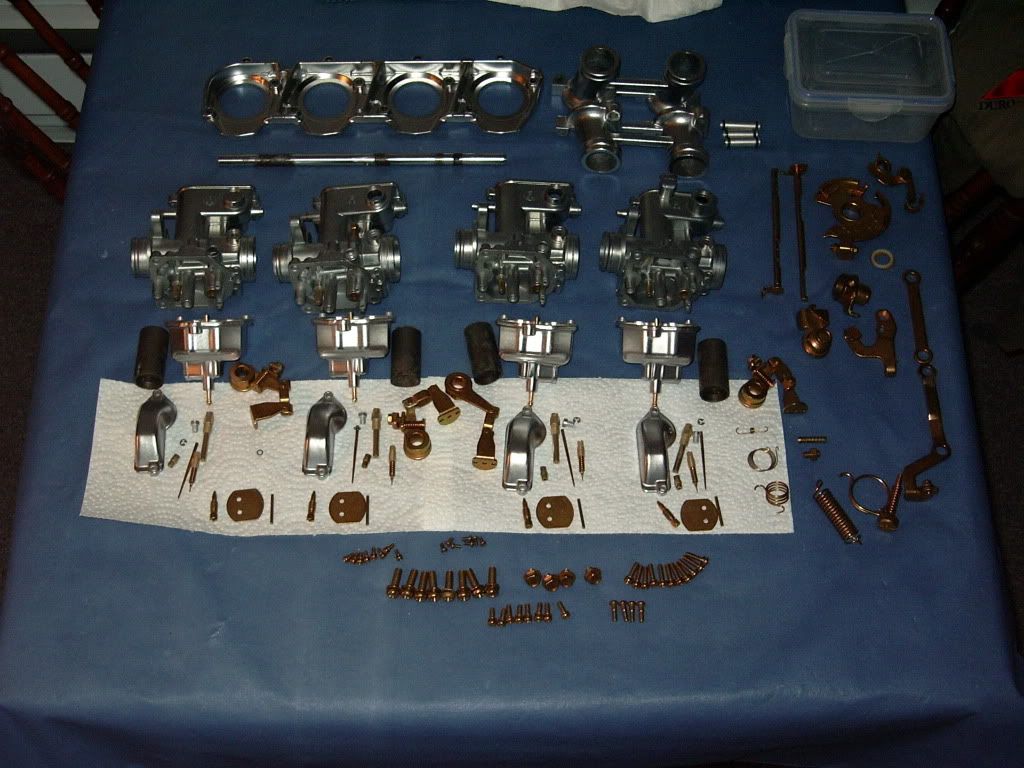
after initial cleaning, getting ready to go out for ultrasonic cleaning, then micropolish alloy, and re-CAD the rest.

stuff after the above work was done by Paltech.

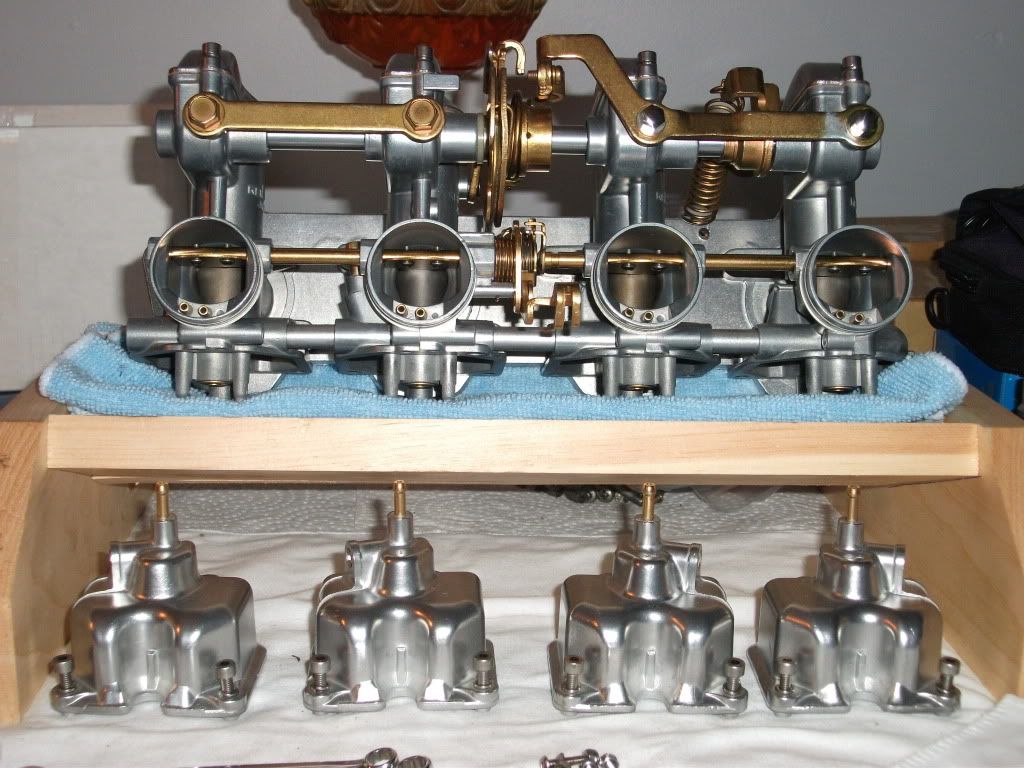
next came reassembly, which included my 1st change from stock - 77 K needle lifted one notch from stock. As with SU's the needle and needle jet control the amount of fuel entering the air stream. The exact mount being controlled by the needle's profile, and needle jet size.
With SU's there are literally 100's of profiles. So trying different needle / needle jet combinations will be part of the process as required. They have been bench sync'd using the following method. #2 is the control. 1st I removed the spring from the idle adjust bolt (not the return spring). Then adjusted the bolt so that my smallest interenal measuring tool would fit between the throat floor, and the slide front edge, and locked it. This was my baseline slide height. Then proceeded to set the other slides to this measurement. Back checked by raising the slides by the adjuster slightly, and re-measuring.
PD's as they now sit, have started conversion to SS allen's

The next change being made is to change the #90 main, for the F #98's. I not convinced that you need to go to 120's if the engine is stock. It's still the same 'air pump' inside, just with the ability now to stuff in some more air from mid range up (stacks / exhaust). The lifted needle will increase the amount of fuel, the main change will richen the mixture. To tackle the flat spot issue two things are being done. 1st the known 'quick' advance will be modified (Hondaman ignition, possible spring /weight changes). 2nd, drawing on my Weber experience, the slow jet and main's emulsion tubes are bring modified. Some back ground (simplified) - with Webers you control the amount of fuel with the main jet (disregarding accel. pumps & slow circuits), and the mixture with the emulsion tube. For the 45 DCOE there are piles of different tubes available. The difference is in hole location, and size. The charts list them so that they start lean go rich, and progressively reverse to a rich to lean. With this in mind I have decided to modify the PD's tubes. Here's were the real fun begins. The stock slow jet is a #42. I have had the bottom holes increased by .002. This should richen the mixture slightly just as the slow jet hands over to the main. The main's tubes have had the top holes increased in size by .005 approxomately (did a go / no go, then used the next size wire drill closest to a .005 enlargement). This should continue the slight richening were the slow jet ends, but not change the mixture that works above 3000 rpm. A racer friend had the drills required, and is doing it gratis. Figures if it works we can use it to improve his 450's drive out of the corners.


Floats will start at 14.5.
The last change being made is to modify the atmopheric air pressure access to the float bowls. On the 46A's there is a tiny hole at the top of the float bowl.

(46C's have a single air tube, and connected float bowls). As this can easily plug, and prevents venting to an air box, a change was needed. So have decided to drill and install a vent tube on each carb. To start they will each be looped like an MX carb. Later they will be routed to an air box to take advantage of higher rpm pressure differences that tend to slightly increase float bowl levels (just when the engine is trying to suck it up faster, neat). This last insight thanks to Hondaman.
Will post more pictures as I can.