I notice a lot of fellows wanting to go with fuel injection, but we all know the stock charging system just won't support the addition of O2 sensor, ECM, fuel pump etc. Here is what I did:
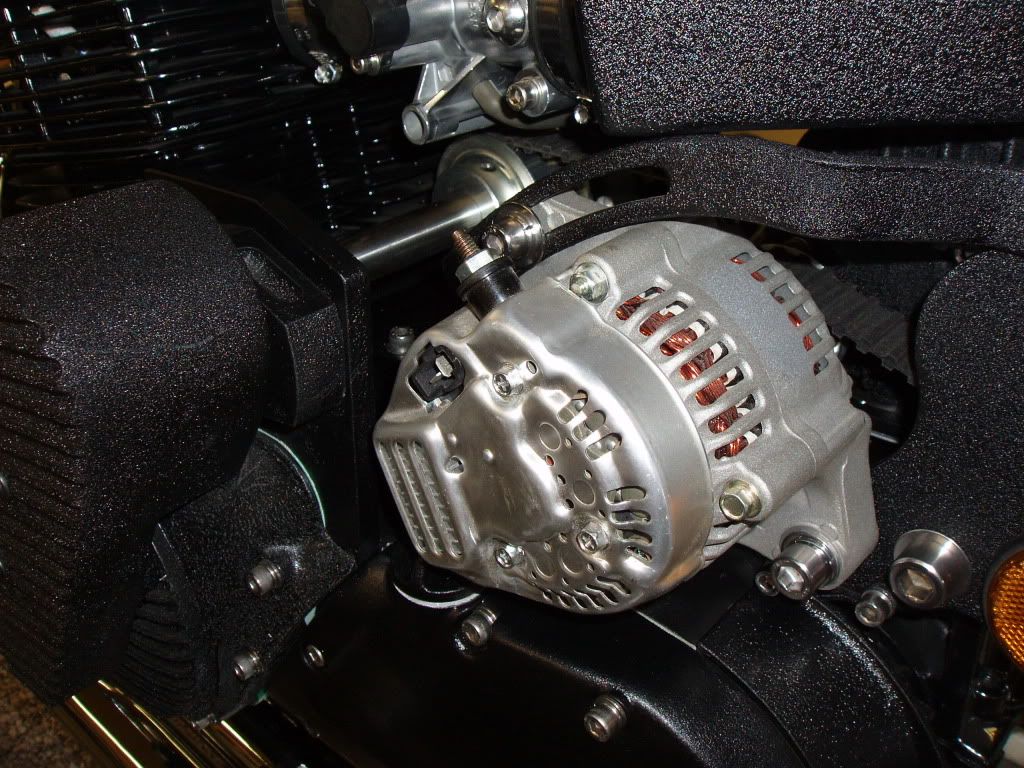
I used a small 35 amp Nippon Denso alternator used on Kubota tractors. You can get these in 40 and 45 amp as well. The stock Honda charging system is: @3000 RPM 8.7 amps....@8000 RPM 13.2 amps.
My alternator also is the supercharger tensioner. You probably won't have a supercharger on yours, so just ignore some of my installation. Where and how to take the drive is what you need to know.
My alternator set-up:
You won't need a jackshaft assembly like this:
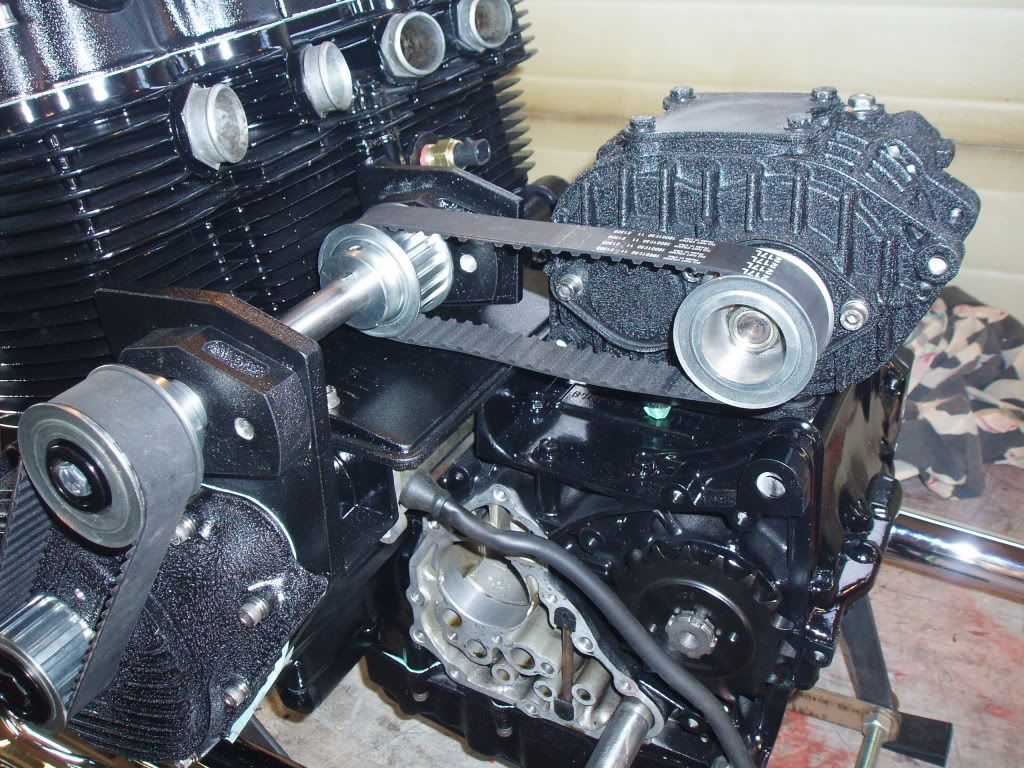
I machined a timing belt pulley to go onto the alternator. You might be able to use the V-groove pulley?

You can mount the alternator where ever it suits you. They will charge in either direction (just the cooling fan is different between the CW and CCW ones). In this picture I was playing around to see where I might place the alternator. You can also see most of the rotor has been cut away;

I Cut the end off of a damaged crankshaft and mounted in the lathe with the 4 jaw chuck so it was dead nuts accurate:


Then machined the rotor to fit a seal and my pulley;

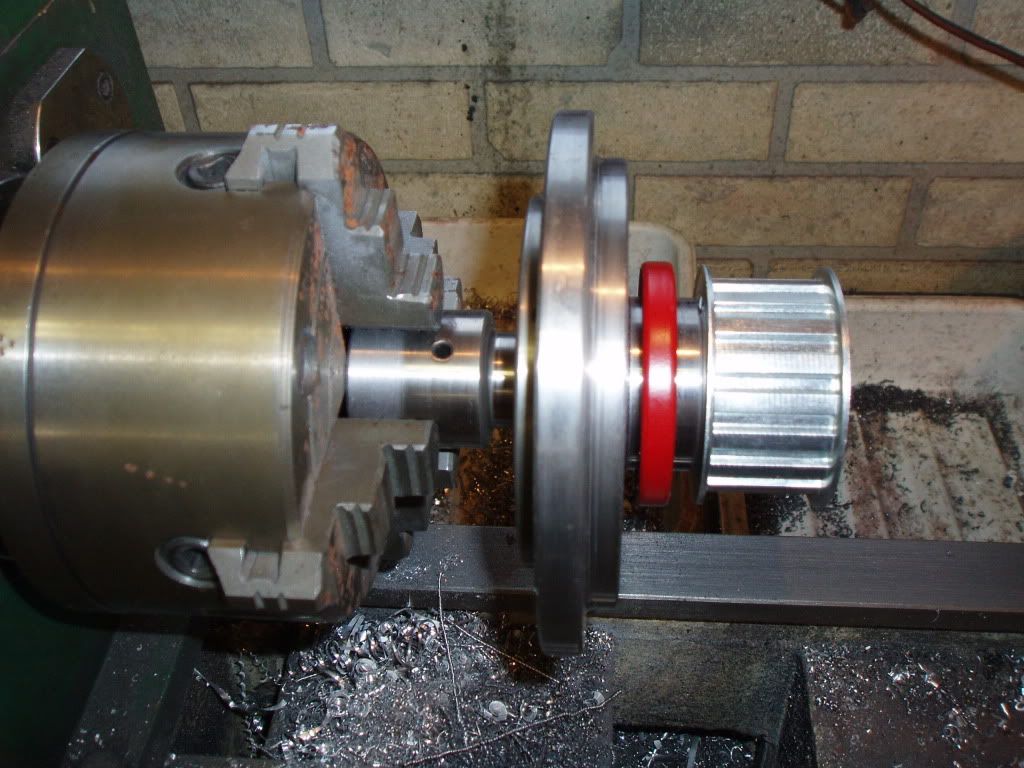
Fit the machined rotor and started to cut away the cover;

I used some 3/8" aluminum to mount my jackshaft to. You could use something similar to directly mount the alternator to. I cut a big-assed hole in the aluminum to clear the starter drive gear. Of course you will need two gaskets.

Machined a special cover to hold the seal and keep the driven pulley outside. I made sure the seal was true to the rotor shaft and simply JB Welded the two covers together. ..old and new: Make sure you put sealant on the rotor bolt or oil will seep through!
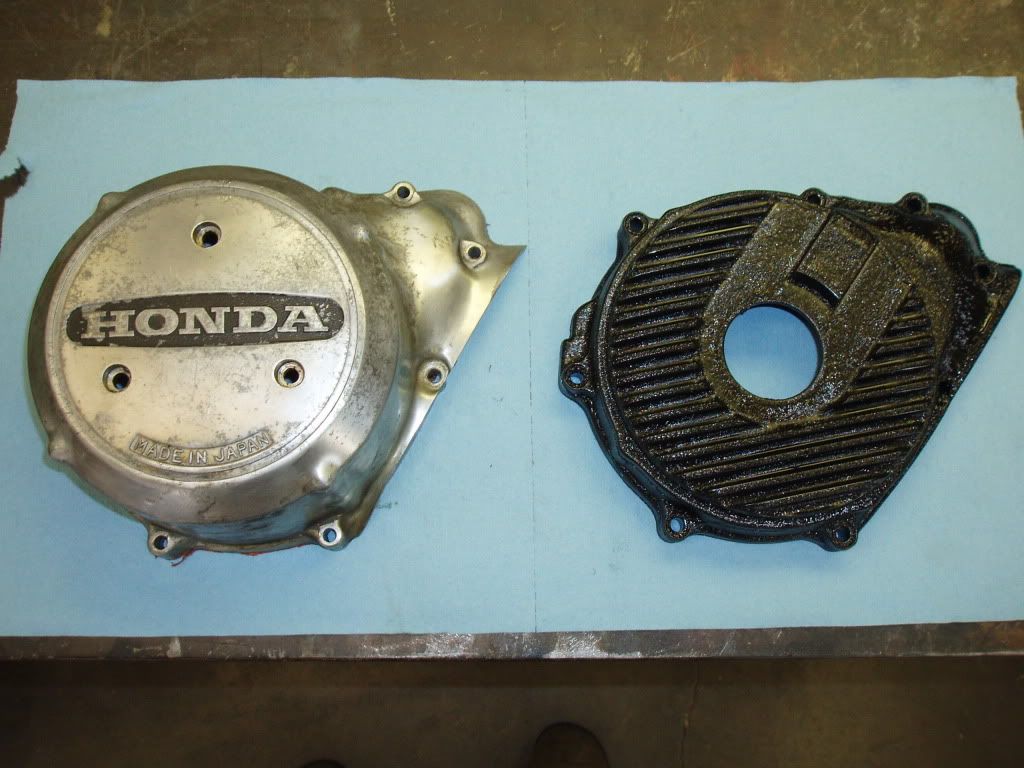
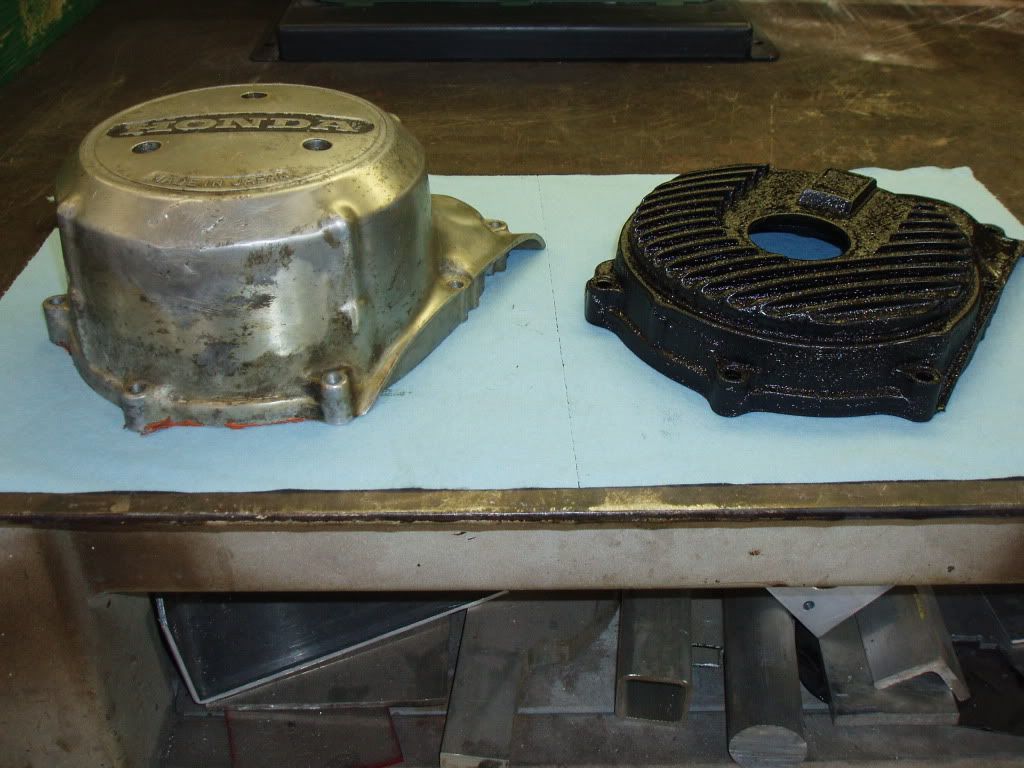
Once you can get a drive pulley outside of the old alternator cover, you can place your alternator where ever it would work in your application. That's the only real tricky part.
To wire in the new alternator you only need two wires. One fairly heavy cable from the top post going directly to the positive battery post. The second wire needs to come from the top spade connector and go to a switched power source.
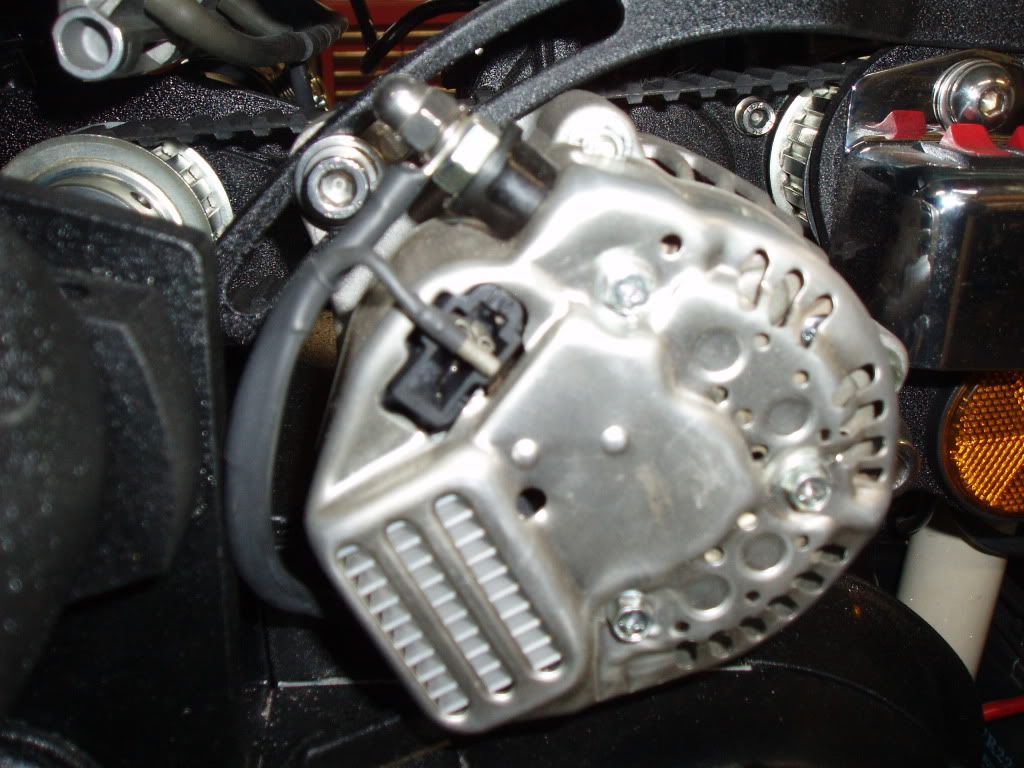
It's just that easy folks!!!!lol...