In the process of building out my CB550 cafe racer project (link below in my signature) I realized like many others that I would need to remove some unneeded tabs on the frame. For this example I will talk about the (6) side cover tabs. I want to make the "triangle" open and clear of any battery, electrics, wires, and so forth so there is no need to have unused side cover tabs.
Before we get started let me be clear I am by no means a professional. I have just applied what I have read here and other research and was plesantly suprised with the results.
What you will need:motorcycle frame
disc grinder (I use a Hitachi 6 amp 4 1/2")
cutting disc (I use Dewalt .045" A60T-BF)
grinding/sanding disc (I use Dewalt Zirconia flap disc Z 60 Grit)
000 steel wool
Safety equipment:heavy duty work gloves
eye protection
mouth/nose mask (trust me blowing black crap out of your nose for two days ain't fun).
long sleave jacket or sweatshirt
This is what the tabs look like before we start:
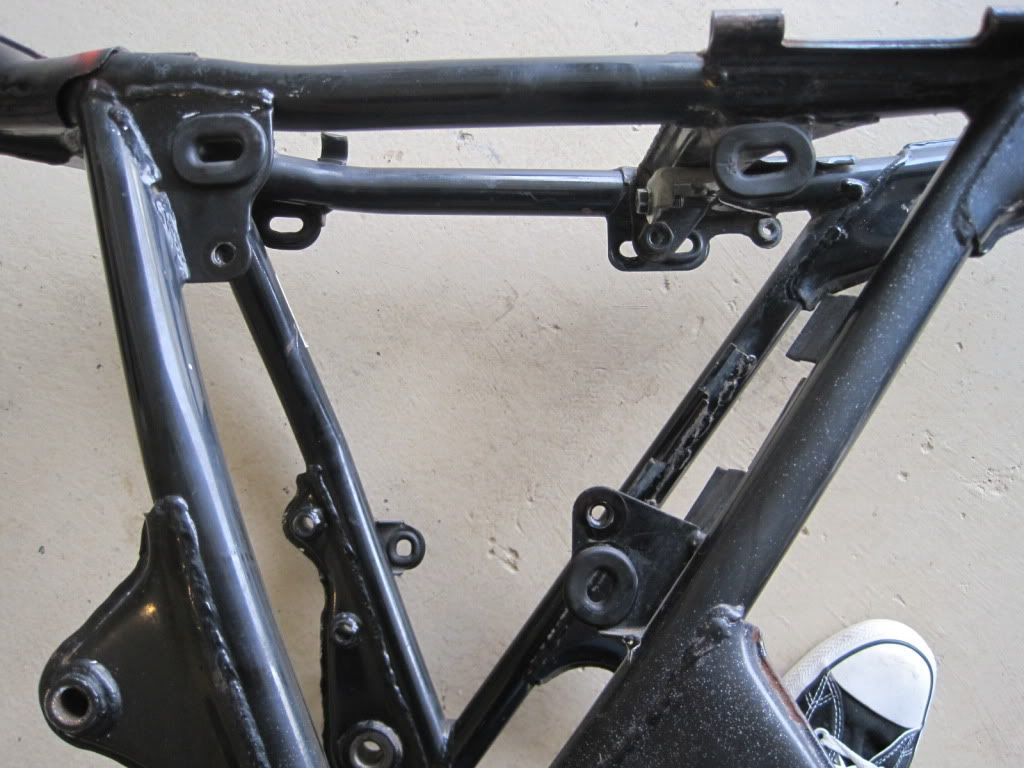
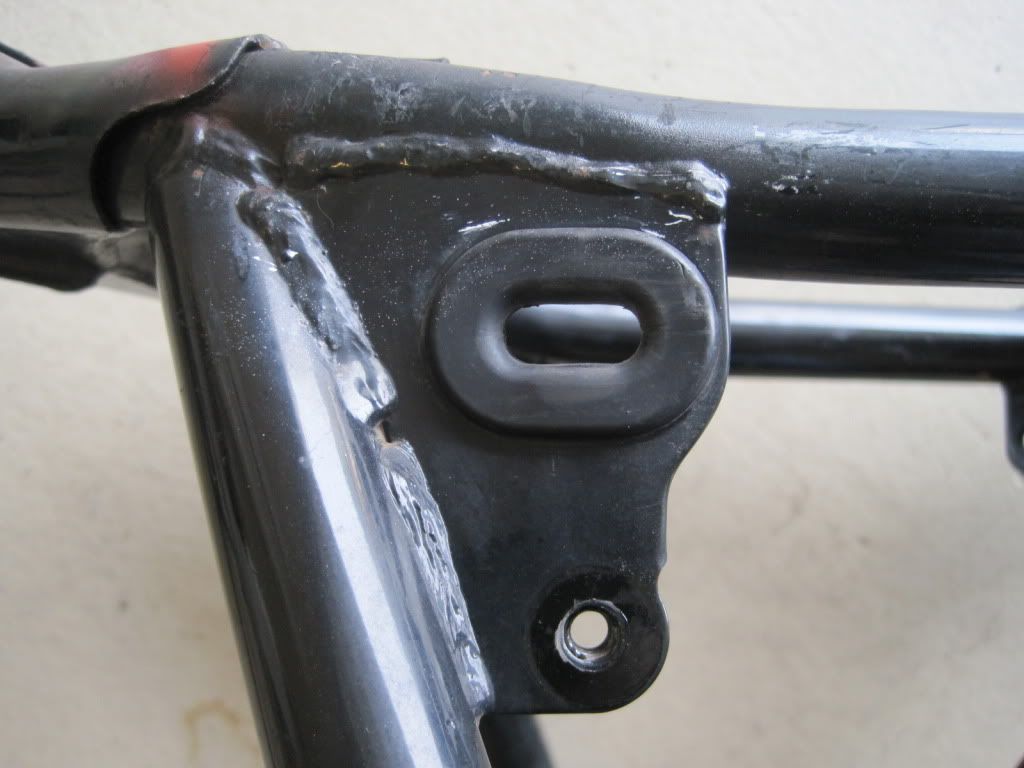
On to the cutting. Install the cutting disc and make a few test cuts on the tabs to get a feel for the pressure needed and speed of cutting. All tools and cutting discs are different. When it comes times to start cutting off the tabs I recommend cutting small pieces and always cutting off less then you need. You can always cut more later. See the image below for what I did:
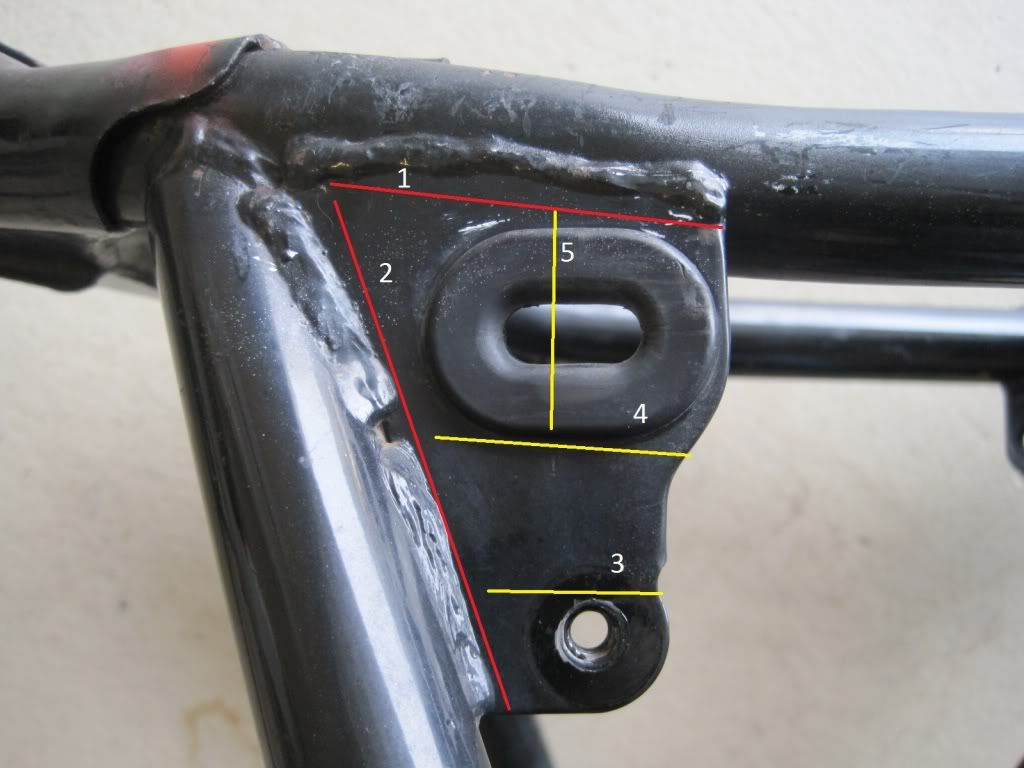
Lines 1 and 2 are the main cuts you need to remove the tab. I would recommend staying a 1/2" to 3/4" away from the weld for the initial cut. Lines 3, 4, and 5 refer back to my previous statement of cutting off the tabs in small pieces. This is helpful for a number of reasons. Most of us do not have professional bike lifts. Most reading this will be doing it on their garage floor like me. "Work smarter not harder" you know? Also depending on the angle of the frame welds and other opsticles there will be a need to change the angle or position of the grinder. After a few cuts the tab will come off and look like this:

It's ok if there are jagged edges and weld material still on the frame. The important thing here is we do not cut the frame or damage any of the other frame welds.
Attach the flap disc grinder/sander and start with the areas with the most metal you want to remove. It's very important to note here to not let the disc stay in one place for too long. It's just like sanding wood. You always want to be moving and following the contour of the item you are working on. In this case it's round tube. Flat spots on the tube is not a good thing.
At first apply firm preasure to grind off the areas you do not need. It's ok here to have some scratches. The point is to level out the frame. Should look like this:
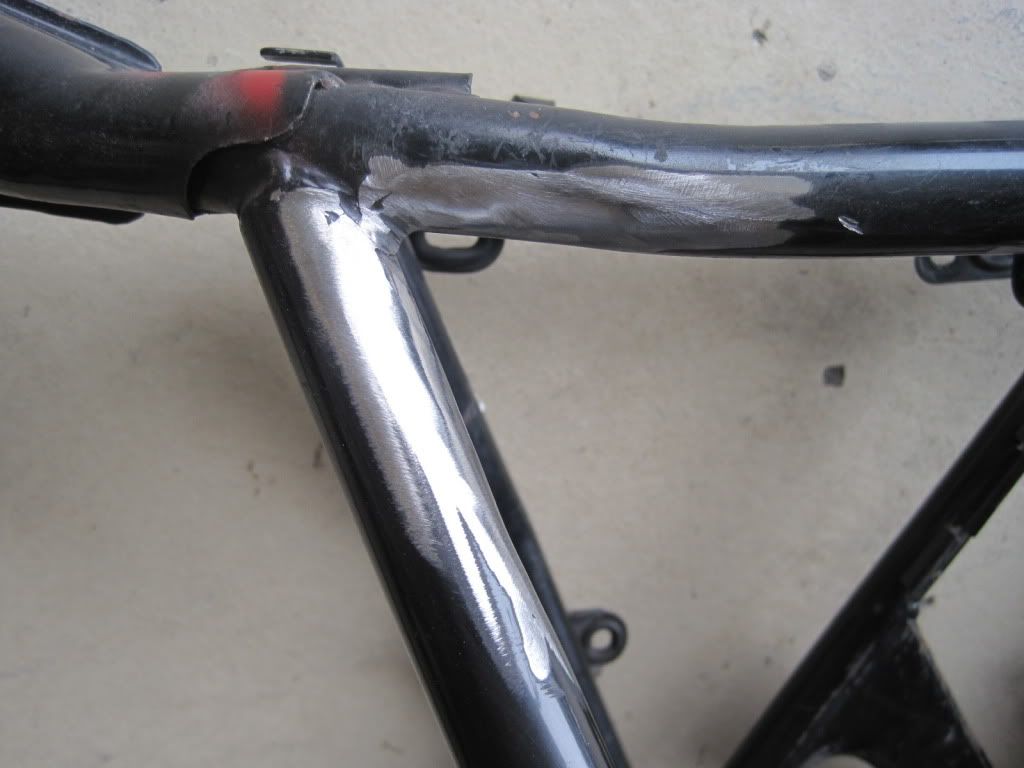
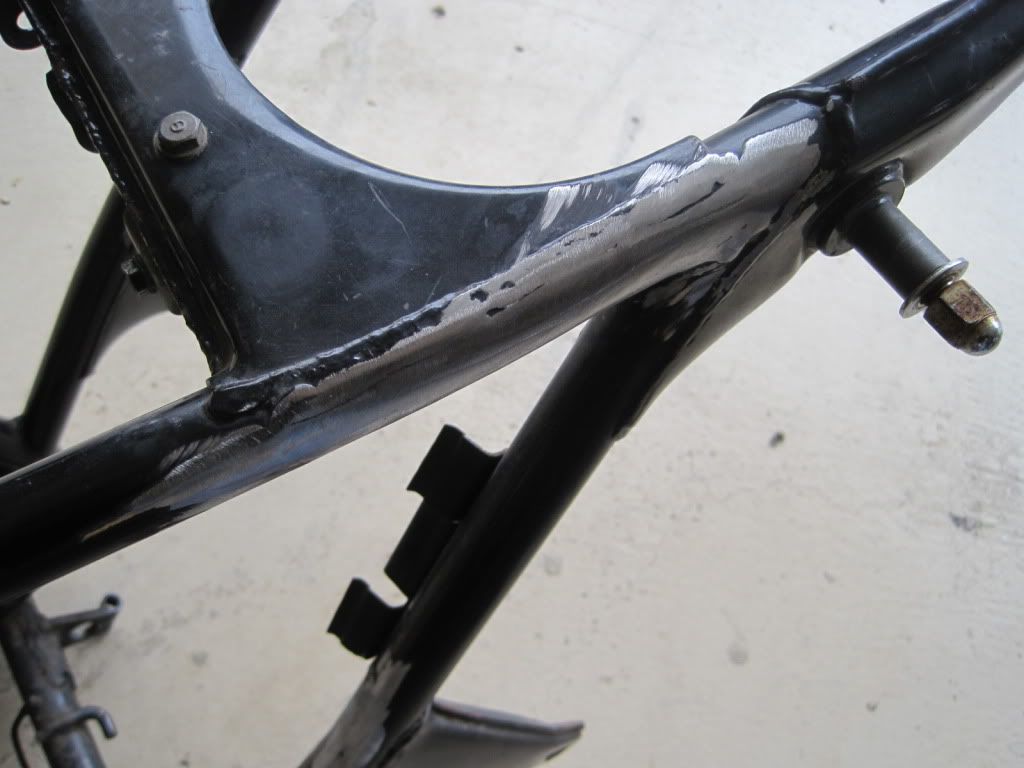
Once the area is at the desired level (last bits of frame tab and weld material have been removed) ease up on the preasure and very lightly continue to sand the area using the same disc. This will finish off the area and remove most of the scratched from the earlier grinding/sanding. Should look like this:
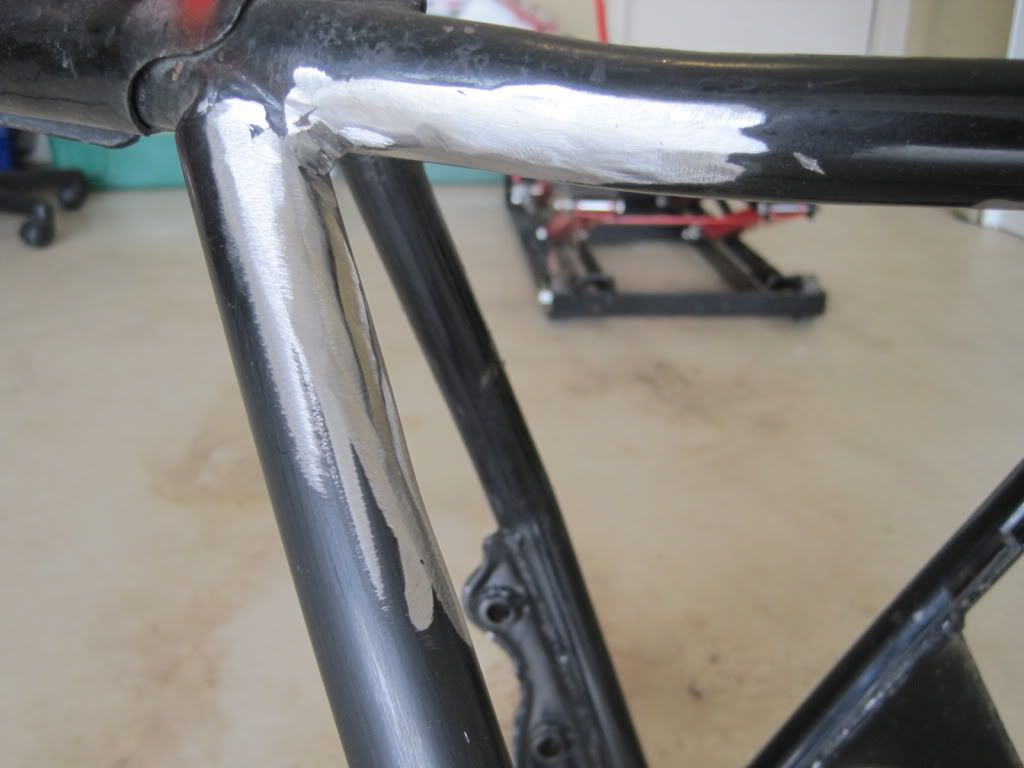
Then finish with a good rub down of steel wool. This will remove any remaining bit of metal and dust.
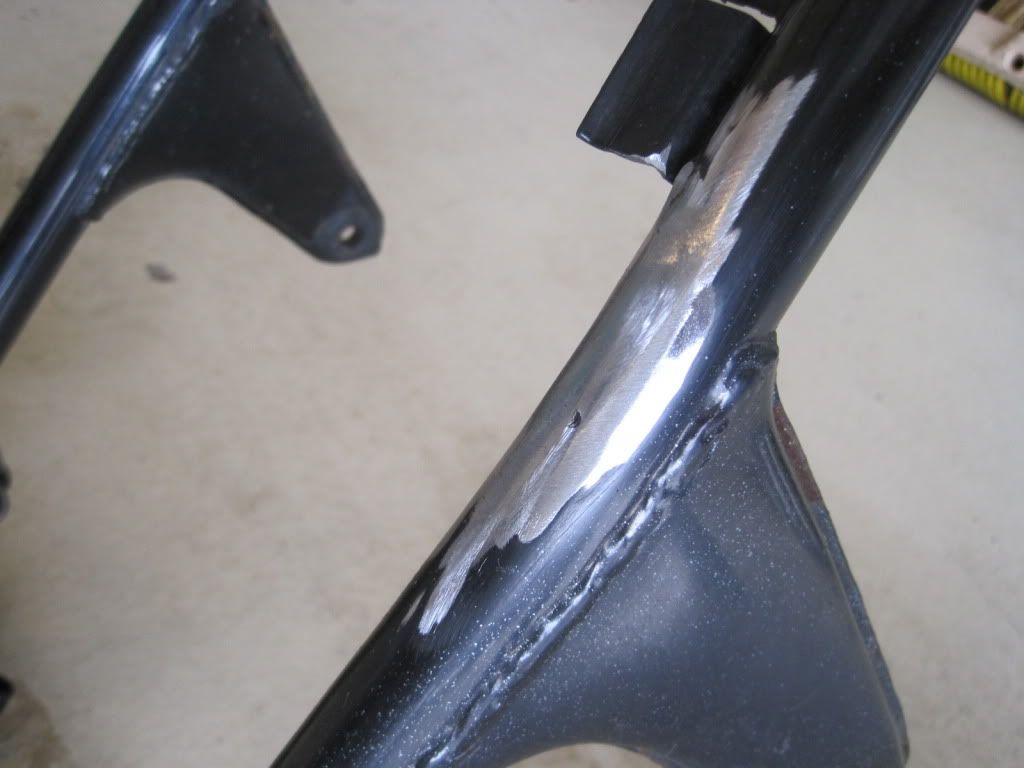
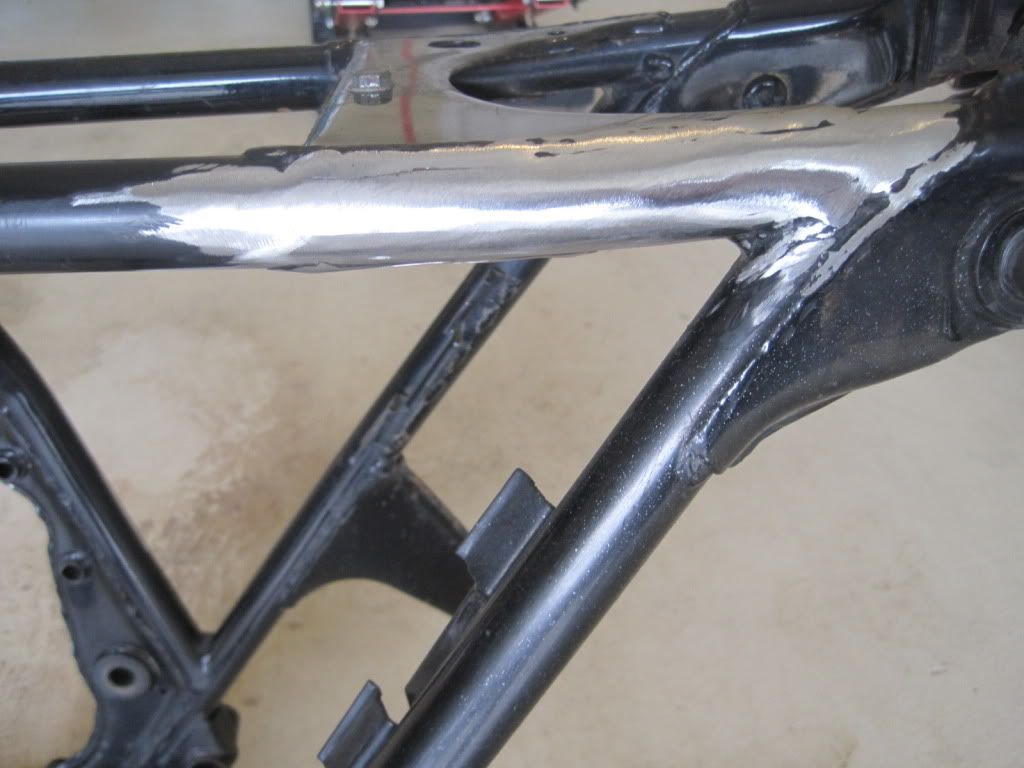
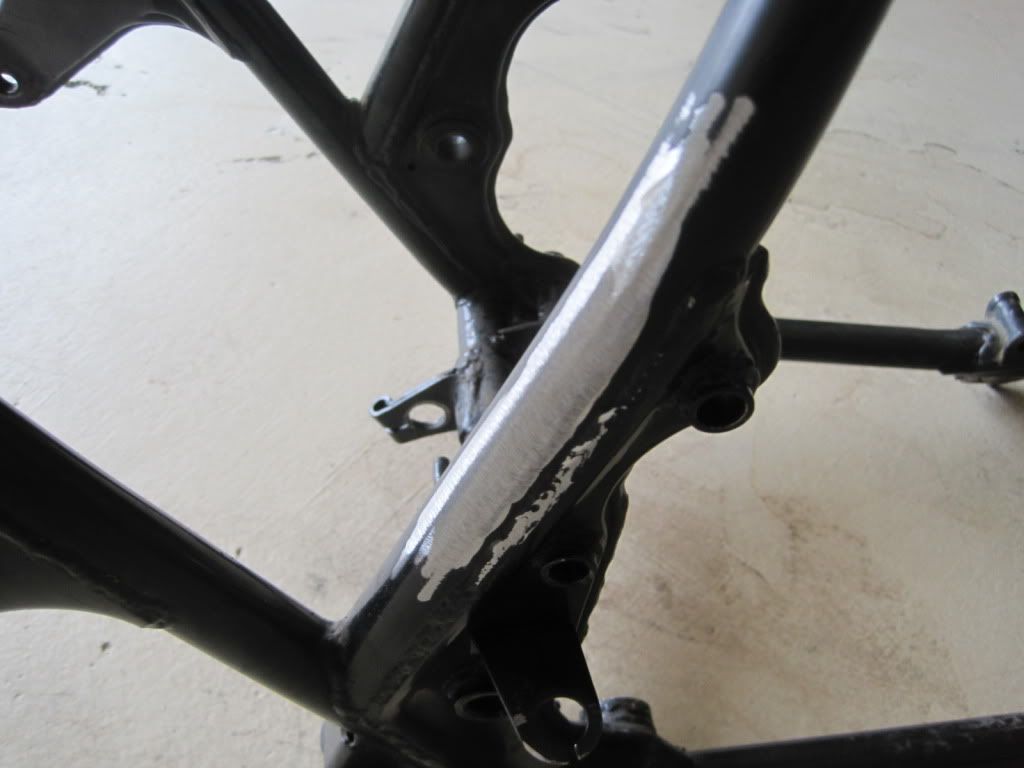
Some other pics using the same process:
Then sweep up your mess


Please provide any feedback on my process and let me know if it works for you.