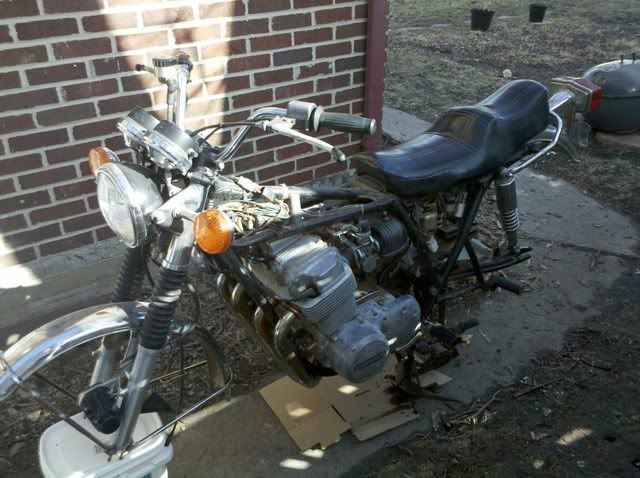
Hey guys, this might be my first post on the site, I've been a lurker for quite some time. This site has been great for reference and I figured some additional pics would be good for future reference. My moto is a 1976 CB750. The chrome is in pretty good condition (i think) and it was running pretty strong.

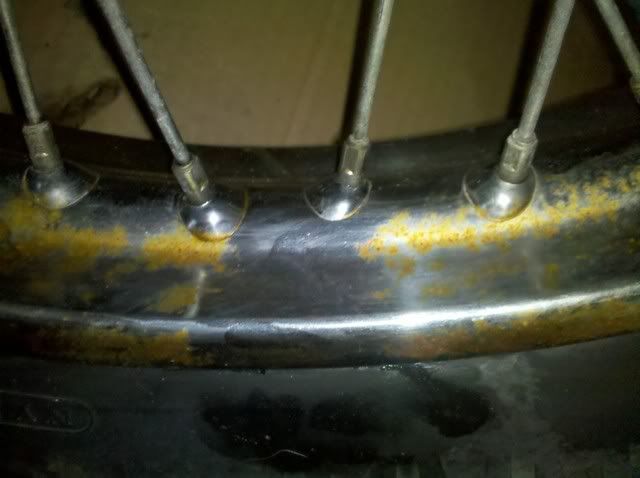
I'm a college student, and I get stuck moving every year as people graduate and come & go. This past winter I was without a garage and the chrome got a ton of rust spots.
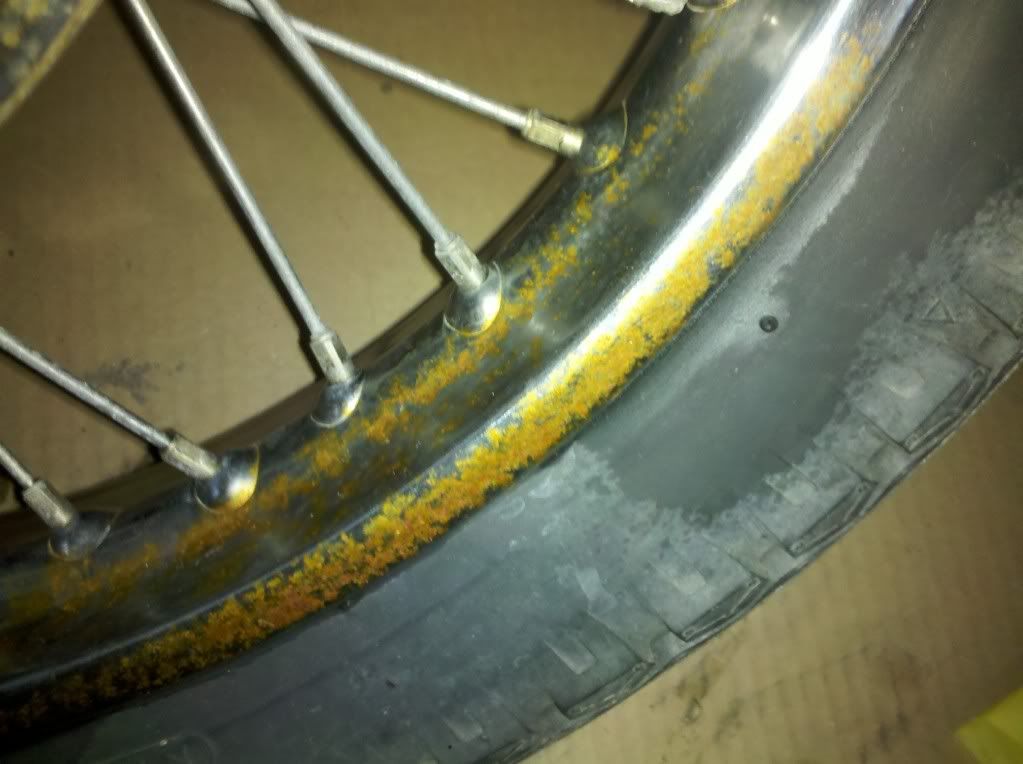
I searched on the forums and saw that people recommended 0000 steel wool and simple green to take off rust. I had my reservations, but it really did work like a charm, and fast too.
I managed to get most of the rust off the moto in about 2 hours. I pulled both wheels offto take them for new tires. I got Bridgestone Battalax BT45s which are tubeless. I took them to a local shop with tubes and rim strips and they came out mounted without a problem. They aren't back on yet but I'm excited to ride with them as the old rear looked to be from the 70s and was square, as in it looked like a truck tire. Handling was interesting to put it mildly.
The front and rear brake pads and shoes still have life in them and while they stop, technically, they suck. But I'll probably be waiting till after I get my taxes back before I do anything with those.
The front bearings where pretty nice, but the rears were totally shot. Now it makes sense as to why it was hard just to move the damn thing. After doing some searching on the forums I've read that there is a big difference between CB550-350-whatever else and CB750s when it comes to the number of rear bearings. I have a '76 CB750 K6, it has three rear wheel bearings. There are two inner bearings, similar to what you would expect, but also a third one between the cush drive (wheel damper) and the sprocket. This bearing for me was in good rotating condition, the two inner ones were junk. This is good as my local honda dealer told me that the third is no longer available. I'm sure if you went to a bearing distributor you'd be able to get it easily.
The Infamous Rear Wheel Bearing Retainer! Reading on here, I've seen that there have been a lot of people having trouble with these. I was one of them. There are four punches (stakes) that are used to deform the threads and lock the retainer into place. Like others have said, drill these completely out. That's when things get interesting. I don't know what the official honda tool looks like to get the retainer out, but I'm not a big fan of buying expensive tools There are the four holes that look like this.
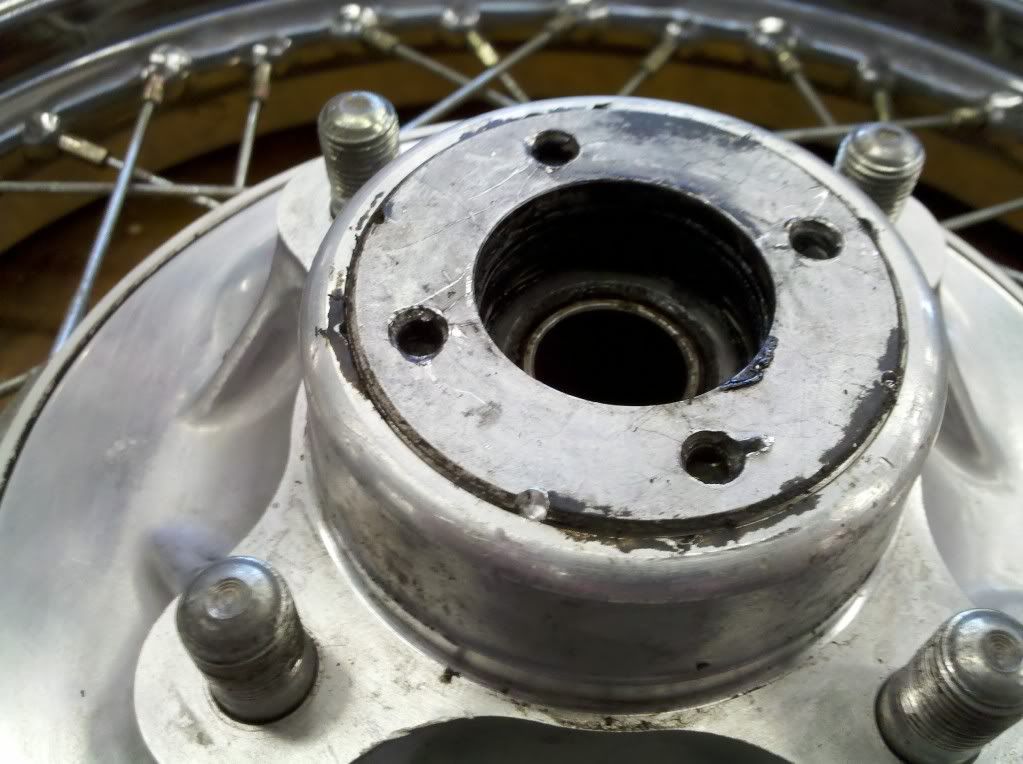
You will notice that the retainer is up some ways, this was after I loosened it up. Well what I did was take some old drill bits that were laying around, turn them upside down in a vice, and then position the wheel above the vice, with the drill bits sticking up into 2 of the 4 holes.
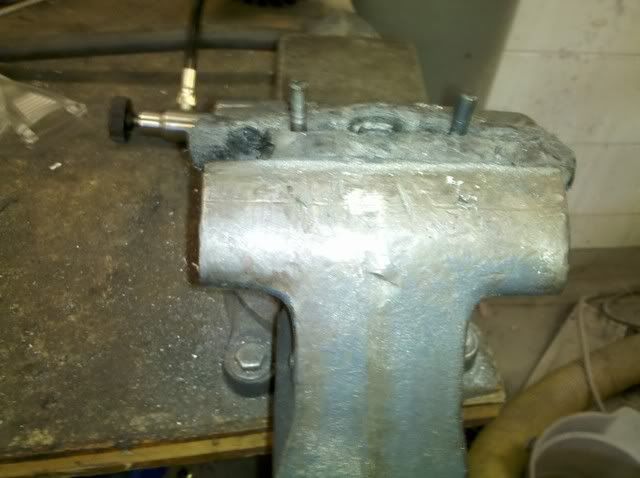
Make sure that the drill bits are down some in the vice as you can snap them (i snapped one). Also, it really helps if the vice has rubber grips.
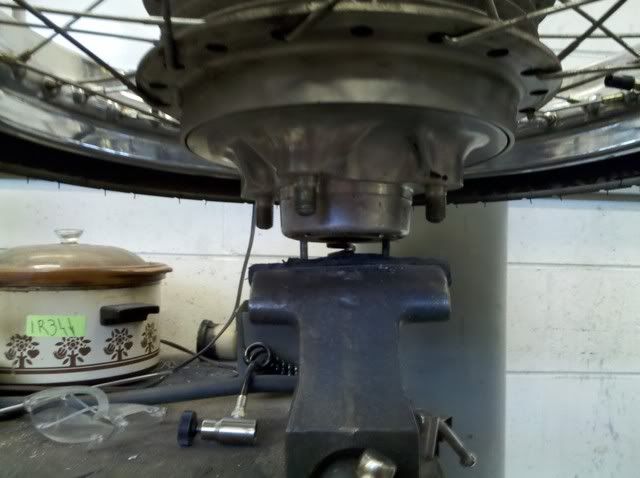
I was surprised that the wheel perfectly balanced on the two drill bits, I was able to leave it and take pictures. After saying that, I guarantee that if you do it the tire will fall over and break something irreplaceable. that's always my luck when I tell somone how to do something.
Well, I grabbed the wheel and started to slowly twist. Like I said before I snapped one of the bits as it was fairly exposed, so I moved them down. I also heated up the hub this time for good measure. Grab and twist again and... success. I twisted it out and all was well with the world. Of course then I realized I didn't need to take out that retainer. I'm still learning how the wheel comes together. I thought you needed to take out that retainer to get that part of the cush drive off. You don't. Just take a 3/8 extension or flat screwdriver and gently tap on the rubber dampers from the other side and you'll drive that part of the wheel off.
On that side,the left side, there is another bearing retainer for the inner bearing. Once again I drilled out the punches. This time however there aren't four round holes. There are rather 2 gaps. being lazy, grabbed a flat head screwdriver and started tapping hoping the retainer would turn. Luck would have it that that it turned!
The inner bearings are a bear to get out. Autozone has a blind bearing puller you can loan out, but the deposit is $160 and I may have blown my available cash on sprockets, chain and bearings. So tonight I'll be tap tap tapping on those bearings, trying to get them out. I'll write up how that goes.
I priced some sprockets and chains online and was looking at $180 for an o-ring chain, JT front sprocket and Sunstar rear sprocket. I decided to check prices at the Honda dealer and found that they were almost exactly the same, I got steel JT sprockets front and rear for $26 and $43. these came from parts unlimited. I also got some Parts Unlimited branded Pro O-ring chain for $85. There are regular, non o-ring chains for like $26, but i wanted to get something that in my mind would be more quality. As soon as i get the bearings swapped those parts will be going back together.
I still have to drop the bowls and spray some carb cleaner in and around to make sure things free up. I, being a bad person, left gas in the bowls over winter. I imagine it's all gnarly in there. It was running really rich, which was odd to me because it looked like everything was stock. Then I pulled off the muffler. I took it apart to see a huge restriction!!! The chrome on the muffler is rusting differently from the rest of the exhaust and fenders, which leads me to believe that it's aftermarket. I took the inner out and saw that it is a multi-chamber design that forced exhaust flow through small slits between chambers. Screw that. I took a big flat head screwdriver, hammer, and caveman style beat a hole between the chambers. It could have been only more manly if I used a crescent wrench (adj wrench) as the hammer. that being said, I'm hoping that that restriction was what was causing the engine to run rich.
(the idea being that the muffler allows less exhaust flow through it, which effectively means less airflow through the engine. the jets remaining the same however, means that there is now more fuel for the amount of air going in.)
So this is where I'm at now.
I want to say thanks to everyone who has posted reference stuff on the forums. Everytime I get stuck the first thing I do is search posts. That has made life with a motorcycle many years my senior much more bearable.
Future plans for the bike are clubman bars, cut down rear fender (there is an awesome moto junkyard with an assortment of old good condition chrome fenders close by me), either period correct seat or some cafe version that allows for two up riding (girls are more important than a cool single seat. at least until i get married. but then i imagine my life will be dramatically different!)
The paint is in too good condition to mess with, most of the chrome too. I wanna go for that stock/little cafe look.
If anyone has any input, I'm all ears.


