I've been inspired and emboldened by others here on the forum and finally decided it was time for me to jump into my own project bike and post my progress. Hopefully, with your help, I can pull off my first big job.
I bought this bike last Summer, intending it to be cheap transportation for me around Denver. I put new tires on and rode it until Winter.
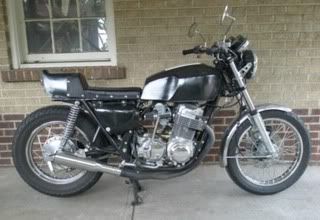
The PO had started to make it into a cafe racer with a cafe seat, custom tank, flat bars, etc. I soon discovered that the cafe racer set up was not ideal for what I wanted to use the bike for.
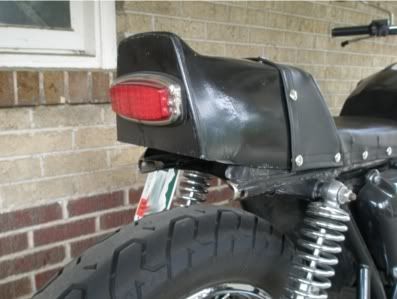
Luckily for me, when I bought the bike I also got a box full of parts the PO had taken off, rear fender, seat pan, turn signals, etc. I'll be putting some of those things back on to make the bike more comfortable and better for everyday riding.
More importantly, I want to make sure that the mechanics are all in good working order. I've bought Hondaman's manual and will be using that as a guide to making repairs and tuning. I will also be using this forum as a resource, so any wisdom you have to share with an enthusiastic amateur is most welcome! Below is my preliminary list of work items.
Phase I: Frame
1.Remove engine from frame.2.Fabricate and weld seat brackets onto frame
3.Weld extensions onto rear of frame
4.Powdercoat frame
5.Re- install engine in frame
Phase II: Engine
1.Change engine oil and filter
2.Set valve clearance (lash) and test compression
3.Set and adjust carbs
4.Check coil wire and sparkplug cap conditions
5.Replace sparkplugs
6.Check battery voltage and charging system output
7.Check brakes and brake light operation
8.Install all electric ignition system
9.Check tire condition and pressures
10.Check the condition of the electrical plugs on the back of the engine, the rectifier, and the exposed connections for the taillight and brake lights.
Phase III: Peripheral
1.Have seat made
2.Change oil in front forks
3.Reinstall fork ears and front turn signals
4.Reinstall rear fender, taillight and turn signals
5.Install windshield
6.Install horn
My goal is to have the work done before mid-July and have spent less than $1000. Wish me luck!


