Author Topic: First Project, Akinz' 77 CB550k build FINALLY COMPLETED!!!!! PICS!  (Read 9941 times)

0 Members and 2 Guests are viewing this topic.

Offline akinz

  • Full Member
  • *
  • Posts: 72
  • life is a one lap race
First Project, Akinz' 77 CB550k build FINALLY COMPLETED!!!!! PICS!
« on: September 13, 2011, 08:56:42 AM »
Hey Everyone,

I'm finally making some progress on my project that I've been working on for two years. Enough progress anyways that I might be able to toss some pictures up to see what everybody thinks.

First I'll put up some pictures of what it looked like when I picked it up..


And after I added some sportbike bars and some LED front markers.


Biggest progress I'm made is with the engine. It was leaking and smoking like a bastard. This was my main focus point to start on.

Here is a before shot:


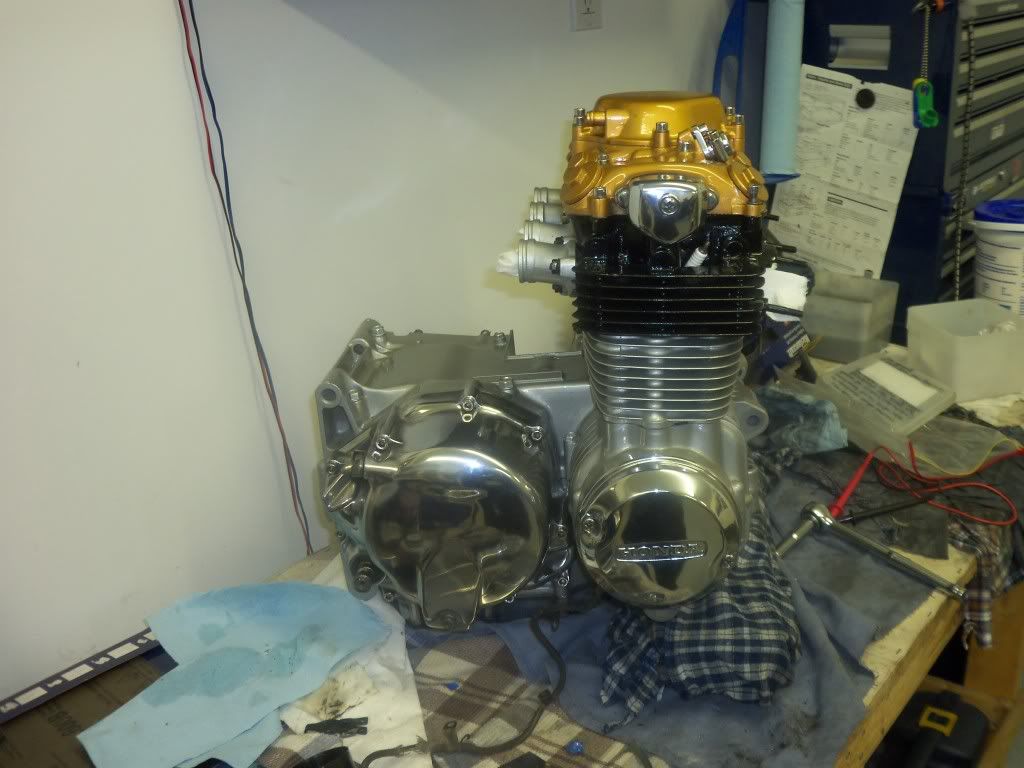
So now for the juicy shot. I have a lot of in between shots but I'd just like to post this up and get this rolling


So that's all for now, I'll post some more photos of some other stuff I've been working on with this bike to kind of give everybody an idea where I'd like to go with it!

« Last Edit: September 14, 2012, 01:47:44 PM by akinz »
77 CB550k, Finally completed after 3 long years of a complete teardown and rebuild/modification
77 CB550k, on the backburner to turn into a vintage race bike
79 CBX 1000 an absolute classic I just aquired
2005 Yamaha Raven R6 my street and trackday ride

Offline akinz

  • Full Member
  • *
  • Posts: 72
  • life is a one lap race
Re: First Project, Akinz' 77 CB550k build PICS!
« Reply #1 on: September 15, 2011, 04:15:36 PM »
Ok, so I thought I'd post a picture up of where I got my inspiration from. I came across the picture just after I purchased the bike and typed in cafe racer to get some ideas although this is a 750...


So far, I've purchased some COMSTAR wheels to fit to the 550, and took the beaten 4 into 4 exhaust off the other 550 I have and placed on my bike just to get an idea of how it was looking.


I'm really liking the way it looks, although I think I might miss the sound of the 4 into exhaust. I'm thinking since this exhaust is pretty much rotten, I'll cut it open, gut it, put some larger free flowing baffles in and close everything back up. Would be nice to have it chromed but I can't even imagine how much that would cost.

Has anybody had any experience on fitting the comstars on the 550 before? I have to deal with some clearance issues with the front since the speedometer gear is on the wrong side, Maybe if I swing it around the other way, then get the tire changed to be in the correct direction?

Also, I've been thinking about my frame colour, I think I'm going to have a colour combination of black, copper and silver. I would like to paint the frame either copper or silver. There is going to be very little silver, other than just pin striping, but I've read a few people get thier frames powdercoated instead. I've just seen powdercoat flake off after it's been chipped, and I figure I could do the painting myself and pocket that dough to reinvest it into the project...
77 CB550k, Finally completed after 3 long years of a complete teardown and rebuild/modification
77 CB550k, on the backburner to turn into a vintage race bike
79 CBX 1000 an absolute classic I just aquired
2005 Yamaha Raven R6 my street and trackday ride

Offline illrational

  • Enthusiast
  • **
  • Posts: 141
Re: First Project, Akinz' 77 CB550k build PICS!
« Reply #2 on: September 16, 2011, 08:21:54 AM »
Did u paint the lower portion of the engine also

Offline akinz

  • Full Member
  • *
  • Posts: 72
  • life is a one lap race
Re: First Project, Akinz' 77 CB550k build PICS!
« Reply #3 on: September 16, 2011, 08:25:26 AM »
I did, I bead blasted everything and then shot it all with paint. The bead blasting worked awesome to make the cases have a real good surface for the paint to adhere to.
77 CB550k, Finally completed after 3 long years of a complete teardown and rebuild/modification
77 CB550k, on the backburner to turn into a vintage race bike
79 CBX 1000 an absolute classic I just aquired
2005 Yamaha Raven R6 my street and trackday ride

Offline illrational

  • Enthusiast
  • **
  • Posts: 141
Re: First Project, Akinz' 77 CB550k build PICS!
« Reply #4 on: September 16, 2011, 07:53:02 PM »
What's difference between sand and bead

Offline akinz

  • Full Member
  • *
  • Posts: 72
  • life is a one lap race
Re: First Project, Akinz' 77 CB550k build PICS!
« Reply #5 on: September 16, 2011, 08:53:02 PM »
What's difference between sand and bead

Really, the main difference is grit. Sand is more coarse then glass beads. The glass beads work great at removing the paint and etching the surface for paint.  Sand blasting (depending on the sand used) will leave a rougher surface then the glass beads.
77 CB550k, Finally completed after 3 long years of a complete teardown and rebuild/modification
77 CB550k, on the backburner to turn into a vintage race bike
79 CBX 1000 an absolute classic I just aquired
2005 Yamaha Raven R6 my street and trackday ride

Offline akinz

  • Full Member
  • *
  • Posts: 72
  • life is a one lap race
Re: First Project, Akinz' 77 CB550k build PICS!
« Reply #6 on: September 16, 2011, 09:09:20 PM »
Thought I'd post some pictures of before and after I bead blasted the cases and other engine parts.

Bead blasting got rid of all the flaking paint that was caused from the gasket remover I used. Thought this was a little quicker then sanding it all by hand.

Cam cover before


Cam cover after


Engine cases before


and after


After bead blasting everything, I blew off what was left of the beads with compressed air then washed them in my new wash bin!

77 CB550k, Finally completed after 3 long years of a complete teardown and rebuild/modification
77 CB550k, on the backburner to turn into a vintage race bike
79 CBX 1000 an absolute classic I just aquired
2005 Yamaha Raven R6 my street and trackday ride

Offline lucky

  • Really Old Timer ...
  • *******
  • Posts: 6,717
Re: First Project, Akinz' 77 CB550k build PICS!
« Reply #7 on: September 17, 2011, 05:00:40 PM »
Lucky checking in on you!

Nice parts cleaner! Good thing to have. Also get a fire extinguisher for your shop.

You can use simple green in the parts cleaner. Simple green offers many kinds of parts cleaning solutions that are fire safe. Check that out on the web before you fill the parts cleaner.
Also Safety clean company in many towns across America have a service that comes and recycles your chemicals and refills your parts cleaner. i would check that out too.

Offline Retro Rocket

  • Eggs are hard due too a
  • Really Old Timer ...
  • *******
  • Posts: 19,279
  • ROCK & ROLL
Re: First Project, Akinz' 77 CB550k build PICS!
« Reply #8 on: September 17, 2011, 06:05:29 PM »
You now need to make sure that every last piece of glass is removed from every oil gallery in that engine, it gets in everywhere and is bloody hard to get out, 1 small piece missed can destroy your engine.. I would never glass bead blast an engine, soda blasting works just as well and is a lot easier to clean out.....
750 K2 1000cc
750 F1 970cc
750 Bitsa 900cc
If You can't fix it with a hammer, You've got an electrical problem.

Offline akinz

  • Full Member
  • *
  • Posts: 72
  • life is a one lap race
Re: First Project, Akinz' 77 CB550k build PICS!
« Reply #9 on: September 17, 2011, 08:15:55 PM »
Lucky:  Glad someone is keeping taps on me, yea I do have a fire extinguisher for the garage, and it would be nicer to have something in the tank that isn't flammable. Right now there's mineral spirits in it. I don't like the fact that there is 5 gallons of flammable liquid hanging around in there, although I didn't know there was other cleaning solvents that were just as efficient. As for the companies that come to recycle the used liquids, I'm up in Ontario, and I don't know of any such company around here. I am able to dispose of the liquid at work however so that's quite handy,

Retro Rocket: Yes the beads are a pain to get rid of, but I did find one thing out that is beneficial to do before bead blasting.... make sure you wash all parts out thoroughly of the oil residue, that way the beads don't have much to stick to, also, the orifices I cleaned after with the combination of compressed air and also the parts washer... doing this many times mind you, and then taking a paint gun cleaning brush and putting it through all the oil galleries and flushing it out.

I read about a lot of people doing soda blasting but I can't seem to find any place around here that even carries it. Do you have a name of a company that produces the soda? All the local guy had here was different grits of sand and glass beads.
77 CB550k, Finally completed after 3 long years of a complete teardown and rebuild/modification
77 CB550k, on the backburner to turn into a vintage race bike
79 CBX 1000 an absolute classic I just aquired
2005 Yamaha Raven R6 my street and trackday ride

Offline lucky

  • Really Old Timer ...
  • *******
  • Posts: 6,717
Re: First Project, Akinz' 77 CB550k build PICS!
« Reply #10 on: September 18, 2011, 12:24:28 PM »
Lucky:  Glad someone is keeping taps on me, yea I do have a fire extinguisher for the garage, and it would be nicer to have something in the tank that isn't flammable. Right now there's mineral spirits in it. I don't like the fact that there is 5 gallons of flammable liquid hanging around in there, although I didn't know there was other cleaning solvents that were just as efficient. As for the companies that come to recycle the used liquids, I'm up in Ontario, and I don't know of any such company around here. I am able to dispose of the liquid at work however so that's quite handy,

Retro Rocket: Yes the beads are a pain to get rid of, but I did find one thing out that is beneficial to do before bead blasting.... make sure you wash all parts out thoroughly of the oil residue, that way the beads don't have much to stick to, also, the orifices I cleaned after with the combination of compressed air and also the parts washer... doing this many times mind you, and then taking a paint gun cleaning brush and putting it through all the oil galleries and flushing it out.

I read about a lot of people doing soda blasting but I can't seem to find any place around here that even carries it. Do you have a name of a company that produces the soda? All the local guy had here was different grits of sand and glass beads.

Simple Green makes a extreme aircraft grade cleaner that is non flammable and low cost.Check out their website.

Offline Gman

  • Hot Shot
  • ***
  • Posts: 307
Re: First Project, Akinz' 77 CB550k build PICS!
« Reply #11 on: September 18, 2011, 12:38:57 PM »
Akinz,
Looking good - keeps the pics rolling!

The soda referred to is just baking soda (sodium bicarbonate), so you should be able to pick it up at the grocery store.  There are also places to get large bags of it for cheap, such as Costco or the CAN equivalent.  It's a very fine grit that takes off corrosion, etc., but won't eat into the metal.  And, when you're done, all you have to do is rinse and any residual grit dissolves and washes away - voila, no glass beads in the oil galleries!  There are several DIY guns/setups that people have used on the forum.  Just search for soda blaster or soda gun and you should get some hits.

Cheers,
G
'76 CB550K
Stock airbox, MotoGPWerks 4-1, HondaMan ignition, Lesters

Offline akinz

  • Full Member
  • *
  • Posts: 72
  • life is a one lap race
Re: First Project, Akinz' 77 CB550k build PICS!
« Reply #12 on: September 19, 2011, 06:18:25 AM »
Akinz,
Looking good - keeps the pics rolling!

The soda referred to is just baking soda (sodium bicarbonate), so you should be able to pick it up at the grocery store.  There are also places to get large bags of it for cheap, such as Costco or the CAN equivalent.  It's a very fine grit that takes off corrosion, etc., but won't eat into the metal.  And, when you're done, all you have to do is rinse and any residual grit dissolves and washes away - voila, no glass beads in the oil galleries!  There are several DIY guns/setups that people have used on the forum.  Just search for soda blaster or soda gun and you should get some hits.

Cheers,
G

Wow, baking soda??? How in the hell did I miss that one. Honestly yea that would've been a lot better to use then glass beads. I already have a sandblaster, so I'm assuming I can just dump it into that.

This forum is awesome, so many people with great opinions and offer up so much help!

Lucky: I'll be certain to check that simple green stuff out. I knew they made car wash soap but nothing else.
77 CB550k, Finally completed after 3 long years of a complete teardown and rebuild/modification
77 CB550k, on the backburner to turn into a vintage race bike
79 CBX 1000 an absolute classic I just aquired
2005 Yamaha Raven R6 my street and trackday ride

Offline akinz

  • Full Member
  • *
  • Posts: 72
  • life is a one lap race
Re: First Project, Akinz' 77 CB550k build PICS!
« Reply #13 on: September 19, 2011, 07:21:10 AM »
Ok, so I have the all the internals in the crankcase and got them set together. Today I'll be working on the pistons and getting them back on the rods.

I also painted all the bolts to bolt the case back together since the original ones looked like garbage. The studs I also painted black to set a contrast off between the silver of the cylinders.

Let me know what you guys think.


New Seals all around for the old girl. Received them from eBay


Cases back together, can't believe it has taken me 2 years to get to this point. It is nice to see progress however!


I didn't get any work done on the motor at all yesterday which I was hoping, but I found another bike I just couldn't resist.

It's a 90 VFR 750. 51000kms but it's pretty baffed. Previous owner dropped it and wrecked the fairings, dented the tank etc. The guy I bought it off of gave me some white fairings that will need repainting so that's no biggie.. Just another project  ;)


77 CB550k, Finally completed after 3 long years of a complete teardown and rebuild/modification
77 CB550k, on the backburner to turn into a vintage race bike
79 CBX 1000 an absolute classic I just aquired
2005 Yamaha Raven R6 my street and trackday ride

Offline lucky

  • Really Old Timer ...
  • *******
  • Posts: 6,717
Re: First Project, Akinz' 77 CB550k build PICS!
« Reply #14 on: September 20, 2011, 07:37:27 PM »
Now you better join VFRworld.org.

Offline fastbroshi

  • Puppet
  • Old Timer
  • ******
  • Posts: 2,645
Re: First Project, Akinz' 77 CB550k build PICS!
« Reply #15 on: September 20, 2011, 09:26:10 PM »
Tanks aren't as hard to come by as those fairings.  I vote for Pearl White.
Just call me Timmaaaaay!!!

Offline akinz

  • Full Member
  • *
  • Posts: 72
  • life is a one lap race
Re: First Project, Akinz' 77 CB550k build PICS!
« Reply #16 on: September 21, 2011, 05:32:31 AM »
Thanks guys,

As for the 550, I put the pistons on with new OEM rings and new piston pin clips, all new gaskets, o-rings around the oil orifice and carefully slid the cylinder back on.

Before I got the cylinder down all the way, I left about 20mm of gap then installed the cam chain tensioner and new OEM slider for it. After everything was in place I finished getting the cylinder to mate the to the crankcase.

I put a new OEM cam chain slipper in and lapped the valves last night.

Before I put the head in place I would like to clean the carbon off the valves. Does anybody have a proven way of doing this?

Also I'm waiting on a heli-coil kit so I can heli-coil the #1 spark plug hole.

I was a little leary of the straigtness of the head... which I thought I checked after I lifted the head off, but I checked this morning and it's perfectly straight!!! Wheew ;D

So once I get the helicoil installed I will be able to get the new gaskets on and throw the head in place and I'm that much closer to being done this engine.
77 CB550k, Finally completed after 3 long years of a complete teardown and rebuild/modification
77 CB550k, on the backburner to turn into a vintage race bike
79 CBX 1000 an absolute classic I just aquired
2005 Yamaha Raven R6 my street and trackday ride

Offline akinz

  • Full Member
  • *
  • Posts: 72
  • life is a one lap race
Re: First Project, Akinz' 77 CB550k build PICS!
« Reply #17 on: October 18, 2011, 06:39:58 PM »
Hey guys,

So I have accomplished more on the bike. I was able to get the valves pretty clean with the help of oven cleaner. Soaked them over night then rinsed them of and most of the carbon came off with the help of my fingernail.

Afterwards I reinstalled the valves but first installed new stem seals.

I was waiting quite a while for my heli-coil kit to repair the #4cyl spark plug hole, but for $9 it was a deal worth waiting for.

Here's a shot of the helicoil in place. This was the first time I have ever used one of these and I couldn't believe how well it worked and how easy they were to use.


I also polished the oil pan.. my first polish job and I'm pretty stoked how it turned out. Here's some before and after shots


Got the pistons in the cylinders, and the new tensioner and head gasket installed along with the o-rings


Head installed, finally starting to come together!!!


Ok, so I might get some flack here, but this was my solution. The previous owner must have smashed an impact driver so hard trying to remove a screw on the valve cover that he cracked one of the threads. So.... my solution? I wanted to seal off the crack and prevent it from enlarging, plus as the same time I needed to have a place to run some new threads. I read some stuff on JB weld and thought I'd giver a go. First time for this stuff too and honestly, I am very impressed.  Once it hardened ( I gave it 24 hours) I drilled it out, then tapped the hole 6x1 and tried screwing in the bolt and went in fine. I thought I'd give it another day to harden before I put the valve cover on.

Here is a snap of the results


Once I finished that I got the cam and chain all together and got the timing set. Note the notch in the cam is level with the surface of the head


77 CB550k, Finally completed after 3 long years of a complete teardown and rebuild/modification
77 CB550k, on the backburner to turn into a vintage race bike
79 CBX 1000 an absolute classic I just aquired
2005 Yamaha Raven R6 my street and trackday ride

Offline akinz

  • Full Member
  • *
  • Posts: 72
  • life is a one lap race
Re: First Project, Akinz' 77 CB550k build Updated w/ new PICS!
« Reply #18 on: October 18, 2011, 07:02:00 PM »
I received the polished stainless allen bolt kit about a week ago and looks pretty good, other then so far I am short 1 bolt and 2 washers just for the valve cover, but was pleased that I came with new philips screws for the camshaft side covers


Got into more polishing, and also received my used tach gear housing from ebay. Not sure if it's a common issue but the one that was on my bike snapped flush at the o-ring.

So it was obviously pretty grungy too so I thought I would polish it up and then bolt everything on to see what it looked like.


I have run into a snag as of now. I don't remember there being a washer between the clutch cover and the circlip for the kickstart. The manual says it's an 18mm washer. I'm almost positive that there wasn't one on there when I took it off, and now am in need of one before I put the clutch and the cover on.

I'm hoping that someone might have one of these floating around in thier parts bins somewhere??
Any help in tracking one of these down would be greatly apprecitate it!

Next on my plate is to polish the alternator cover, bead blast and paint the exhaust collars, and clean up all the grease from the electrical connectors and wires running from the alternator and from the points.
77 CB550k, Finally completed after 3 long years of a complete teardown and rebuild/modification
77 CB550k, on the backburner to turn into a vintage race bike
79 CBX 1000 an absolute classic I just aquired
2005 Yamaha Raven R6 my street and trackday ride

Offline lucky

  • Really Old Timer ...
  • *******
  • Posts: 6,717
Re: First Project, Akinz' 77 CB550k build PICS!
« Reply #19 on: October 18, 2011, 09:49:02 PM »
Thanks guys,

As for the 550, I put the pistons on with new OEM rings and new piston pin clips, all new gaskets, o-rings around the oil orifice and carefully slid the cylinder back on.

Before I got the cylinder down all the way, I left about 20mm of gap then installed the cam chain tensioner and new OEM slider for it. After everything was in place I finished getting the cylinder to mate the to the crankcase.

I put a new OEM cam chain slipper in and lapped the valves last night.

Before I put the head in place I would like to clean the carbon off the valves. Does anybody have a proven way of doing this?

Also I'm waiting on a heli-coil kit so I can heli-coil the #1 spark plug hole.

I was a little leary of the straigtness of the head... which I thought I checked after I lifted the head off, but I checked this morning and it's perfectly straight!!! Wheew ;D

So once I get the helicoil installed I will be able to get the new gaskets on and throw the head in place and I'm that much closer to being done this engine.

Did you ball hone the cylinders?  If you did not it may not ever break in.

Offline akinz

  • Full Member
  • *
  • Posts: 72
  • life is a one lap race
Re: First Project, Akinz' 77 CB550k build PICS!
« Reply #20 on: October 19, 2011, 05:15:26 AM »
Quote
Did you ball hone the cylinders?  If you did not it may not ever break in.

I didn't ball hone them I used a the rectangular spring loaded one, but yes, why of course they were honed :-)
77 CB550k, Finally completed after 3 long years of a complete teardown and rebuild/modification
77 CB550k, on the backburner to turn into a vintage race bike
79 CBX 1000 an absolute classic I just aquired
2005 Yamaha Raven R6 my street and trackday ride

Offline akinz

  • Full Member
  • *
  • Posts: 72
  • life is a one lap race
Re: Updated, Akinz' 77 CB550k build PICS!
« Reply #21 on: April 03, 2012, 11:08:00 AM »
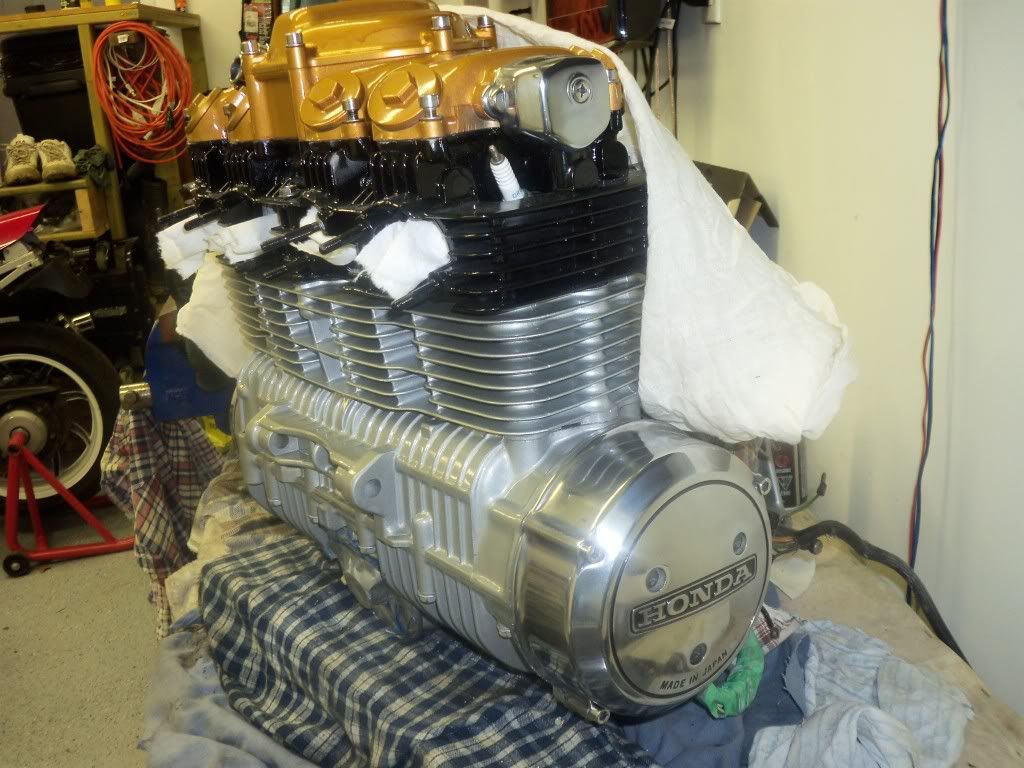
So I've been pretty busy finally getting some more work done on my 550. The engines buttoned up and completed, and now am working on the fabrication of the new tail section.

Here's some shots of the finished engine:


I picked up a solo seat cover from a bike shop for $20, and decided to work around that for my tail section
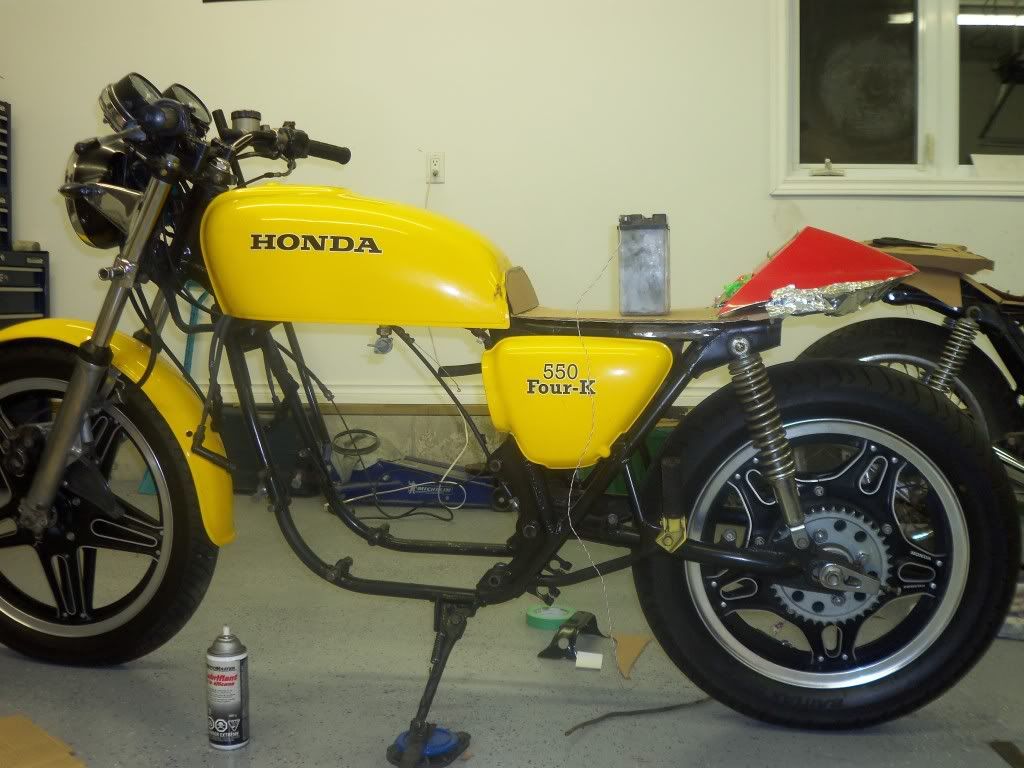


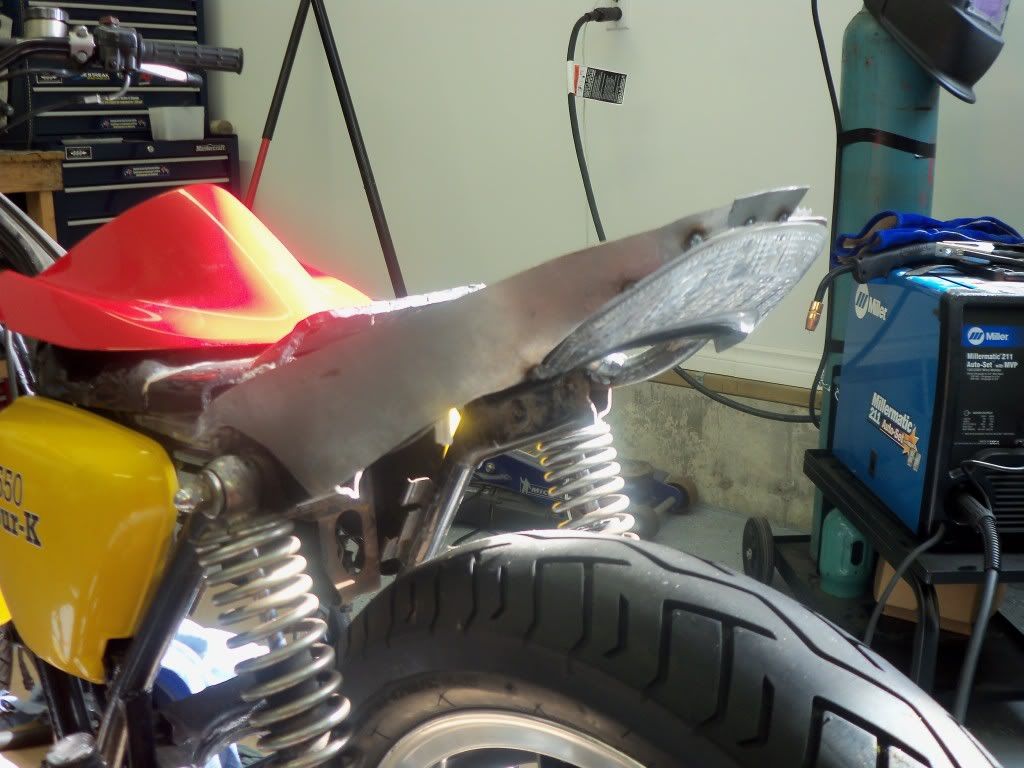
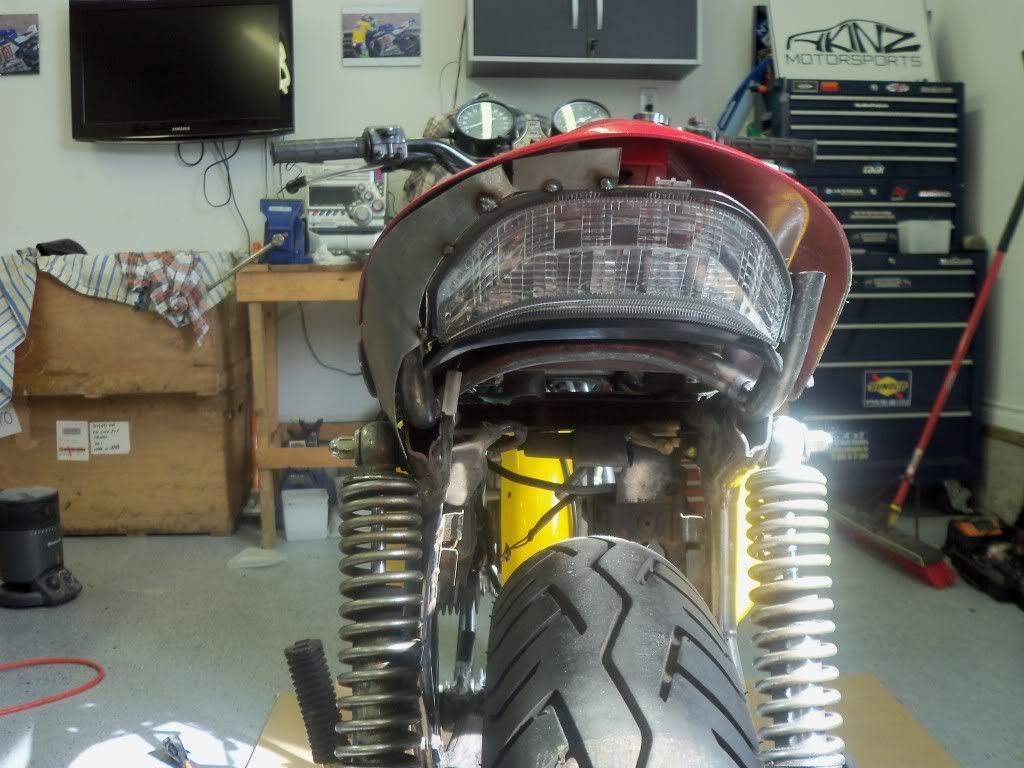
I then cut off the frame rails at the back and bent some tubing and tacked it all into place for my tail light.
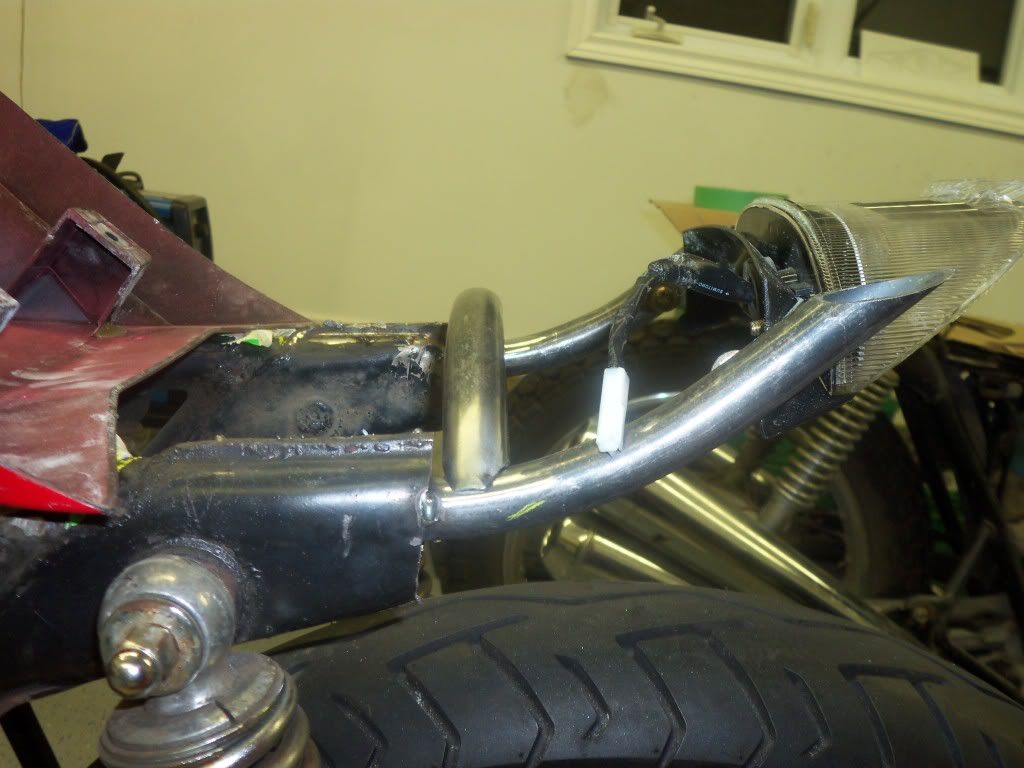


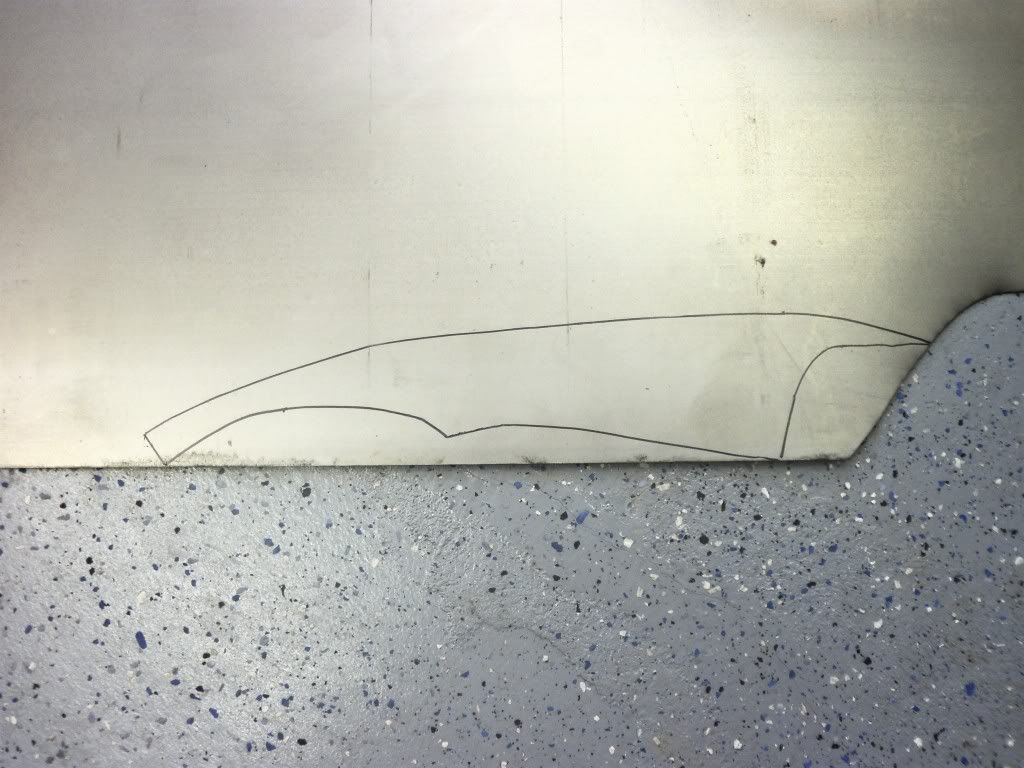
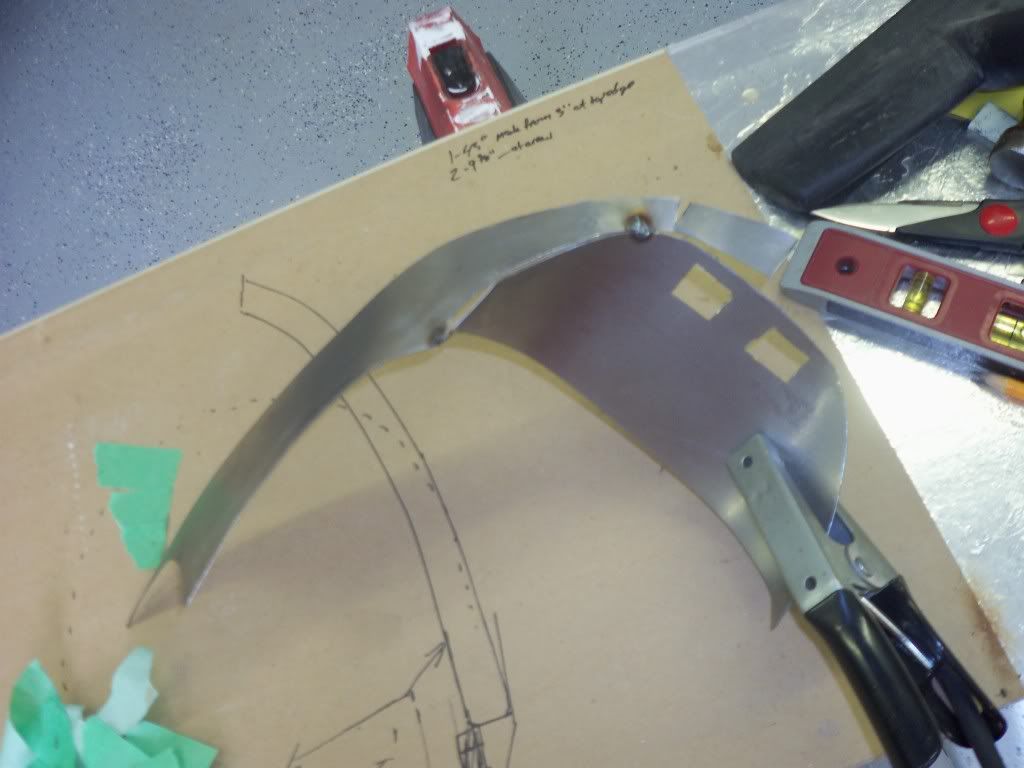
After I got that squared up, I made some templates and stared cutting/welding up some sheet metal
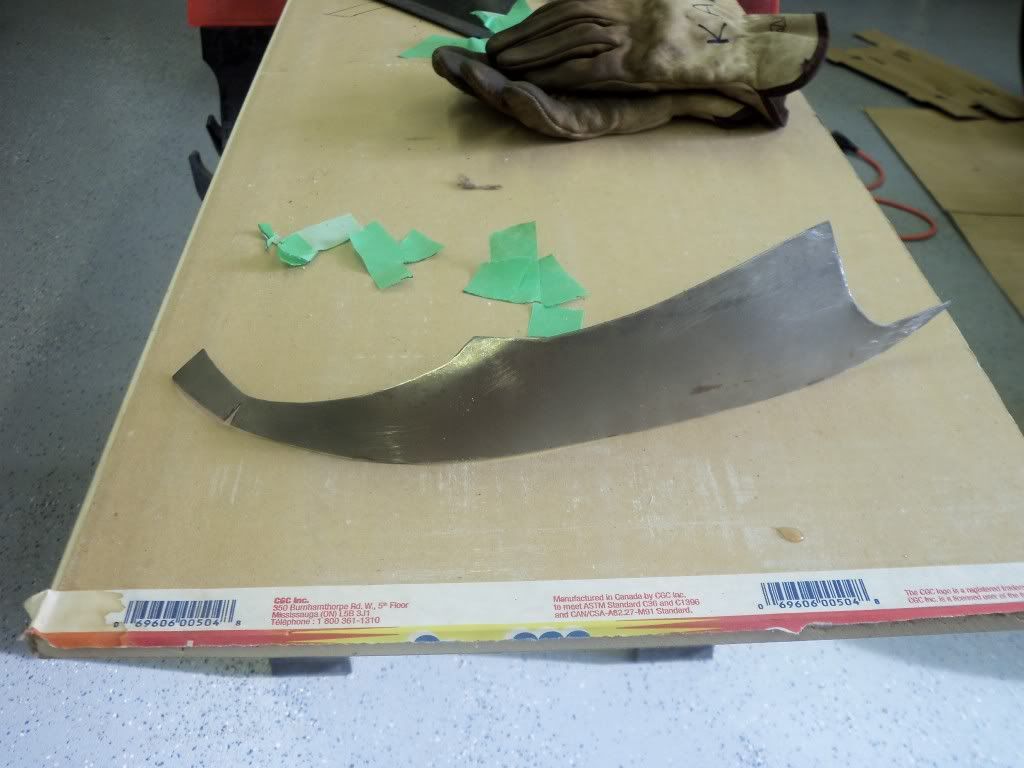
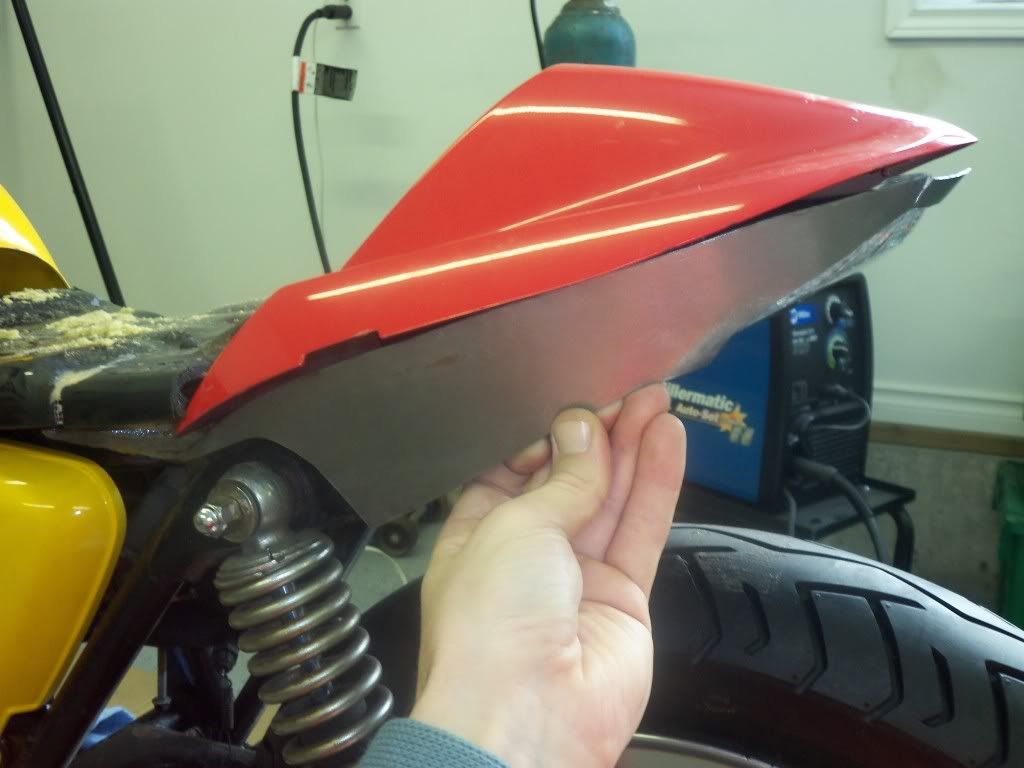
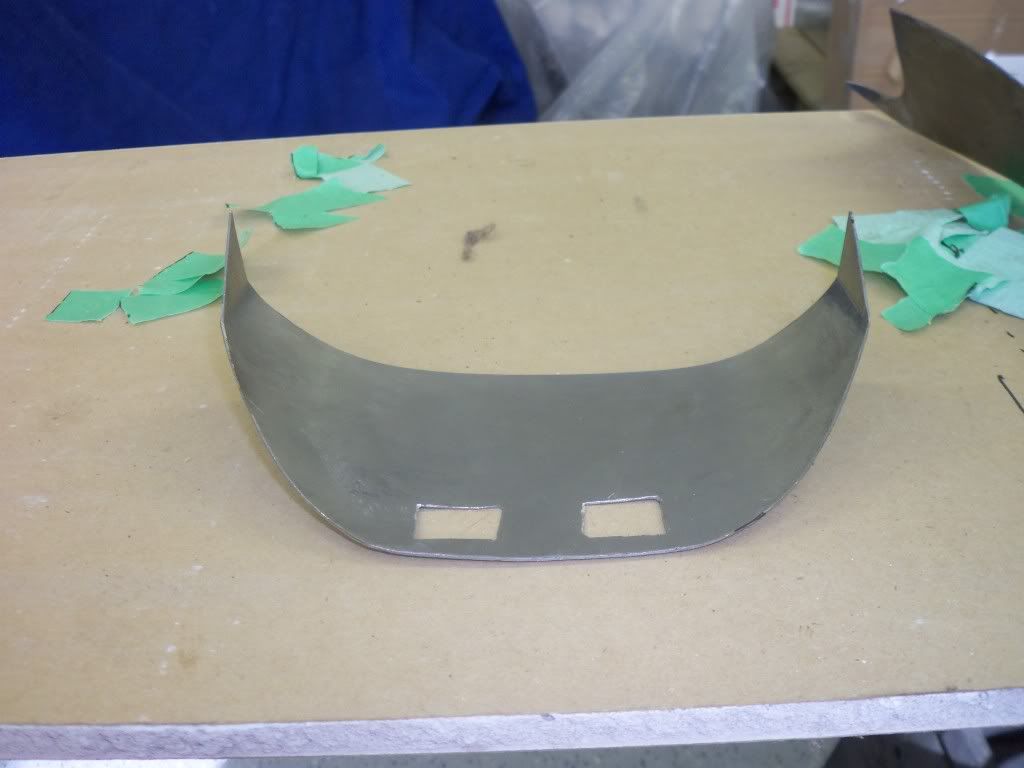


Tacking the taillight housing onto the tailsection


Quick test fit:
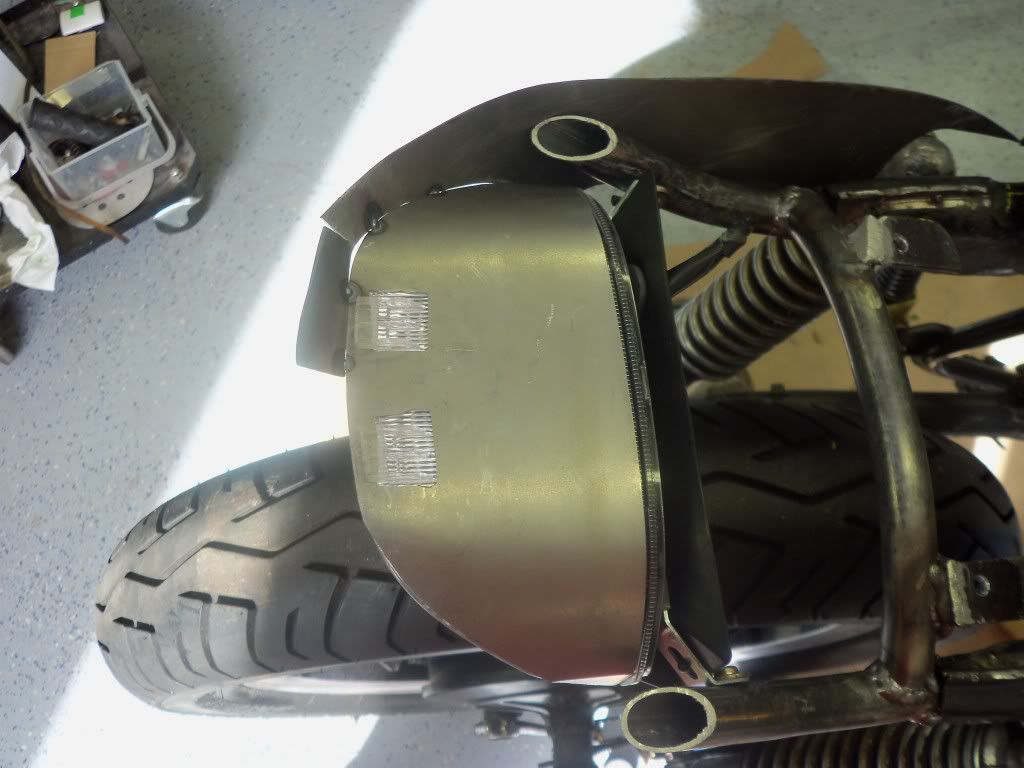


Other side cut and tacked into place/ with a test fit

So I needed some bracing for the new tail section, so I came up with this bracing idea
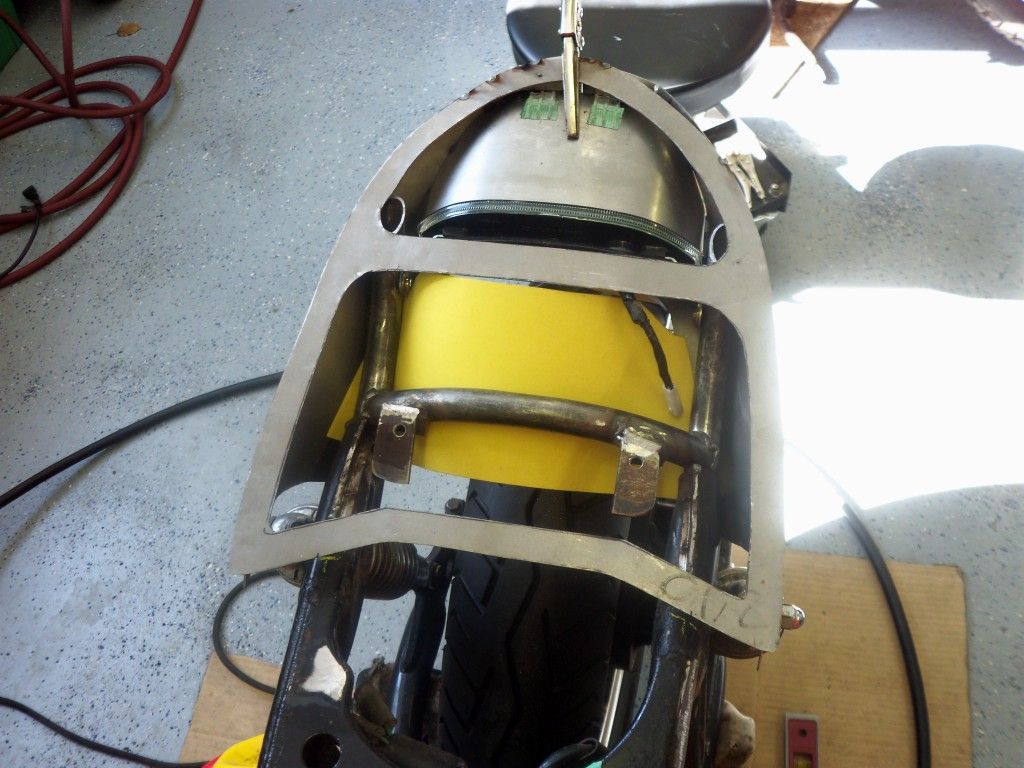


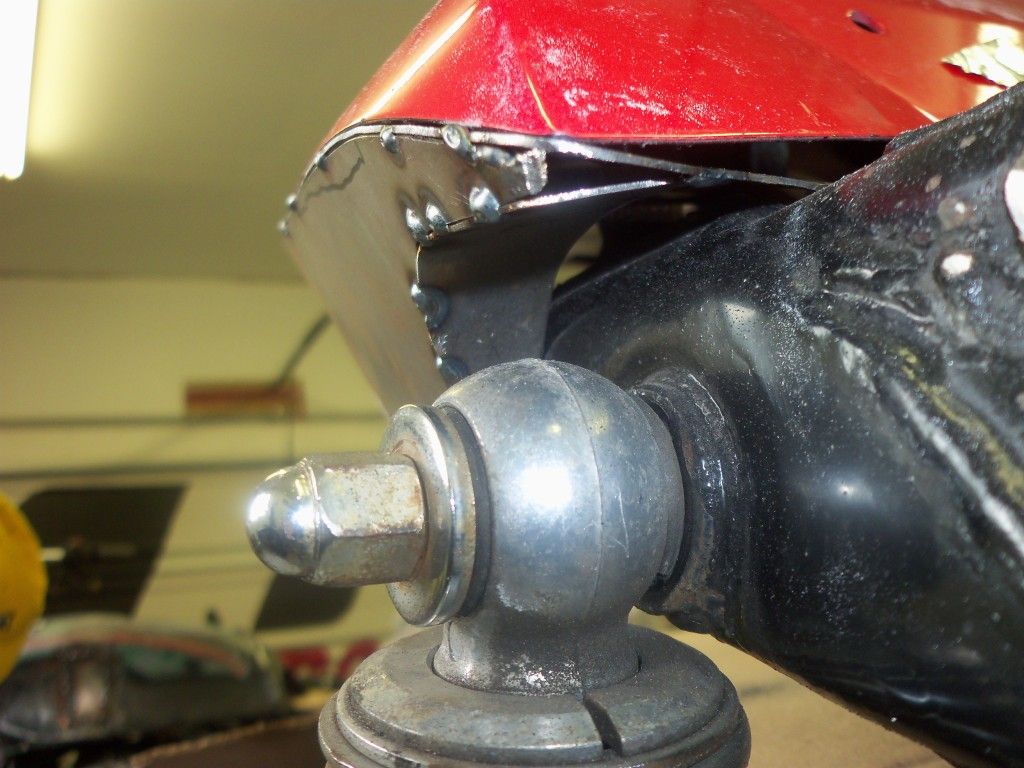
I ran into some clearance problems with the tail light housing, so I ended up cutting the rear brace, bending it welding a new section in to give me some clearance:
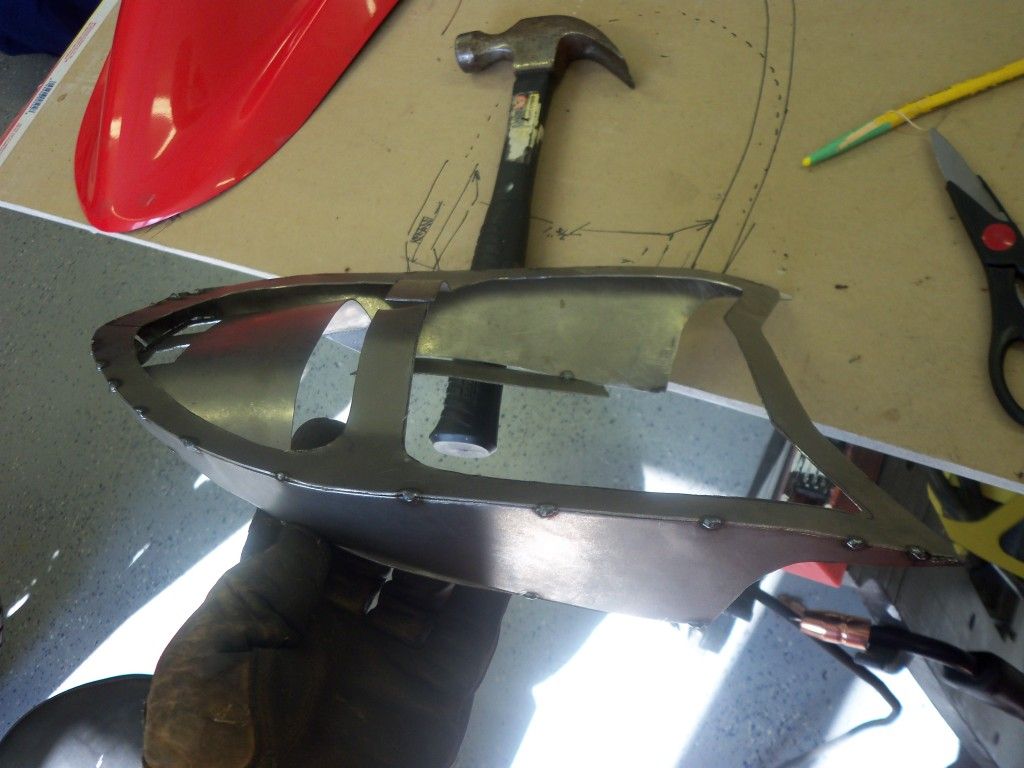
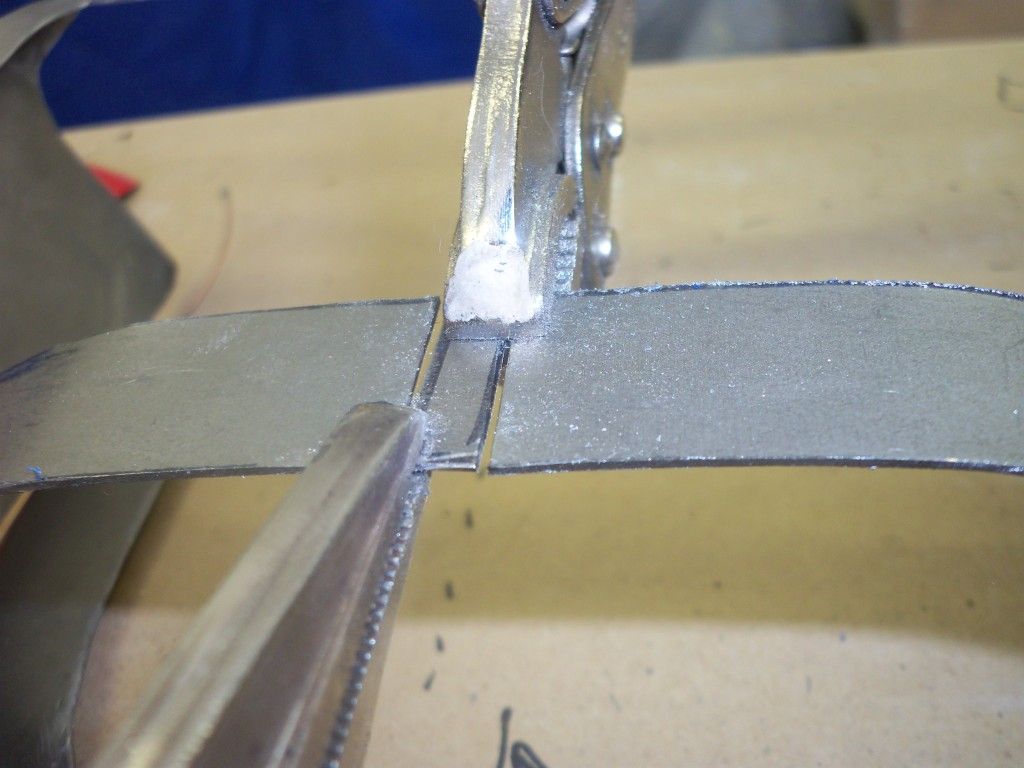


I needed a way to secure the solo cover to the new tail section and this is what I ended up coming up with
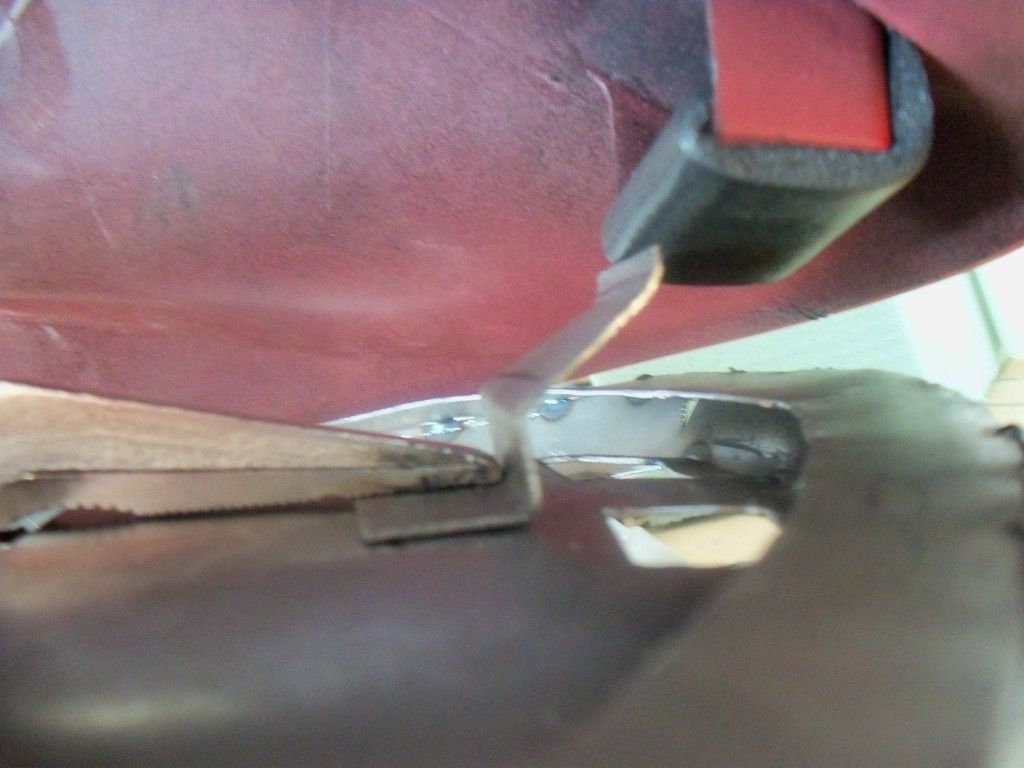


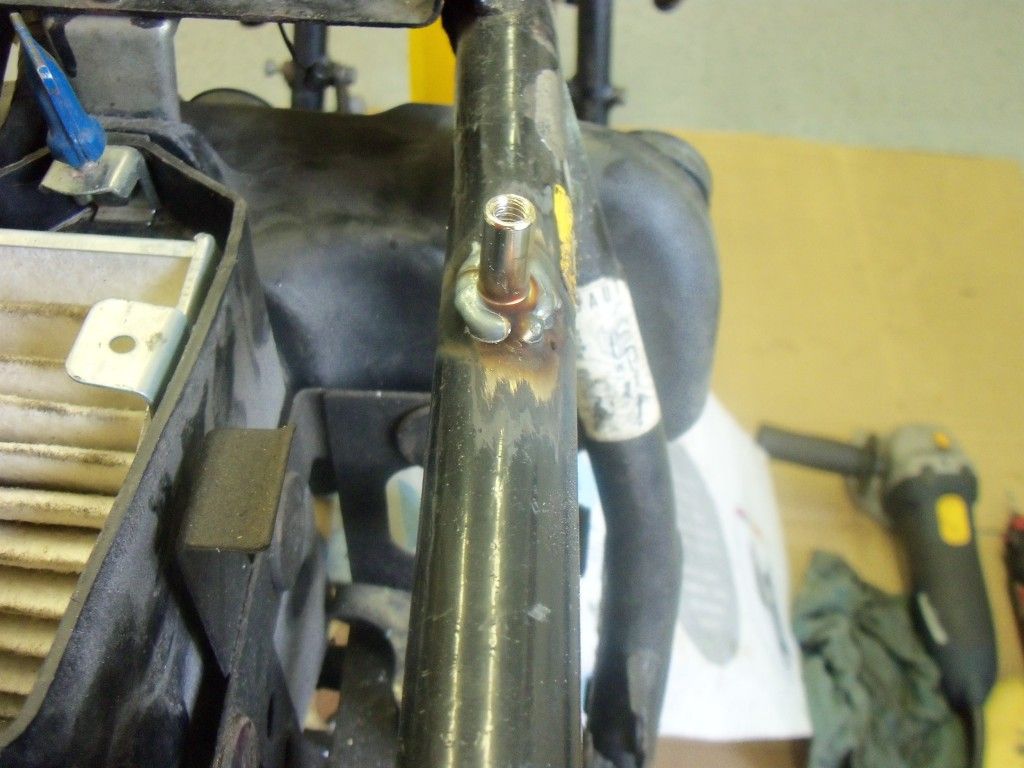
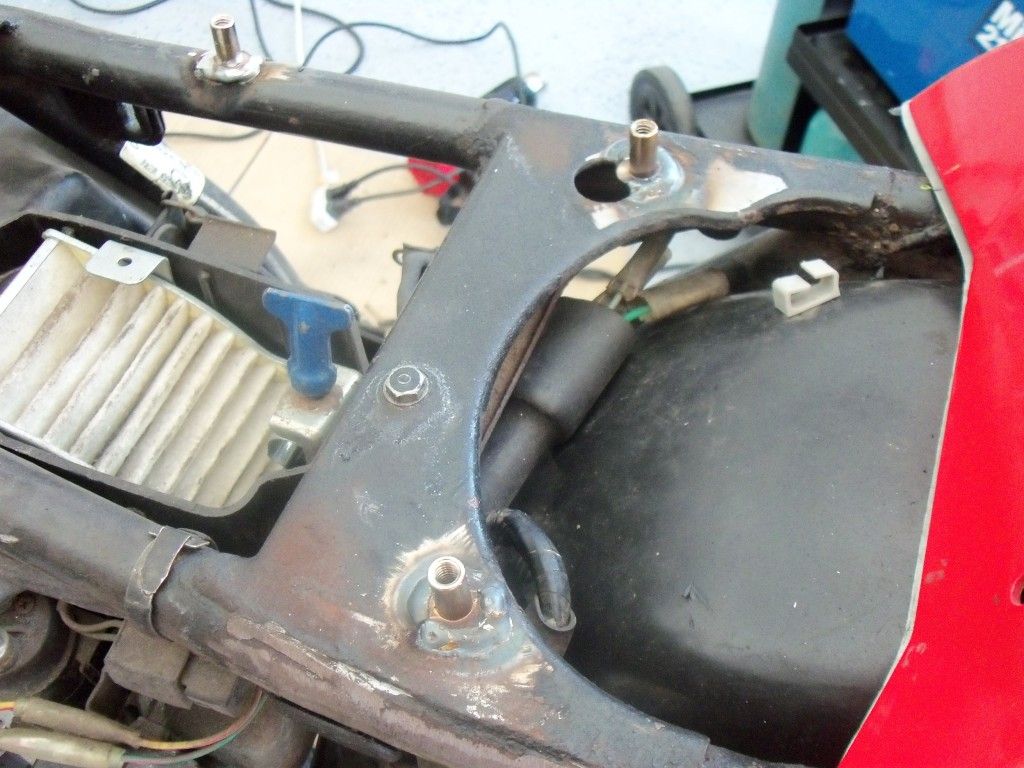
I then fabbed up an undertail so to speak, welded on some nuts on the back side of it so I could secure it to the tail section.
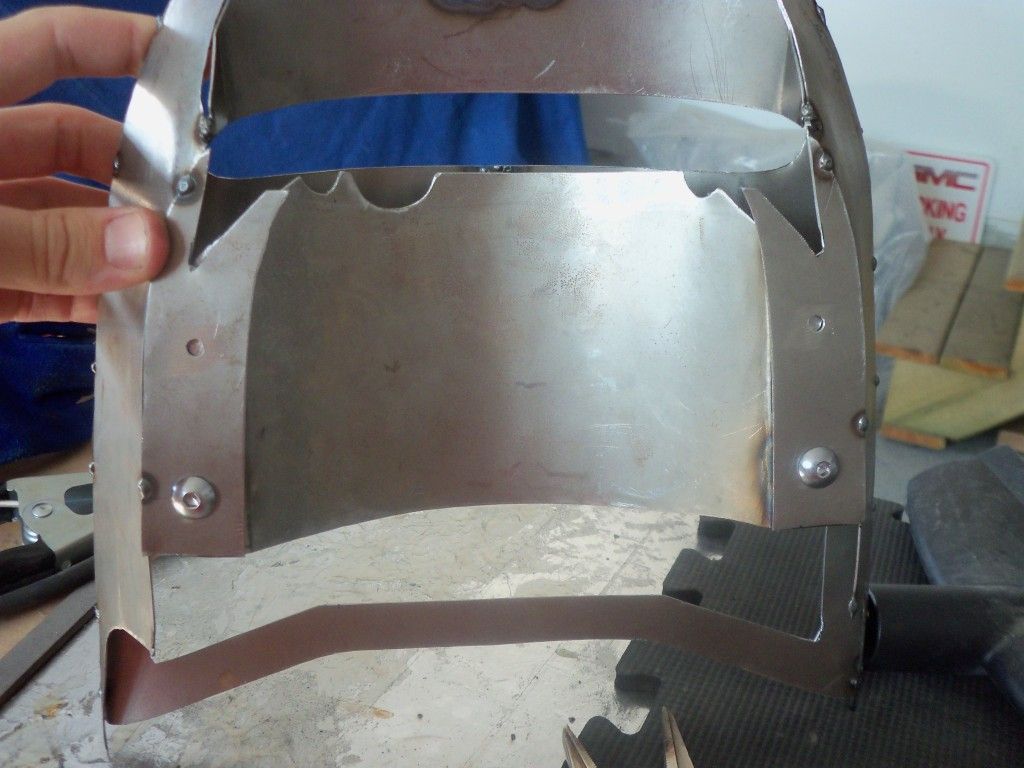


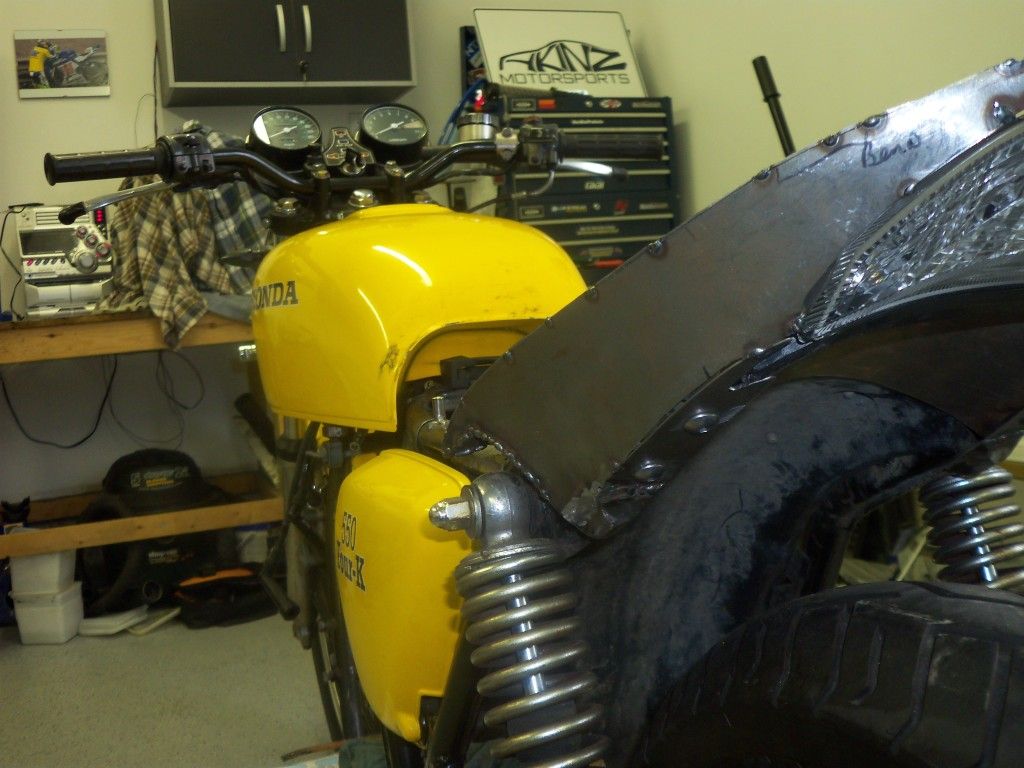
I had some clearance issues with the rear part of the frame and the tail section so I had to cut a piece out of the tail section then make a piece to cover it up.
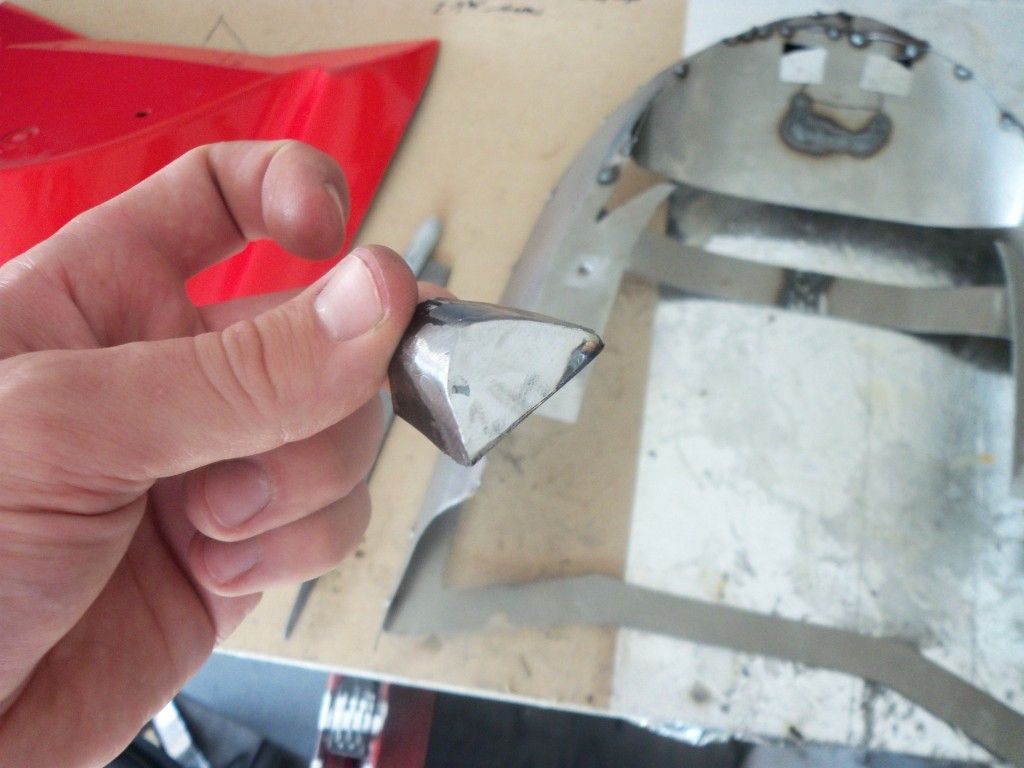
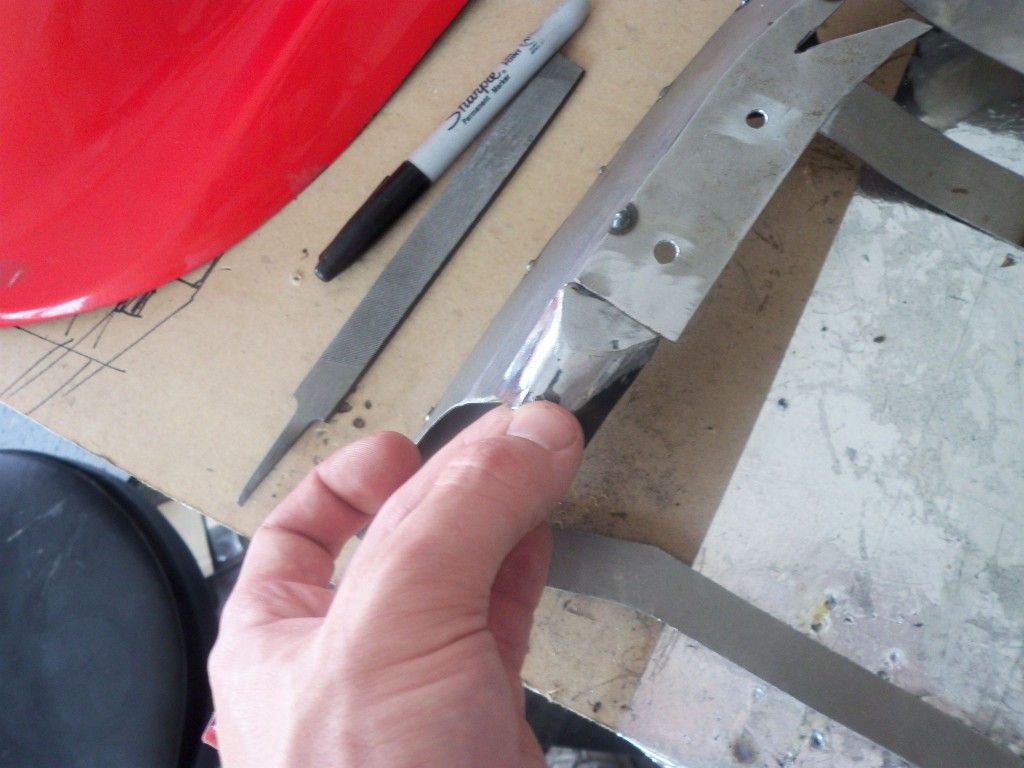
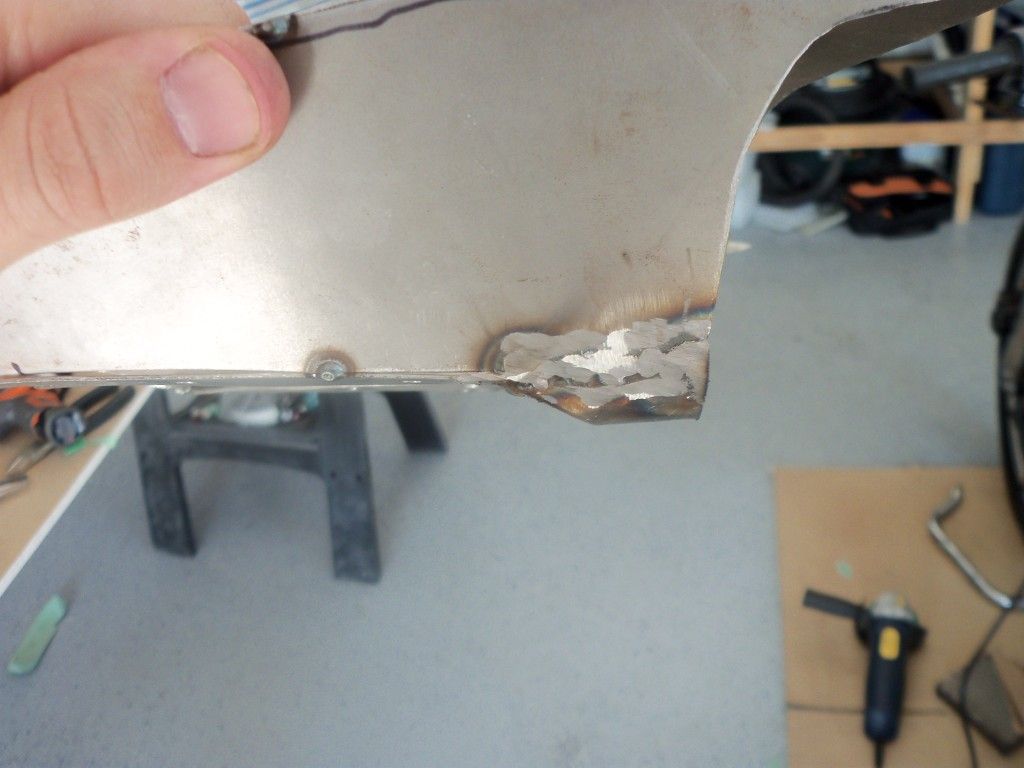
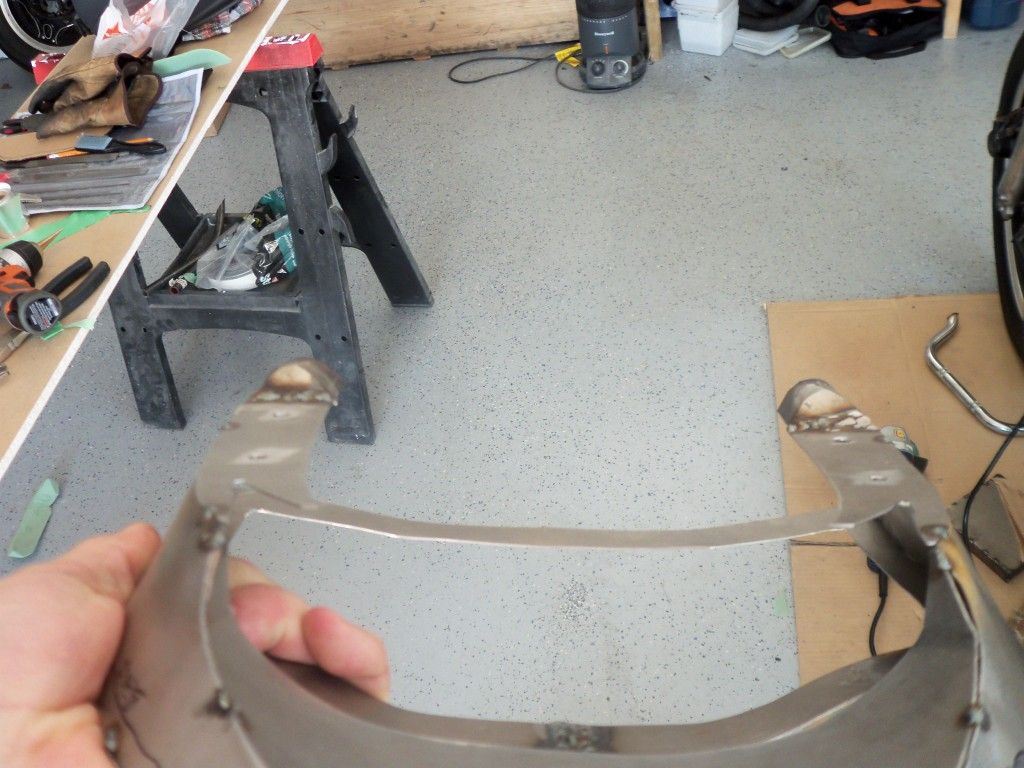

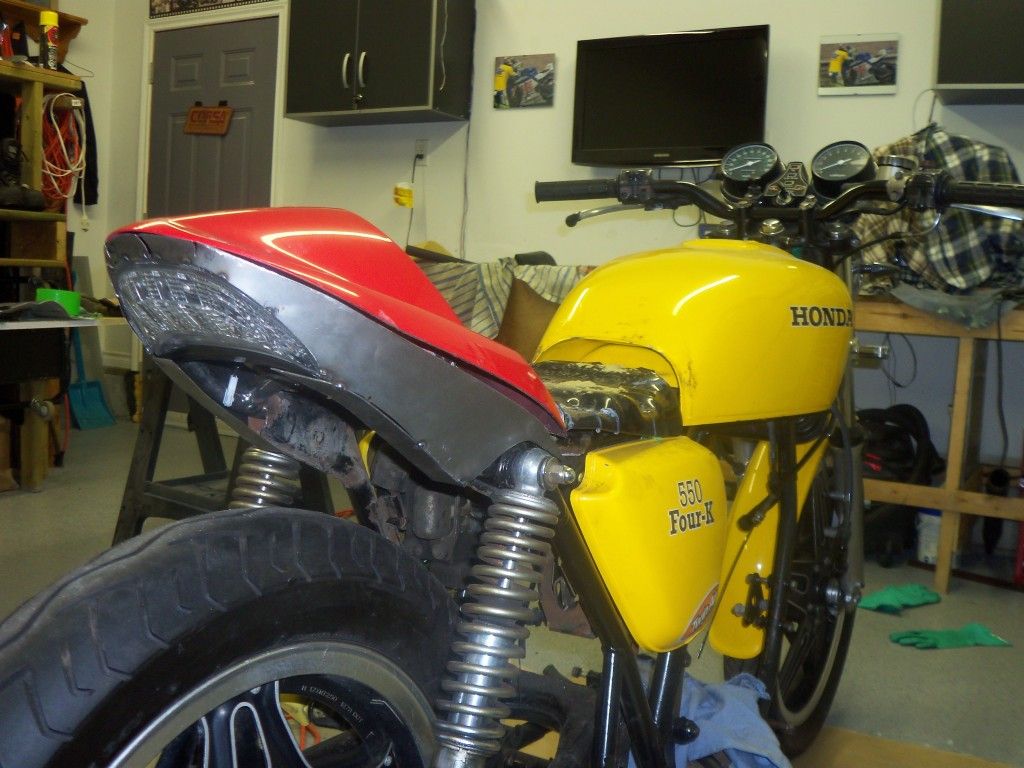
Getting closer to being finished with the tail section, I needed to make some pieces for the front of the tail and then weld them in...
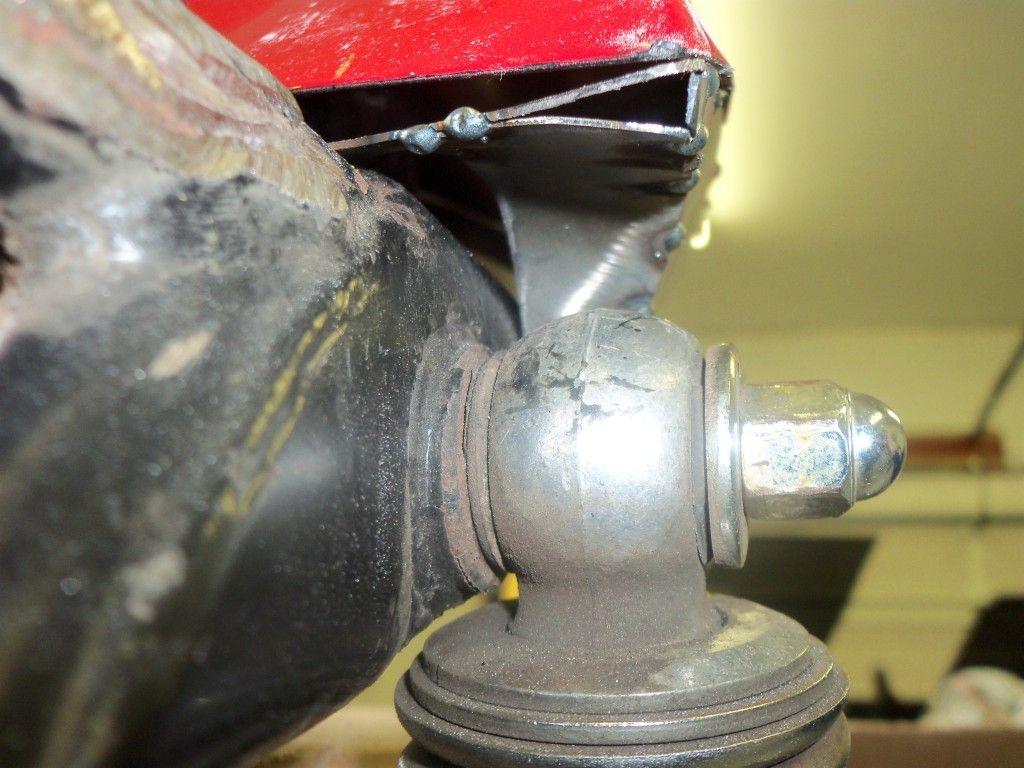
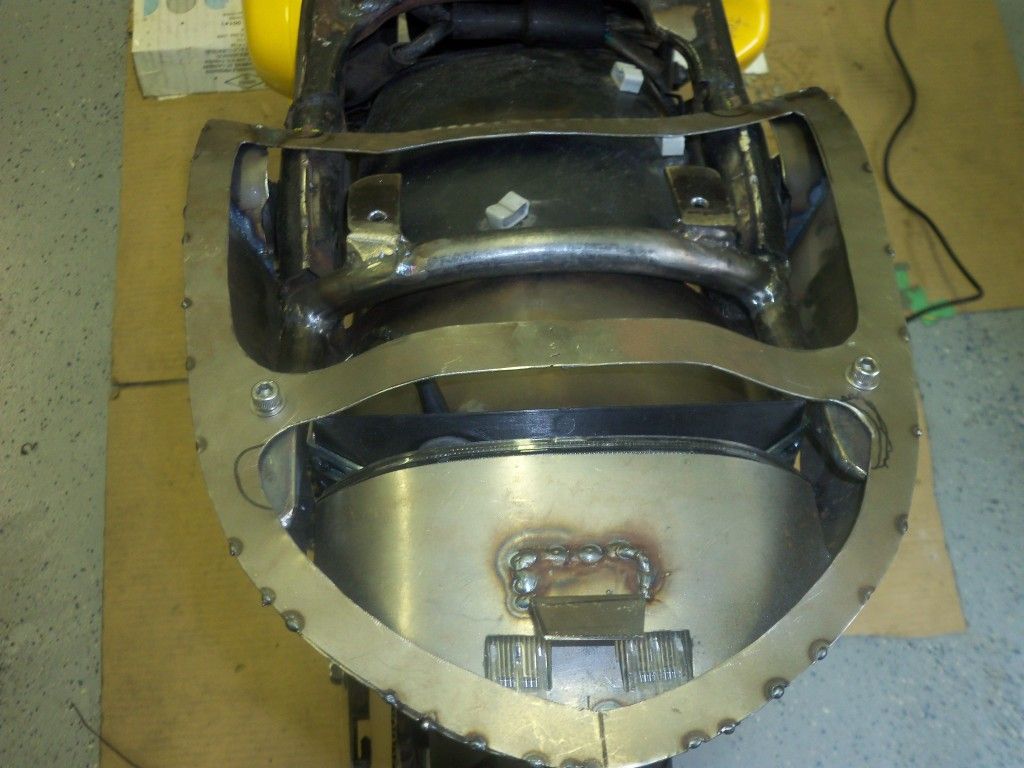


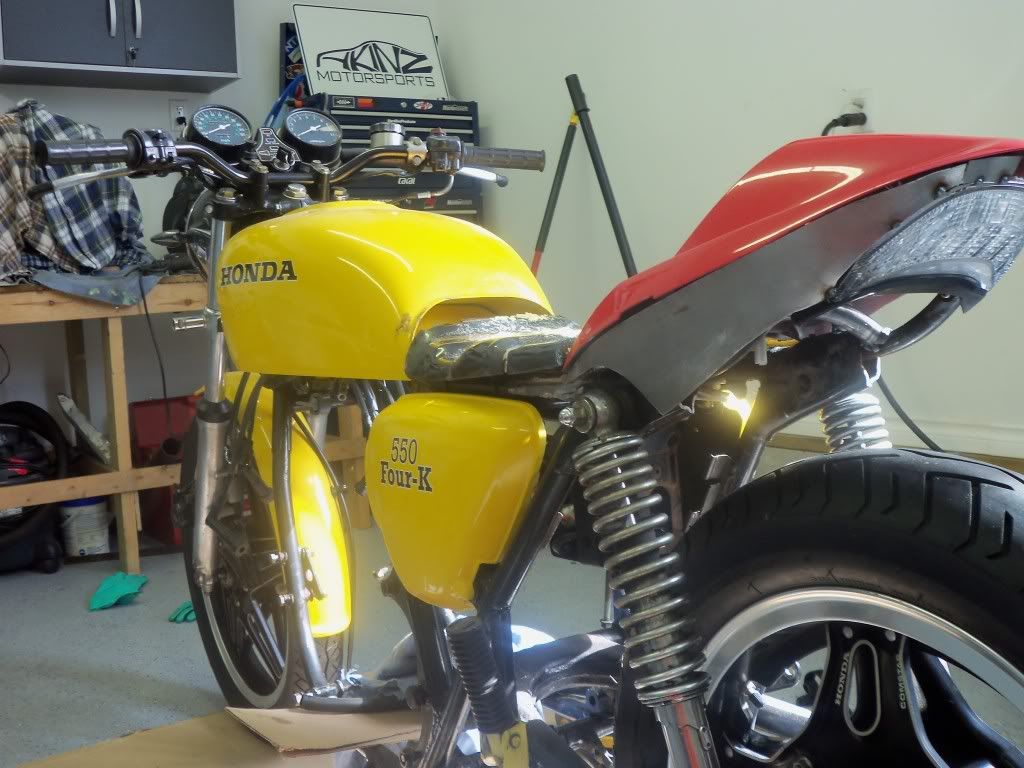
Finally it's starting to take shape!
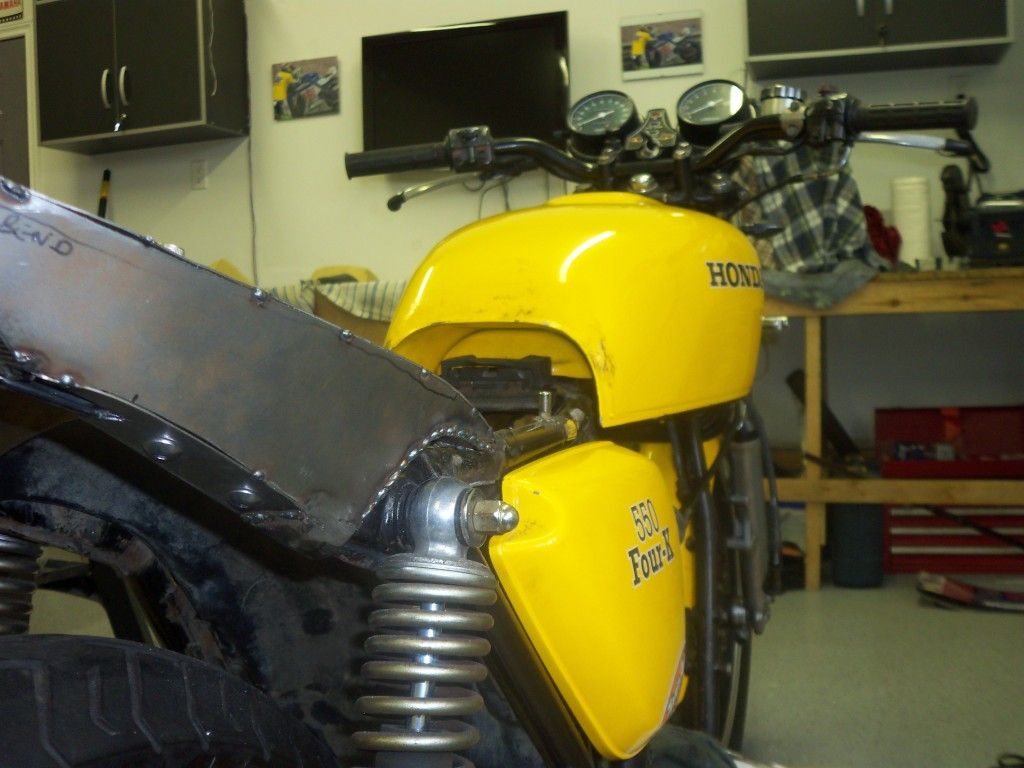


Alright, so the tail section is mostly taken care of... I started on the seat.

I took the foam and upholestry off my existing seat, cut the seat to the approximate length and shape, then grabbed some fasteners from home depot, welded up some existing holes that the PO drilled and welded in the new seat mounts.
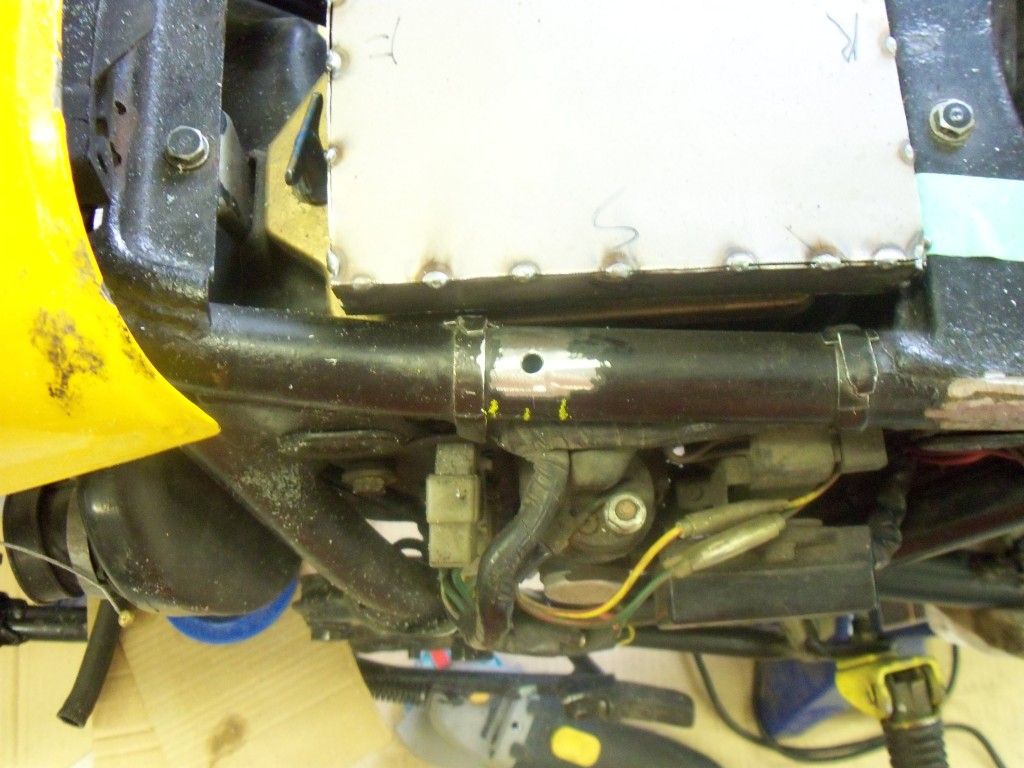
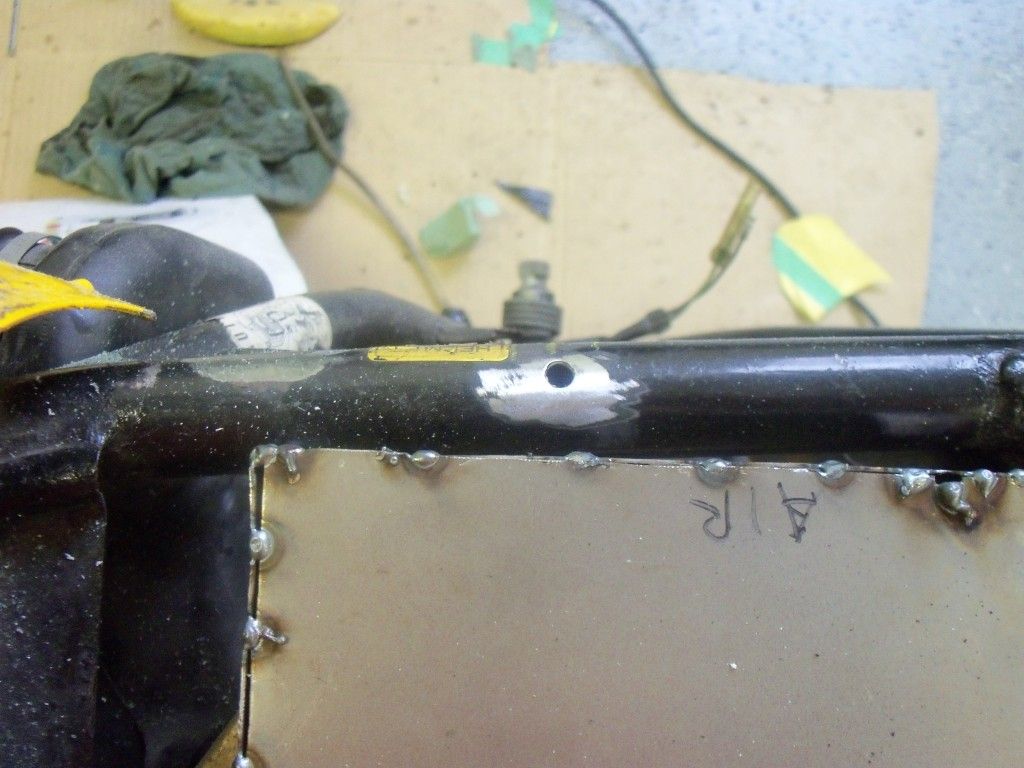
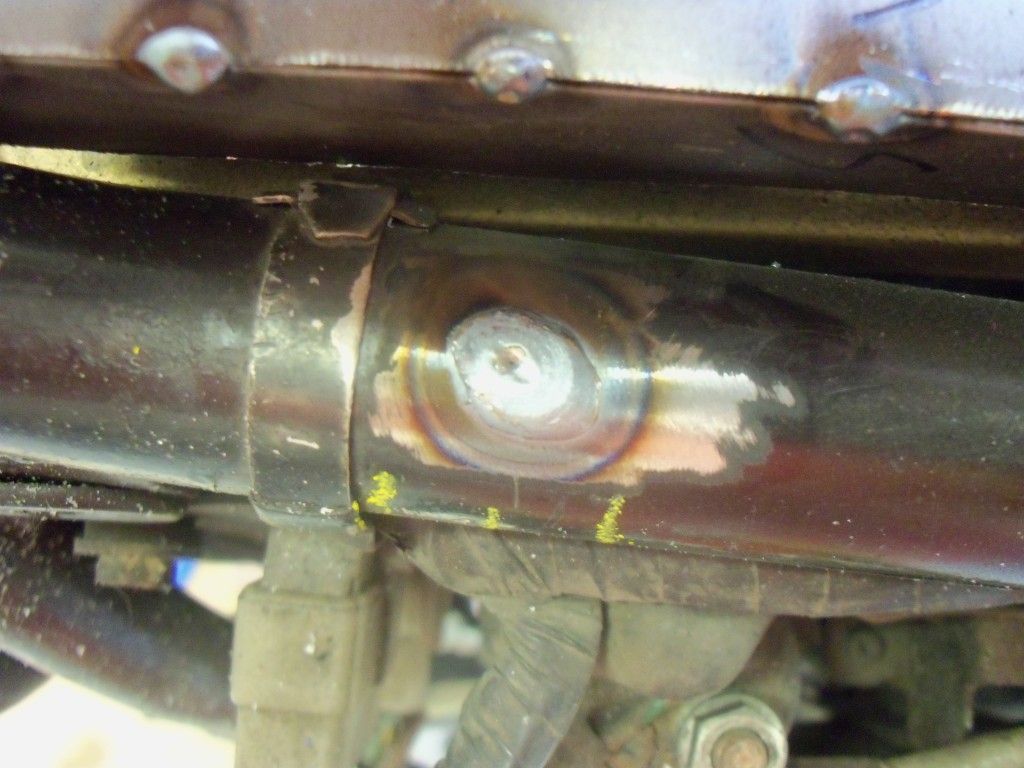
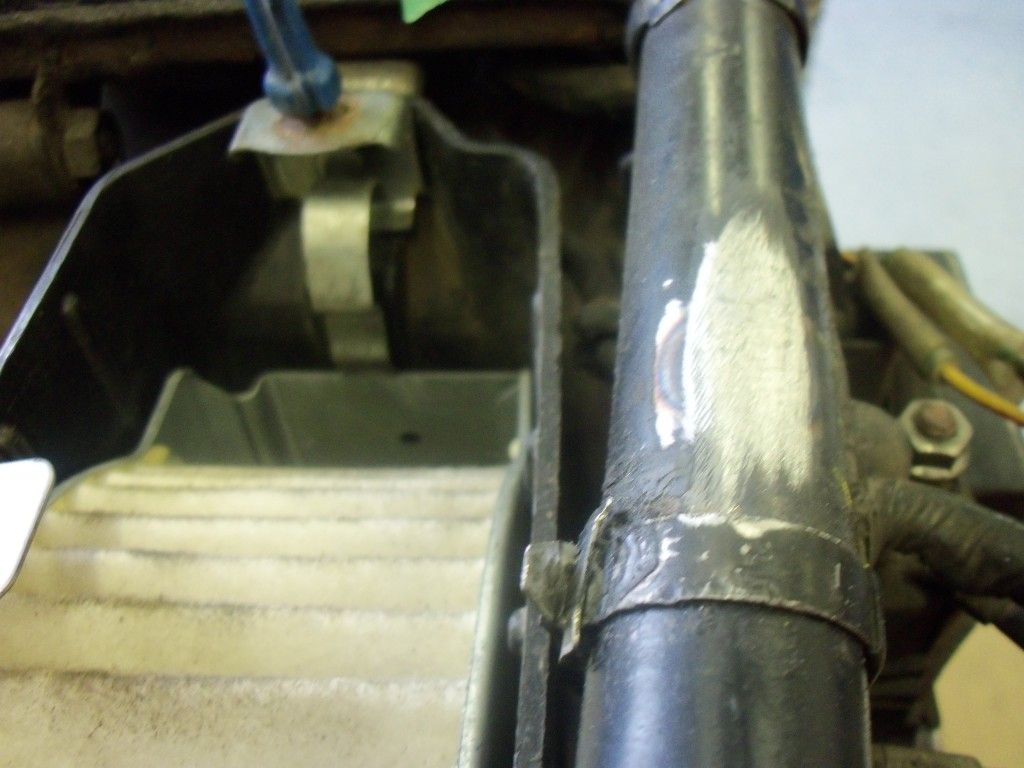
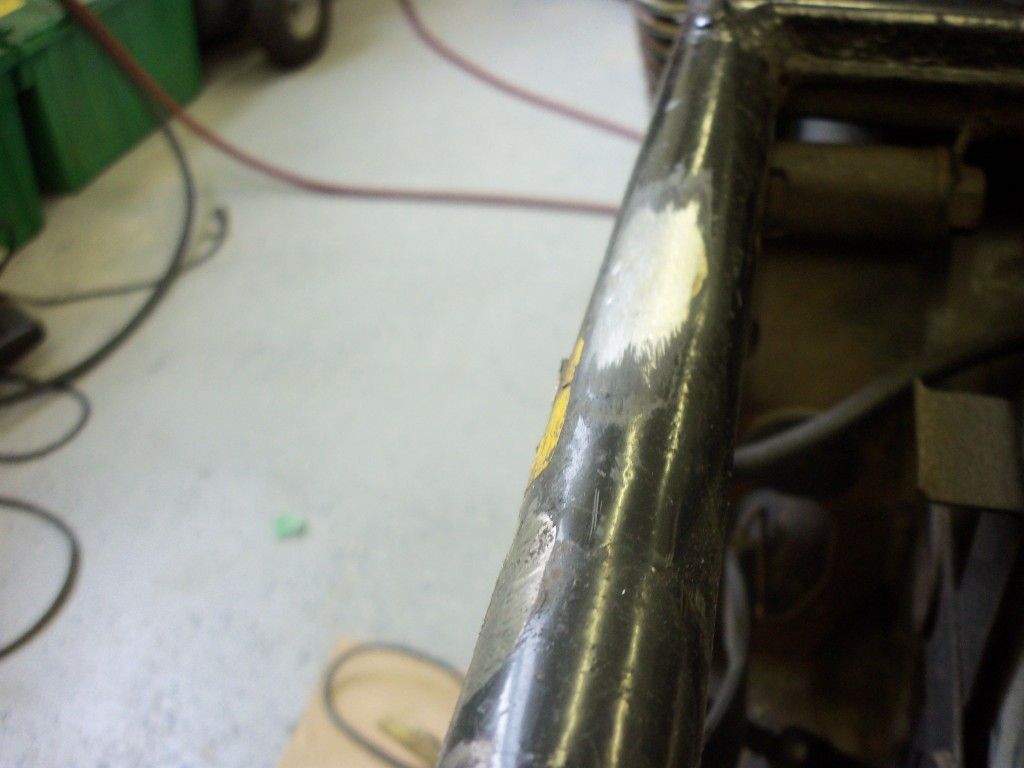


I'm sure some of you have heard of Plati-Fix... This stuff is freakin amazing! I have used it so much on other projects and turned out to be handy fixing some existing cracks in the original seat as well as filling in unnecessary holes in the seat pan.

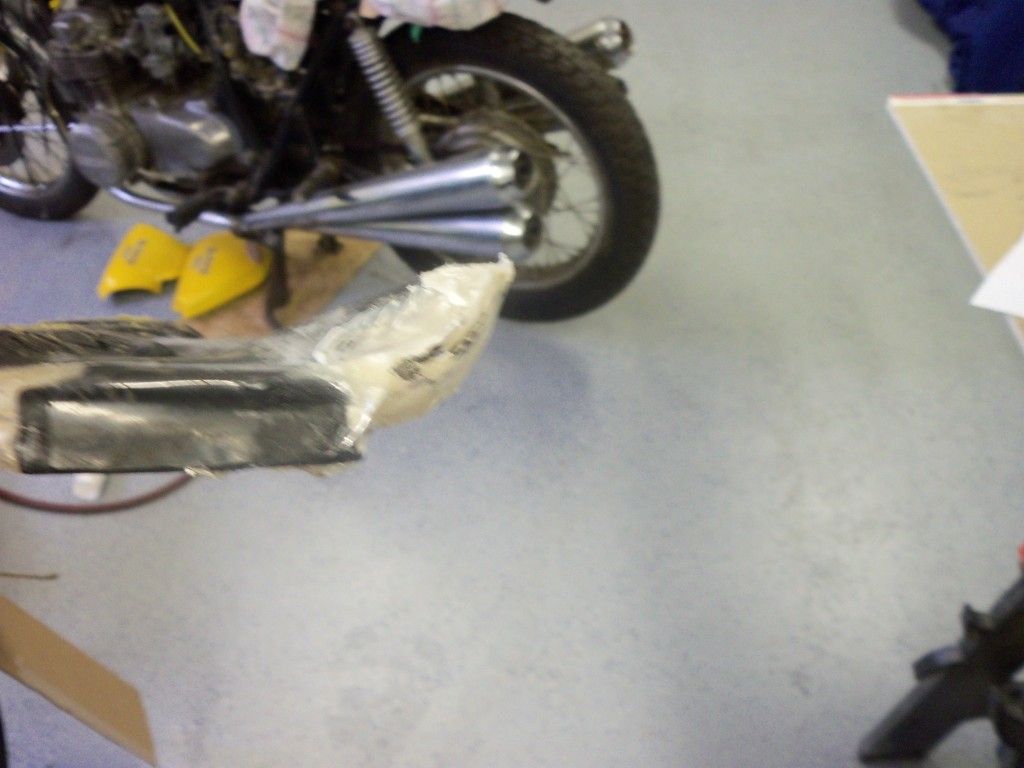
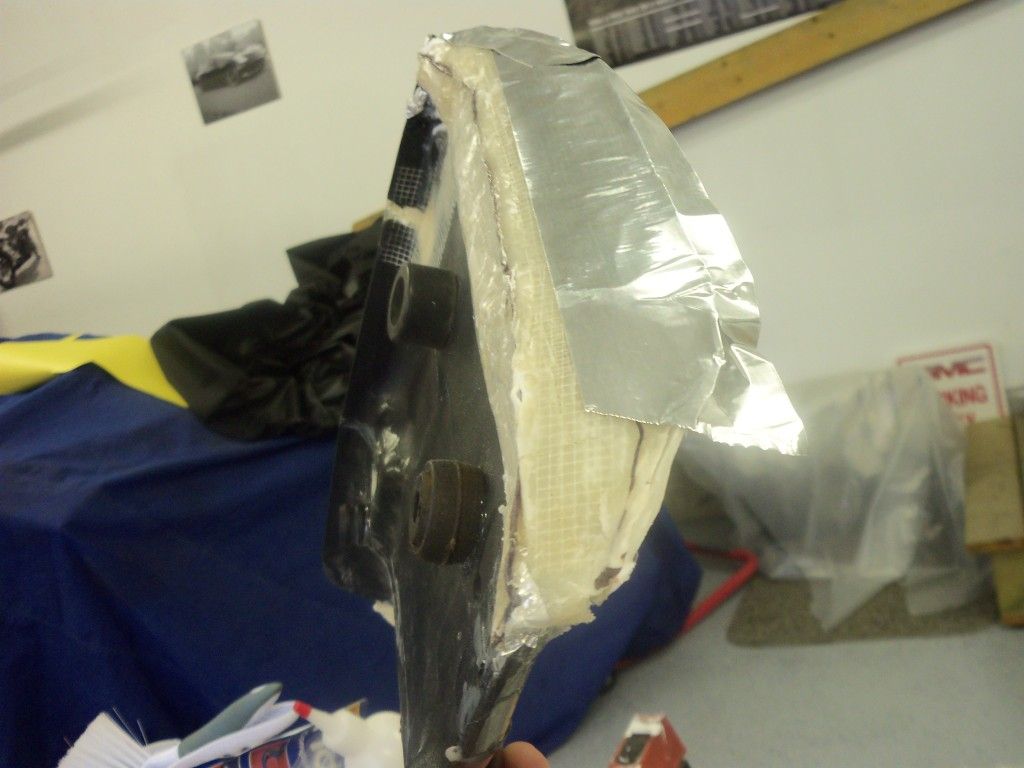
I made a mold with some floral foam, shaved it to what I liked, then used aluminum tape to take the shape and made a new part of the seat!
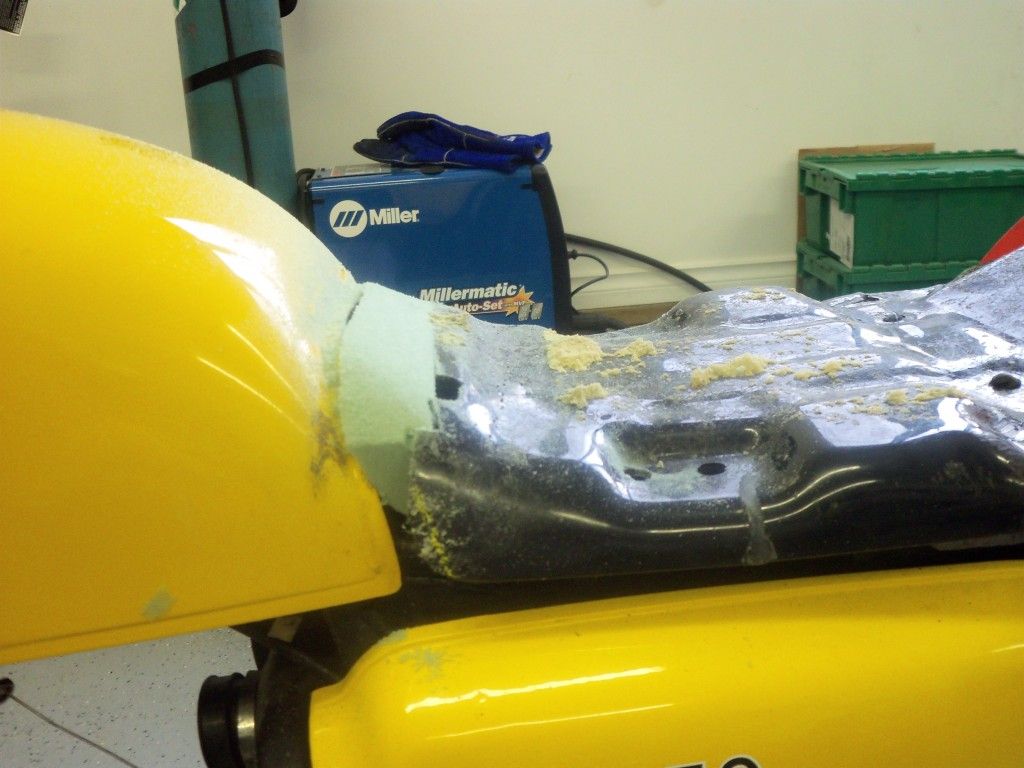
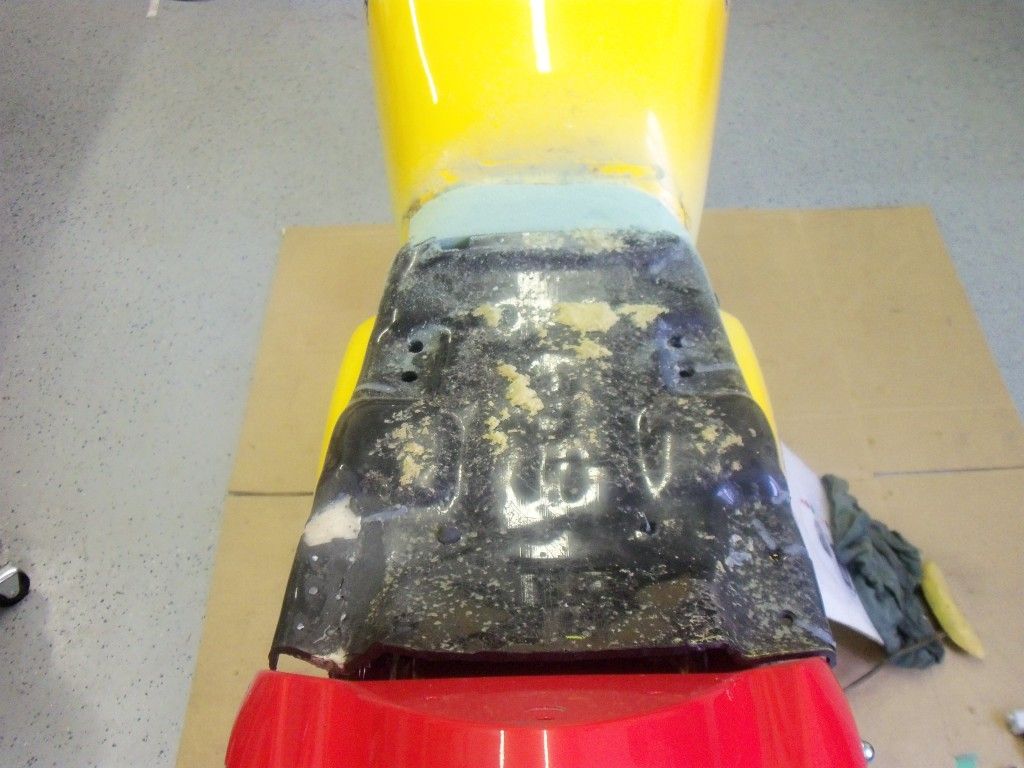
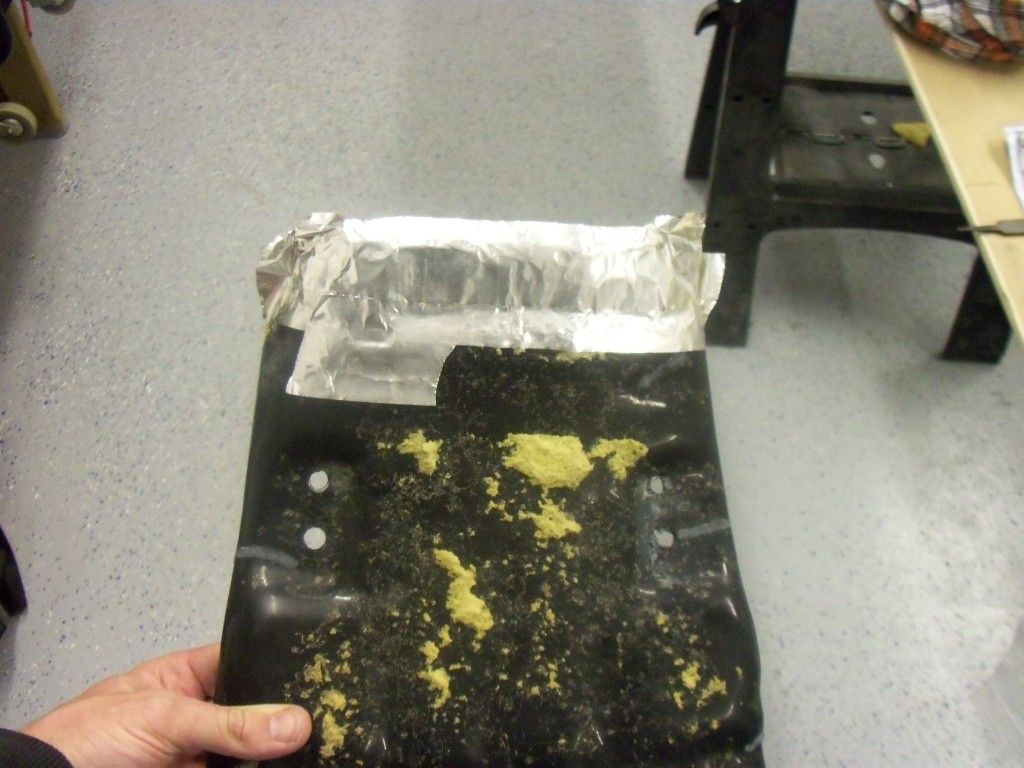
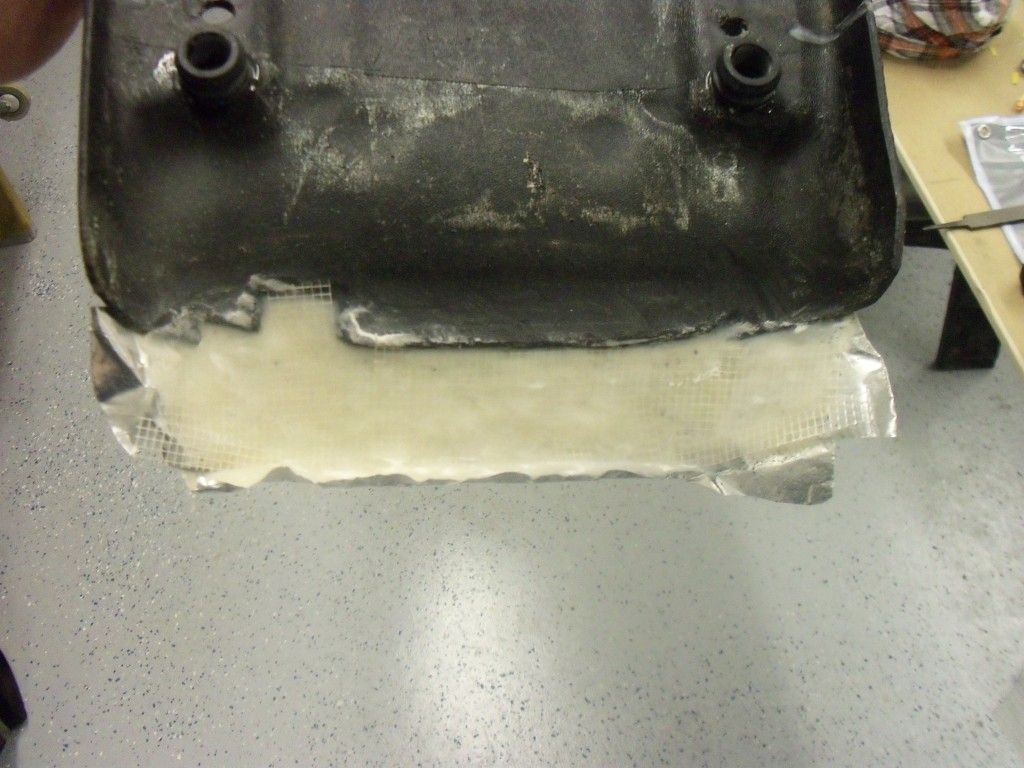


Here is what I did to get the correct shape from the tail cowl. Laid down some aluminum tape, then put some fiberglass drywall tape for some rigidity, and started making plastic.
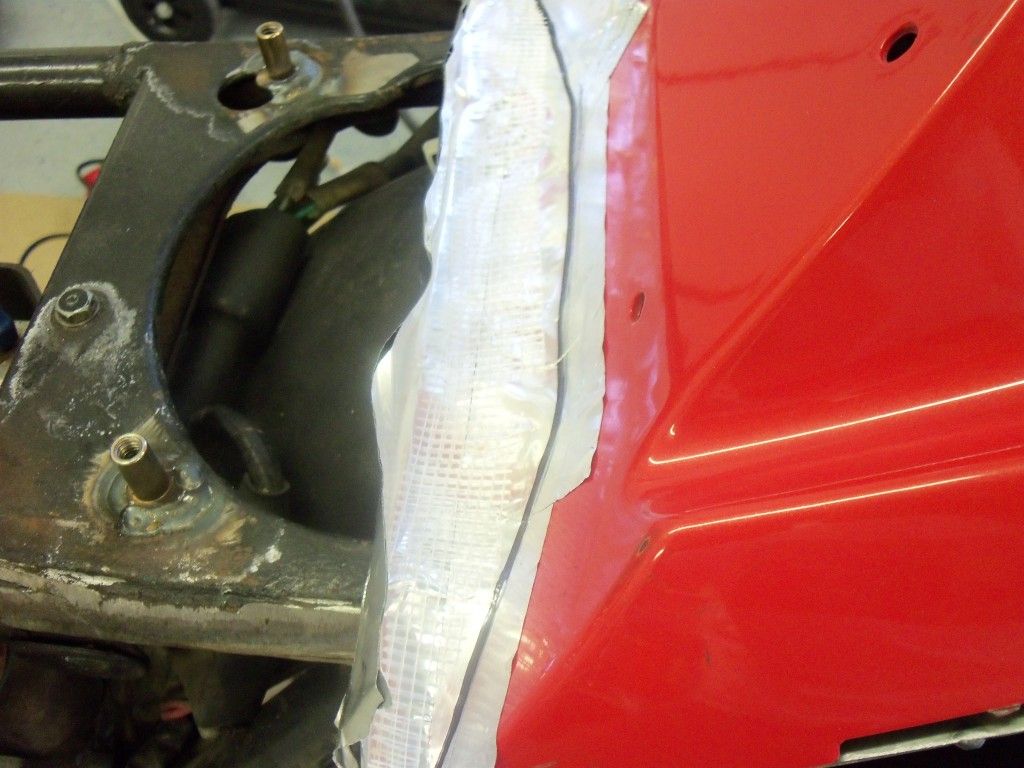


Note, the marker line will transfer onto the new piece of plastic being created for reference.
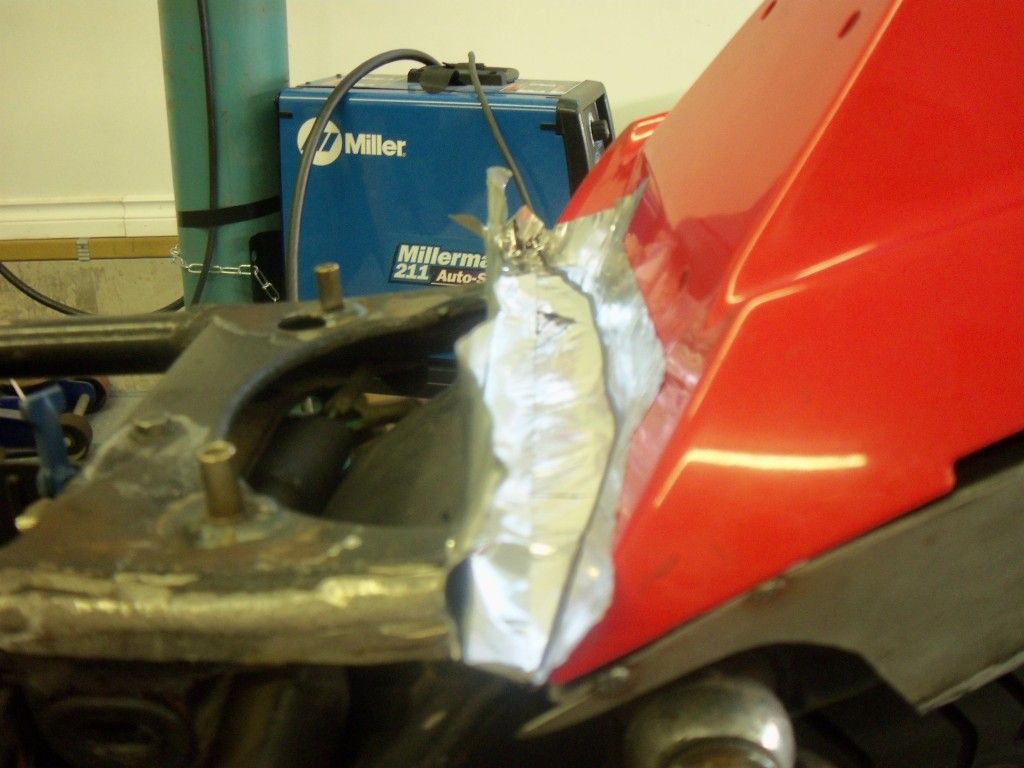


THen I spliced that new piece of plastic onto the seat and started building layers
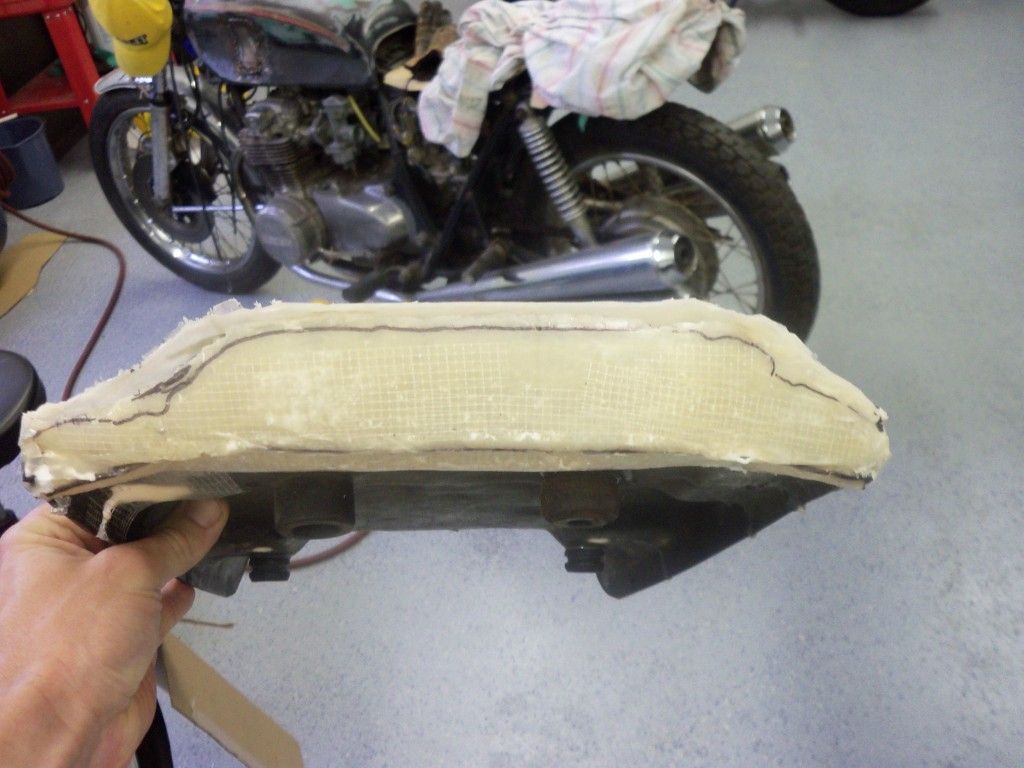


Then ended up with this!
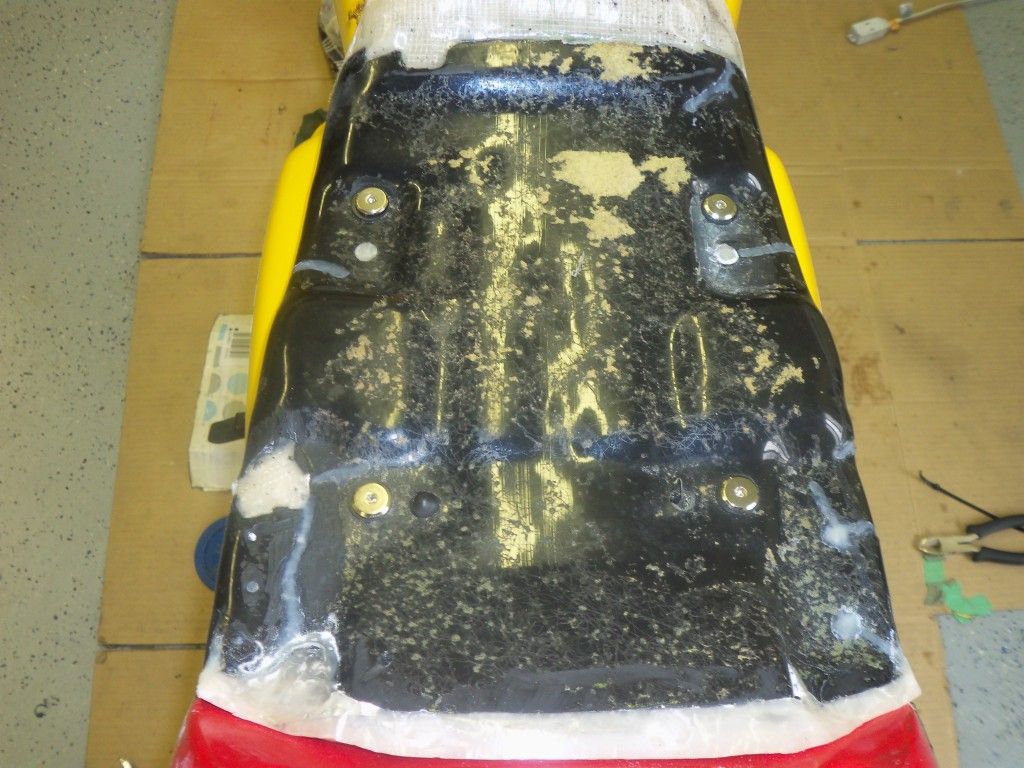


This is where I stand today... Still a lot of stuff to work on but it is finally taking shape. I ordered some universal megaphone mufflers, and installed two to get an idea how it's going to look. I am going to end up running a 4 into 4 system.
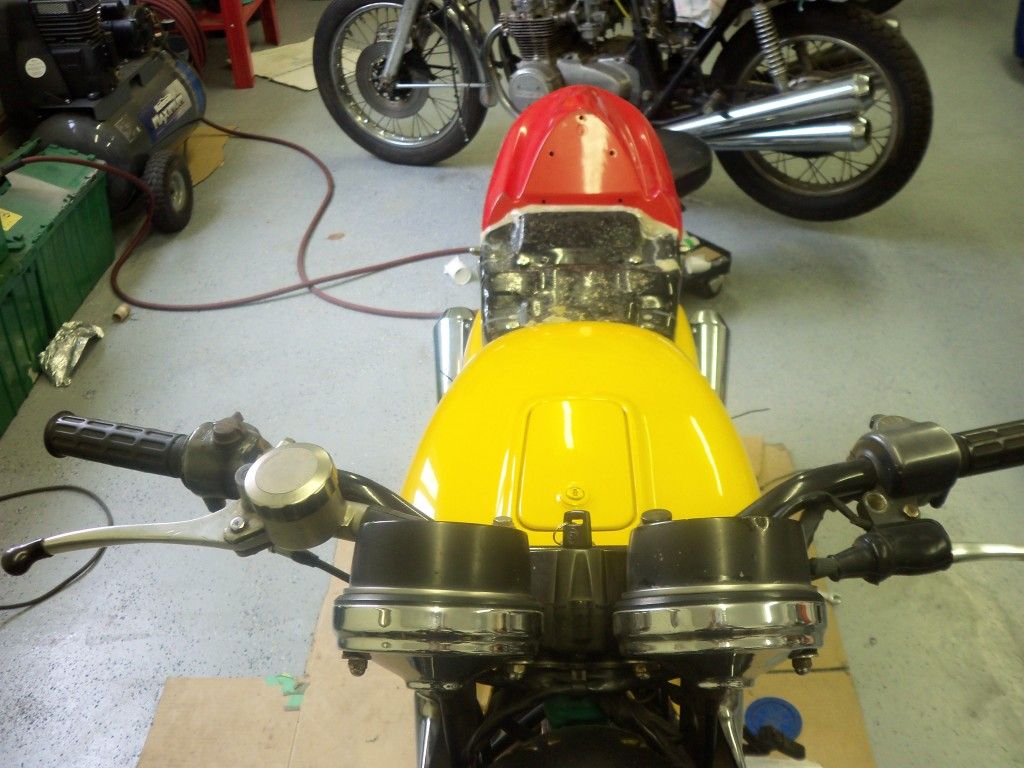
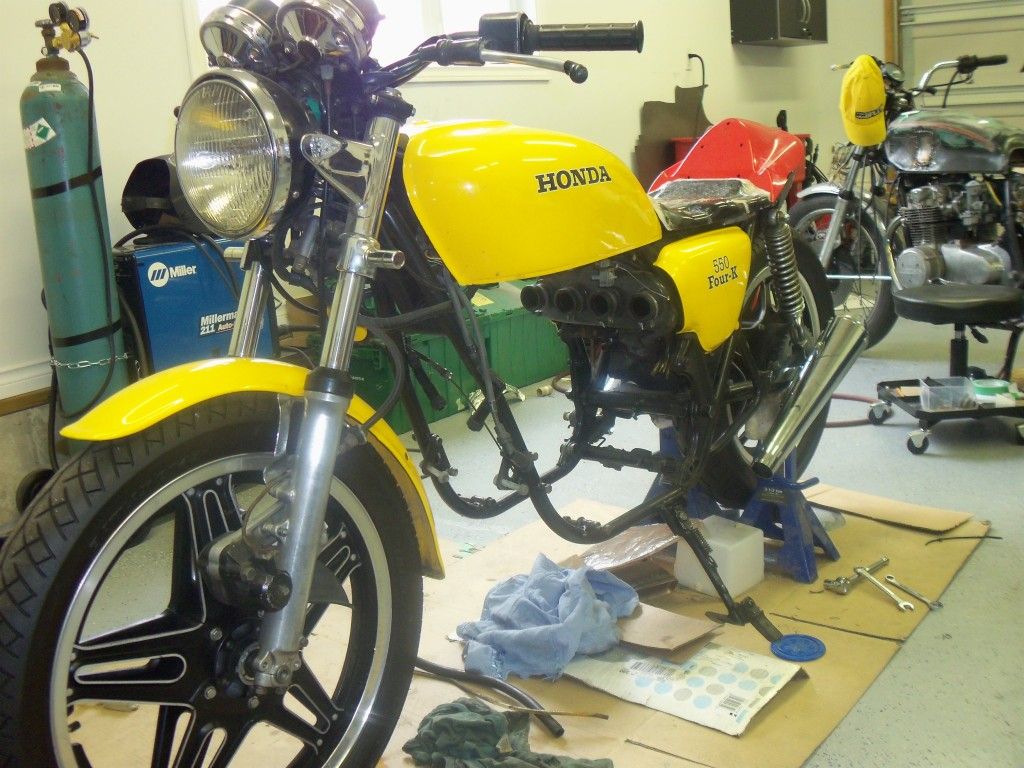
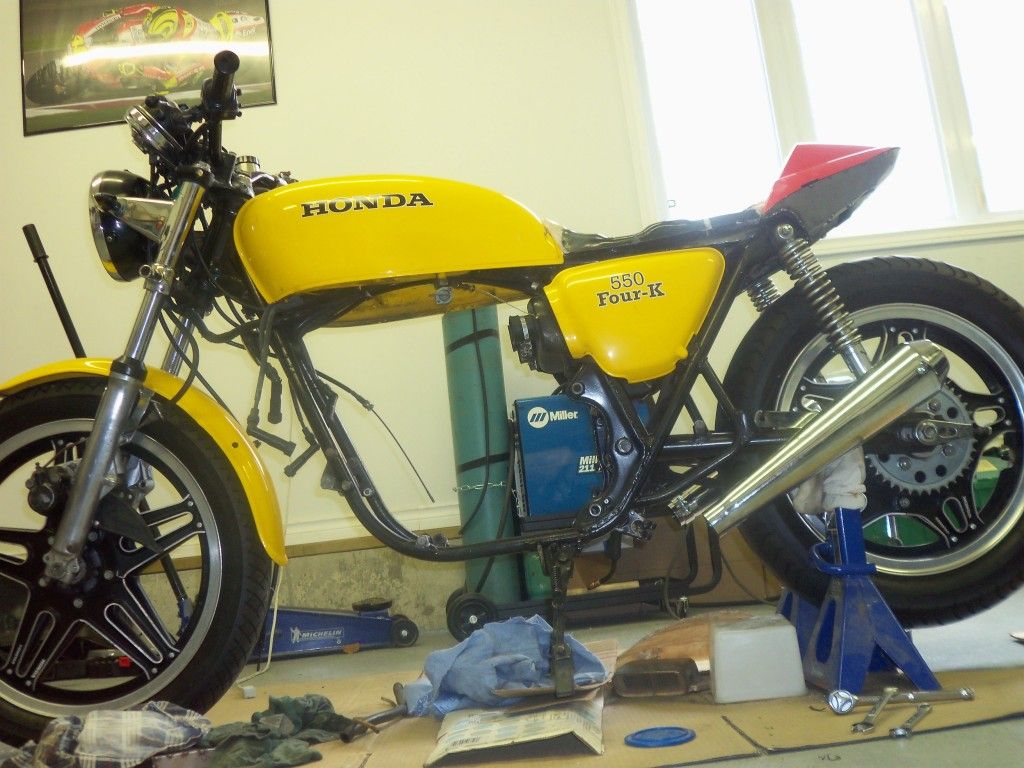
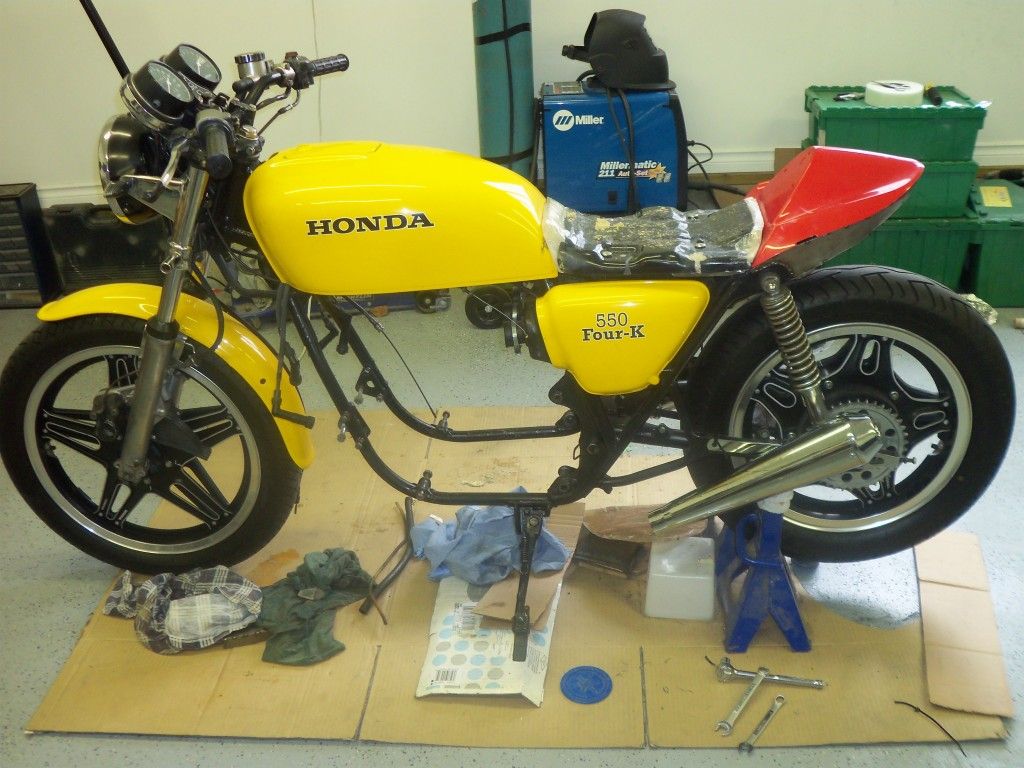
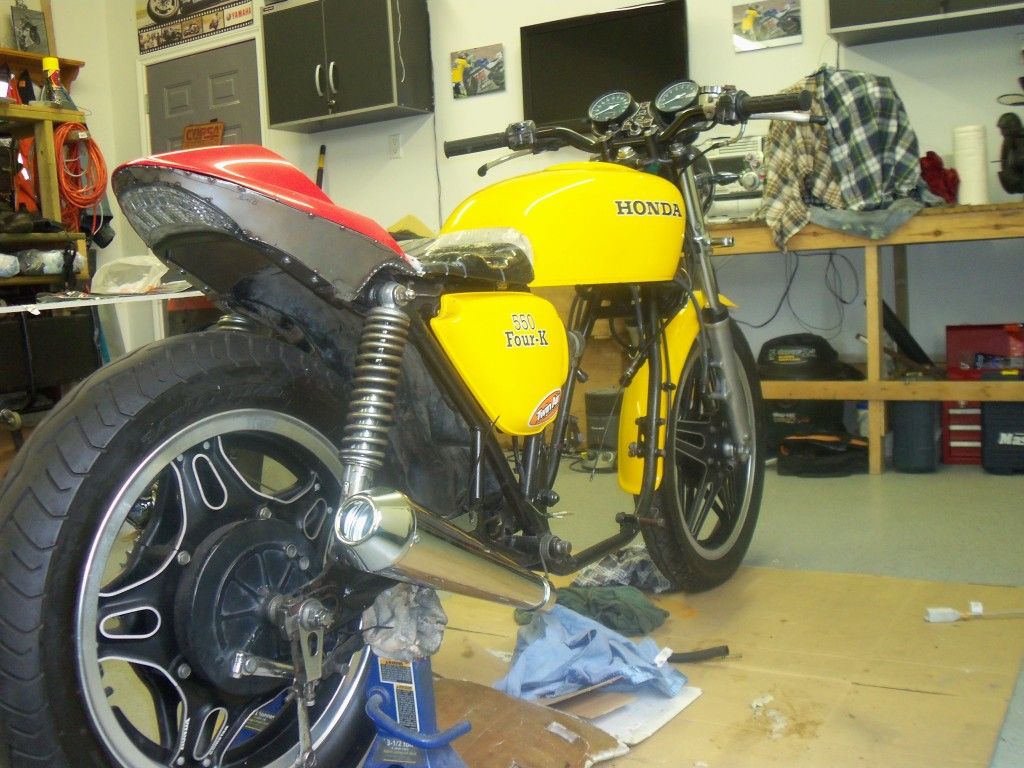
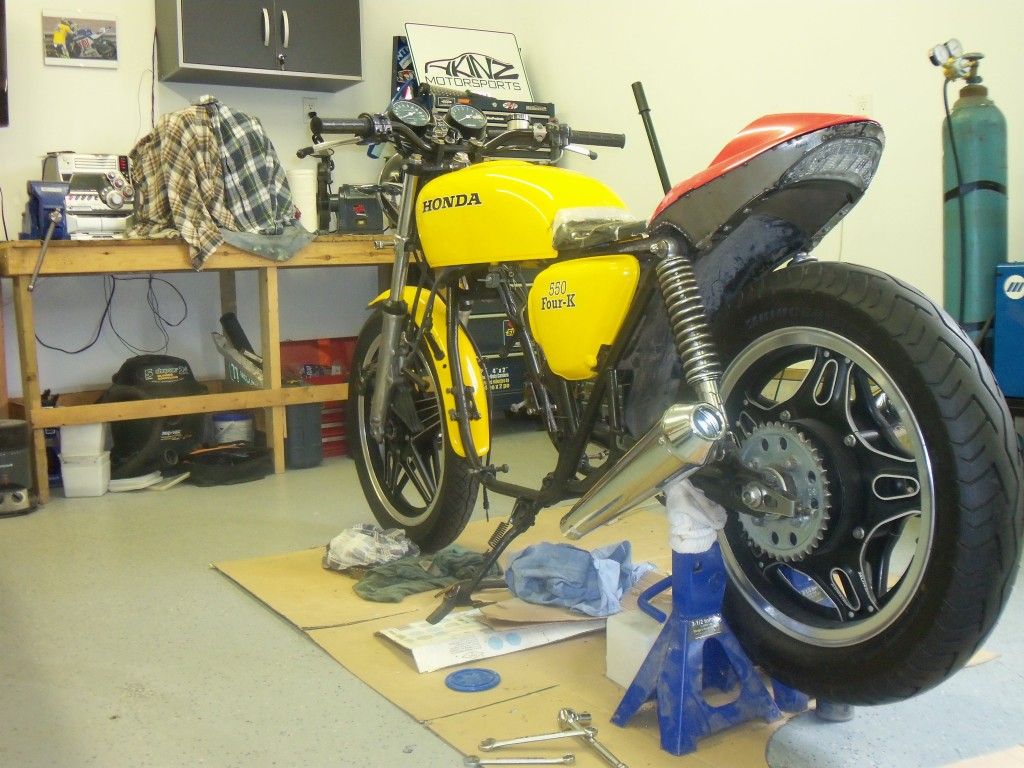
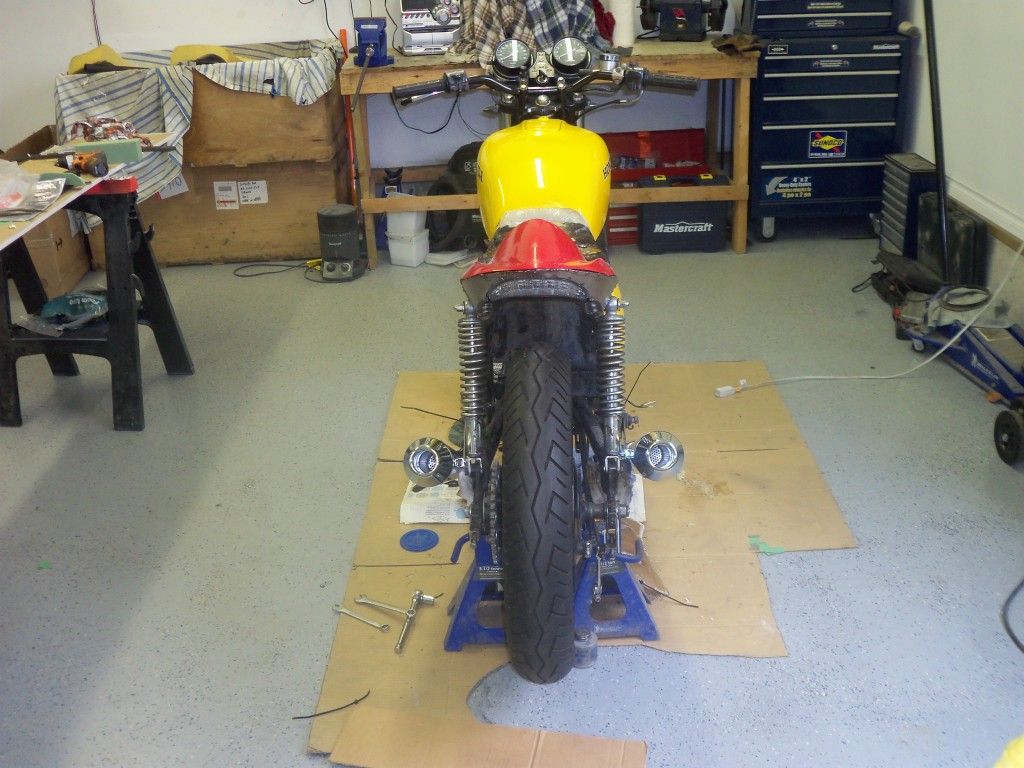


So that is it for now.... I just received my Tarozzi rearsets that I'm going to have to make a bit of a bracket for since they are for the 500's but it should be a piece of cake. Slowly getting closer now!!!
« Last Edit: April 03, 2012, 01:44:07 PM by akinz »
77 CB550k, Finally completed after 3 long years of a complete teardown and rebuild/modification
77 CB550k, on the backburner to turn into a vintage race bike
79 CBX 1000 an absolute classic I just aquired
2005 Yamaha Raven R6 my street and trackday ride

Offline akinz

  • Full Member
  • *
  • Posts: 72
  • life is a one lap race
Re: First Project, Akinz' 77 CB550k build PICS!
« Reply #22 on: July 10, 2012, 01:57:26 PM »
I have had the time to get everything blasted and stripped, and painted! I'm just in the process of waiting on some parts and plating some of my other fasteners.

Just got the engine back in the frame after almost 3 years!!!


Had to try out the bodywork to see how everything looked kinda put together. Here's some more snaps,


Next on the list is to get the lower triple cleaned up and possibly paint it, paint the battery box and the headlight bucket, and polish the forks.
77 CB550k, Finally completed after 3 long years of a complete teardown and rebuild/modification
77 CB550k, on the backburner to turn into a vintage race bike
79 CBX 1000 an absolute classic I just aquired
2005 Yamaha Raven R6 my street and trackday ride

Offline afkrejci90

  • Enthusiast
  • **
  • Posts: 192
Re: First Project, Akinz' 77 CB550k build PICS!
« Reply #23 on: July 10, 2012, 02:31:22 PM »
Nice fabrication on the tail section, its got a nice flow to the bike.
'78 CB750K http://forums.sohc4.net/index.php?topic=105327.0
'80 CB750C - Sold
'06 CBR600RR

Offline Tews19

  • I am no
  • Really Old Timer ...
  • *******
  • Posts: 6,465
Re: First Project, Akinz' 77 CB550k build PICS!
« Reply #24 on: July 10, 2012, 02:46:44 PM »
Very cool!

Subscribed
1969 Honda CB750... Basket case
1970 Honda CB750 survivor.