I figure it's about time I show the pictures from the weekend I rallied to get the bike all put together so that I could go to the races the next weekend.
Where was I? Ah yes, the first project for saturday was getting the wheel bearings done, tires mounted and balanced. I could only do the front tire though because my rear tube was on backorder and didn't come in until the following wednesday.
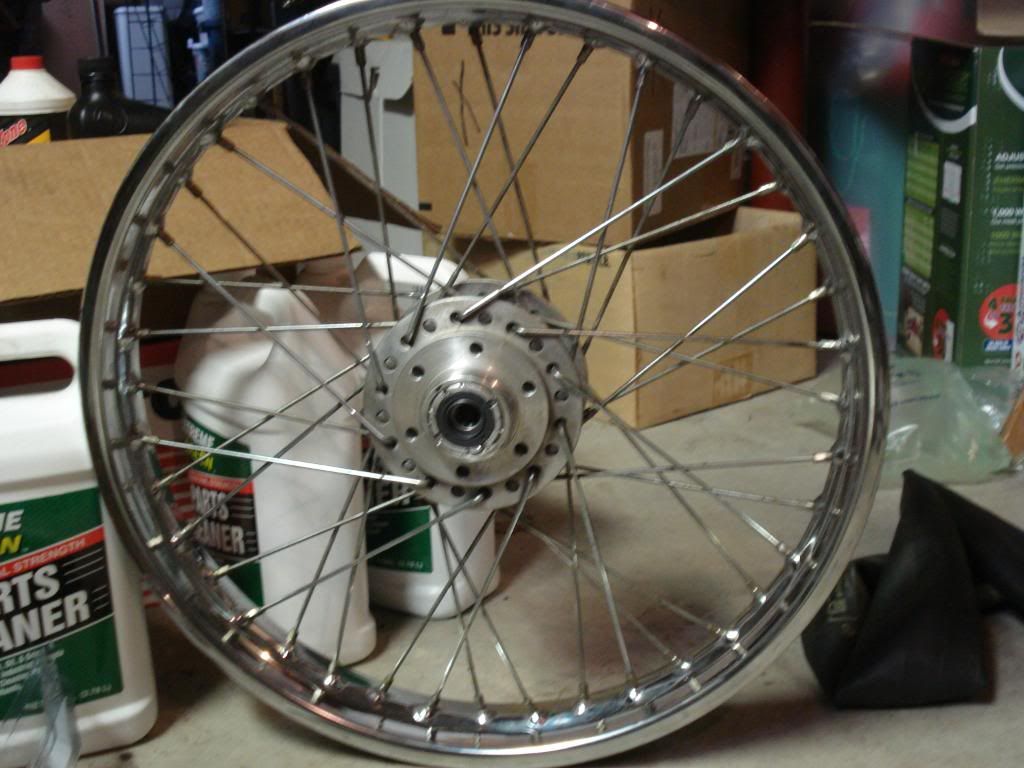
As far as my procedure for doing the wheel bearings I just followed along with the pictures in Hondaman's excellent book. I used the bearing kits from All Balls. And I apologize for the lack of comprehensive pictures but I was litterally scrambling like a madman to get the bike done all weekend and pictures were very much an afterthought. Anyways, here's the font wheel with the tire off and the disk removed to get access to the bearings.
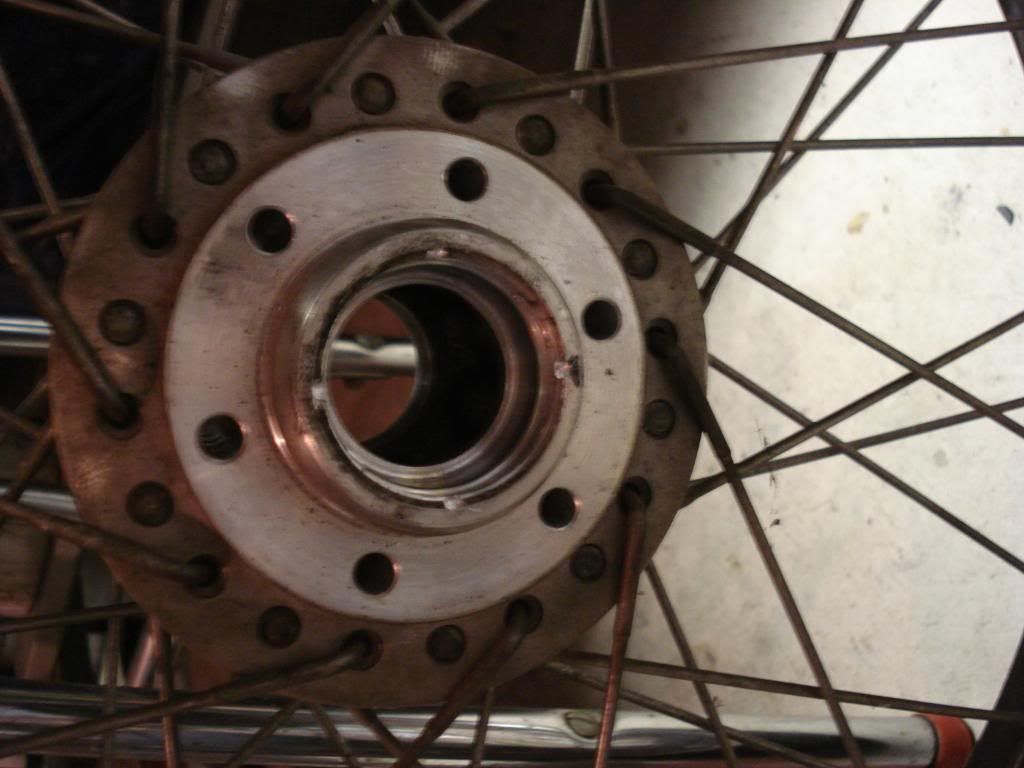
Got the bearings pounded out with a big hammer and a big screwdriver, being careful not to scrape the bearing surface
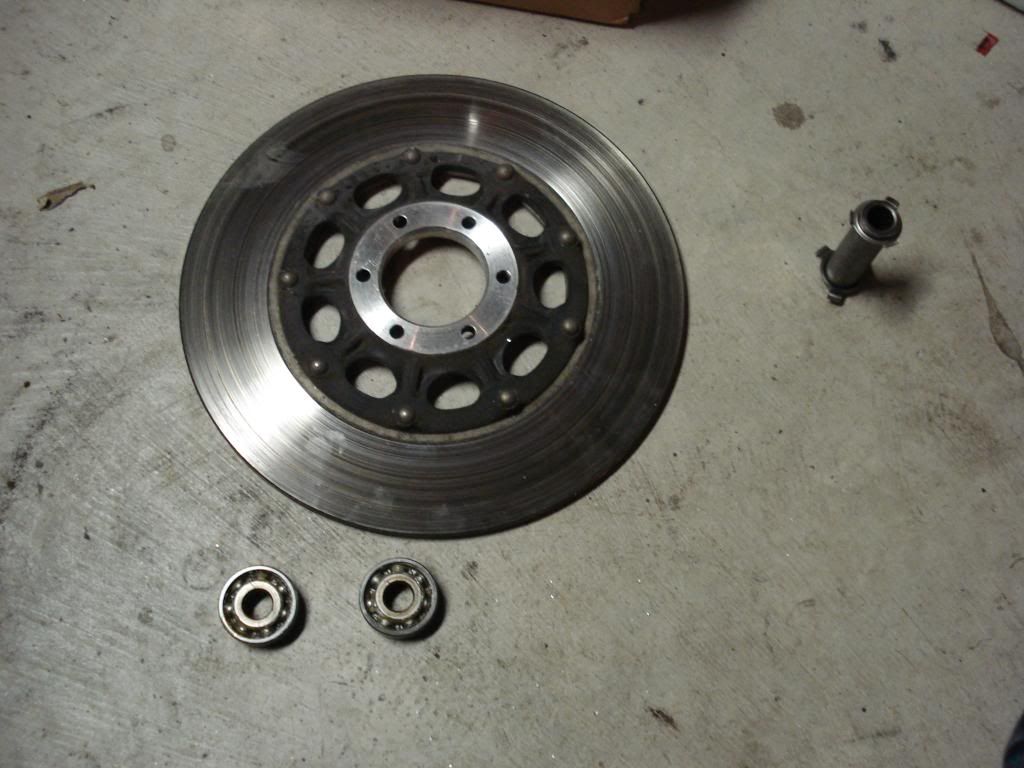
Here's the old bearings and cross tube
You'll just have to imagine what it looked like all back together with a new tire;D I balanced my wheels using the stick on tire weights and tire balancer from harbor freight.
The rear wheel gave me some trouble. First issue was cleaning all the gunk off. Then I chewed up the bearing retainer ring trying to back it out with a screwdriver. I drilled the punch marks pretty far so I guess it was just really stuck. Worse though was one of the bearings in the hub really fought me. Ended up destroying a screwdriver trying to get it out:
Now, I don't recall 100% but I think it was on the rear wheel that the instructions in Hondaman's book were wrong or I interpreted them wrong. I (believe) I followed the book and put the specified bearing in first, only to find that the axle tube wouldn't fit through the open side without bending the locater tabs. After assessing the situation as best I could I succumbed to the fact that I had to knock out my shiny new bearing so I could put the other side in first

I can't tell you how freaked out I was trying to punch that bearing out without messing it up. I was using a screwdriver and punching on the outer race because I figured hitting the inner race could force the balls to make indents on the races.
Now I'm going to man up here and confess something just to show I'm not the perfect mechanic: as I was pounding out the new bearing my screwdriver slipped once and I punched through the seal on the new bearing. I said a few explicative because I figured I had just ruined my brand new bearing. I eventually finished getting the bearing out, removed the damaged seal, and had a look inside it. As best I could tell I didn't make any scratches on the balls inside and the seal could be bent back into shape. Since there wasn't any apparent damage to the bearing internals and the seal looked like it could still do it's job okay I made the executive decision to put it back together and go ahead and use it. 1500 miles later the bearing seems to be doing just fine.
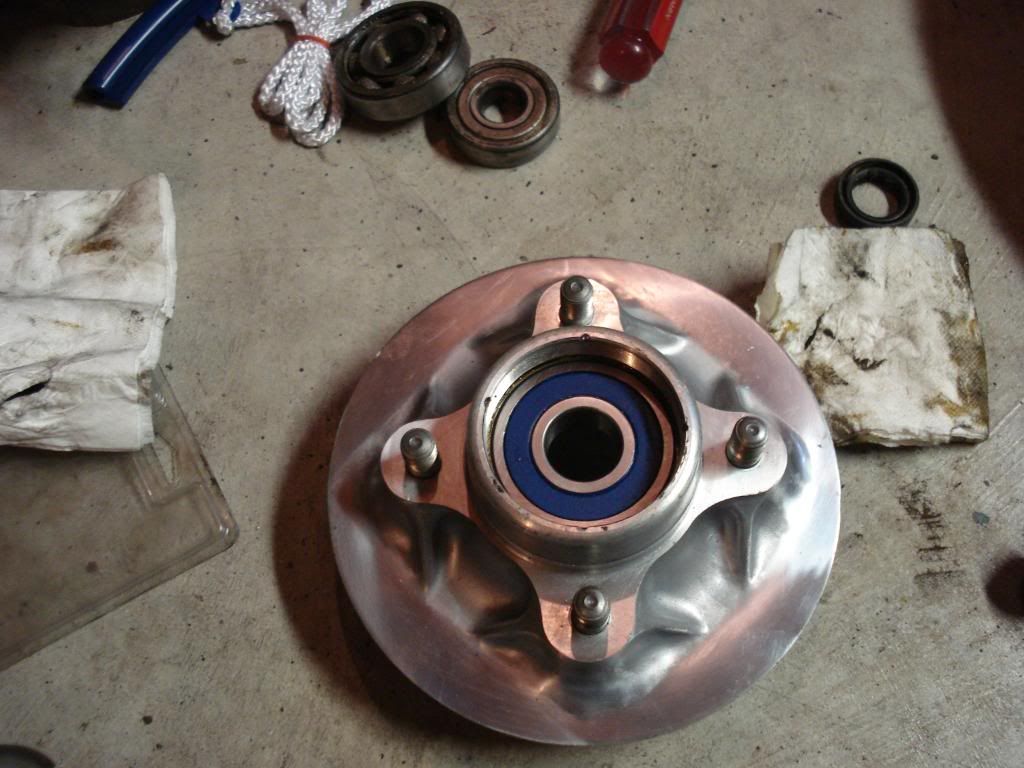
Anyway, after that little snafu I got everything all back together. Here's the sprocket hub with new bearing installed. When I started it was completely black from old accumulated chain lube and grunge. Luckily that grunge preserved the finish very well.
With the wheels done it was time to go up to the garage and start thowing parts back on the bike. One of the first tings I did was put the shocks back on. The right side went fine but the left gave me grief. I remembered the top nut was hard to get off and it was now being difficult to get back on. I made the mistake of trying to force it back on. All I succeeded in doing was getting it royally crossthreaded. It took my 1/2 socket wrench and a good bit of force just to get it back off. Unfortunately in the process I not only ruined the acorn nut but also a good portion of the threads on that top mount.
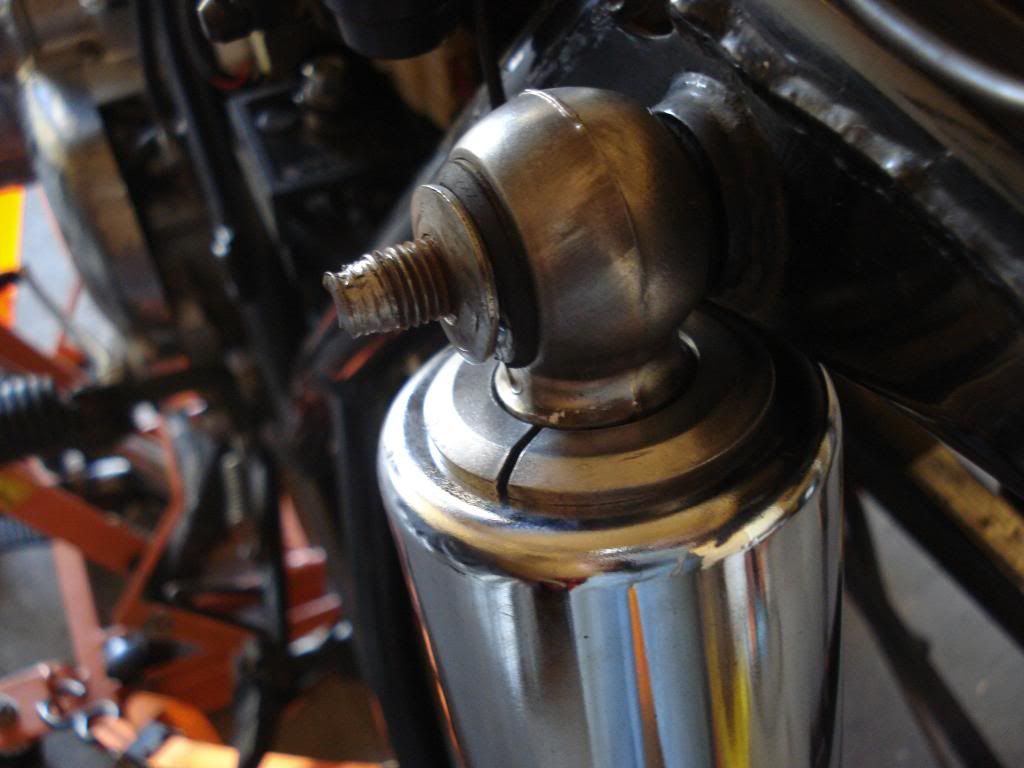
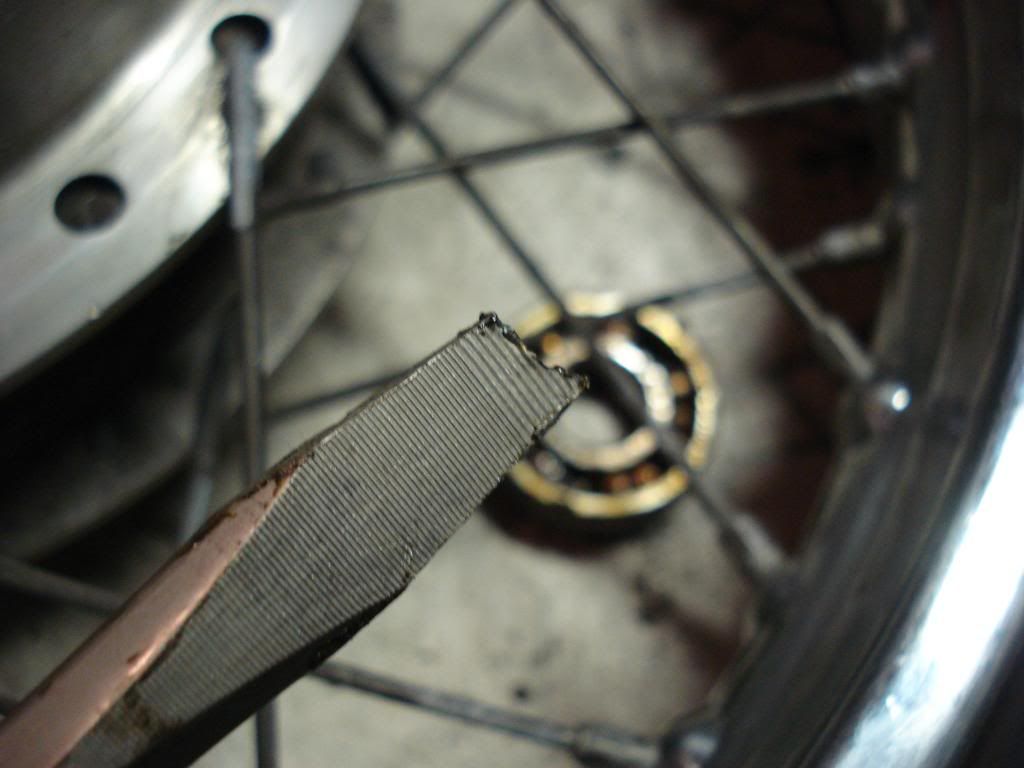
I dashed to the hardware store to see what solutions I could come up with. I was hoping to find a die to fix the threads but they didn't have any that big in metric. Also, they didn't have any of the correct acorn nuts either. It was time to get crafty. I went down the isle where they had files and found a small triangle file, also known as a 60 degree thread file. I could set the file in the threads and use that to fix the damaged threads. That solved half of my problem but where on earth was I going to find the correct acorn nut in time to finish the bike by the end of the weekend? What transpired can only be explained as a divine miracle

When I started riding back in 2007 I needed a jacket. Luckily my Dad had kept his leather jacket from "back in the day" and it happened to fit me quite well.
The jacket:
Here's the kicker: when I first grabbed the jacket out of my parents basement I found two chrome acorn nuts in one of the pockets. I have no idea where these nuts came from and my dad had no idea either.
I dashed home from the hardware store, dug the jacket out of the closet, and started rifling though the pockets. In the small front pocket that I never use was ONE of the two acorn nuts that I first discovered.
I took the nut out to the garage , cleaned up the threads with the triangle file, and the miracle acorn nut from heaven was a perfect match and screwed right on to the remaining threads! I was back in business and could get back to finishing the bike!
So anyway, here's the bike with the gauges and handlebars back on. And if you look close you can see the miracle acorn nut holding the shock on.
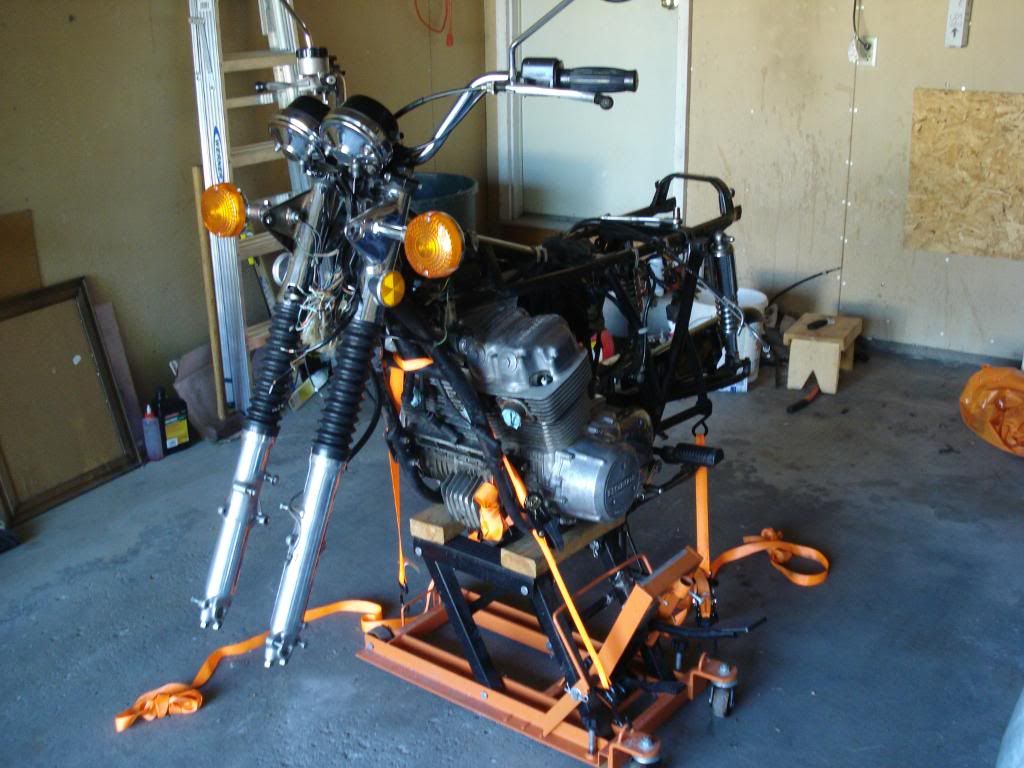
Got the carbs and airbox back on. Sure was easy with the new airbox rubbers.
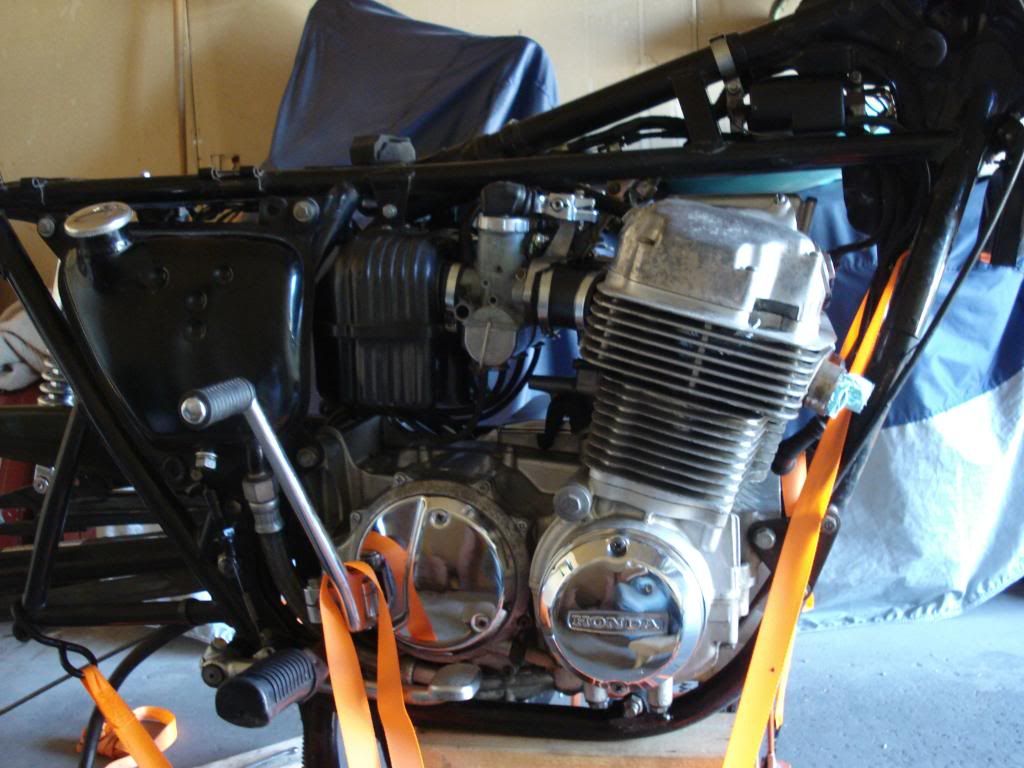
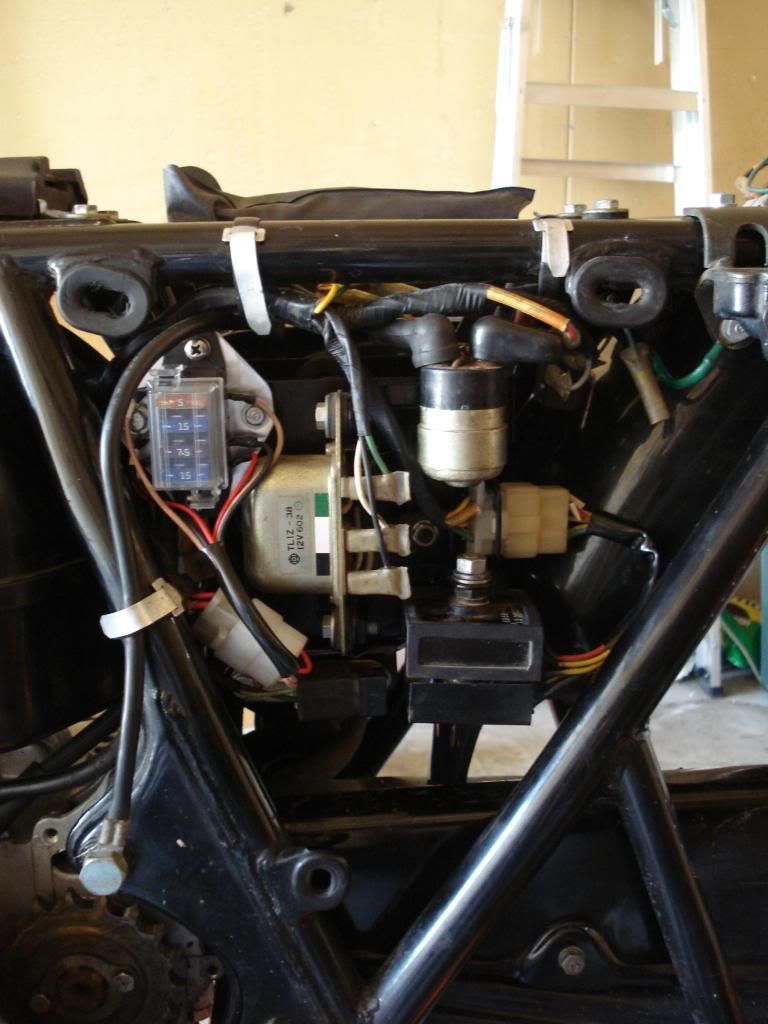
Next up was the battery box and all the electrics. A few months prior I had purchased a Hondaman fuseblock. It's a fantastic unit, except the mounting flange is thinner than the original unit. As a result, the mounting screws penetrate farther and stop on the battery holder behind it. My solution was to stack a bunch of small washers to keep the screws from threading in so far. It took me quite a few tries since the nuts and washers are quite small and the wires get in the way but here's everthing back together.
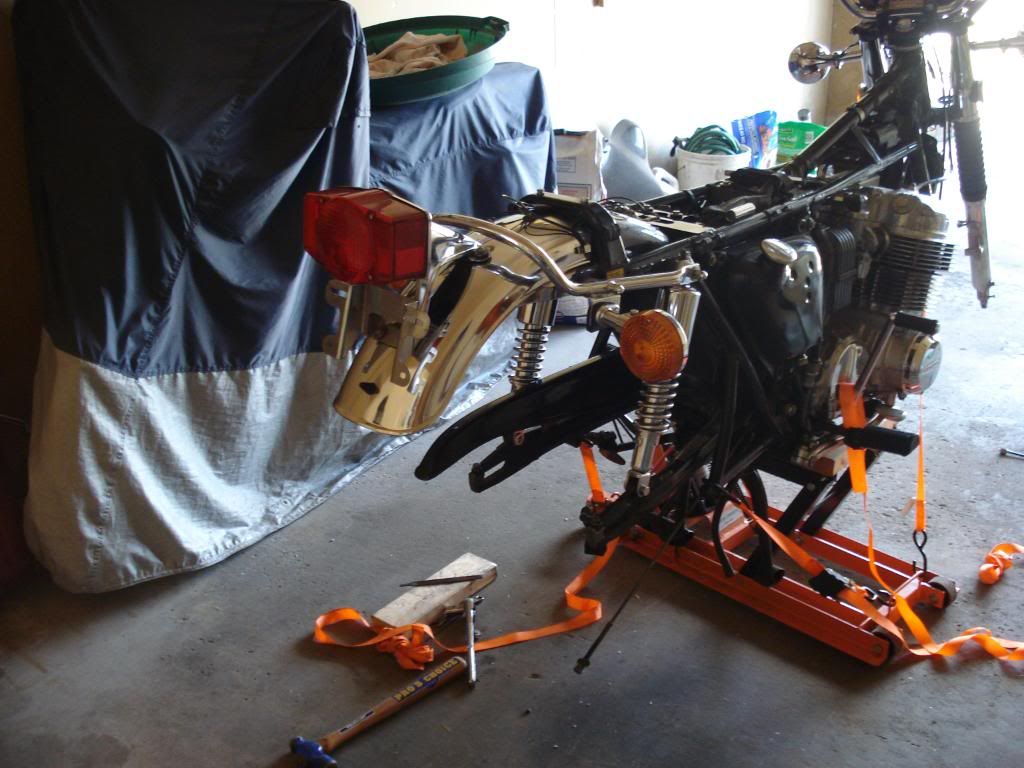
Here's the rear fender, grab bar, and lights back on. I was worried about the grab bar not leaving enough threads exposed on that top shock mount I buggered up but there were a few left to screw on to.
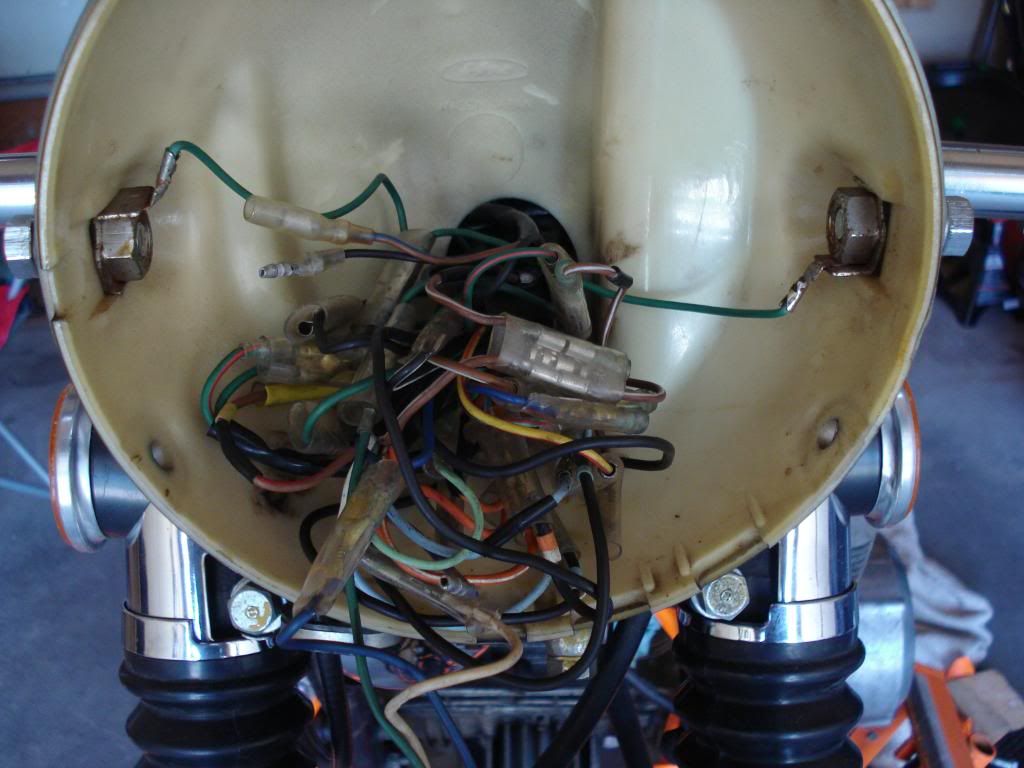
Then it was time to match the green wire with the green wire, black with the black, etc etc etc.
Got the wheels back on and here she is standing on her own two feet again.
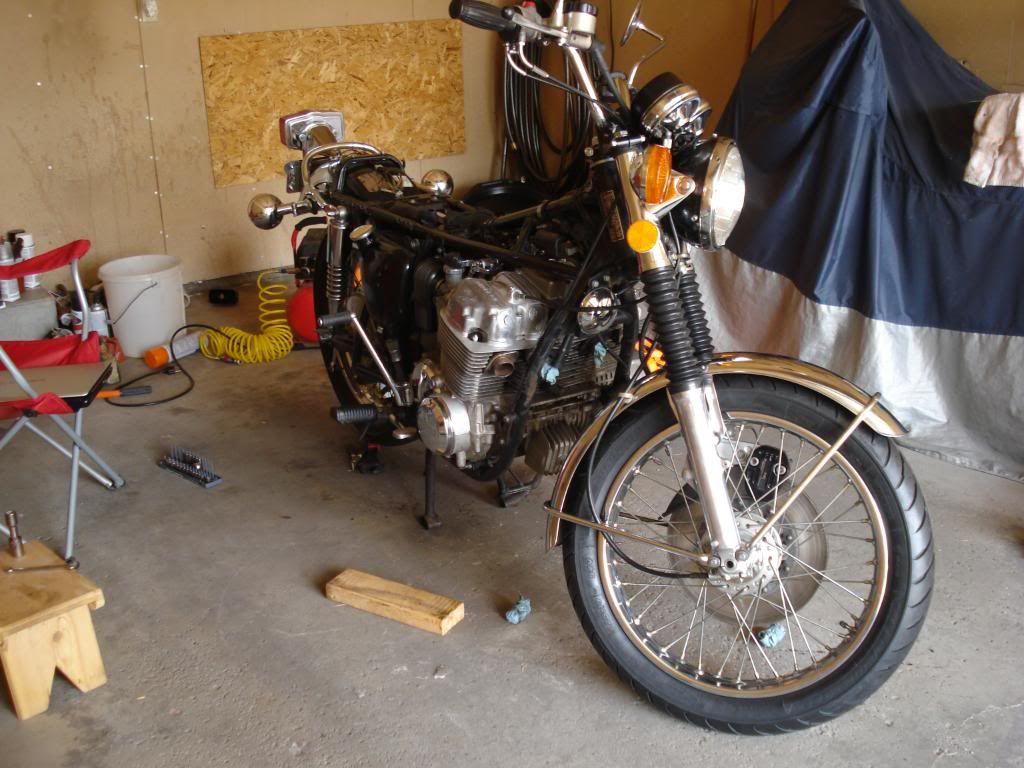
Next up was the seat and exhaust. The left side went on fine but the right side was a pain....until I realized I had mixed up the #3 and #4 pipe

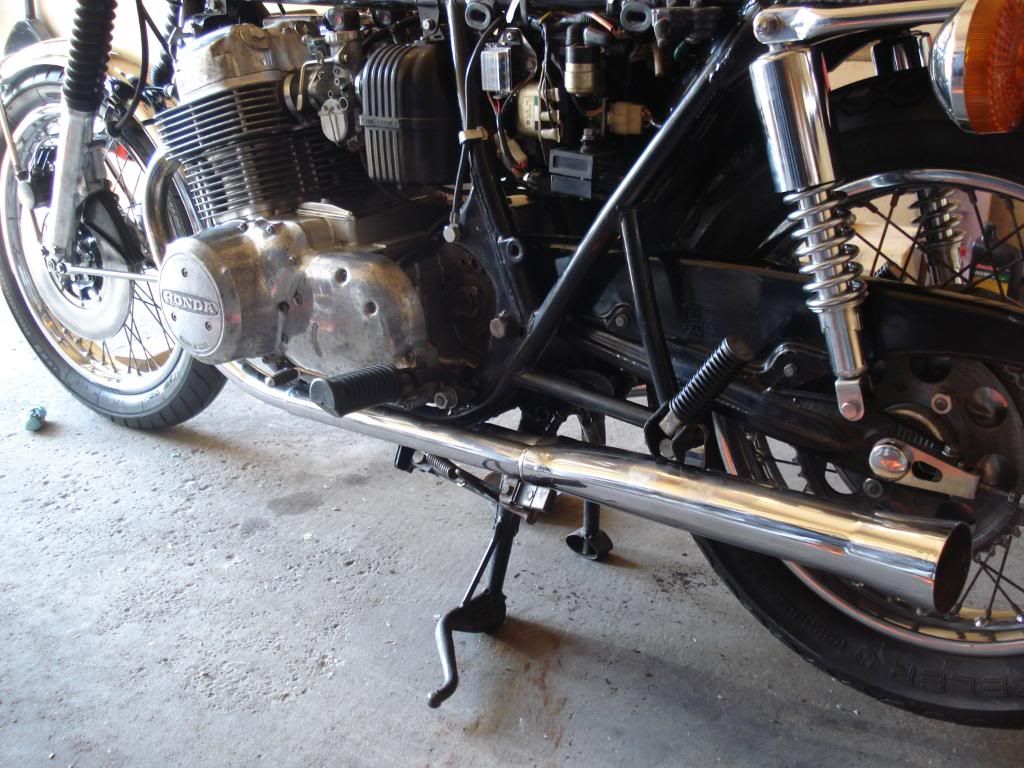
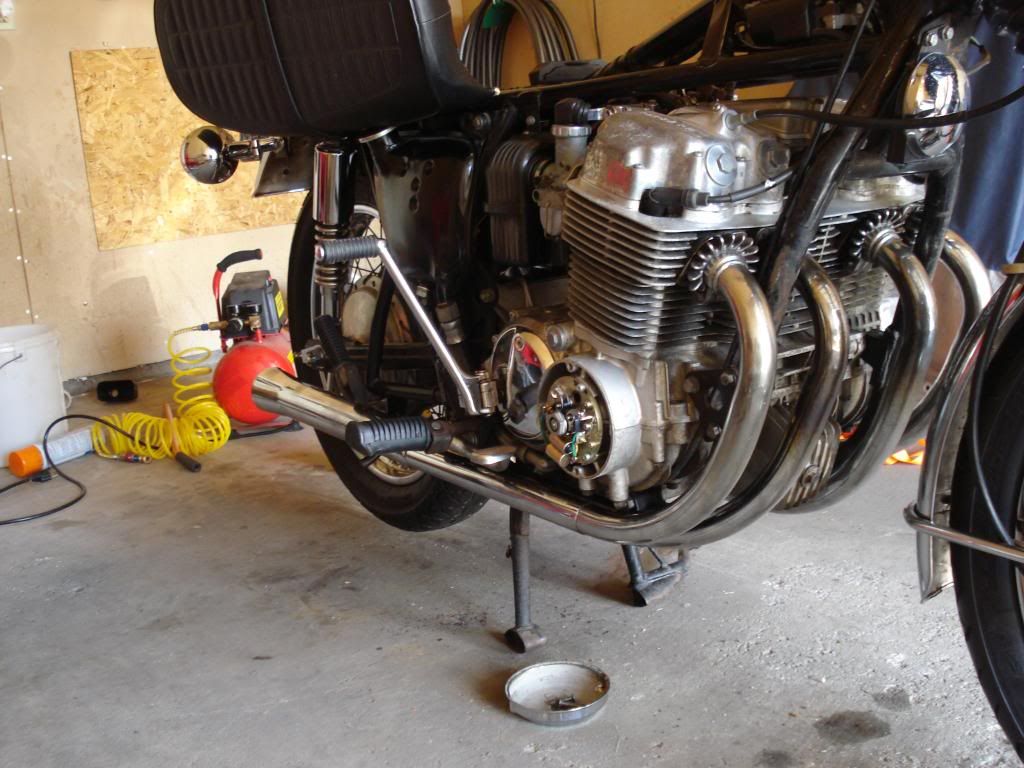
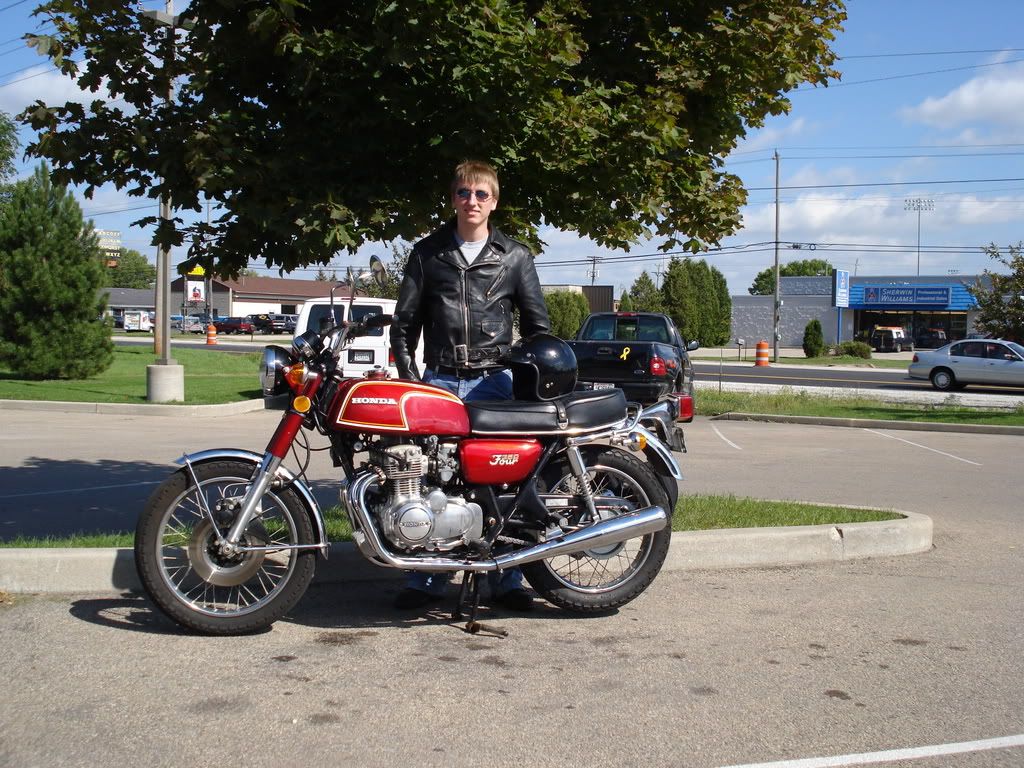
All I had left now was reinstalling the tank, sidecovers, and my new sealed yuasa battery. I called up my brother to see if he wanted to come over to witness the inaugural start-up. He said he would but he would be a little while. That was fine. While I was waiting for him I pushed the bike out into the sun and took some pics of my handywork.
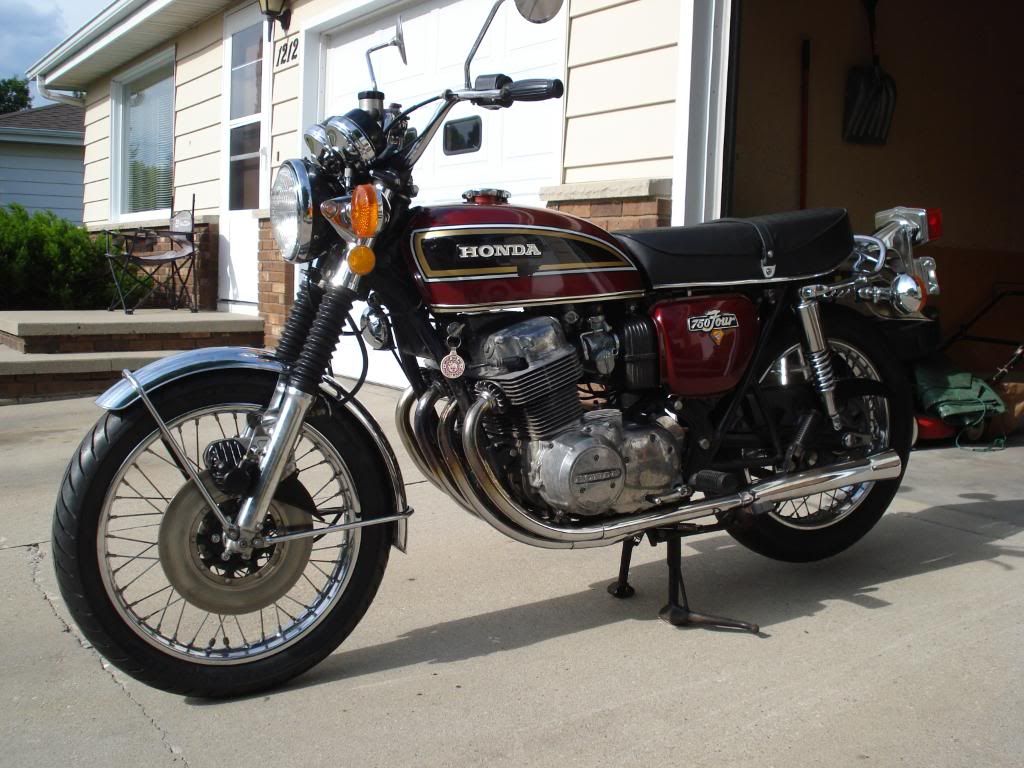
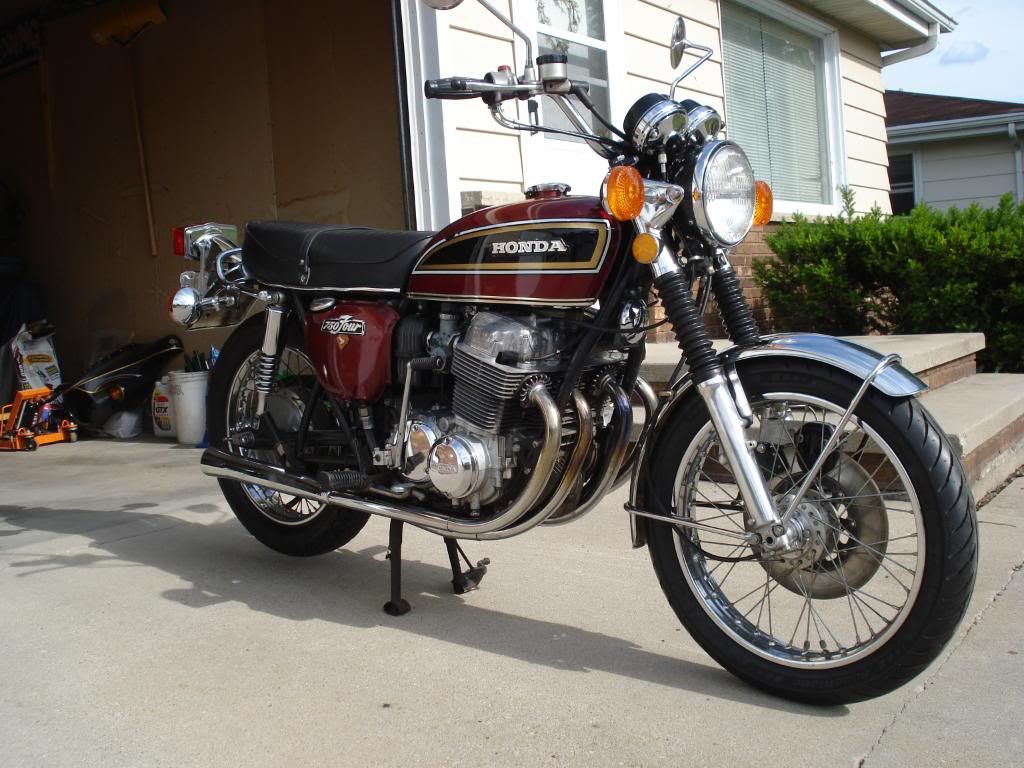
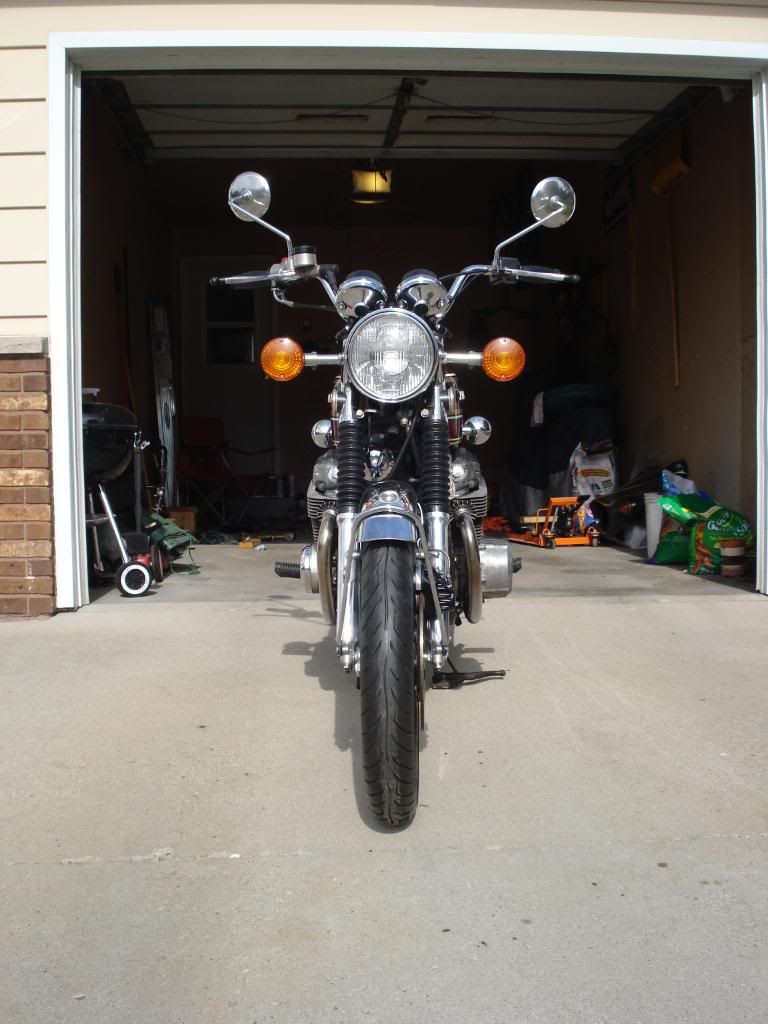
My brother came over and we made the video I posted before of the first start-up:
1976 Honda CB750 K6 First Start.MP4And that was how I pretty much finished my bike in a weekend. I desperately wanted to take it for a ride after that but I figured it would be best to wait for my rear tube to come.
On monday evening I took off the old rear tire and tube. On wednesday I came home from work to a box on my porch that stunk of rubber and contained my long awaited tube. I hurried to the basement to put on the tire and tube, got the whole thing balanced, and put it back on the bike. After a quick break for dinner, Johnie came over with is chain riveting tool so we could put on my new chain. It took us a while to get that figured out but we eventually got it secured. It was finally time to take this beast for my first ride! After a quick clutch adjustment I took it up and down the block, checking for all 5 gears. I was immediately struck by how well the bike shifted. Much better than my dad's K2. Johnie took it for a spin quick before he had to go and it was late. I think it was 9:30 at night. I was too psyched up to go to bed so even though I had to be up at 4:30 the next morning for work I called my dad and went over there to show him the bike. It was deffinitely an exciting night!!!
As I posted before, I had a blast that weekend going to the races on all three days. The bike ran flawlessly. I honestly can't think of any teething issues I had to deal with except adjusting the clutch again after it loosened back up from actually getting used again. I'm still blown away that the bike had 40k miles, sat for so long, and woke right back up and runs great with NO leaks. Amazing.

So how is the bike today? Well it's as good as ever. It's been my faithful commuter to and from school for the past month, blasting up and down the highway with power to spare (a novel concept for a 350F owner). I also enjoy not having to wear my special oil-stained riding pants when I ride it, unlike the 350f was before I tore it down to fix the leaks. I don't baby it, especially on the freeway, so my milage has been about 40mpg. I might have a tiny oil leak, possibly from the final drive seal. There's a few oil spots where I park it in the garage, right around where the center stand is. I haven't taken the time to investigate it further and I don't think it's dripped at all in the past week so it's not a big concern. I had one little episode when I got to school and noticed my left rear blinker was just hanging by the wire. Seems the mounting screw had fallen out. Luckily the hardware store had a suitable replacement.
You may have seen my thread regarding trunks in the main forum section. Even though it's a bit ugly I'm very happy with it and makes the bike great for commuting to school and doing small errands. At least I can easily take it off, leaving just the luggage rack on.
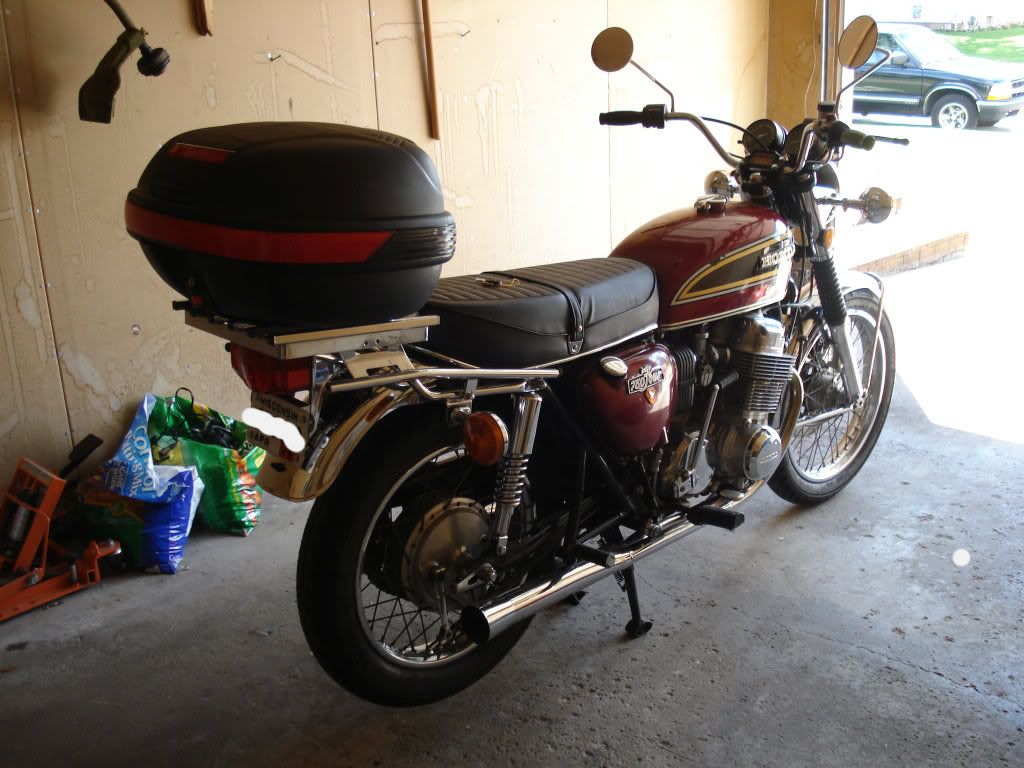
And that's all I can think of for now. Next sunday is the slimey crud run and I will go on the K6 if the weather's good. That usually ends up being about a 350 mile day, riding some of the best roads in the country. It will be fun to finally be able to do it for the first time on my very own cb750.
edit: And thanks again for everyone who voted for me for BOTM. It was a big surprise to win that.
