Well, it’s been a long time since I’ve been here, and I’m sorry that I was not around to respond to people’s questions and comments. Most of the progress on the bike has been in small details, and I feel weird coming on the forum to talk about such little things. But here I am anyway. To talk about the little things.
First, thanks to Don for the prods. How does he manage to keep up with everybody’s projects? He's probably written you about yours. He says he has a full-time job, but I don’t believe it.
To Garage Guy Chris: Sorry I’m a year late with this, but the rubber terminal covers are Honda part # 32411-230-000 from the 2012 GL1800.
To jruff5585: As Don said, the exhaust system is from Lord Moonpie. Really well-made, good-looking pipes, but I’ll have to get some baffles in there before I put the bike on the road.
To FunJimmy: Yeah, some of us might not make it to the end. I frequently taunt myself with the idea that by the time I finish the bike, I’ll be too old to ride the damn thing.
OK, here’s a few pictures.
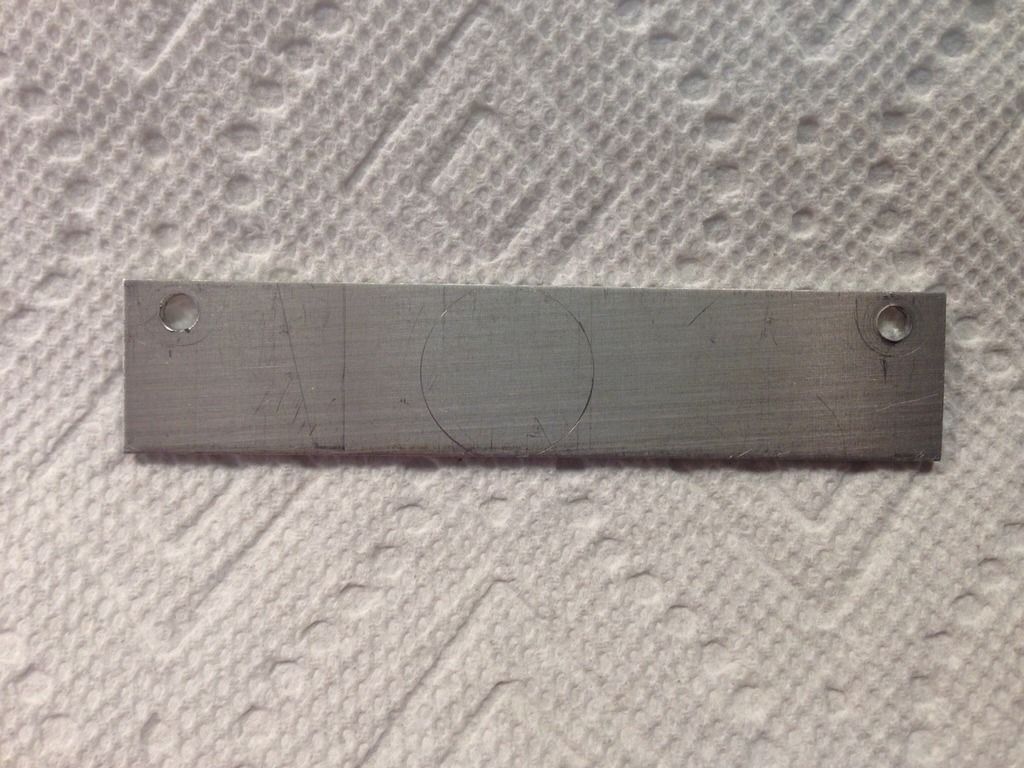
When the bike came back from Takashi’s shop, it was set up with the shift pattern reversed, but I really didn’t want to go that way. I already switch between left shift and right shift when I go from my ’77 GL1000 to my ’70 Bonneville, and I didn’t want to add an uside-down pattern to the mix. To figure out what kind of piece would have to be added to the shift lever, I made a wooden sample that was easy to make and then fine tune with a file.
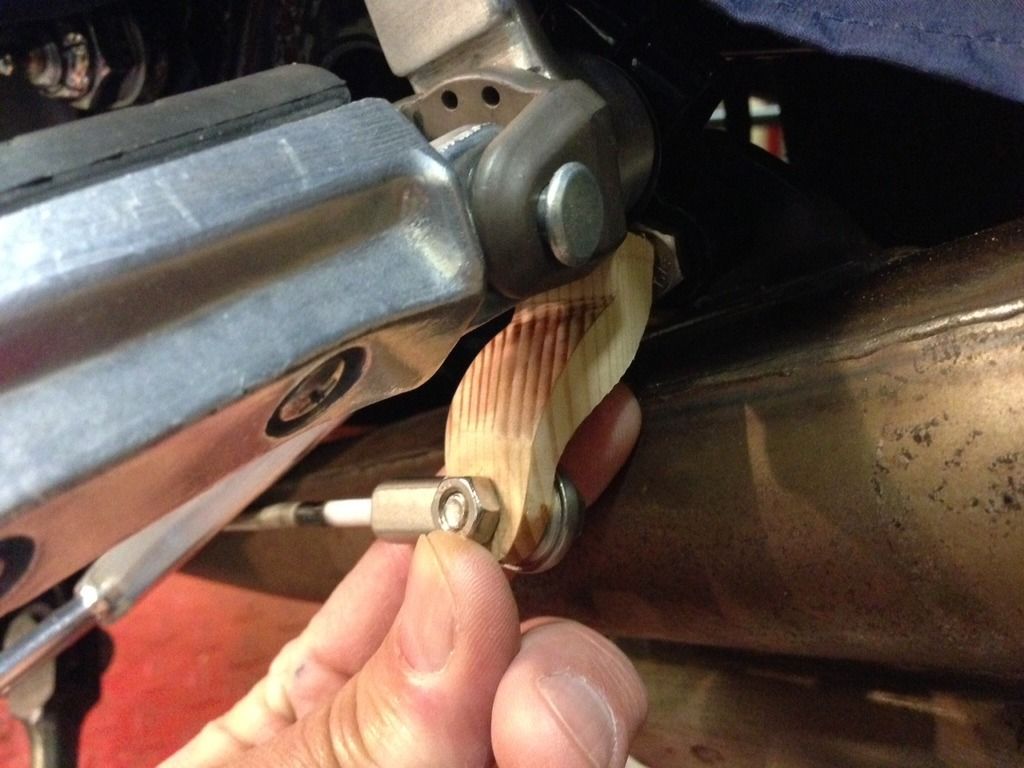
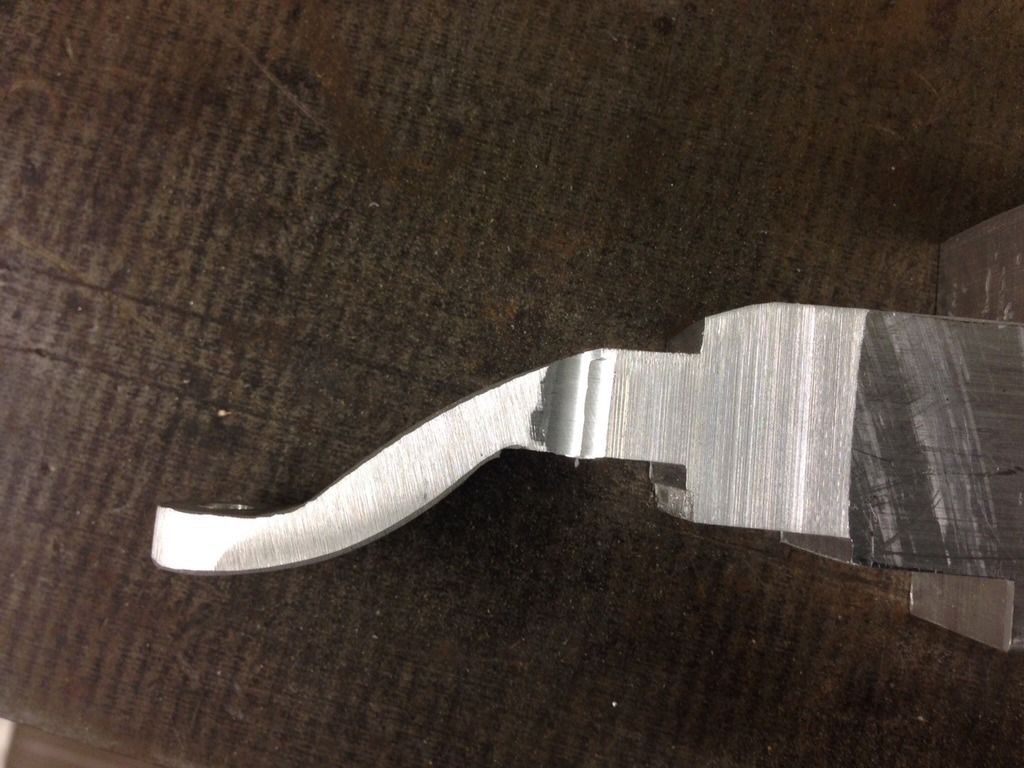
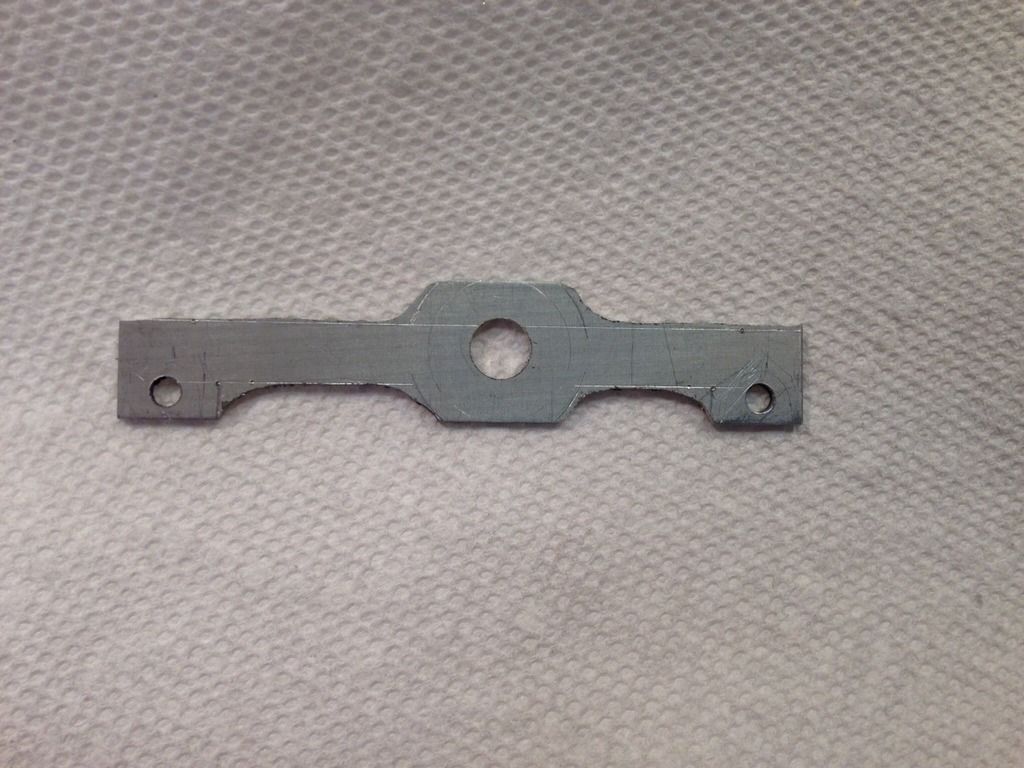
Once I got the shape that would provide the necessary clearance, I borrowed time on a milling machine, copied the piece in aluminum, and had it welded onto the shift lever.
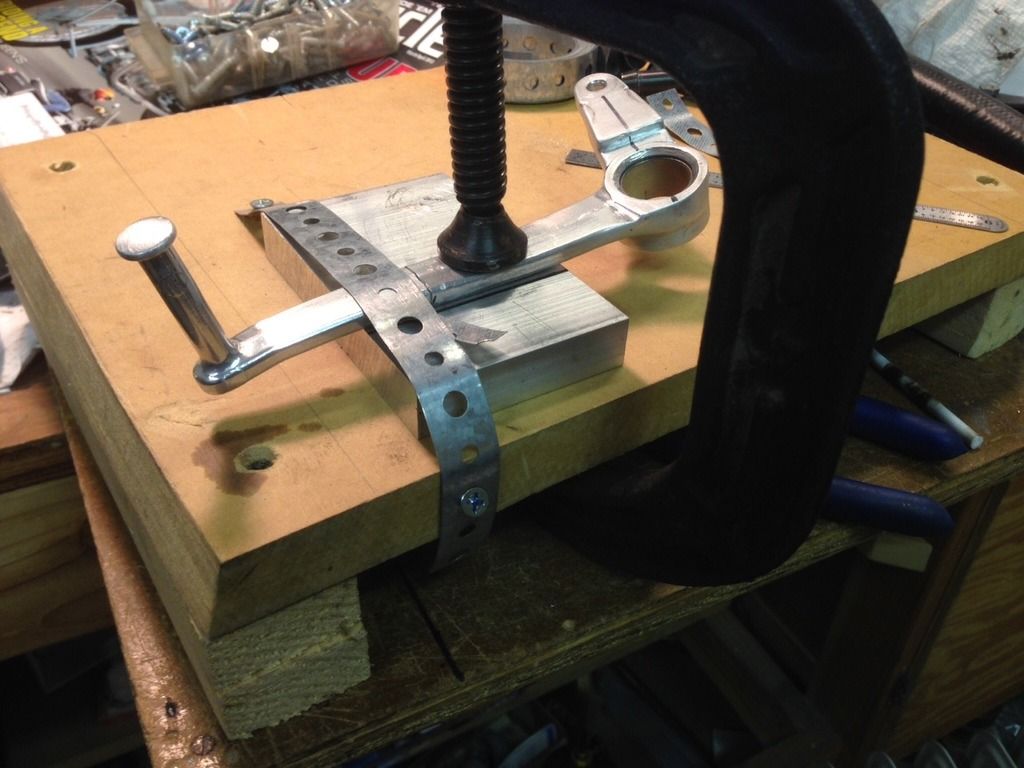
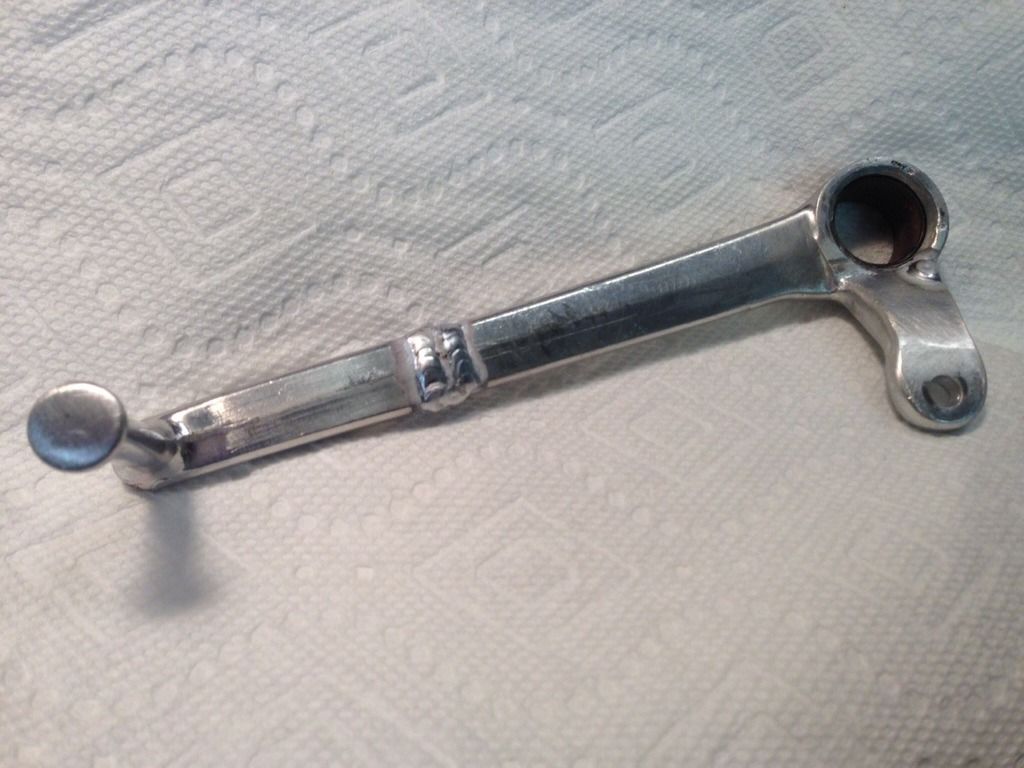
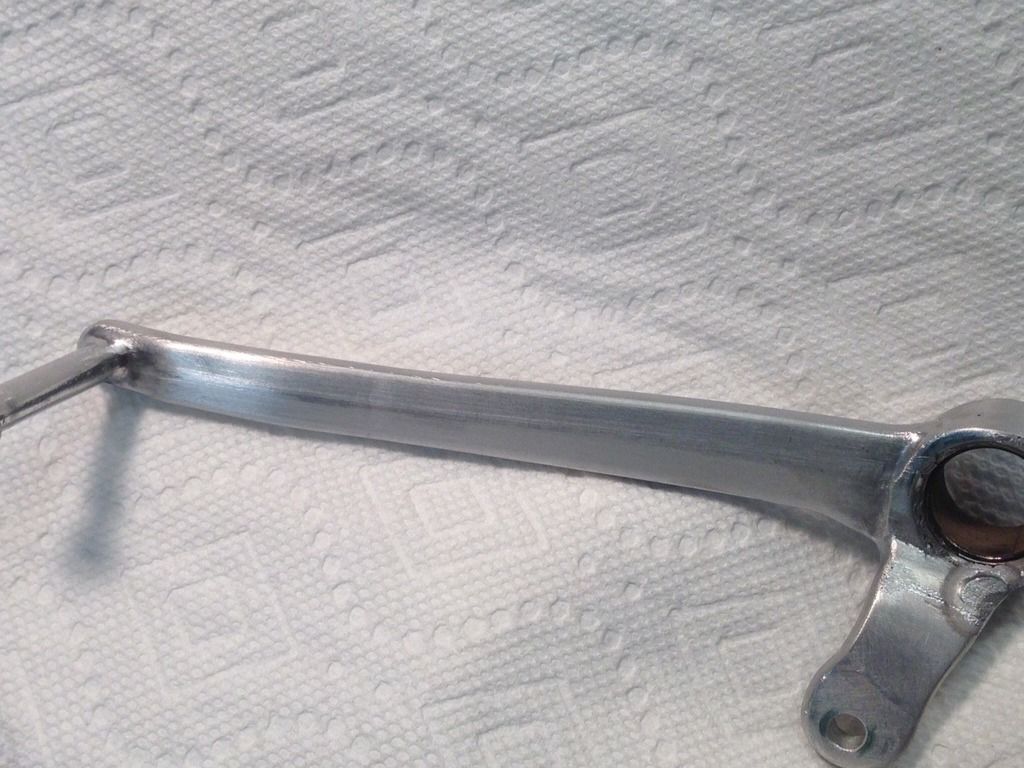
Several years ago I broke my left leg really badly (nothing to do with motorcycles) and it left me with less range of motion in that ankle. It’s not a problem with a “standard” riding position, but in the rearset footpeg position of this bike, it’s awkward. I bought two shift levers, cut an inch off one and two inches off the other, and had the two inch piece welded to the longer lever, yielding a lever one inch longer that stock. This will make it easier to operate the lever without giving myself a cramp. I made a jig to hold the pieces and asked the welder to make a weld about ¾ of an inch wide because I thought it would be easier for me to blend the two pieces together. Using a hand file and sandpaper, I smoothed the joint and saved the peak that runs the length of the lever.
The welder also filled the mirror mount and clutch switch mount on the clutch perch. I smoothed it, and it’ll be powdercoated.

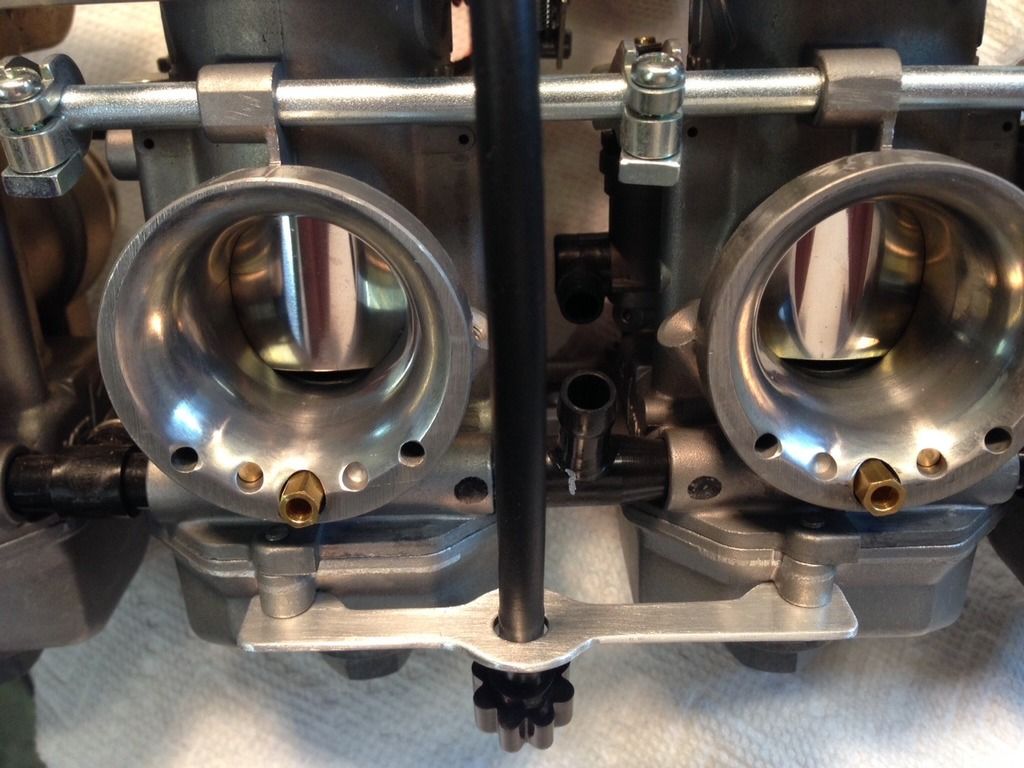
For some reason, the CR carbs come with an idle screw that points up under the gas tank. Maybe someone can tell me if there’s a way that it makes sense, but I don’t get it. I got a remote adjuster cable from Powerbarn, and it came with a wire loop that allows the knob to be positioned next to the carb bank. I thought the knob could be kept in a less obvious but still easily reachable spot, so I made an aluminum holder for it.
[/URL][/img]

[/URL][/img]
[/URL][/img]
[/URL][/img]
I have an early start in the morning, so I’m stopping here. More pics soon.
Thanks for looking.
Vincent


