When I purchased the bike I knew I would be rebuilding the seat, but had hoped the pan wouldn't be entirely rusted through. Of course, it was. I thought about chopping the back of the frame and doing a loop with a flat seat but didn't want to make a really expensive mistake, so I decided I would build my own seat from the pan up. I wanted to stay away from fiberglass, partly because I don't have any experience with it, but mostly because I really wanted something simple and durable. My college/summer job doing HVAC is lasting a little longer than I would prefer, but it does give me access to lots of free sheet metal. I'm pretty handy bending the stuff and I really enjoy metalwork/art but unfortunately no longer have access to good metalwork tools (anvils, planishing hammers, welding set-up). Thus, I've done the whole thing in a very DIY/anyguy-garage fashion. I'm pretty happy with what I've got so far. I hope you enjoy the photos and maybe this will be of some help to someone considering seat options.
It has been my experience, that if I can make it from paper, then I can make it with metal. After taking the angle grinder with flap disk to most of the frame tabs, I made a template using some poster board I found behind an old desk, left-over from countless science/art projects.

The blue sharpie is just to confirm good bend lines.

Here I've transferred one half of the template to sheetmetal. The template was then reflected to make it symmetrical.
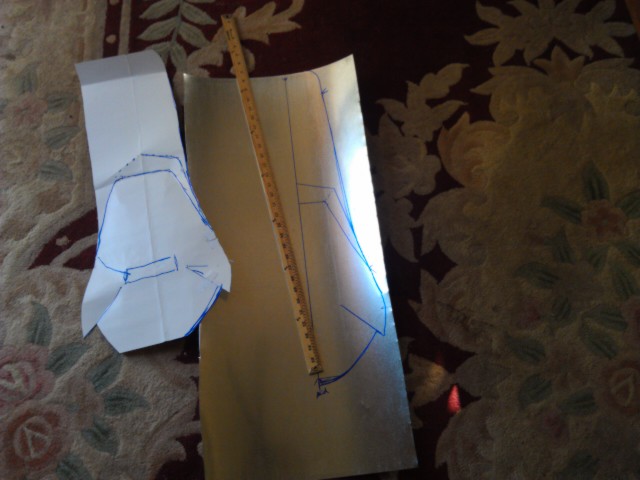
I guess I forgot to document the process of cutting it out but hopefully everyone knows what that looks like. One thing I can say is that most people will be tempted to use Aviation Tin-Snips (typical red/green handled sheet metal cutters). While they will work and an experienced hand can do it well, anyone who cuts this stuff regularly knows that metal shears actually do a much better job on straight and even wide turn cuts.

vs.

Here I've used a pallette as a kind of metal brake and anvil. Not expecting any awards, especially using a claw hammer. If it was going to be an exposed/visible peice I would have concerned myself more about the imperfections on the hammer face causing stamp marks all over the place. Again, very DIY, very garage.

Here the weight of the angle grinder holds the pan flat to the frame rails.

After this I couldn't decide wether to weld it, braze it, or pop-rivet it. All options were available to me but to differing extents. The pop riverter was the only thing I actually had at the moment, and more importantly I didn't want to mess up the galvanized finish and then have to grind and paint the whole thing.
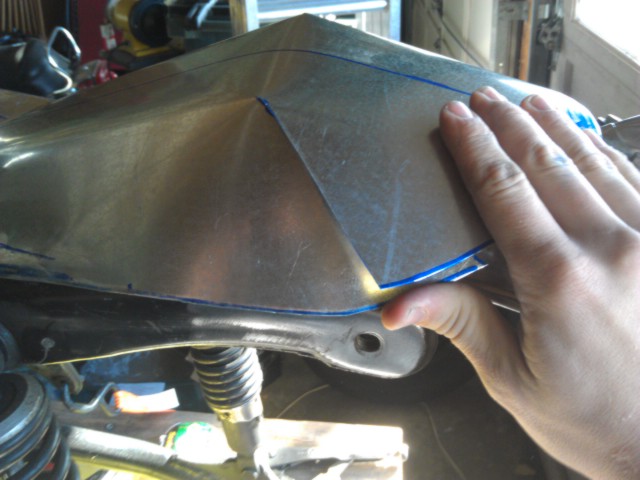

I then cut small crescents to fill in the deep relief that was necessary to make the complex curve.

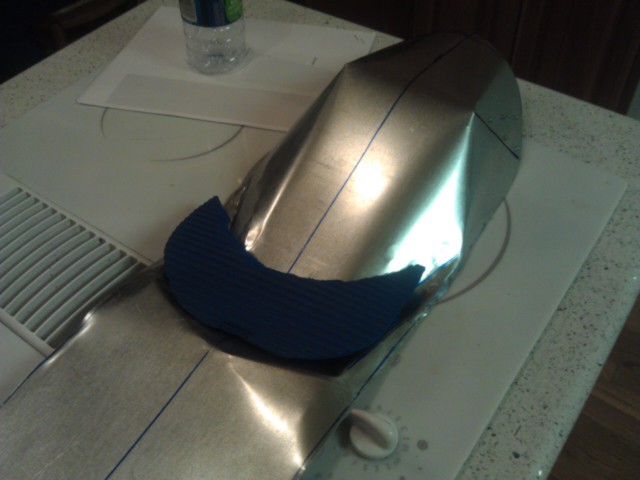
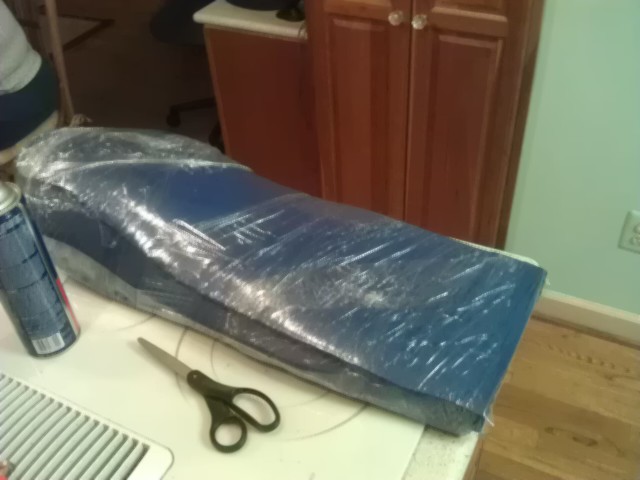
Used spray adhesive between each layer of mat. Ended up needing 4 layers of Yoga mat. Couldn't have gone any thicker with the amount of material I had, one "Golds Gym" yoga mat purchased from walmart. Follwed up by wrapping it in saran wrap to sit overnight (it was late enough!)
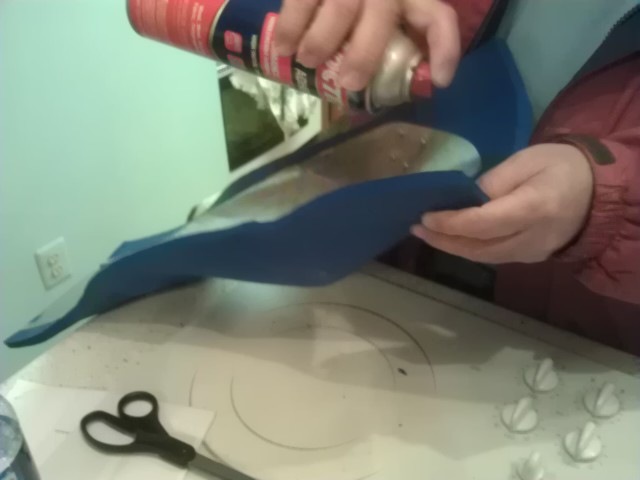
I grew tired of using the drywall rasp and resorted to the angle grinder for large subtractions. Then followed with the rasp to smooth it out. Here is the seat with foam before upholstering and final mounting.


Still deciding how to upholster and mount it. I have a few ideas of course, but I'm taking suggestions!