I mainly work alone late at night so I knew early on that I would need to come up with a clever way to get the motor in. I looked all over the web and found this stand
http://www.dotheton.com/forum/index.php?topic=31317.0The design looked fairly simple, my dad is a good welder and he had some left over materials around. I decided to give it a shot. I didn't have the motor or the frame with me when we made the stand and i purely went off of the website.
Required tools for Engine Mount:
Borrowed Engine hoist
Engine base stand
Engine freestand
The reason I didn't have to lift anything is because of the engine hoist, but now after doing the engine mount I think you could do everything without the engine hoist except for needing something to hold the frame. Since it was my first time to ever mount a motor I wanted to make sure I was covered in all areas.
Me and hondaman put the base on the motor at his house. It wasn't too bad, and once the bolts were snugged up it worked as a good base stand. Having the two independent legs is ideal for install and removal of the base stand.

When i first slid the freestand up to the motor I thought I severely miscalculated my bolt hole alignments. After going back and looking at my reference, I realized that my example made the base stand much taller. Exactly three 2x4's taller. I used the engine hoist to raise up the motor and get the blocks under the stand. This put the bolt holes almost spot on.
These holes below should line up.

The engine now at the correct height. Make sure that the 2x4's do not stick out and interfere with the freestand base legs.

Once I had the engine raised I slid the freestand up to the motor to where the front right bracket hole lined up with my freestand bolt hole.

I installed a regular bolt that I had laying around. The holes were almost lined up exactly so getting the bolt in was really easy.

He're the bolt from a different angle.

Next I took a regular short ratchet strap and wrapped it around the alternator cover and the main beam on the stand and tightened it till it was snug. All the weight was still on the blocks at this point so I put the engine hoist on a D-ring attached to the base to pull up on the motor and remove the blocks. I probably didn't need to do this but I wanted a safety backup anyways.

I used U-bolts on the back. I went with these just in case i needed to do small adjustments. These worked out pretty good in the long run too as they were very easy to remove and didn't interfere.

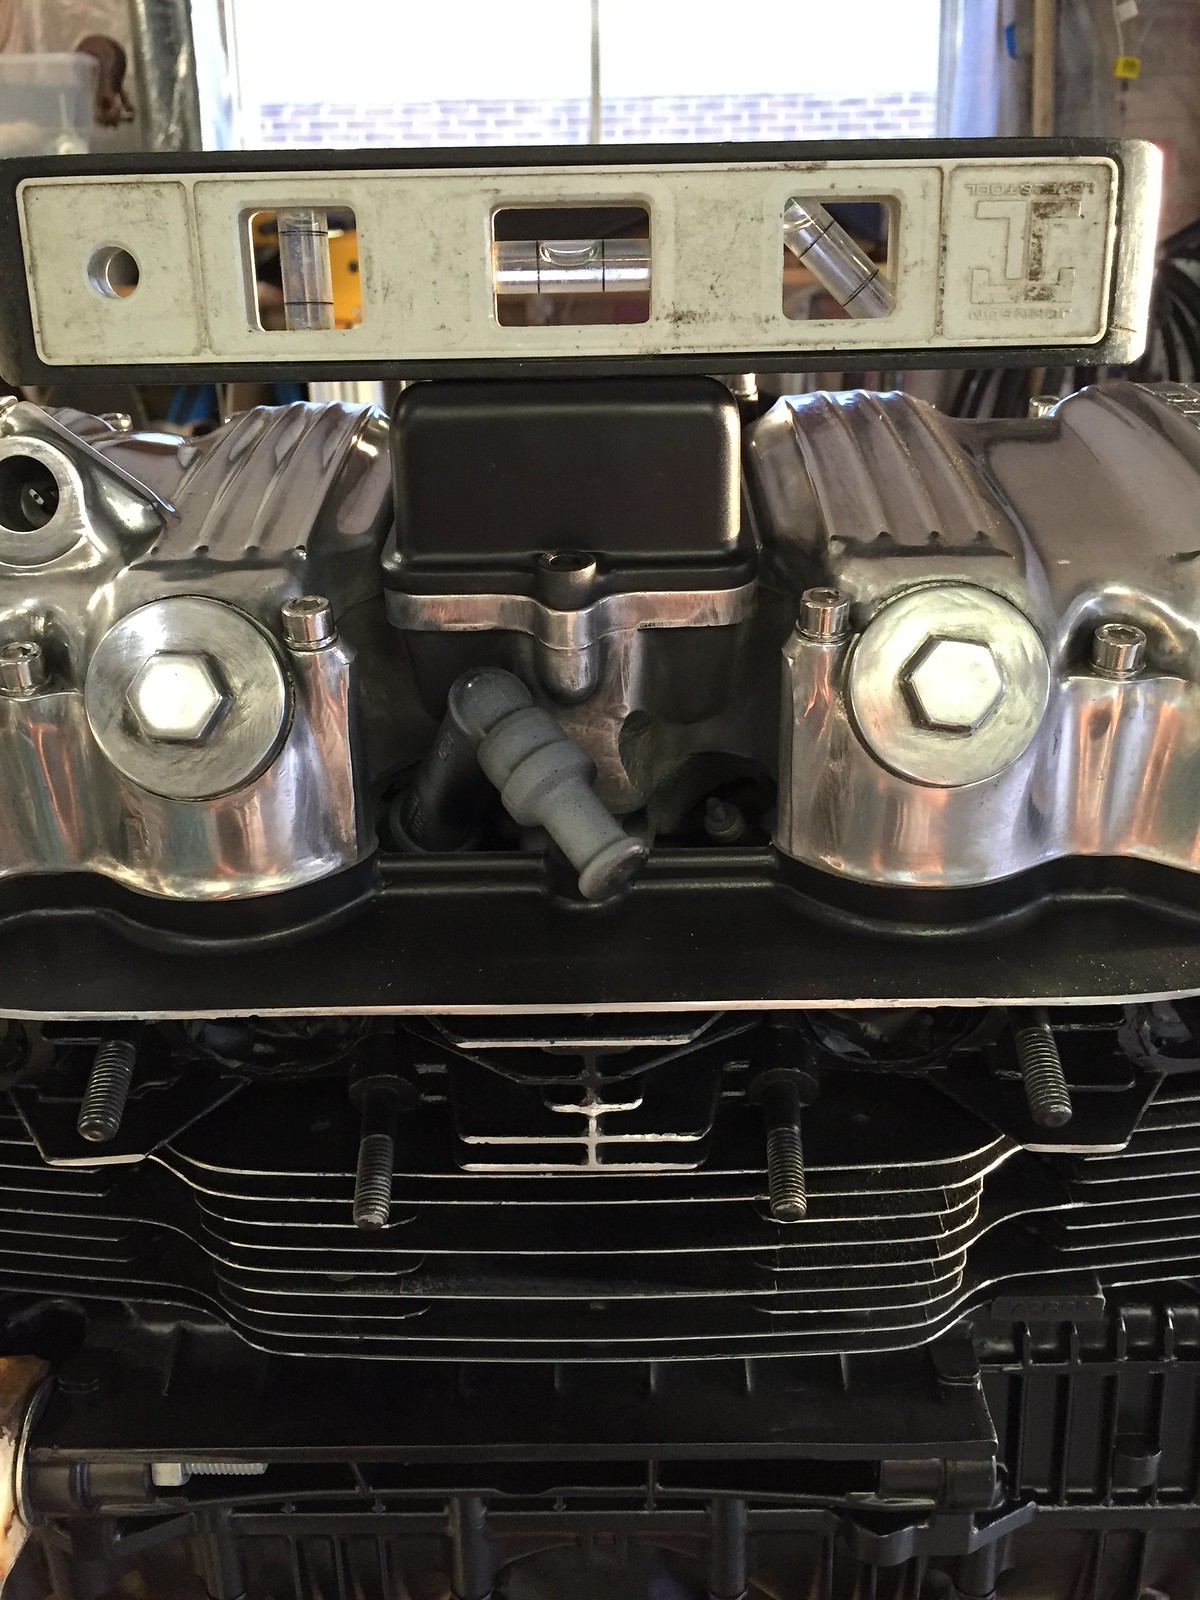
I released the engine hoist and the stand held very sturdy. After two clicks on the ratchet strap the engine was level.


Next i removed the base stand. Again, really east to do with the independent legs.

I used the engine hoist to hold the frame that way I didn't have to hold it up with my own strength. It worked good because the hydraulic has a lot of granularity for adjustments and wheels to roll the frame forward.

I just changed the bar tape on my road bike so I had the old stuff. This is perfect for protecting the frame. It has a sticky back and wraps on super thin with good padding.

Installed in 3....2.....1


It went so fast that I really didn't get that many pictures. The actual act of trying to put the frame on the motor took me about 8 minutes. The bolts were really easy to put in. I followed Hondamans advice.
front bottom bolt first
back bottom bolt second
rear top bolt
don't tighten anything till all bolts and brackets are on.
After I put in the bottom frame bolts I could remove my engine stand. I placed some blocks under the frame and sat the engine on the table. I'll post some more pictures of the final steps later. My table has caster and i wanted the engine high while I still work on things. When I get the wheels ready I'll install the fork and swing arm and set this sucker on the ground.