Edited: Note that the PB photo hosting was killed for cash. I declined to negotiate with terrorists so the photo links are broken as of July 2017. I have uploaded a few photos at the end of this thread to help keep it useful. And now later, I tried to upload some from my Flickr account, but they don't match perfectly, so this isn't a perfect thread. You'll get the idea. This isn't rocket-surgery. You only need to replace the plastic switch housing and you're golden.This is the story of how I fixed my 550 start button(s) and I hope it's a help to the members of this community.
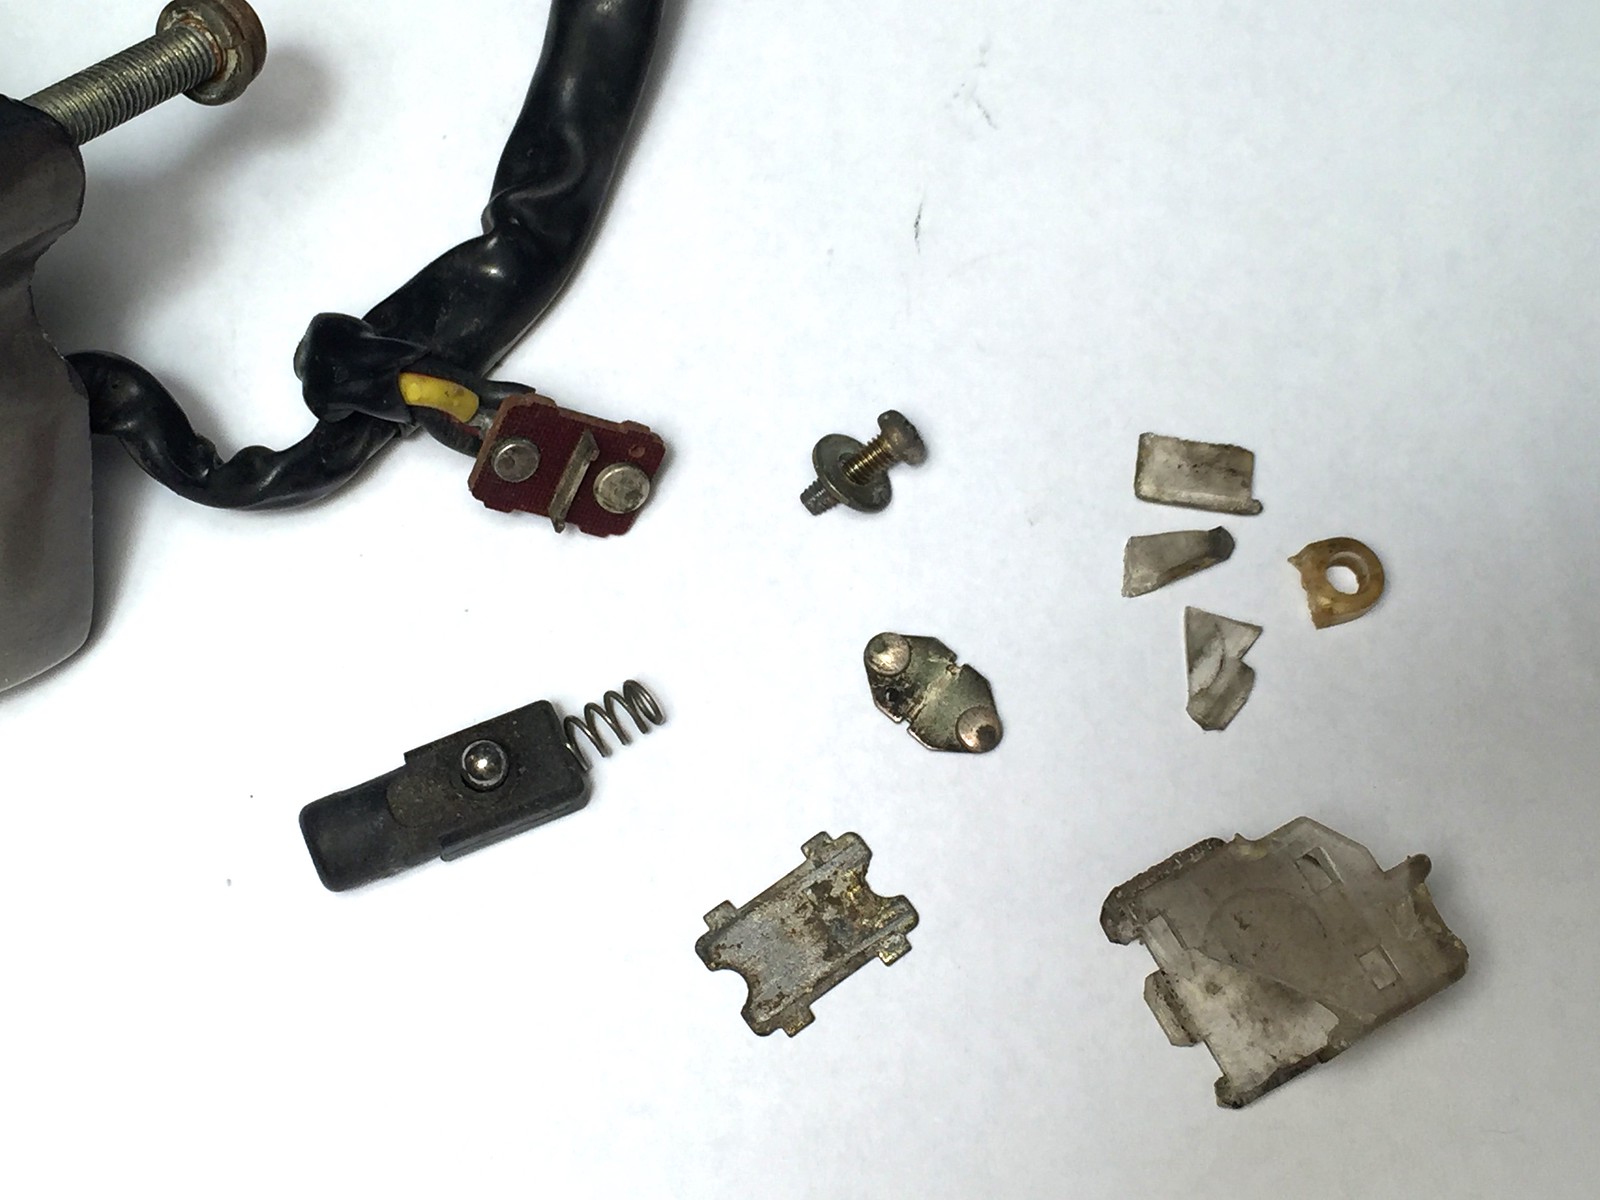
Of course, the start button has the issue where the button no longer works. I wanted to test it with a multimeter, but I had recently fried mine (don't ask..) and asked my neighbor George to stop by with his. The button still worked, but the switch did not work as it should so George (the engineer and curious guy) says we might as well take it apart and see what's in there. I'm curious, too, so it's game-on. Of course, we find the plastic housing is broken so the switch doesn't work like it should. However, we find the wires test out like they should, and even better, the housing is only in five pieces and we are able to measure the dimensions.
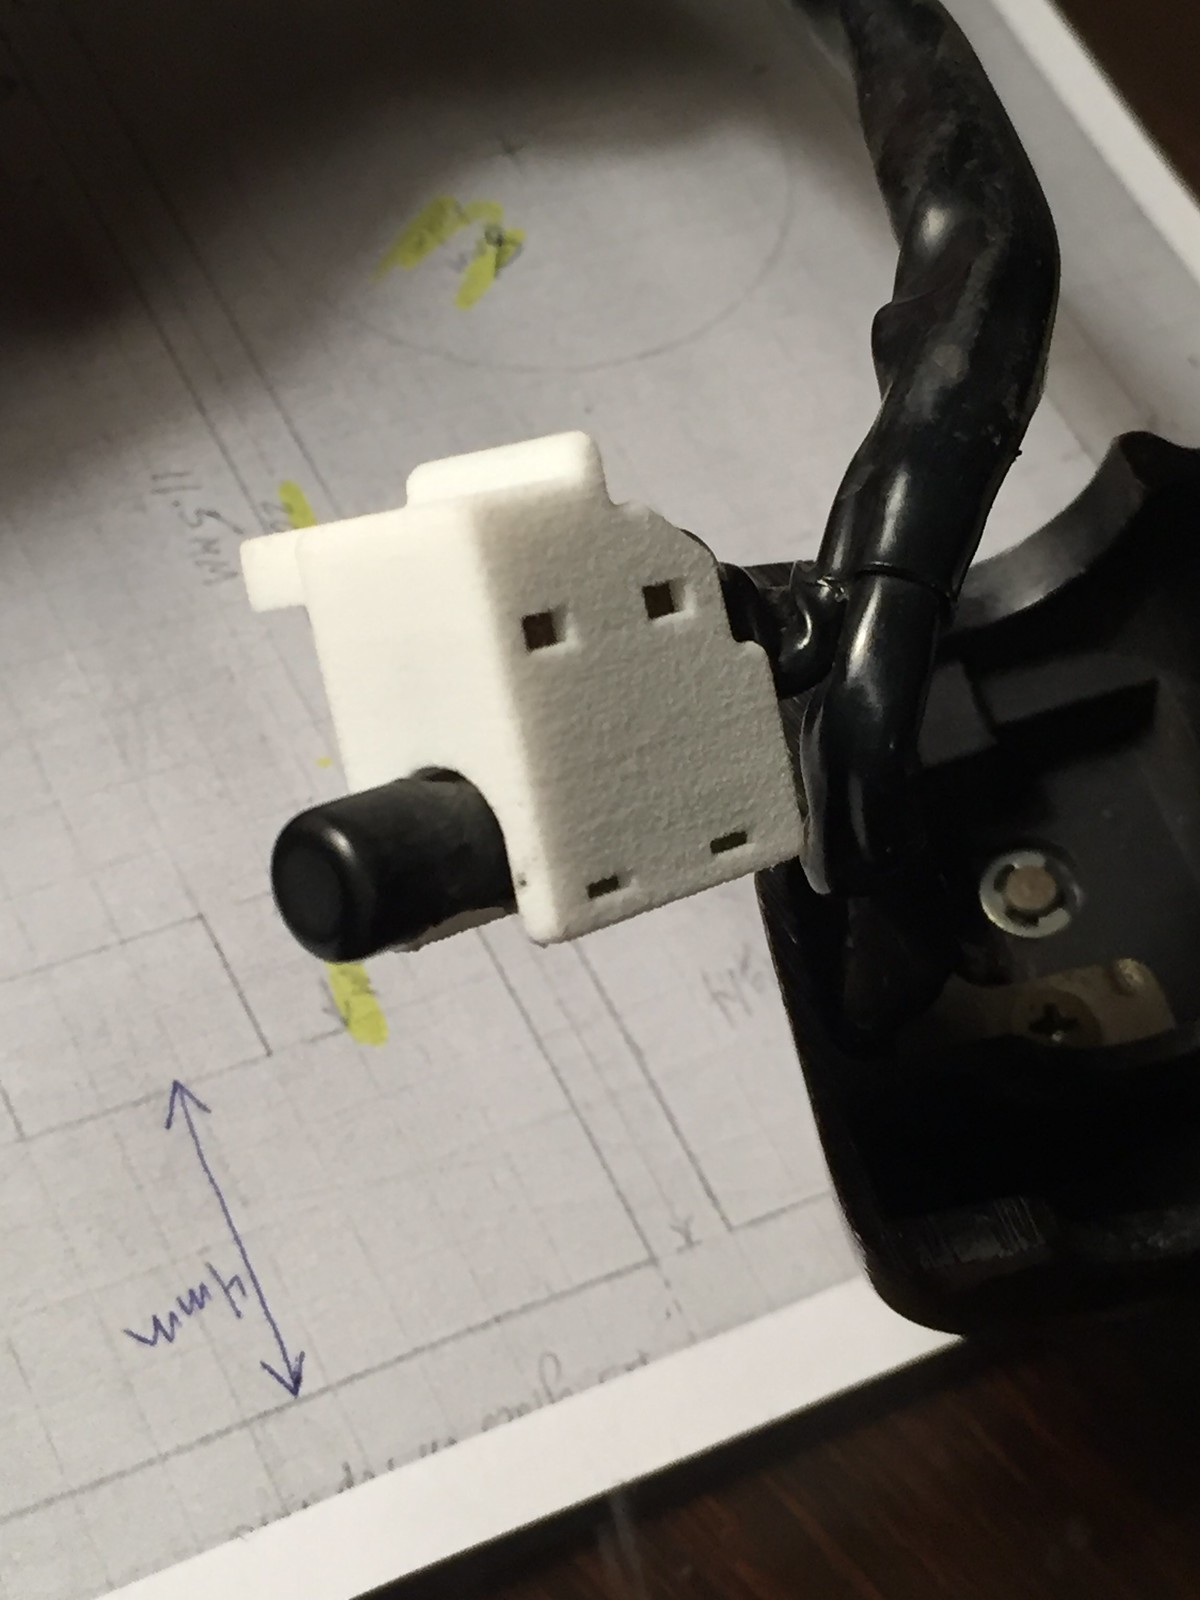
A couple of days later George has done a replacement in CAD and sent the file off to an outfit that does 3D printing with quality equipment. A week later we get our replacement. I assembled the parts in the new housing, and everything fit perfectly, so I'm pretty excited, but have a week of work before I can install it. I want to see if I can do this fix having only removed the throttle cables. (Spoiler alert: I did.)
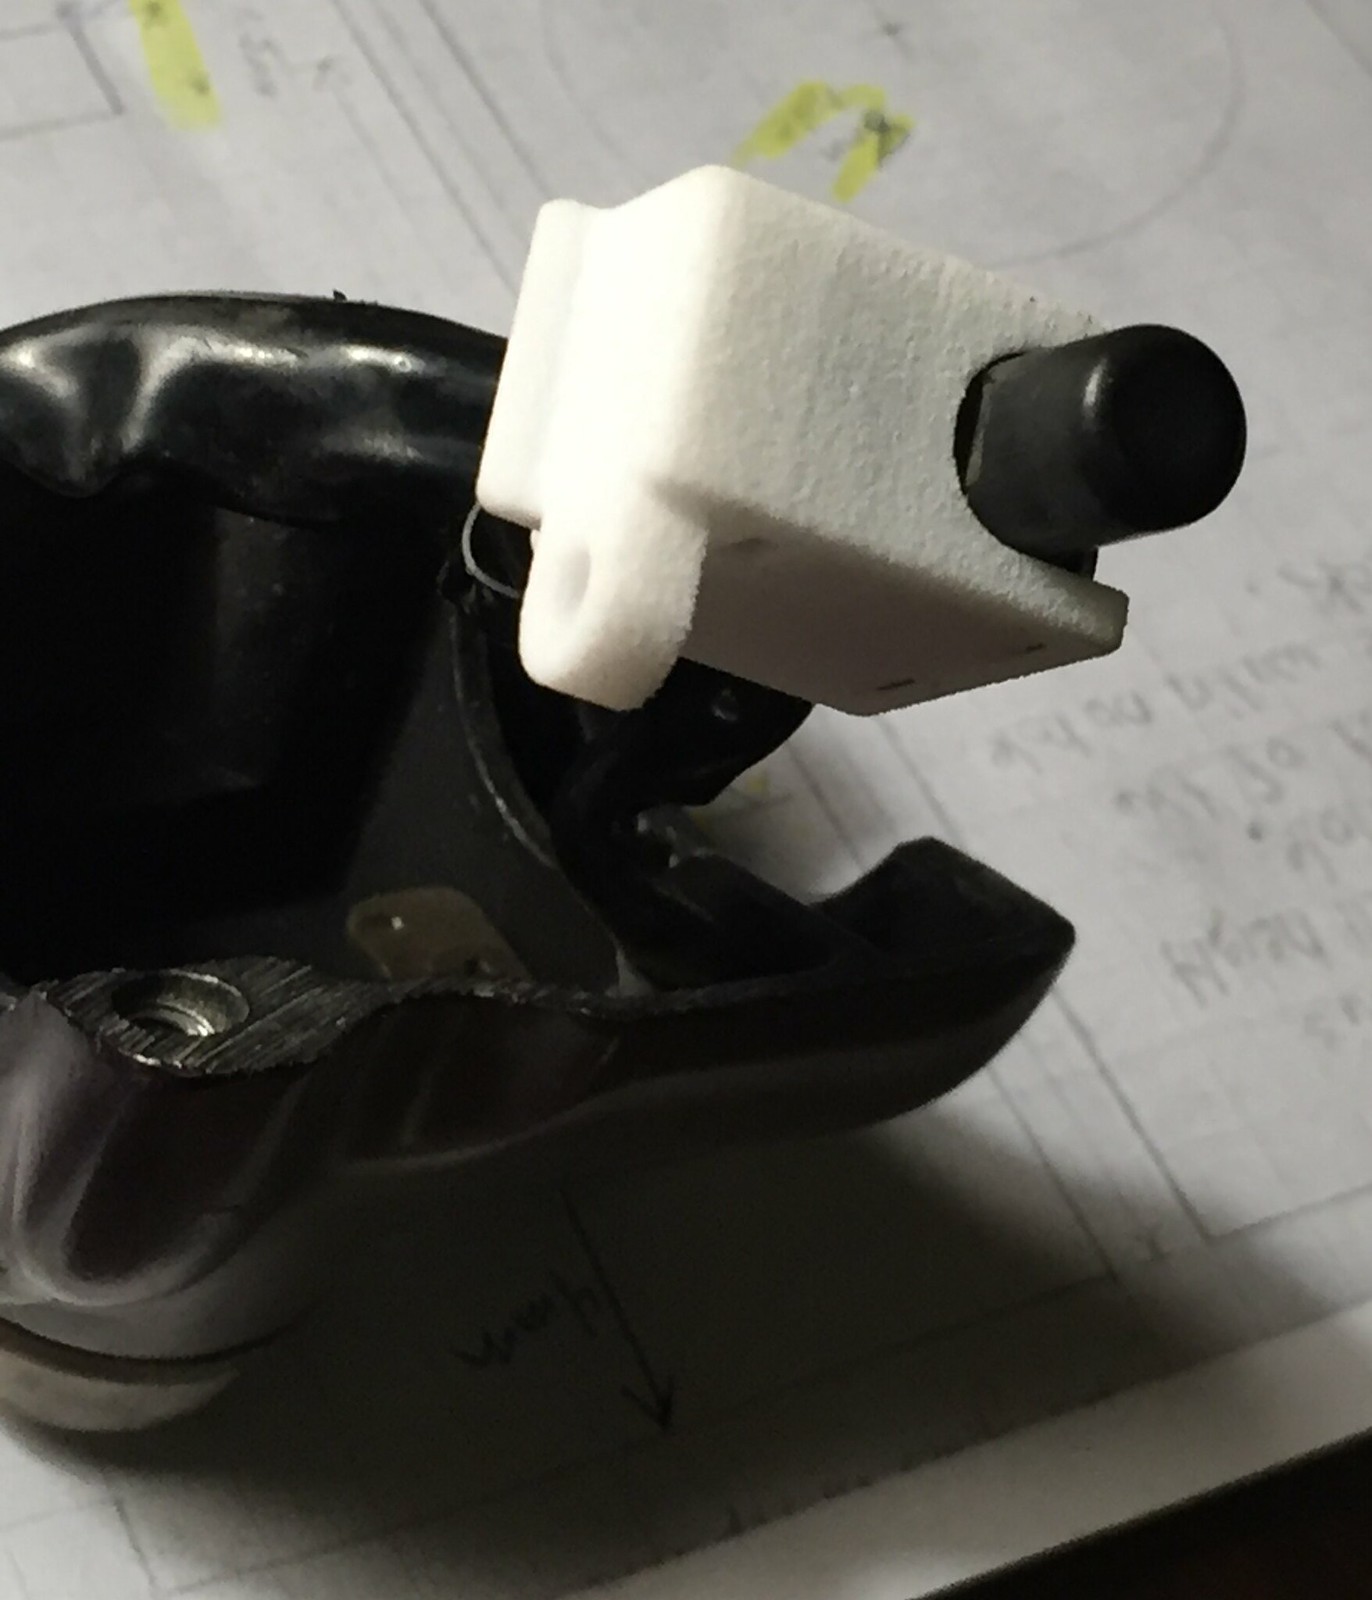
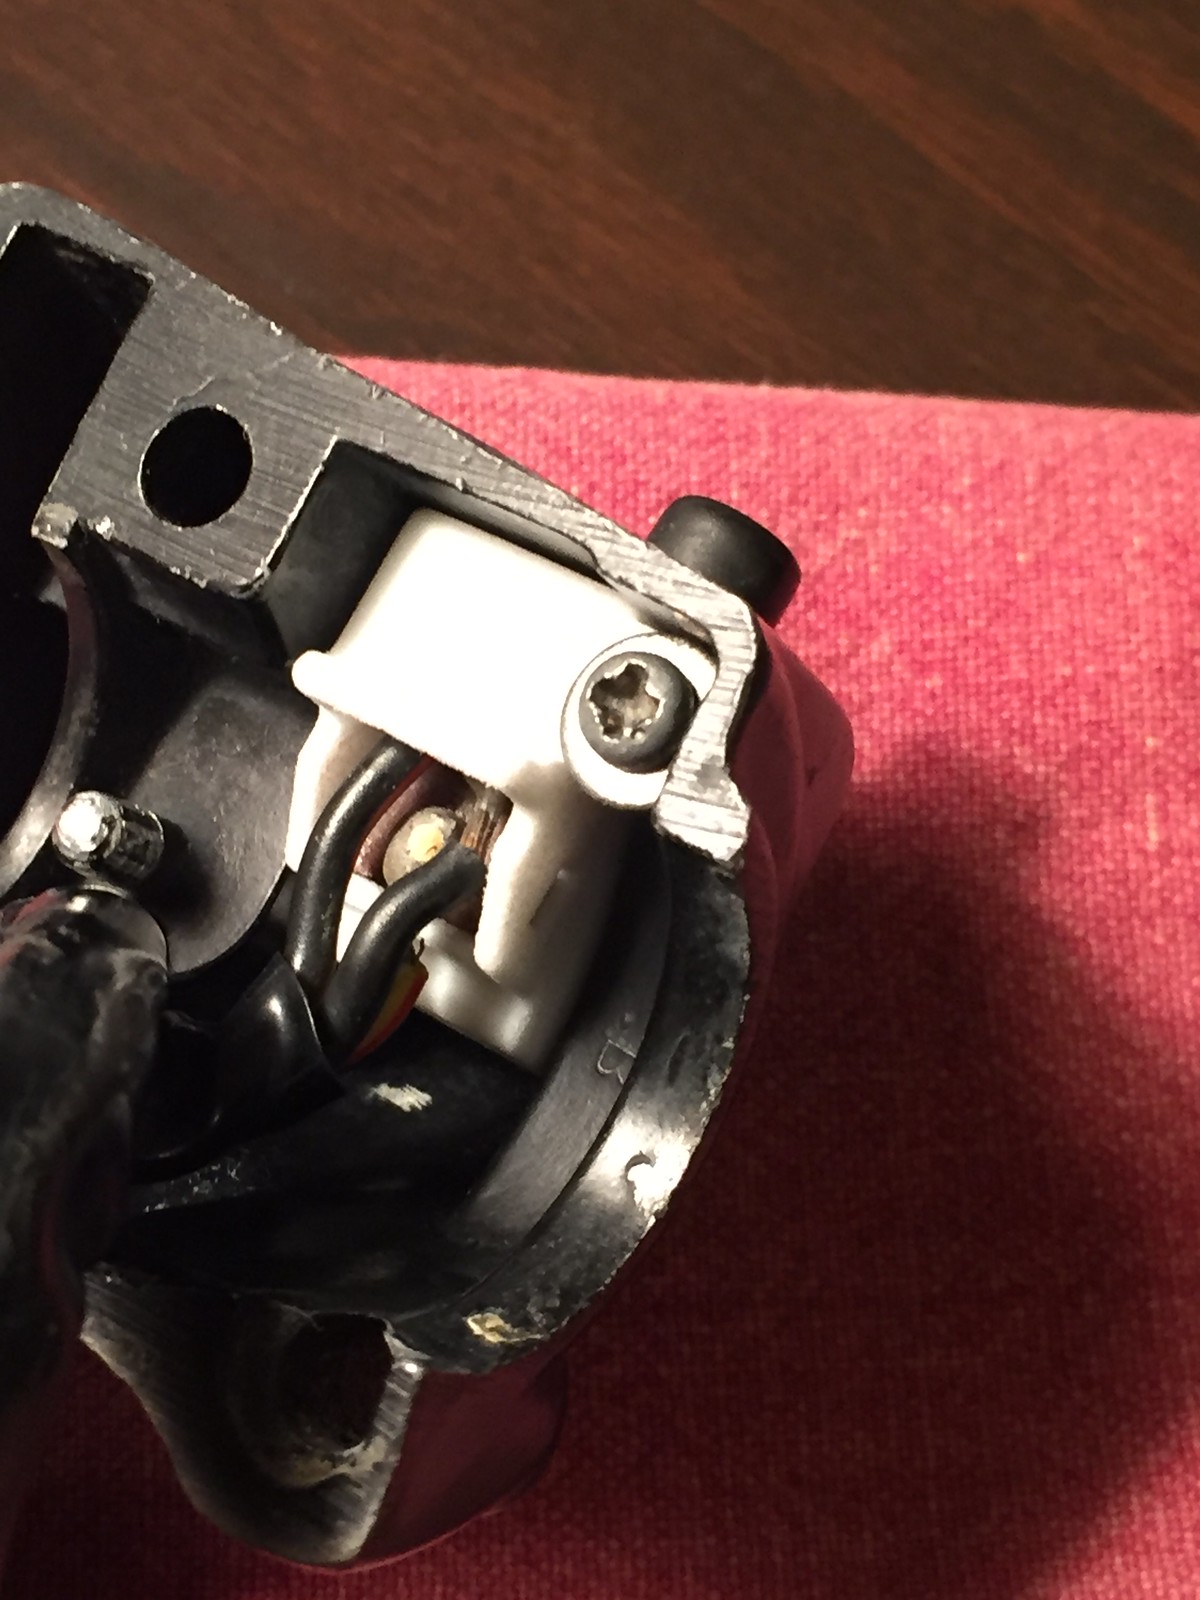
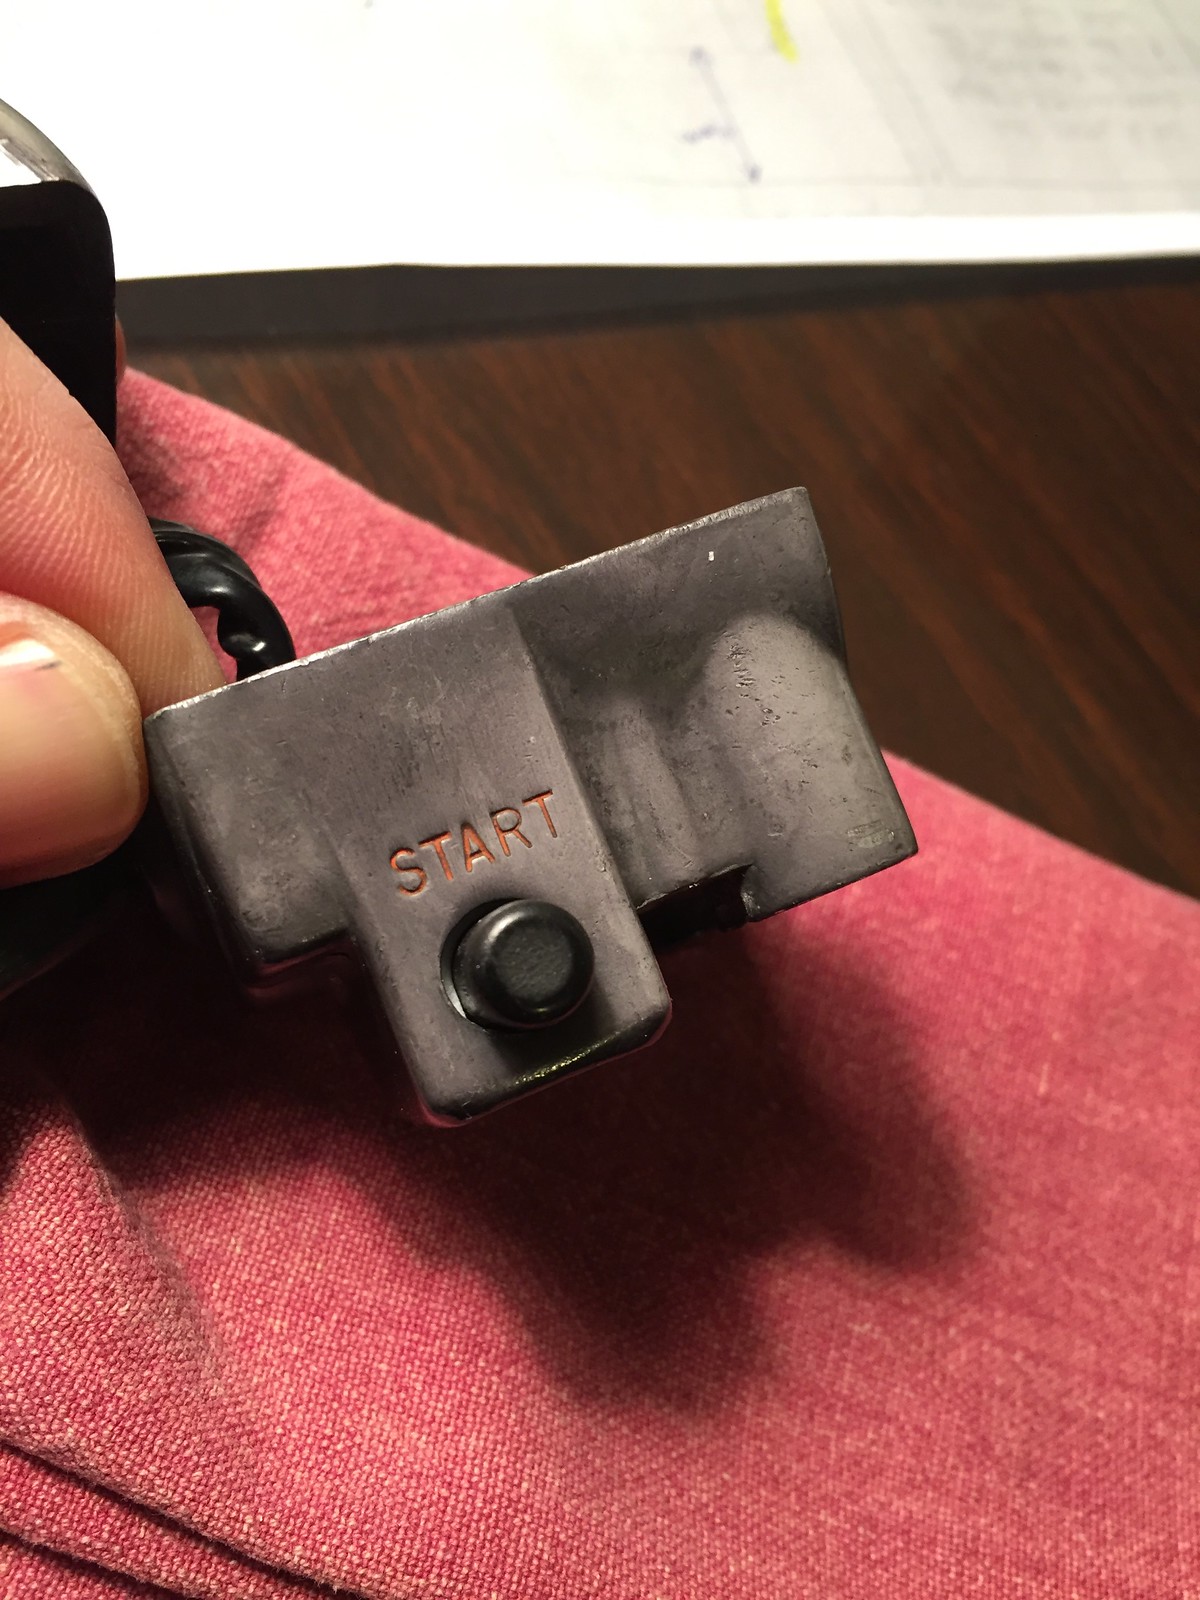
Before beginning this project, the headlight didn't come on and (of course) the starter didn't turn over. Everything else seems okay other than the flasher doesn't flash.
Not the definitive way to do this, but here's how I did it.
1. I last rebuilt the carbs, so the tank was already off. Unhook the negative battery cable.
2. Unhook the throttle cables from the carbs.
3. Open the control and lift the top away. Remove the throttle cables and tube.
4. Over a bag/box/soft towel, open the lower control and unscrew the tab holding the wires in place. I think this is a phillips screw, not JIS.
5. Remove the screw holding the housing to the control. Mine had lots of crud in it:
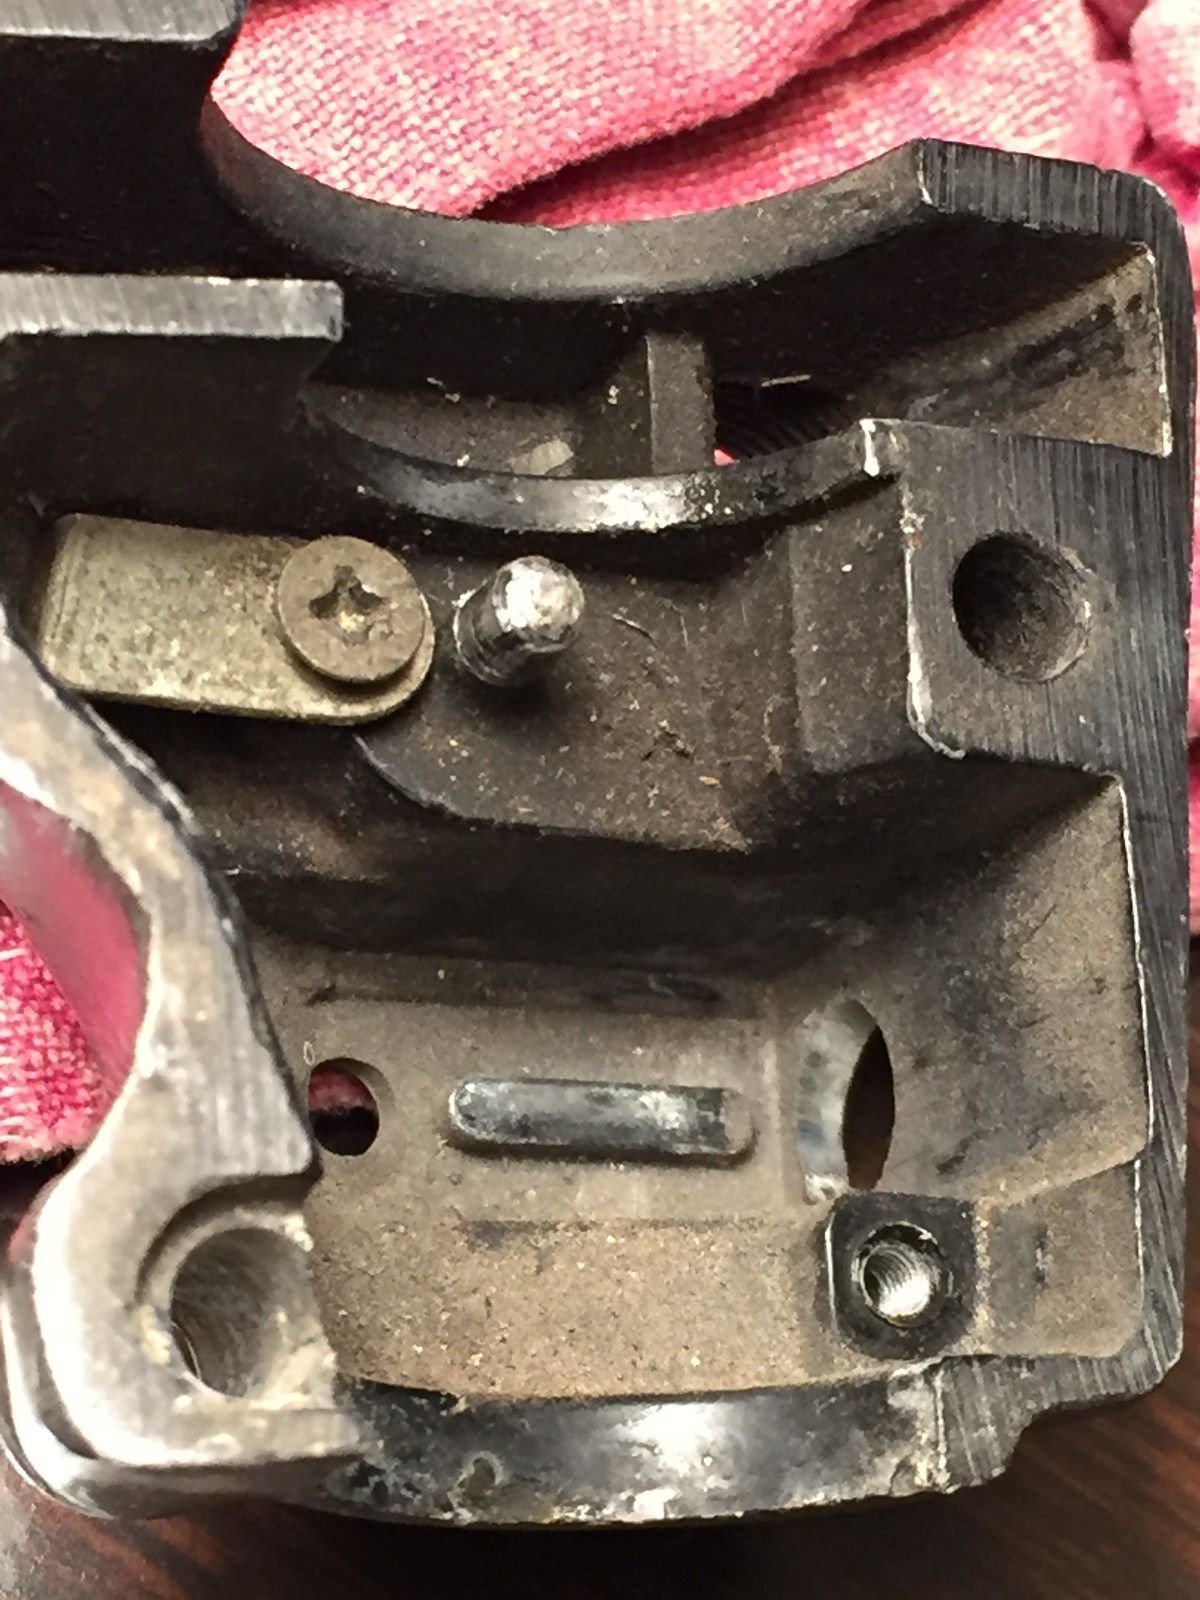
6. Remove the starter button components (and be careful not to lose the small parts.) There will be a board with three wires soldered to it that stays attached to the bike. Now you end up with a mess like this:

7. Clean everything. I took some carb cleaner to the control housing, and used circuit cleaner and 400 wet or dry / scrub pad to carefully clean up the electrical surfaces. DON'T OVERDO IT!! I also soaked some parts in Evap-O-Rust to clean up the corrosion.
8. Coat the parts lightly with plastic-safe dielectric grease and insert the board into the housing. I pushed mine in at an angle but level. The housing is flexible enough to handle the slight movement. George thinks Honda did it the same way. I thought maybe two halves glued together, but one piece sure seems easier to assemble. When I got it in far enough, I pushed the rear down and then the front up with a blunt tool. Both ends snapped in place perfectly. Note the appropriately sized square holes for the board and plate.
9. Turn the housing over and drop in the rocker. Make sure it's properly in place.
10. I put some grease on the spring under the ball and on the ball to keep them in place while inverted. You need to put them in place on the rocker, so turn the button over and set it in place.
11. Lube the plate a bit where it contacts the bottom of the button with a bit of dielectric grease and insert the metal cap. I set one side in place and used a small screwdriver to pry the housing apart slightly. The plate dropped right in.
12. Done and ready to install.
13. Carefully reassemble the control and throttle cables. I installed the tab to hold the wires in place first, then the hold-down screw. Bolt the halves together and admire your work. Don't forget to hook up the battery.
We aren't materials experts, but feel that this plastic is a good balance of durability and stiffness. I feel that for the cost and ease of installation, even getting five good years is a no-brainer. Maybe it'll last way longer, I just don't know.
Some things that are extremely cool about this project:
1. No goofing around with pulling wires in or out of the bars.
2. I didn't touch the headlight to get at any wiring.
3. The housing is an exact copy. There is a fin/hump/whatever that seems to sit against the bars to help keep the housing in place when the button is pushed.
4. No funky work-arounds or buying new controls. Both switches had perfectly useful parts that ought to outlive any of us.
5. It only takes an hour or so and you're back in business.
6. It has given George and me a ton of extra stuff to talk about on our morning commute.
I still need to address brakes and forks, but this was looking like the most painful thing to deal with. Turns out it was a ton easier than pulling and installing the carbs. Now I'm thinking of providing this part if anyone has interest in getting one for their bike. Again, I have no idea how long it will last, but it's got to be enough seasons to be worth bothering. Cost would be about $10 each plus $5 for shipping per order. I'll probably have the printer do the shipping but I don't know about international shipping. We can figure it out.
Thoughts?