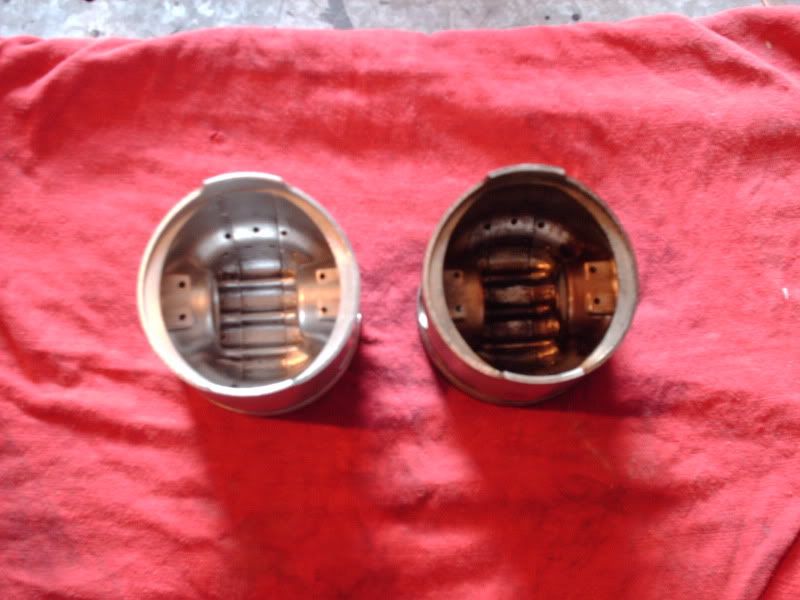
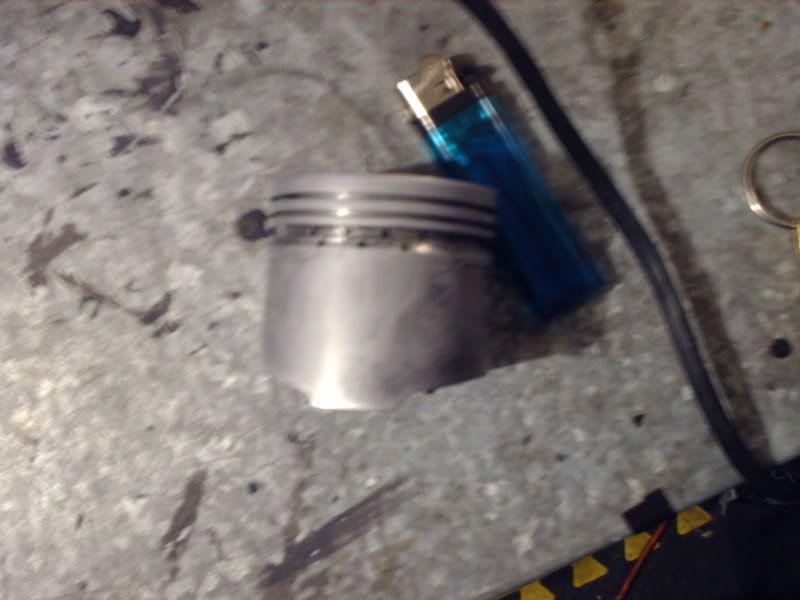
and I cleaned up the pistons, polished the sides a bit w/ 2000 grit and checked the fit in the cylinders w/ feeler gauges.
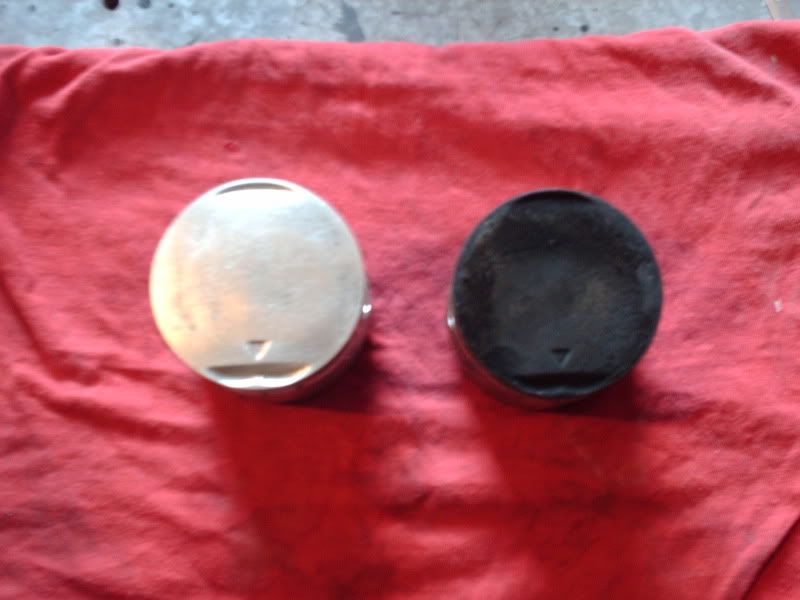
before and after cleaning
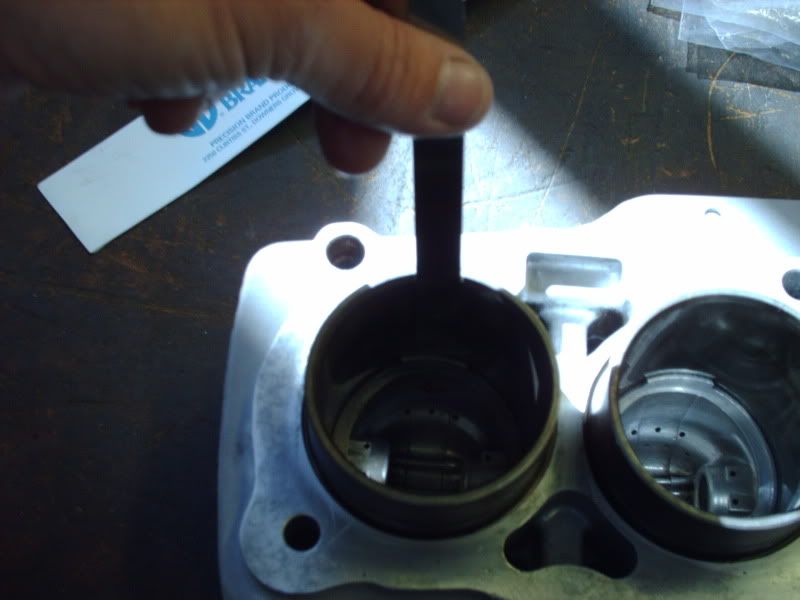
a 1 1/2 feeler(.0015", I think, might've missed a 0) fit in there very snug, so the pistons and cylinders are very usable. yay, no re-bore necessary.
the 1st piston was a lot more beat than the rest, it may have had a big chunk of carbon in there bashing it up. there are little dents all over the top and scratches on the sides. but it's still good to go, just pock marked on top.
it had bad acne when it was young.


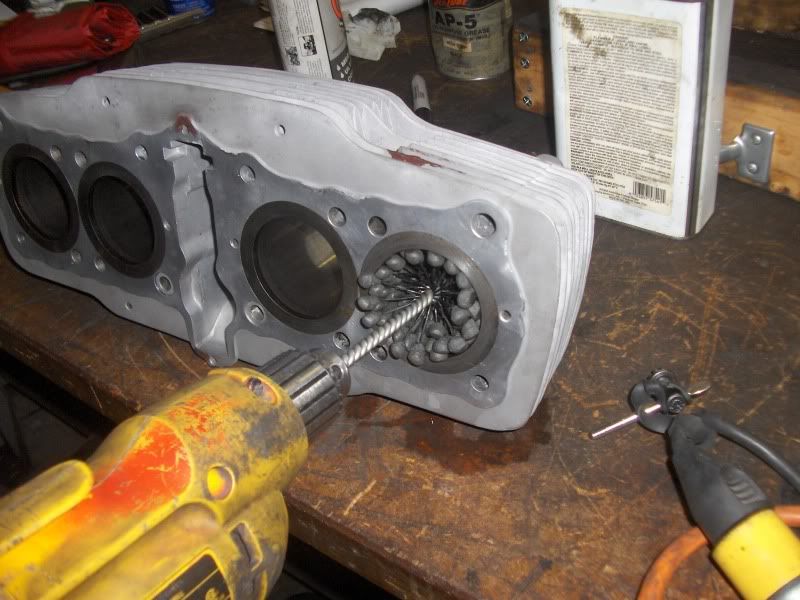
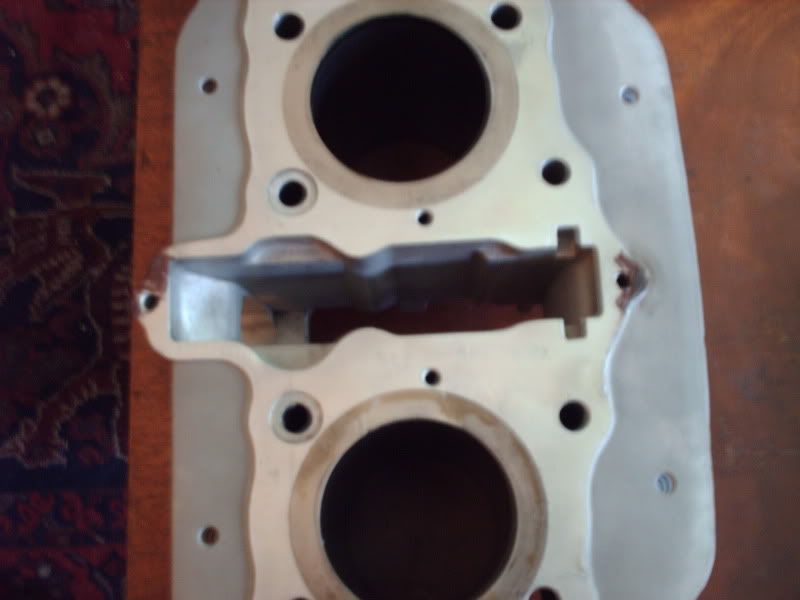
and I honed my cylinders
before...
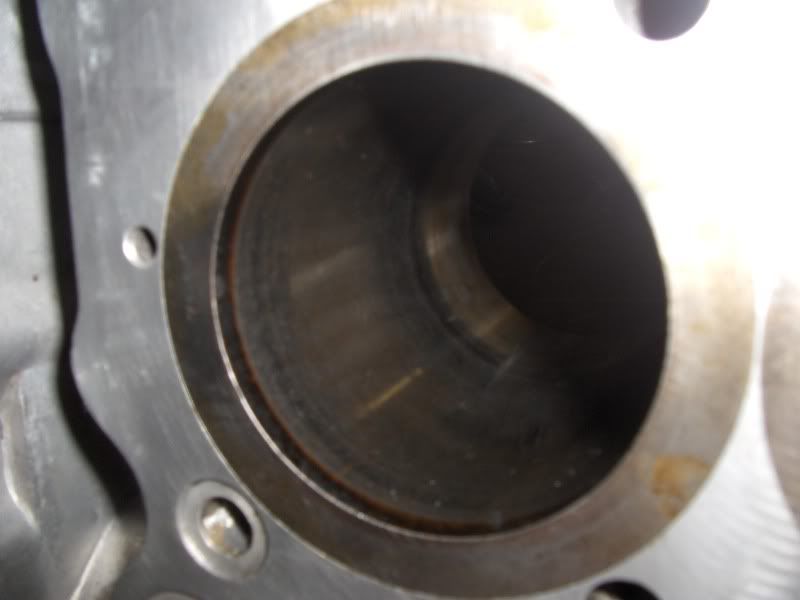
after...
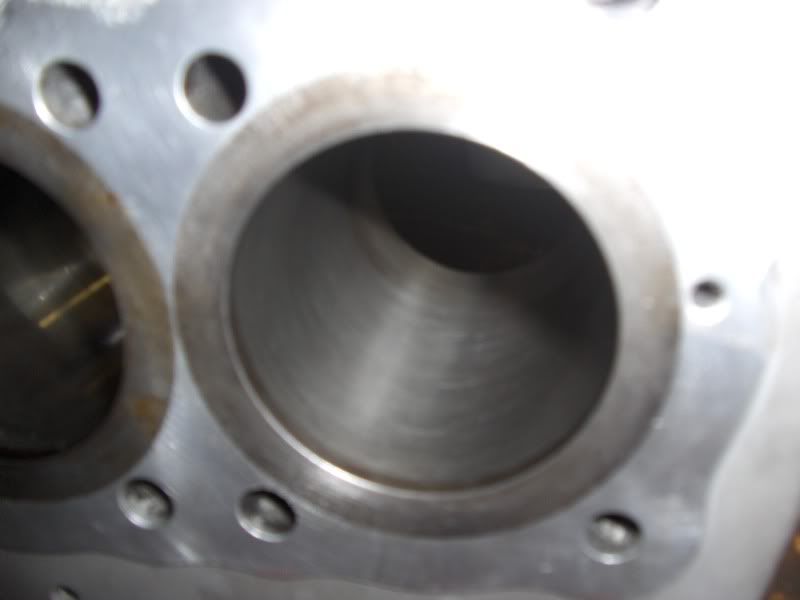
left side unhoned, right side honed

after honing cylinders, you must clean them out w/ soapy water and keep doing so until you can wipe them with a white rag and have it come out white still. this is important because of the metal bits that will be left from honing. could be very bad for your engine.
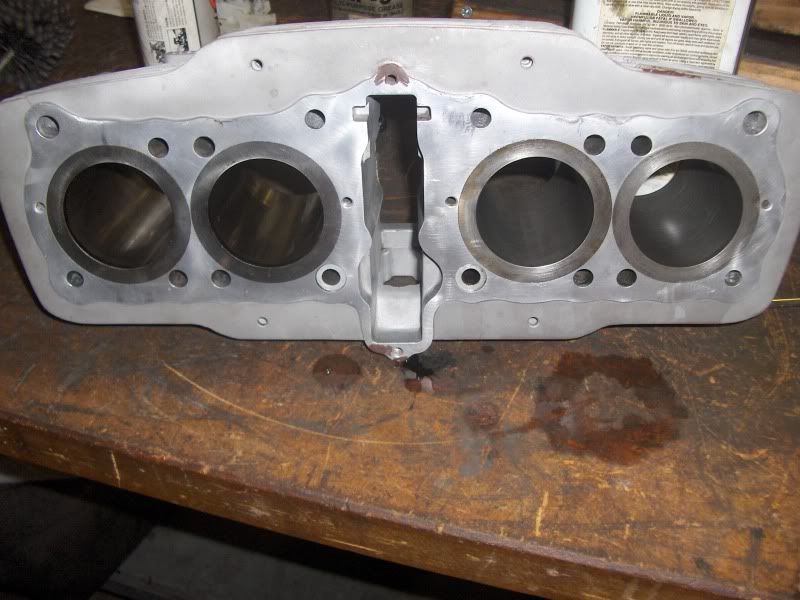
also fixed a few more busted fin areas with Devcon brushable ceramic
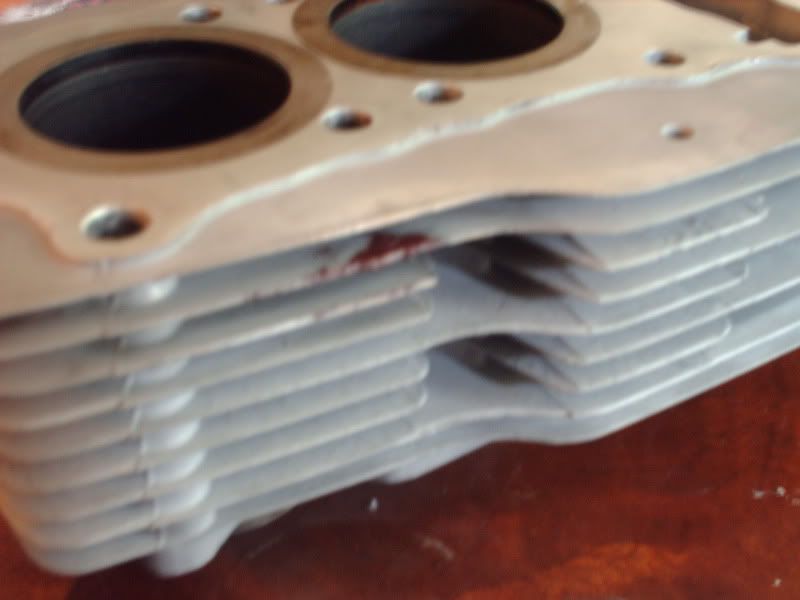
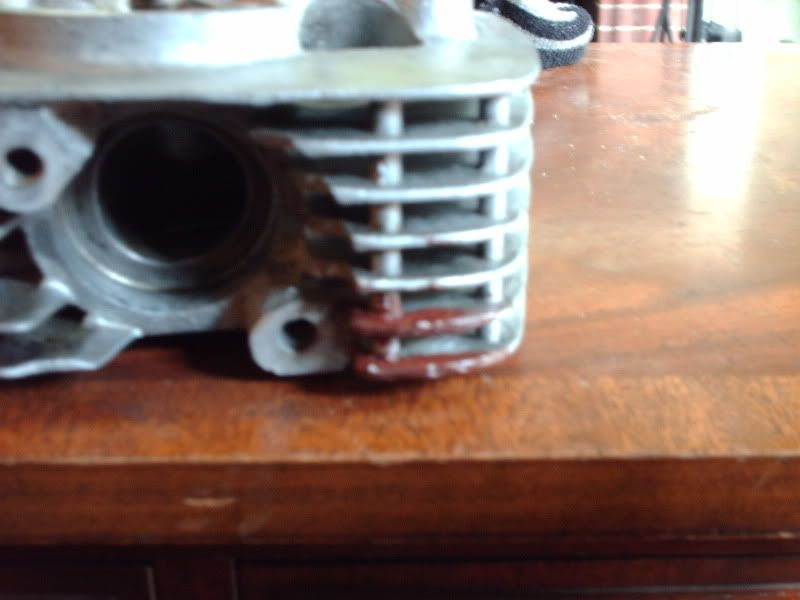
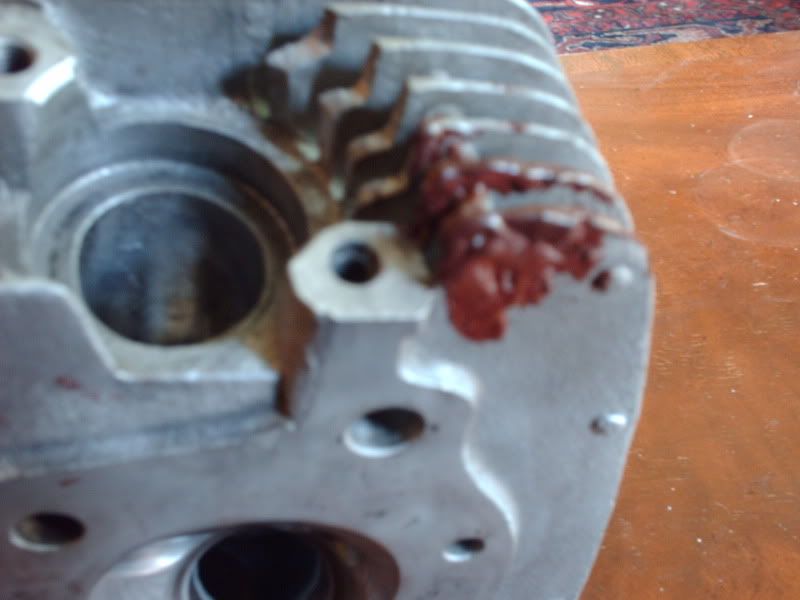
and the mating surface here
got em all filed down last night but haven't taken pics yet.
gonna order parts in a few days. at least what I need to put the cylinder head back together. I'd like to get that done before class is over, but I only have 2-3 weeks left. and 2 different jobs going at the same time.
I will prolly have to put it all back together at home by myself because of time being short, so I'm gonna be askin you guys all the ?'s that I won't be able to ask the teacher.
more to come soon...


