I've finally gotten some time to actually work on the Custom. I'm hoping it will be road-ready in a few weeks, provided I don't run into too many snags. Today's work consisted of completing cleaning of the carbs and reassembling the rack. I have a few pics of assembling the #2 carb (PD style, with accelerator pump). The rebuild kits I got from CRC2 basically included o-rings for the fuel and air crossovers, bowl gaskets, and a new float needle. There were a couple of extra o-rings and 4 miniscule flat washers, which I imagine go either to parts of the carbs I didn't take apart (the needle/slide assy.) or were included for other years the kit covers.
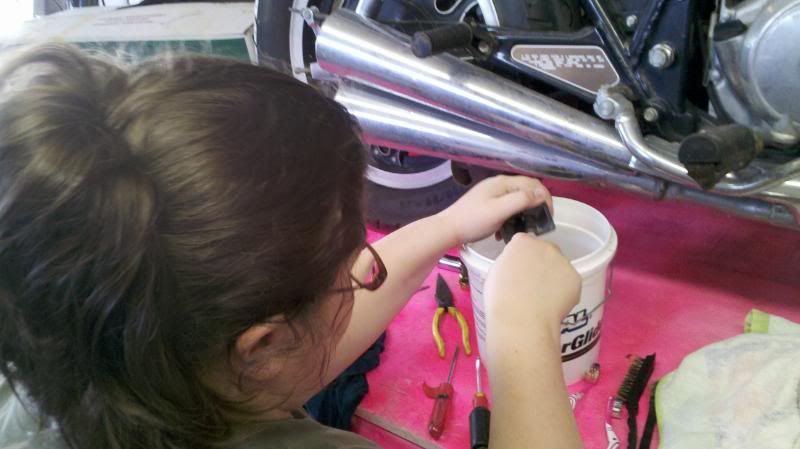
My wife helped clean and reassemble #3 and 4. It's to be her bike, and she wants to help do the work on it so she has an idea of what is what on her machine, and maybe stand a chance if she needs to make roadside repairs.
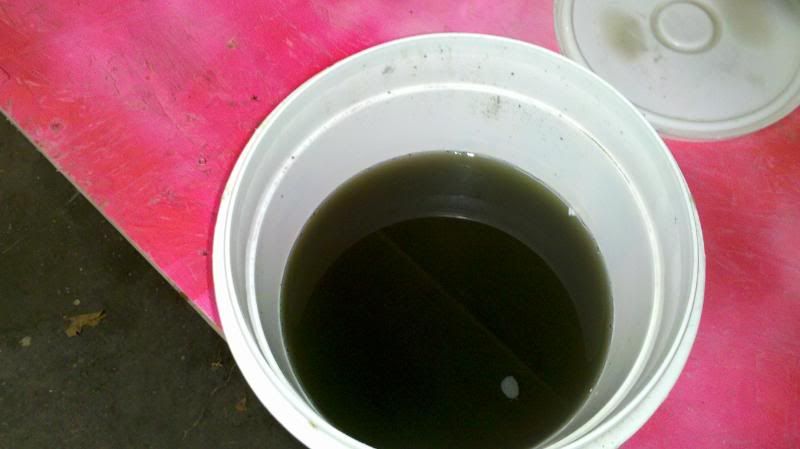
The Simple Green solution after
one carb. This was green-tinted water when we started.
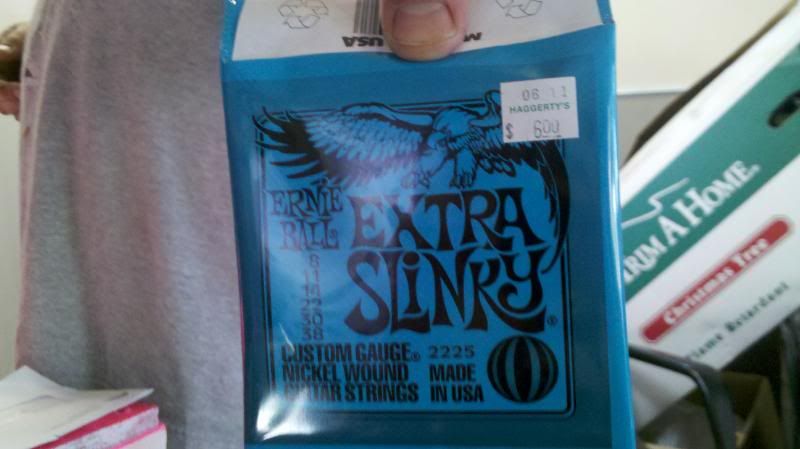
I bought a $6 pack of guitar strings. I bought the smallest gauge strings they had. The smallest was .008", and not wound. It was stiff enough to poke through the gunk in the pilot jets, and I was able to gently scrape around and free up the pilots. I also used a lot of canned air for dusting computers (I am without a real air compressor).
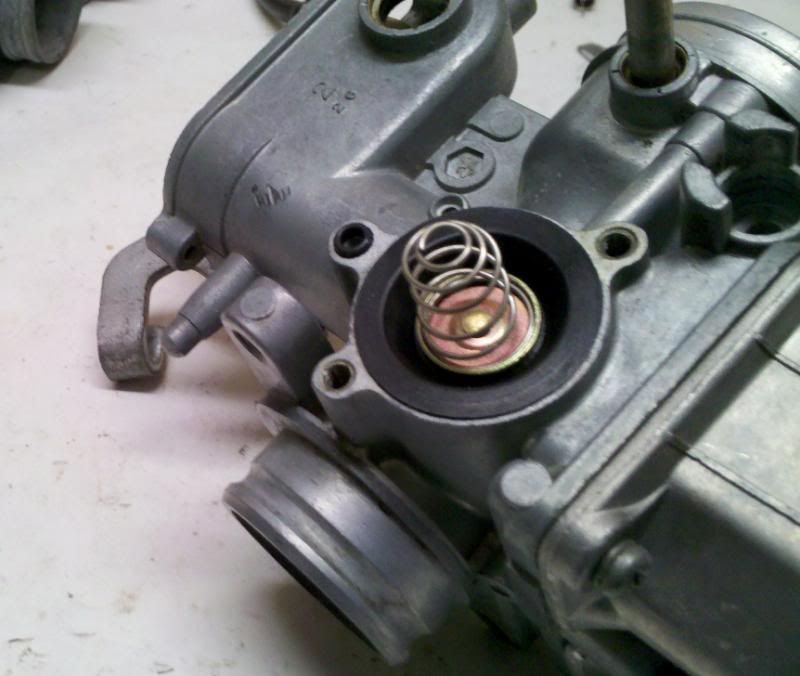
Replacing the air cutoff valve. The kit is 3 pieces: the quarter-sized rubber piece, a spring, and a minute o-ring. Notice the placement of the o-ring. Apparently I didn't get a pic of the reassembly process, which is basically putting the rubber part in place, putting the spring on the rubber part, placing the o-ring in position, then carefully putting the cover back on without disturbing the parts' positions.
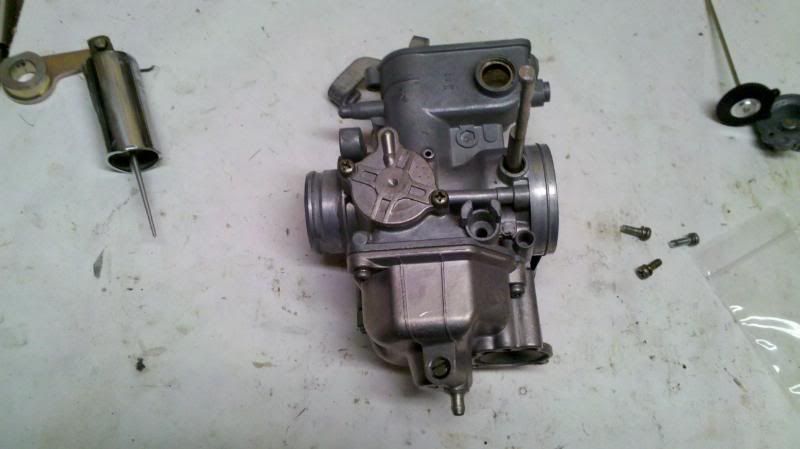
This is the bowl gasket and float needle.
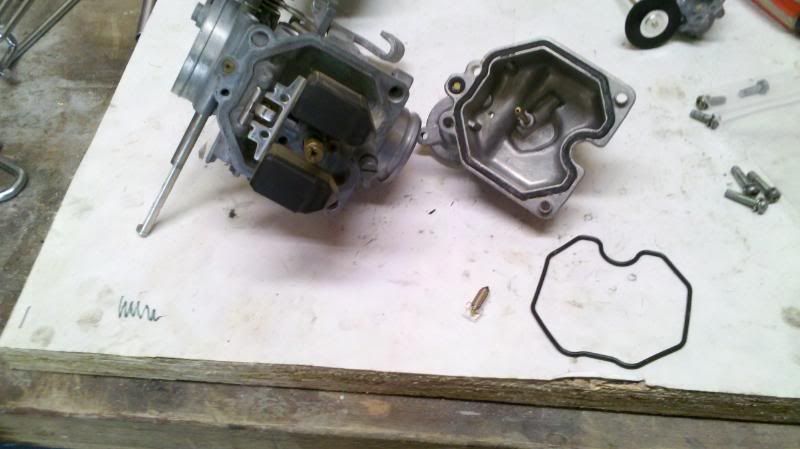
Old needle on left - notice the varnish that I didn't get off in the Simple Green bath.
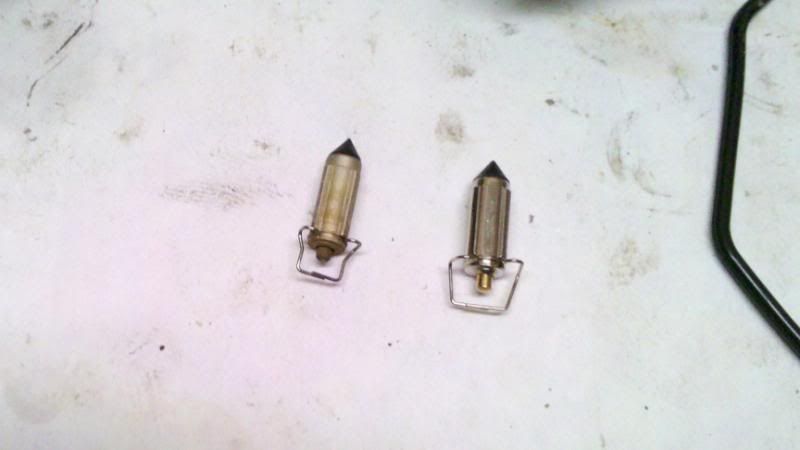
Disclaimer:
I realize the float is upside down. My wife pointed this out to me, and I felt dumber than dumb. At any rate, hook the float needle in the tongue on the float and put the pin back through. Check float level - the flat part of the float should be roughly level with the gasket mating surface.
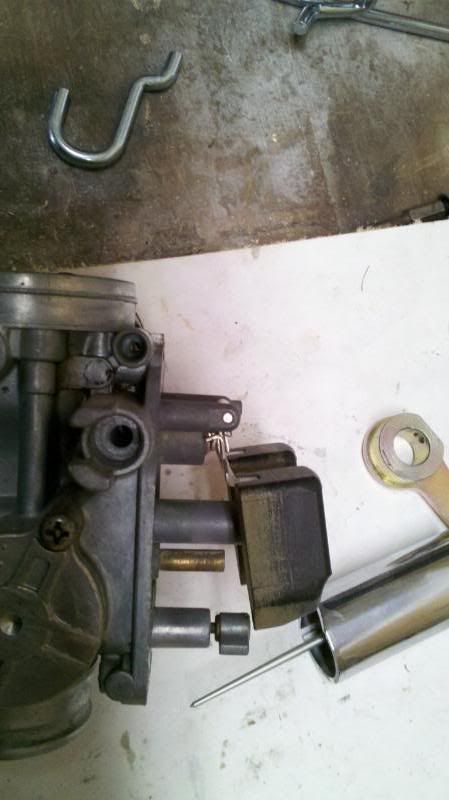
The bowl gaskets fit
very nicely.
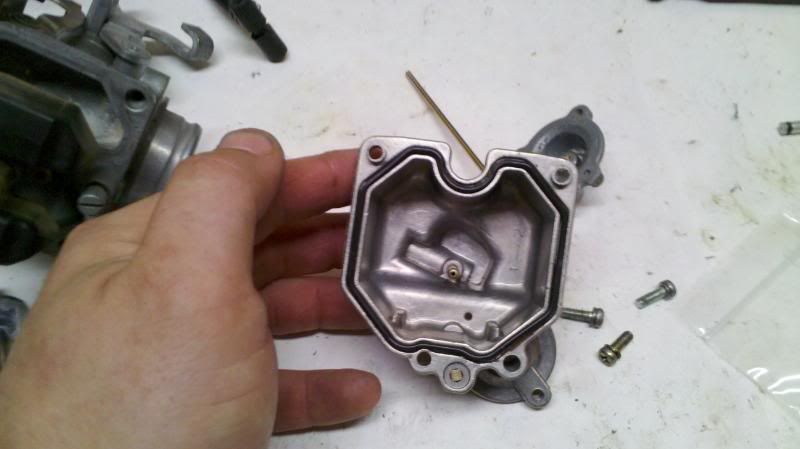
Put it all back together.

I also replaced the accelerator pump. I don't think there was much wrong with the old one, but I figured if I'm rebuilding the carbs, I'd better take care of the pump, too.
The rebuild kit is similar to the air cutoff valves, except the rubber coin is attached to a stick. The spring and little gator-boot-thingy are also included.
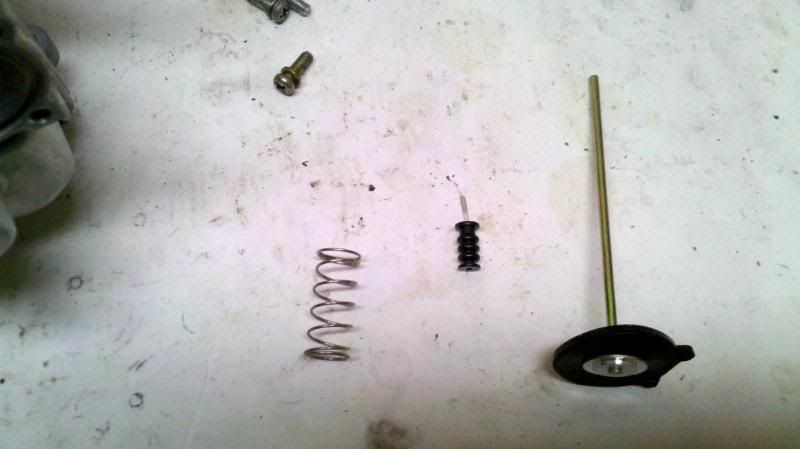
Looking at the bottom of the #2 carb, with old pump removed. The first step is to slide the new pump diaphragm into place. Make sure the little Mickey Mouse ears fit around the holes.
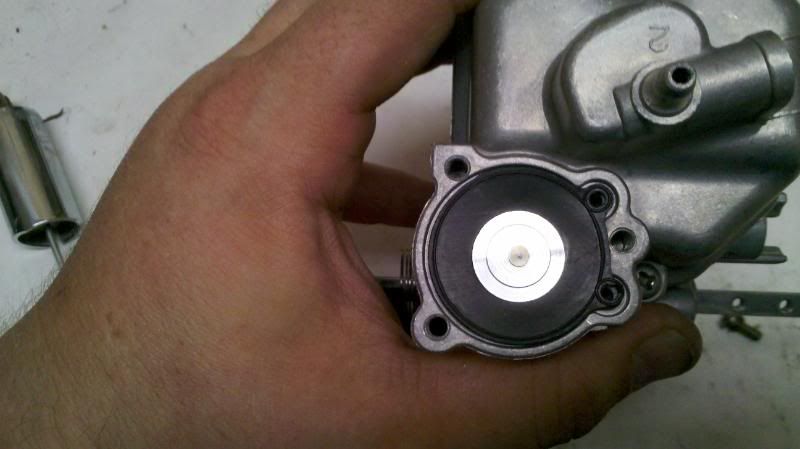
Put the gator on. It has a tapered hole; the tight end goes toward the top.
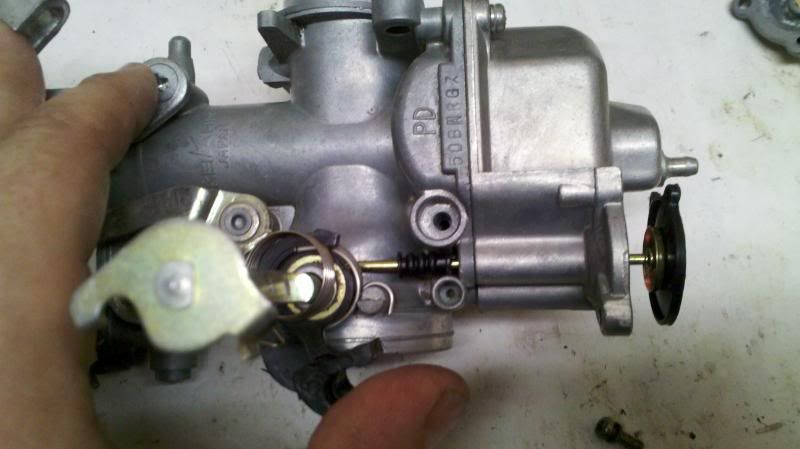
Put the spring on. On my kit, it doesn't seem to matter which way the spring goes.
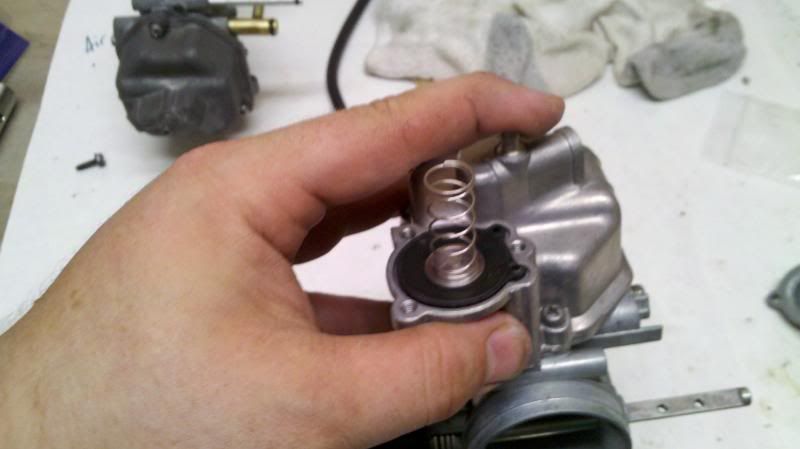
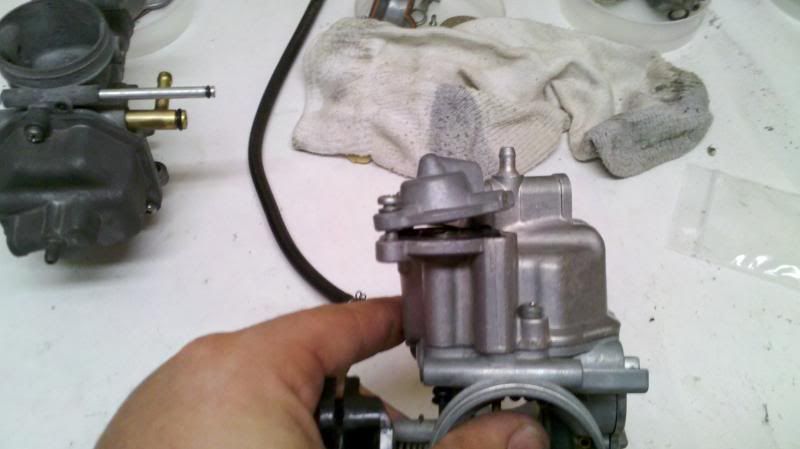
Put the cap back on. You'll need to squish the spring to make this happen. Three screws; I tightened them like car lug nuts... tightening each a little at a time to squish the gaskets evenly.
My camera died before I put the rack back together. It was ready when I had finished.
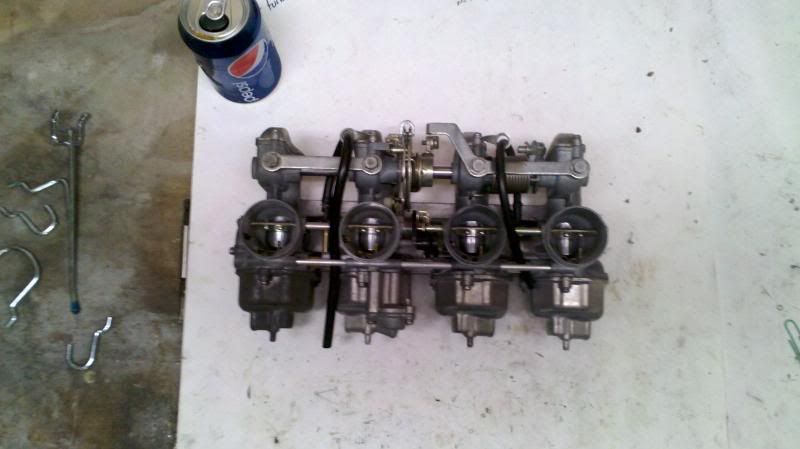
However, I did run into a couple of little snags. One was the choke arm. I didn't have it seated together right and it popped a little cap off both ends of the rack. Fortunately I had my spare set for comparison, and discovered that the choke arm has to fit nice into the black plastic choke cable link.
Another was squeezing the new o-rings on the fuel crossovers. The old ones slid in and snapped right into place, but the new ones bound up at the entry point. A little lube did the trick.
Next step: Wintergreen/xylene treatment for the boots, and a master cylinder rebuild while they soak.
EDIT: added pictures