After lugging the engine down into my basement, (thanks brother Dave!) I set it up in the best place to work on anything: the floor. Got myself an impact hammer (best tool ever) and let loose.
Btw, a MAJOR MAJOR help and inspiration/encouragement was because of the classic
Rebuild for Dummies thread.
Also, I take a $HITload of photos of everything I build so prepare yourselves.
Results:
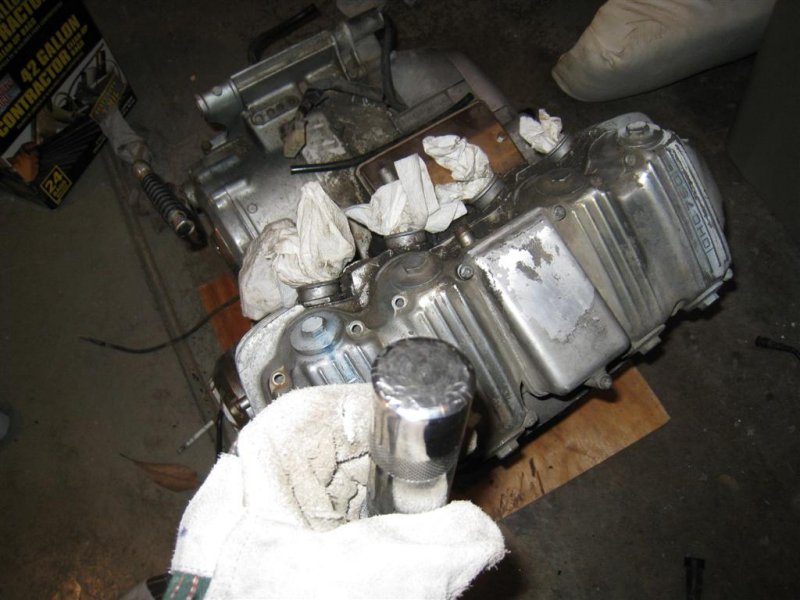
"Virgin" engine:

I should probably be using a different hammer BUT these things are el-cheapo!
Sneaky last two
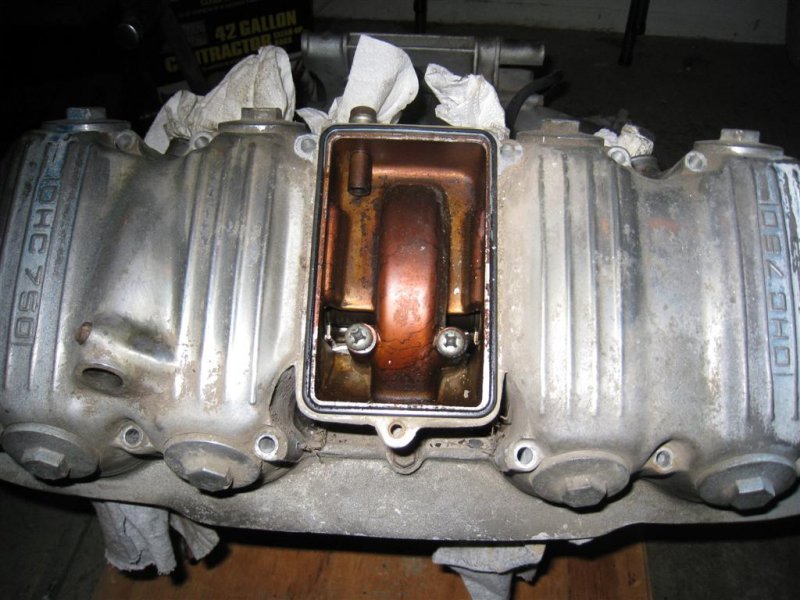
Lots of cobwebs elsewhere but the valve train looks decent
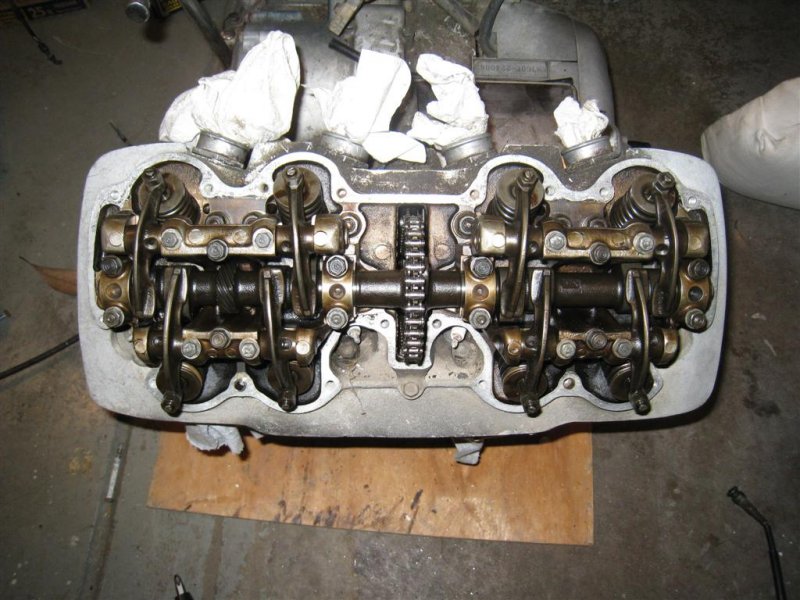
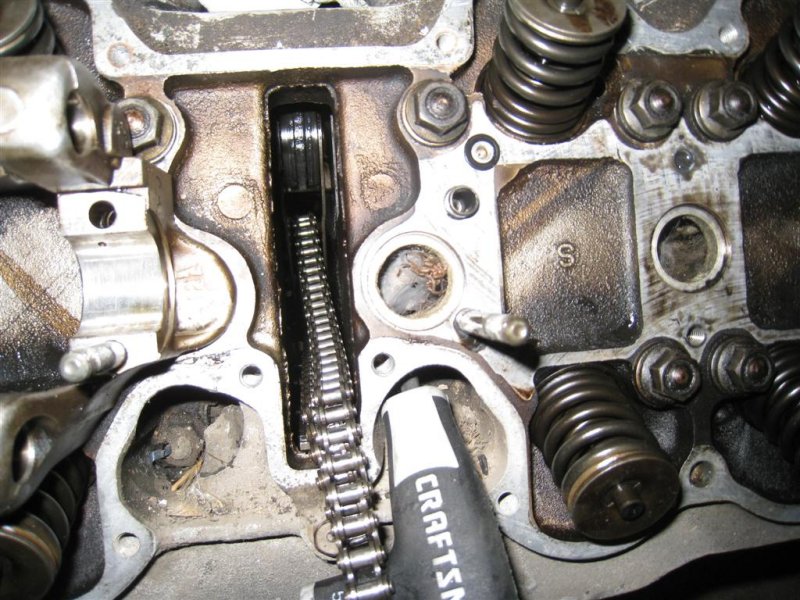
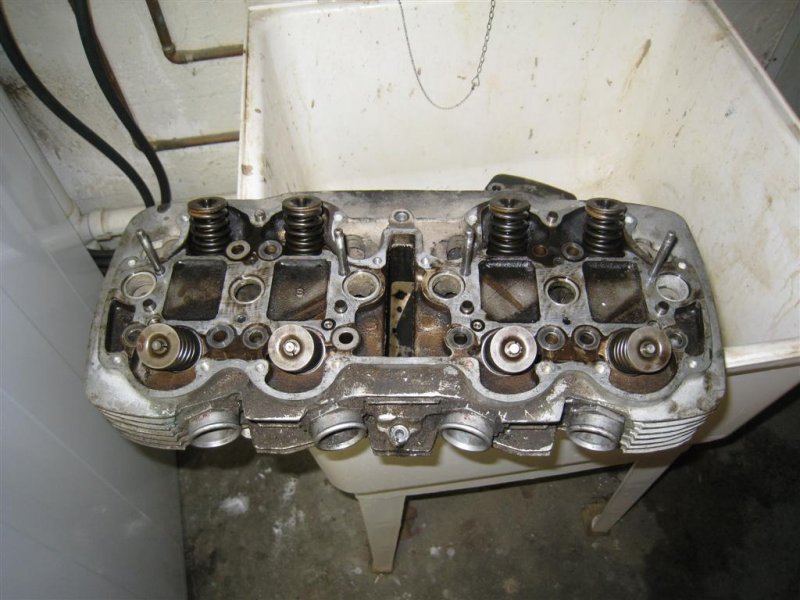
Speaking of which:
Headless! (if you don't have a slop sink, GET ONE!)
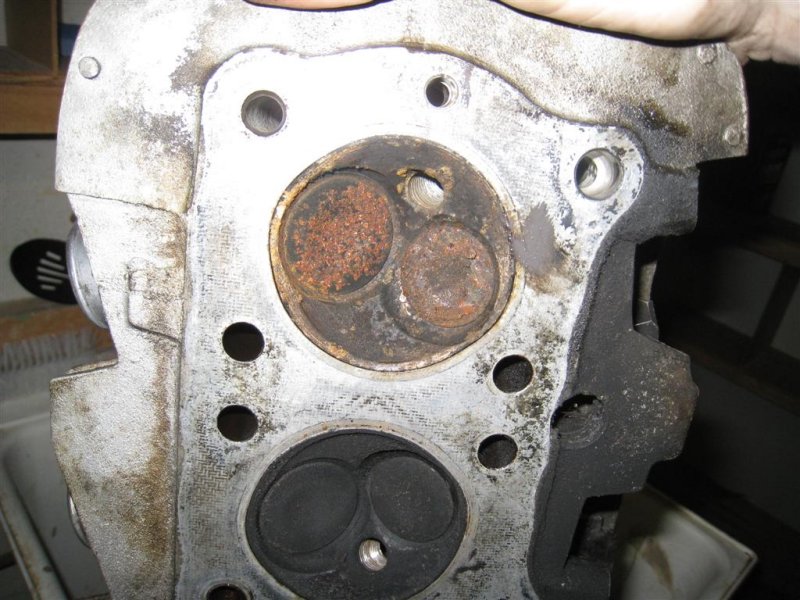
I think Cyl 4 had some issues, the others looked just like 3.
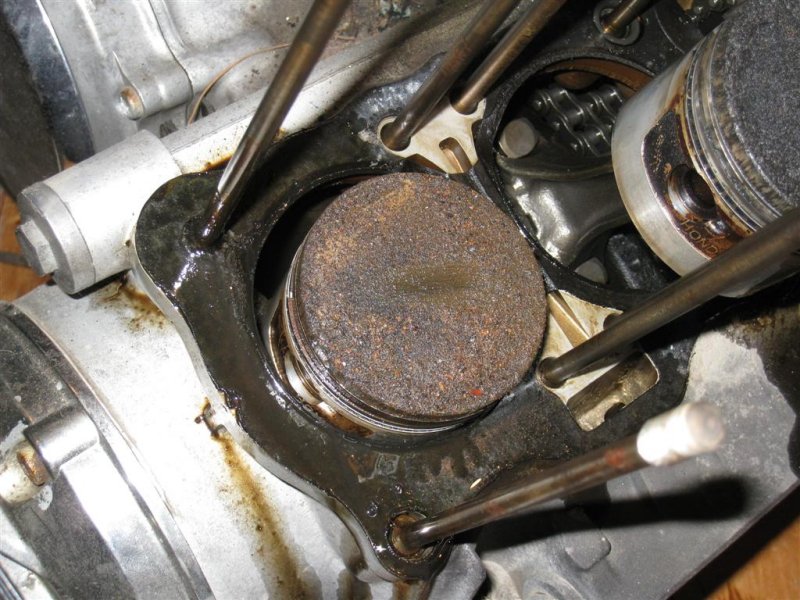
Offending piston:
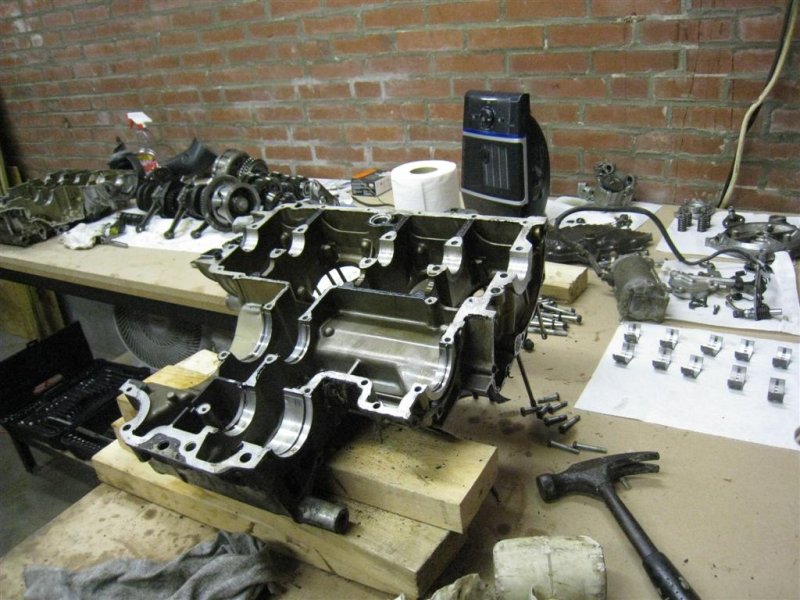
Unfortunately I don't have many photos of the bottom end tear down but the only real issue I had was with the cotter pin holding in the kick start assembly. I probably need a new one.

Disemboweled:
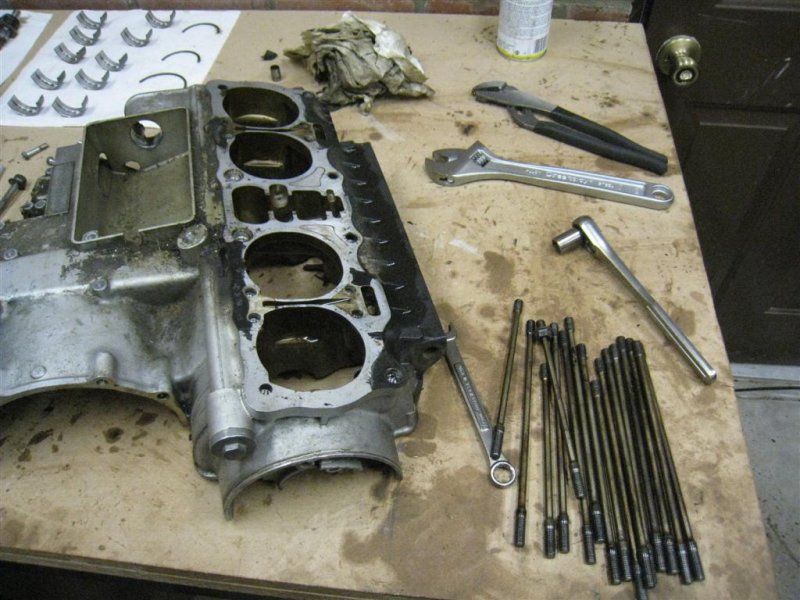
Taking out the studs to be replaced with heavy duty hotness. I used the nut on a nut method to get them out. The astute reader will notice a brand spankin new work bench I'm building on, I'll post some build pics of that too!:
More teardown pics in the next post!


