Man, time passes. Apologies to my massive audience. Anyway.
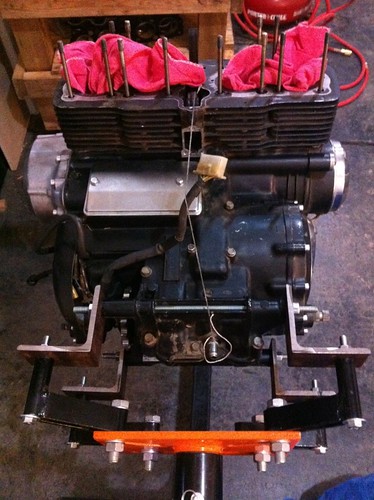
After much haranguing and whatnot, I finally got the engine back from my buddy's house a couple of weeks ago. Poor guy -- he decided to go back to school and finish his PhD. Great for him, not so great for me trying to get into his garage and work on my bike. I had to leave the rest of the bike -- frame, wheels, tank, etc. -- but I thought at least I could work on the good part.
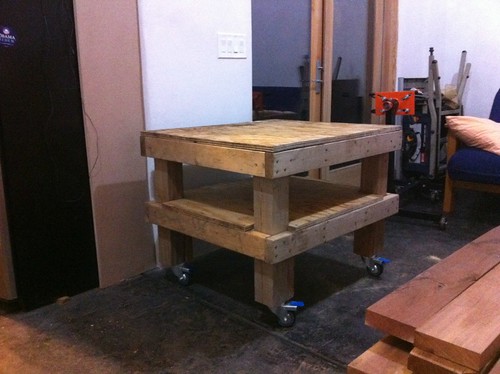
In the meantime I tried to set myself up a little better. Built a work stand with some nice casters...
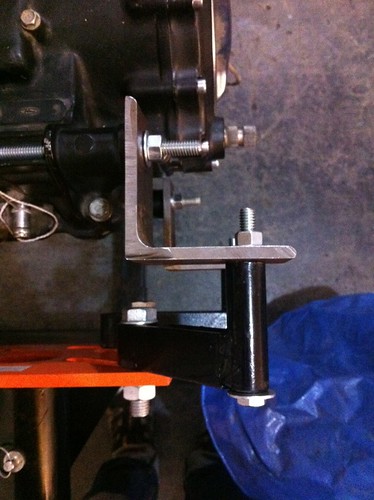
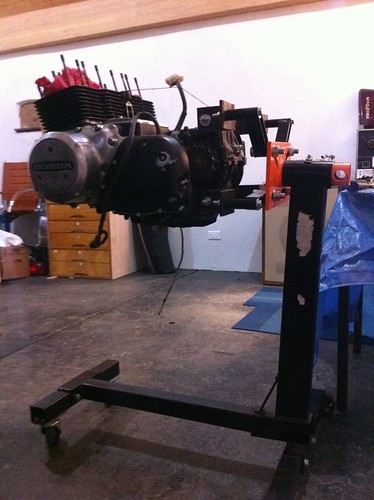
Bought an engine stand of Craiglist and set it up with the
angle iron mods I found on this forum...
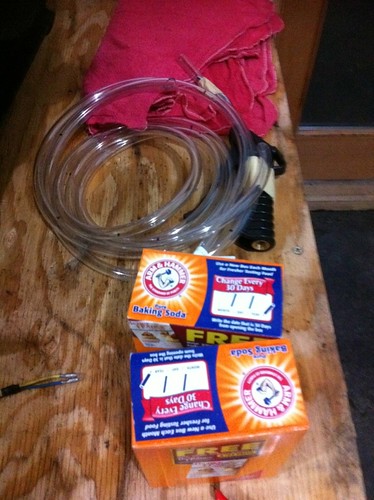
Also bought the $15 worth of parts to build the
homebrew soda blaster I found through the forum...
I figured since I had the engine and had the head off I would work on what I could -- check the valves, clean the pistons, etc. I got as far the
Hondaman-recommended valve leak test: valves held pretty well, after 30 minutes there was still oil in the chamber! I bought a micrometer and a digital caliper, but before I could really dig into the engine, my PhD buddy called again a couple days ago: he wanted me to come get the rest of the bike. So here she is, back in her homeland.
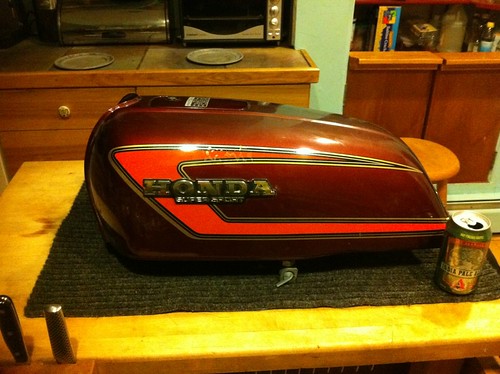
Oh lovely clean tank! This will be the 3rd tank I've bought for this bike -- only one has actually run on it; the rest went back to ebay...
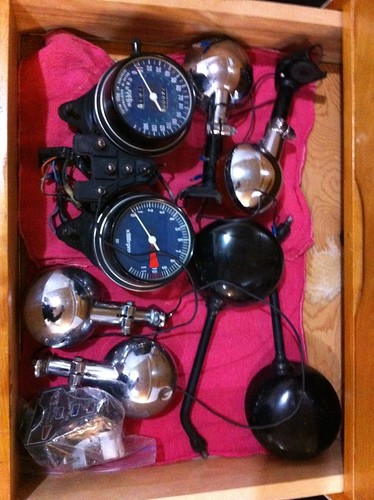
The gauges I bought back in 2008; also my 3rd set of gauges. (Got a mismatched set if anybody's interested...)
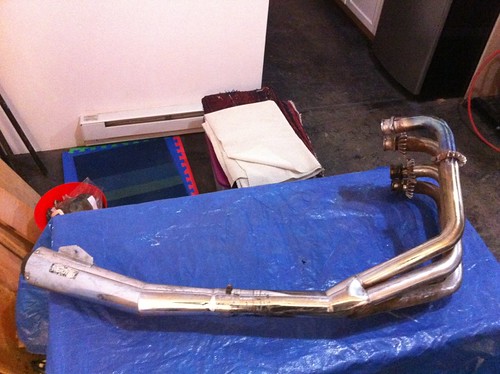
4-to-1, Kerker header, beautiful but loud...
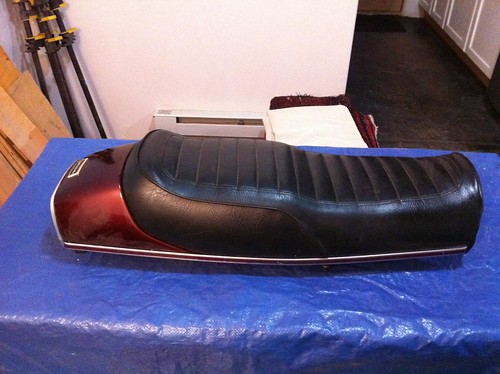
Seat intact! Also from 2008 mass-purchase...
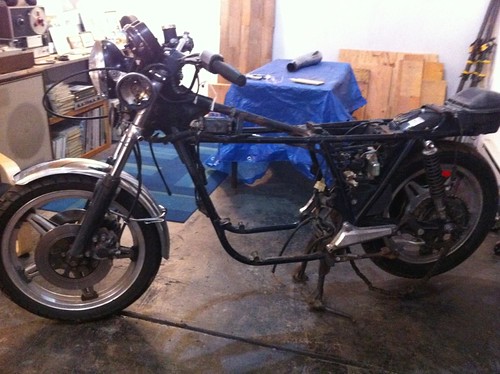
The bike, engine-less, as she looked after I took out the engine in 2003...
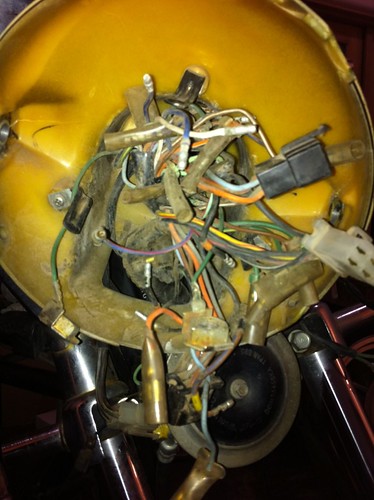
Blargh. Headlight electrical barf. Half fascinated, half terrified of the impending rewire...
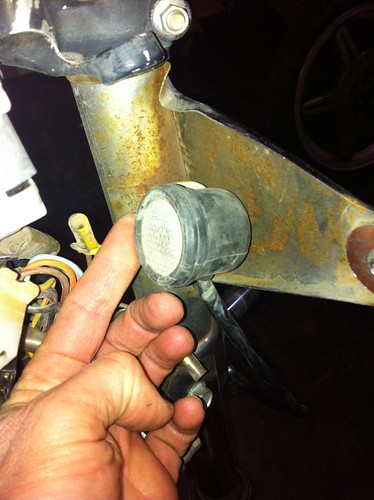
I found what looked like a couple of homebrew mods on here. One was the use of what looked like ordinary metal strapping to attach the horn to the front brake manifold to the, uh, what's it called -- fork brace?
The second was this strange horn-like device, wired through the fork covers/headlight bracket along with the turn indicator. Anyone seen this before?
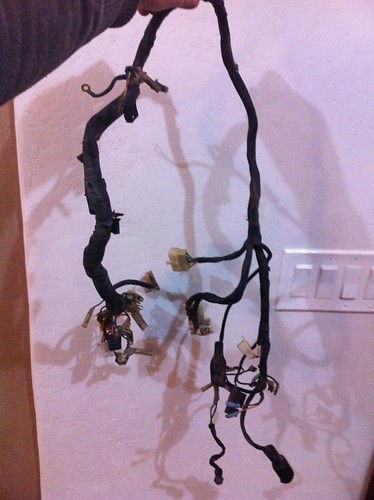
Got that all off, though, and pulled the main wiring harness. I felt like I had just disemboweled the Alien Queen...
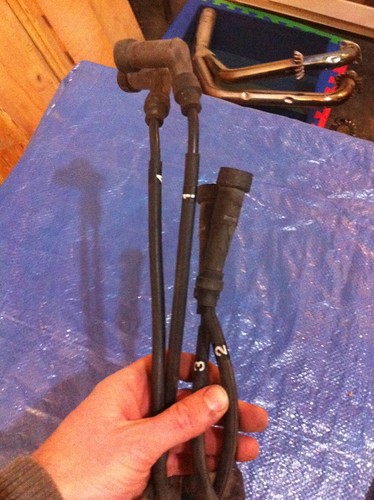
Noticed these guys were numbered. Is that a factory standard, or did someone at some point mod this bike and add those numbers? Kinda handy...
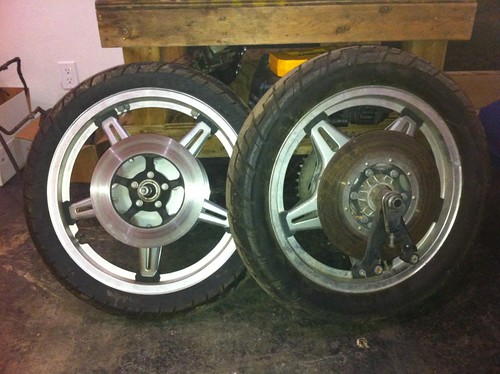
Wheels look in decent shape -- though the new Chin Shin (?) tires I put on in 1996 are probably done for...
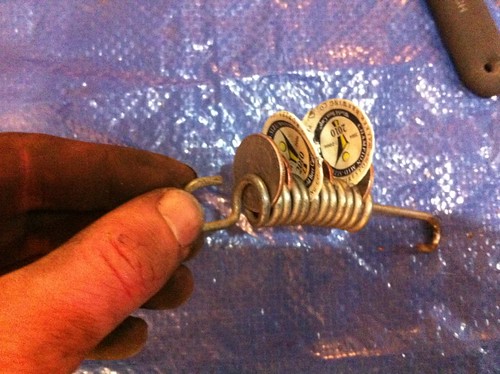
One of the last things to come off were the two stands. And if it weren't for
this genius tip from the forums, I never would have gotten the side-stand spring off (thanks,
mystic_1!). You can use coins OR bottle caps you've smashed with a hammer...
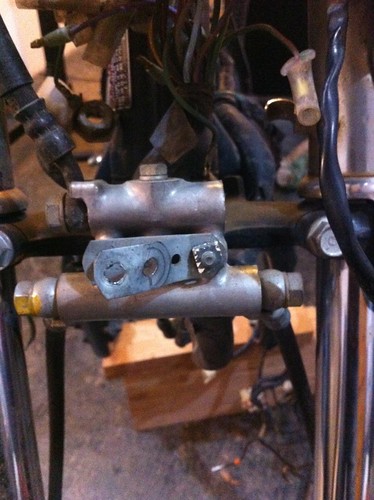
I also was highly paranoid about disassembling the front and rear brake assemblies, probably from reading some of the F-series brake discussions here. So I just took them off whole hog, that way I can research the #$%* out of them and hopefully avoid any massive foul-ups...
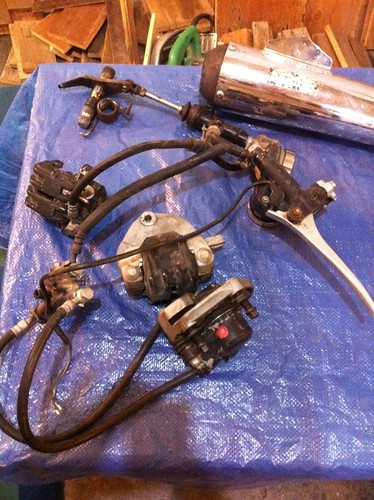
And voila!
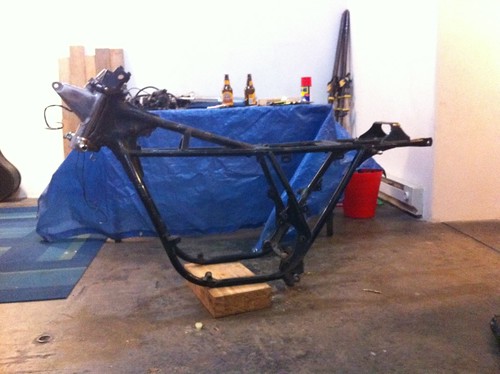
The frame is very very very almost close to being ready for blasting and powder -- I just have to get the triple tree off! Don't have a socket big enough for the steer tube. Actually, I don't know how you're supposed to pull it off -- got this far after about three beers and thought I'd better quit before I #$%*ed something up.
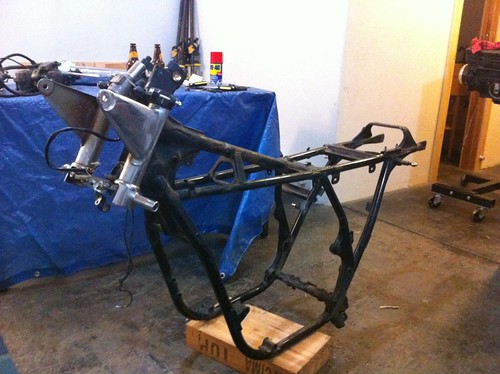
Looks like I've moved way beyond my original goal of just getting her running. I blame
Tweakin and his stupid beautiful build. I'm planning to work on the engine as I have time, while collecting a pile of stuff to be prepped and painted, then sending it off when I have a few extra dollars. (Should be sometime around 2016...) So, next up: digging in to the top end, and a session of deep thinking over whether I want to crack the cases. At the very least I want to check all the valve & piston clearances, probably replace valve guide seals and piston rings, unless something is super heinous and I need a more thorough overhaul. A note to AbbyRider: for the C-clamp valve spring tool, I'm using the cut-off from a mountain bike fork steer tube. Haven't notched it yet, but I'll keep you posted on the surely amazing details...
Thanks for reading.


