Better to open it up as you plan. 0.5mm isn't a small amount when you're talking about fitting metal pieces together.
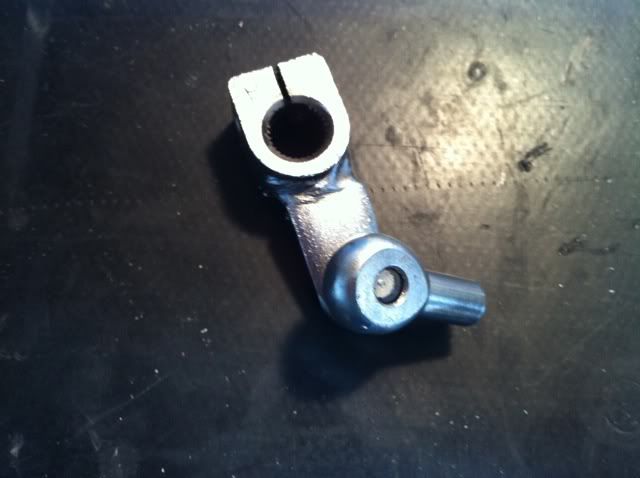
Well - I started the day with a careful filing of the inside of the gear shifter attachment, but once I had it at a slide on fit stage, bolted it all up and tested it - it slipped on the spline!
So I went to plan B:
Ground the back off the pin that holds the uni joint to the lever, tapped out the pin, got my stock gear change lever, drilled just the right sized hole, shortened it, tapped in the uni joint from the other fitting and then burred and rounded the back of the pin off once it was tapped into place to make sure it stays there.
Not much to look at, but the smallest parts can be so hard to fabricate in your back shed.

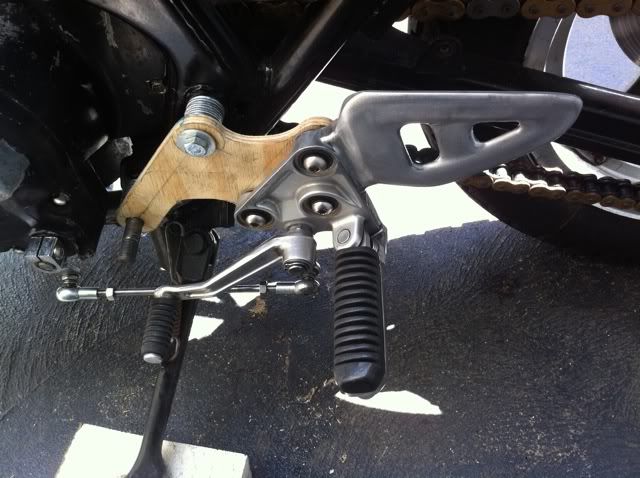
Fitted it to the bike, fitted the linkages and it all works nicely.

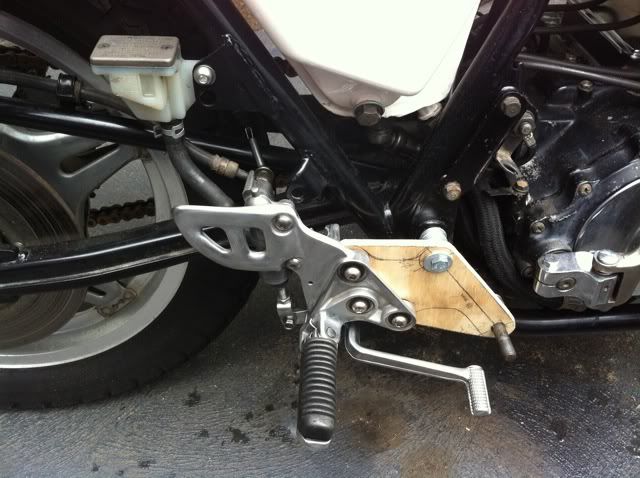
So I moved on to the brake side. This was actually easier to do than the gear change side, I copied the mounting positions across from the other template, but I had to adjust one mount hole as the rear sets don't have three mount holes in the same place - the brake side set has a third offset hole but not as offset as the other one.
I made up the bracket, test fitted it with the master cylinder, found a good mounting point for the reservoir and it all works fine (or will - when I bleed the brakes).

You may have noticed that the first bracket was a little 'slimmer'. I will go with the larger second bracket as it will be sturdier and avoid any chance of bend or breakage across the point where most stress is applied. At this stage I am looking at 10mm aluminium for the brackets, with 20mm of spacer between them and the frame, which I may do with 10mm thick spacers cut from the same stock.
next steps:
- draw up the brackets for manufacture.
- extend the wiring on my brake switch.
- consider a new rear brake line (although the stock one does reach).
- shorten the lower rear engine bolt by 53mm and re-thread the end I cut.
And then I will have Hayabusa rear sets on the High Tea Racer.