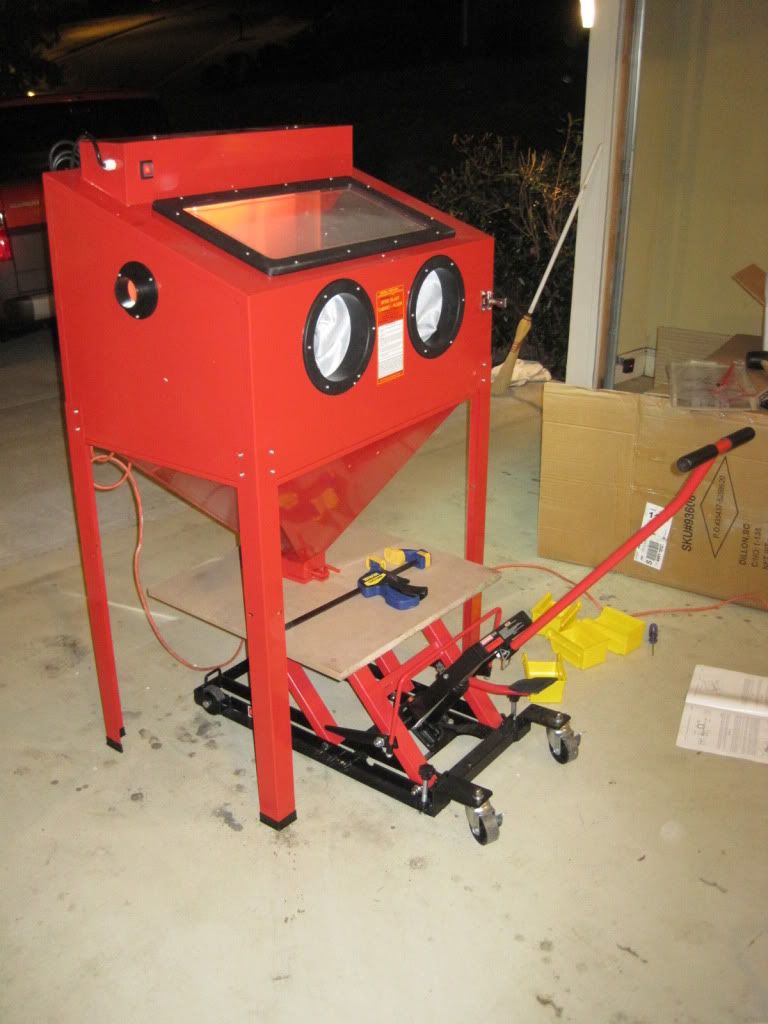
Tonight I put together my Harbor Freight blasting cabinet. It's the 40lb. capacity self standing model 93608.
http://www.harborfreight.com/40-lb-capacity-floor-blast-cabinet-93608.htmlI wanted to throw out a few items/tips I discovered along the way. Hopefully it will save others a headache.
General infoOnline it says the air requirements are 9.5 CFM @ 90 psi. The manual that comes with the unit and the operating sticker on the front of the cabinet both say 12-15 CFM @ 90 psi. I called Harbor Freight tech support and they advised me they performed additional testing recently and lowered the CFM requirements to 9.5. They also advised I download the updated operating manual here (has updates to CFM rating):
http://manuals.harborfreight.com/manuals/93000-93999/93608.pdfThis is a good thing because the price almost doubles for air compressors when you go from one capable of 9.5 CFM to 12-15 CFM.
Tools required (they are left out in the instructions)
-3/8 wrench
-3/4 wrench
-9/16 wrench
-small philips
-medium Philips
Also the folowing items (will explain these later)
-Square piece of plywood (roughly 2'x2')
-Two pieces of 2"x4" about 2' long each
-Motorcycle jack
-Adjustable C clamp
Modified assemble instructionsThe assembly instructions are absolutely horrible. In this day and age of technology there is no excuse for using images that are barely distinguishable. The instructions also seem to have been written by a third grader. Here's my advice:
After you unbox all the contents separate the long screws, short screws, nuts, and washers. I used little plastic bins from my work bench. Trust me you think me later. Especially when you are screwing the cabinate body to the lower funnel.
The intructions say this is a two man (or woman) job. I took that on as a challenge to do it by myself. So there Harbor Freight!!
This is not a full set of instructions. Just my tweaks to some of the steps. So make sure to still read the manual.
Start by laying the main cabinet body on it's back. Use one of the thin box sized pieces of Styrofoam to lay it on. It will protect the unit from scratches. Attach the front left and front right legs using the short screws provided. The legs are L shaped and there are two screws per side for a total of four screws per leg. Then attach the back left and back right legs. You will only have access to the two side screws for each leg because the unit is lying on it's back. After tightening these screws lift the unit on to it's left side. Use the Styrofoam piece with the circle hole to again protect the unit from scratches. Why the circle whole you ask? The left side of the cabinate had a plastic port hole that sticks out roughly 3/4" of an inch. Using this specific piece of Styrofoam will allow the cabinate to sit flush to the ground. Now you will have access to the remaining screws.
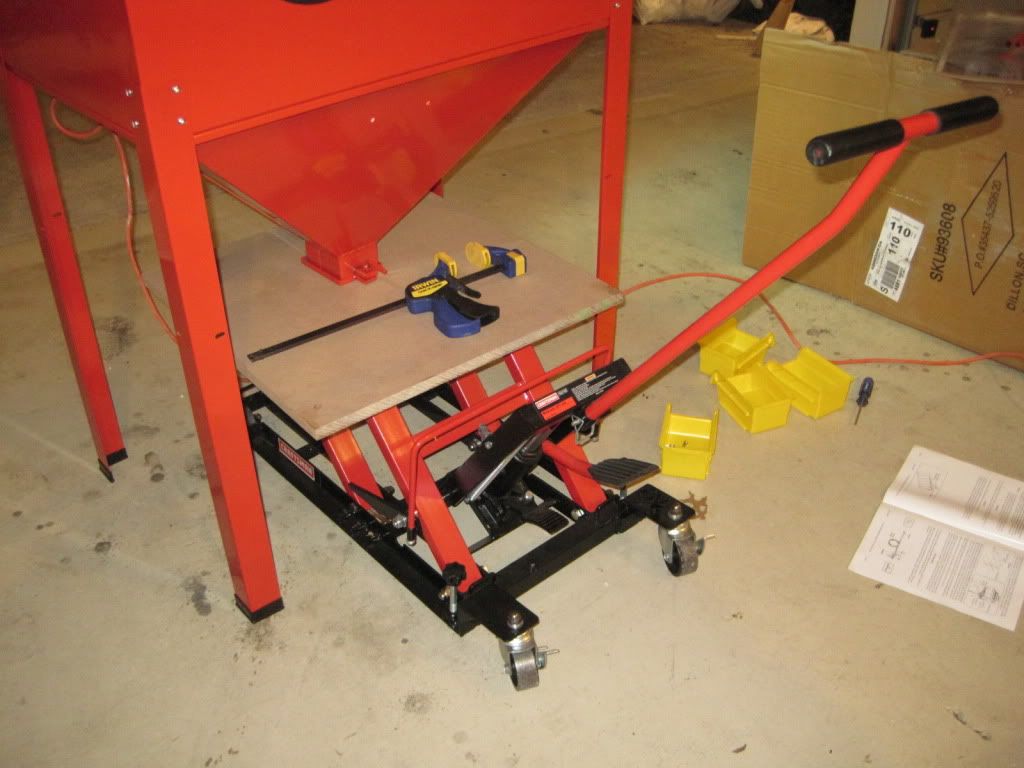
Stand the unit upright. Now here comes the explanation of the earlier items. Roll the motorcycle jack under the cabinate. Lay the plywood on top of the jack lifting points. Slide the lower funnel under the cabinet and sit it on the plywood. Don't forget to place the screen and screen support shelf inside the funnel. That part if pretty straight forward. Slowly lift the jack until the funnel is in place. Should look like this:


Use the long screws to attach the funnel to the cabinate. The screen support shelf has foam pre-installed and is quite useful (other then sealing the cabinet). The screws go in from the bottom up. Unless you have really longs arms you will not be able to hold the nut and screw at the same time for about half the screws. I found that the foam was enough to hold the screw in place and allowed me to reach inside of the cabinet, drop on the washer, and carefully thread the bolt. I stress the word carefully. I did have to push a screw or two back in a few times. I used the C clamp to hold some of the screws in place. Do this long enough to get a good bite. Then grab your wrench and wedge it in place to allow you to tighten the screw. Like this:

Worked like a charm on all the screws
Now on to the shelf. Lower the motorcycle jack and remove the plywood. Replace it with the 2"x4"s. One on each lifting point. The reason for this is the cabinet funnel sticks down and hits the plywood before you can lift the shelf high enough. This way will allow the lower part of the funnel to go between the lifting points of the jack and position the shelf to screw it in place.
Follow the rest of the instructions and you should be good.