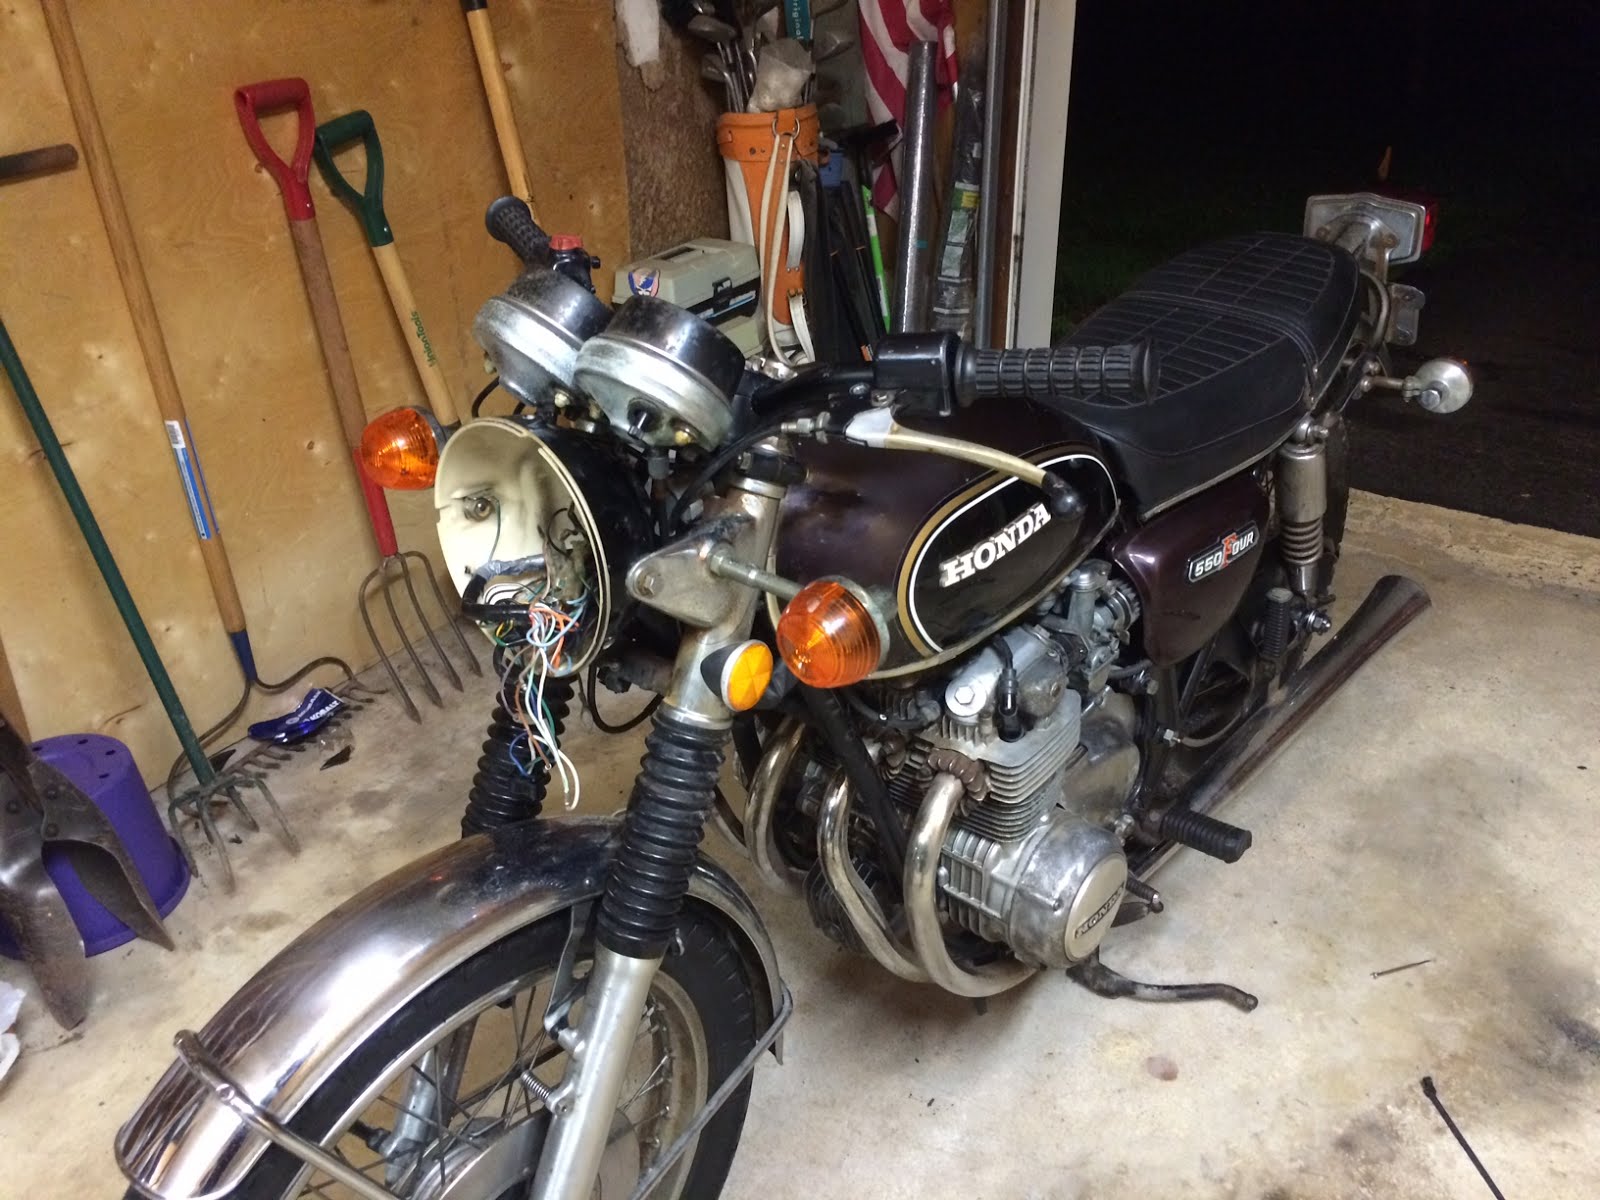
I received my Euro bars in the mail. I did not anticipate the inner diameter of the aluminum bars to be so narrow. I should have ordered steel bars. I could have ordered bars from a 350 or 360 too and they would be pre-drilled perfectly. I want a clean look so I decided to go internal anyway. I had to drill out the bars, that was a huge pain because I did not have drill bits wide enough. You need a 1/2" drill bit pretty much. The wires barely cleared and getting the left wire bundle through the bars was one of the most difficult things I have ever done in my life. I worked it through though, it took a lot of force. I am slightly concerned I may have damaged the wires from all the force I had to use.
I got it all wired back up as best as I could. The picture below is of three wires that I can not seem to find the correct connection for. I have the diagram but the colors of a lot of my wires are faded, and I am also color blind. If someone can simply tell me what wires those are then I can connect them. The high been works now but not the normal low beam. Both didn't work before I pulled and reattached the wires. Seems like the switch might need a rebuild because if I fiddle with the switch the high been with flicker/cut out. It stays on fine if i don't fiddle with it so i consider it safe to ride with. The blinkers both come on if I flip the switch over but they don't blink, they just stay static. I am pretty happy about the light because now I can work on the bike and take it for test rides at night, not just the day. It looks super trick with the black Euro bars with the wires internal routed.
I have another MC but I really want to rebuild the stock one. Does anyone know a trick for getting the c-clip out of the master cylinder? Most normal pin spanners aren't long and thin enough to get into the caliper. Mine MC is pretty rusted up to. What is the key for getting out the ring clip that is in front of the c-clip also?
I am going to check alignment of the frame today, pretty concerned that the frame or swing arm or something is bent. When I have the chain properly tightened and the wheel at the correct marks it just seems so off to me. Any advise on checking swing arm and/or frame alignment is greatly appreciated.
Also pretty concerned that my chain, although still within spec, has same seized rollers. Is there a trick for breaking them free? I was just going to grind up an old set of small pliers into a shape specifically for rotating them while I hold the plate to break them free, is there an easier way? Special tool someone already makes?
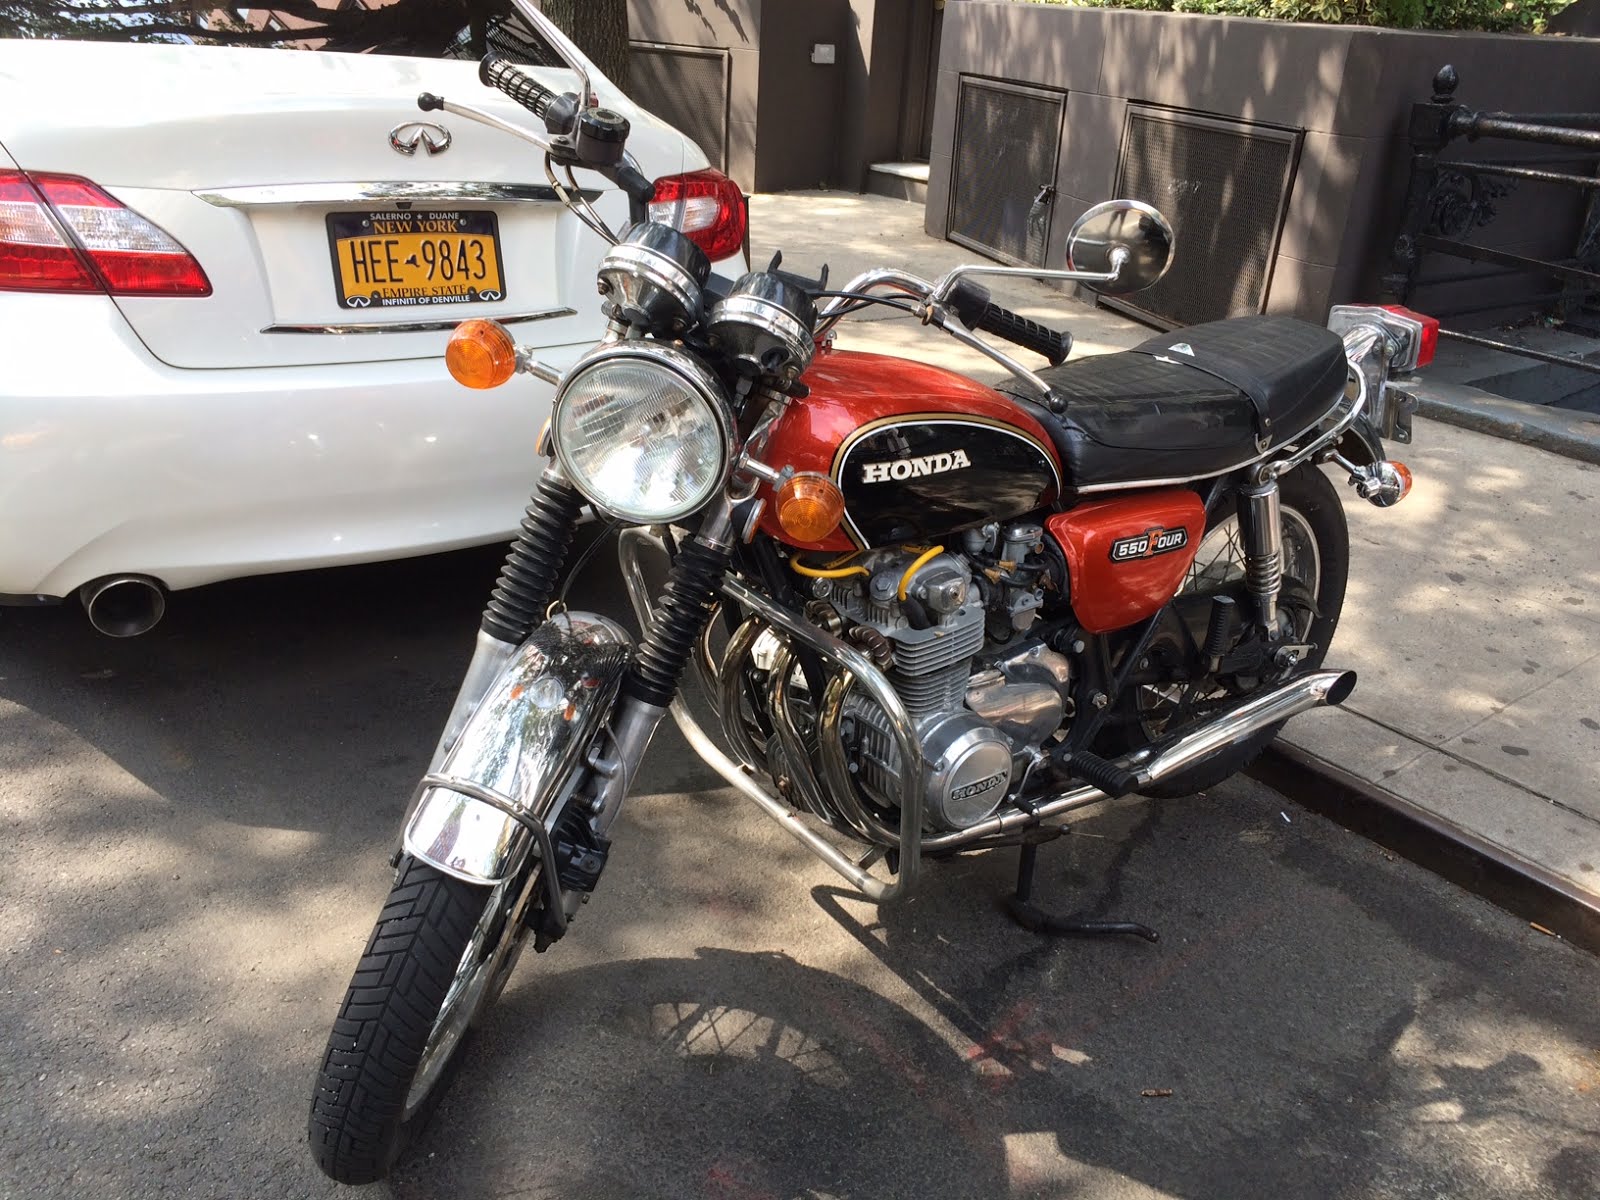
And now some pics, the Orange K0 at the bottom is just a random one I saw on the street in Chelsea. It was nearly mint.