update time, I am so late with these things. sorry guys!
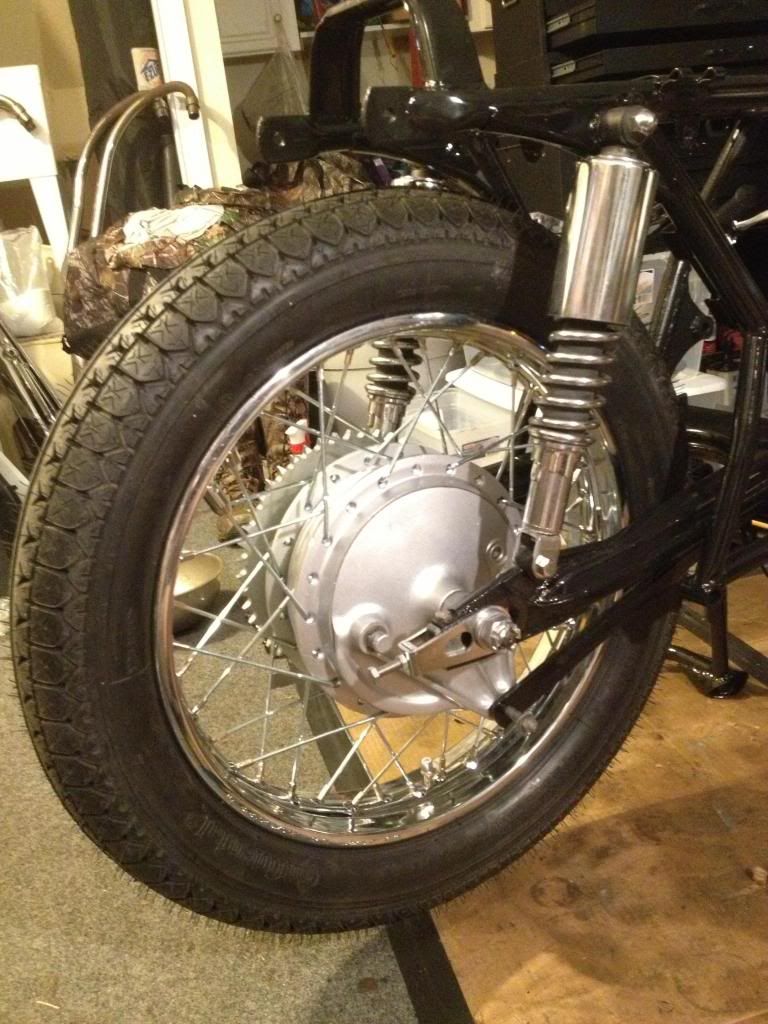
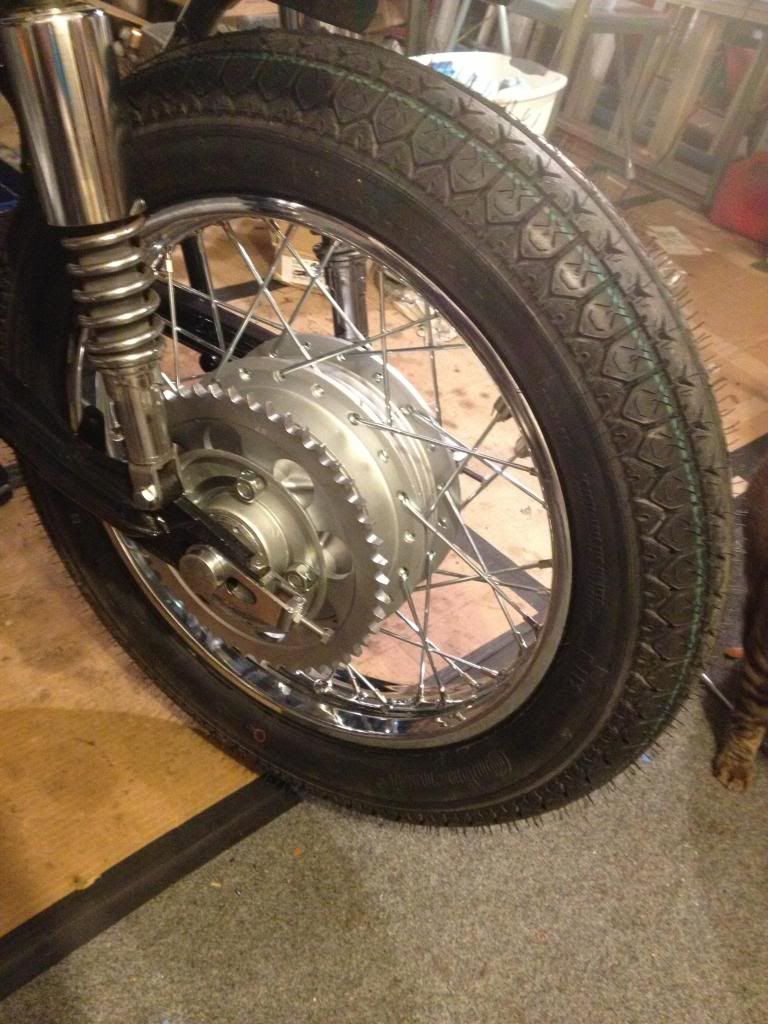
Alright time to tackle wheels!
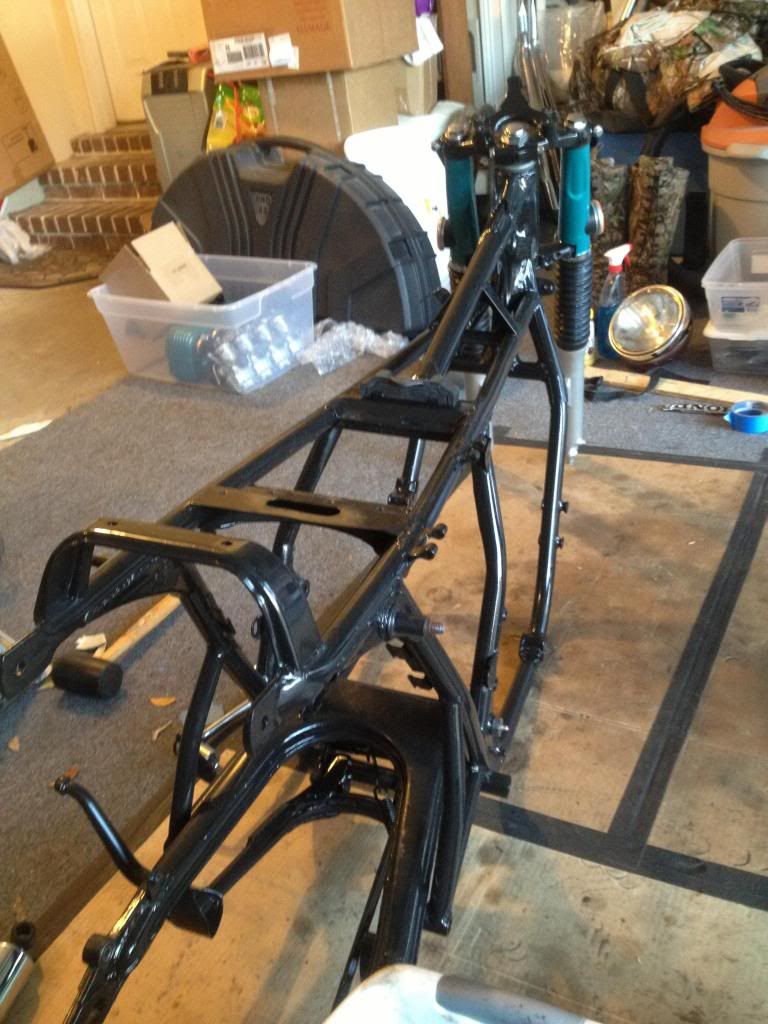
4 nuts and 8 washers and boom
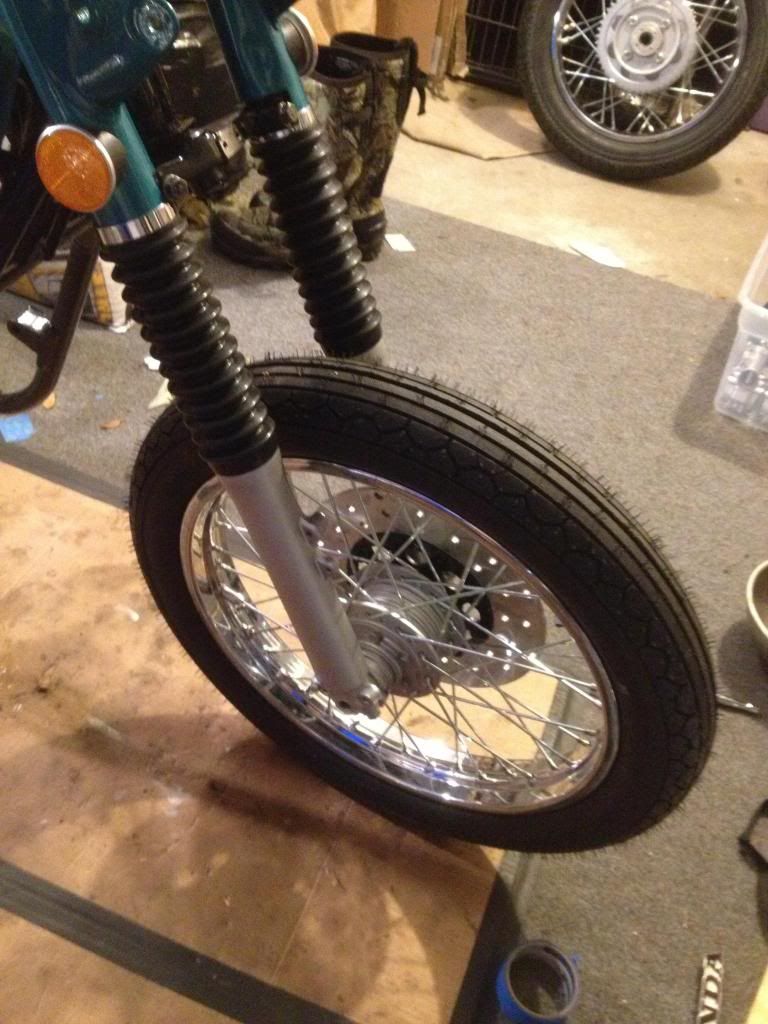
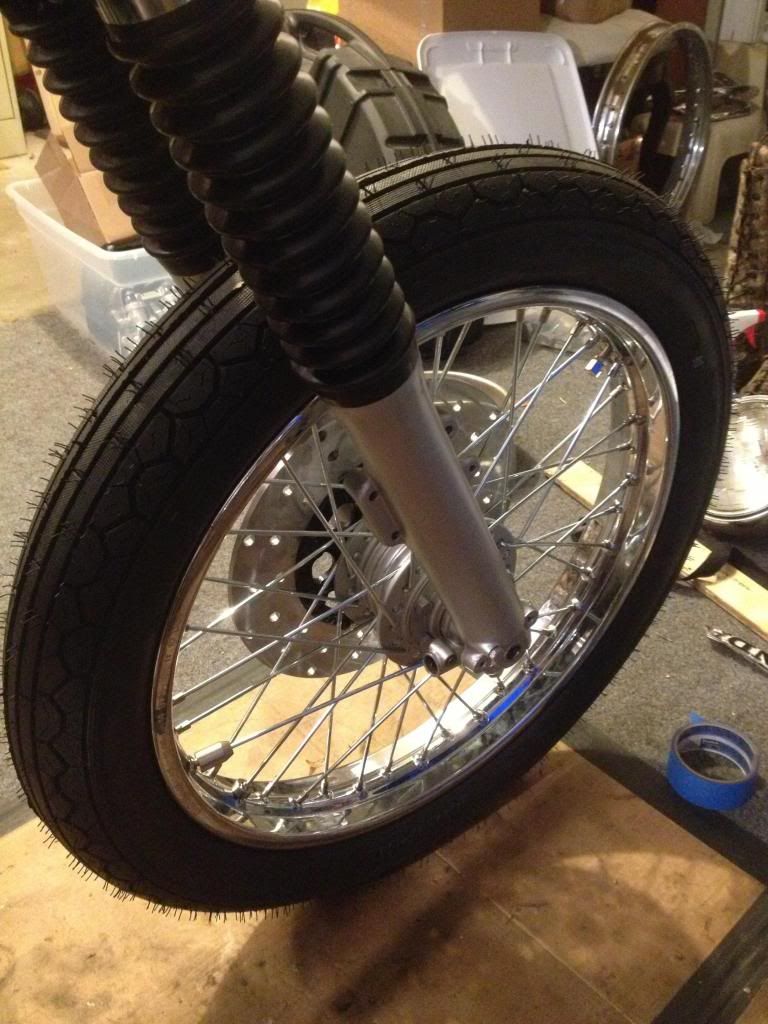
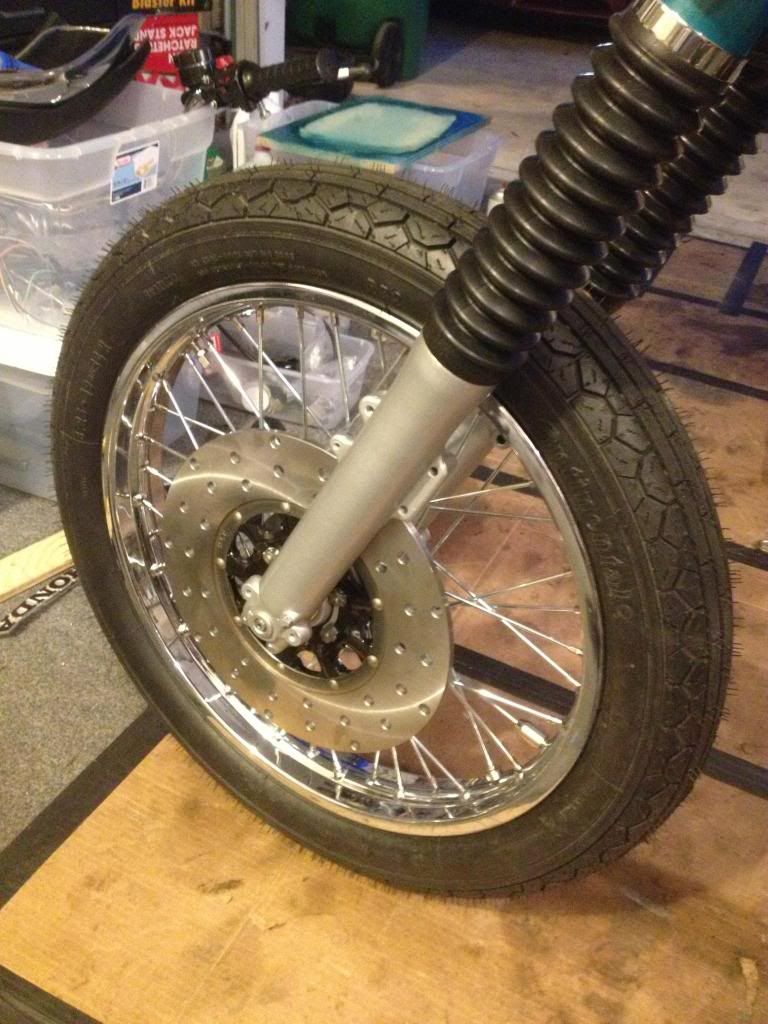
I love the look
Add to that a rear wheel!
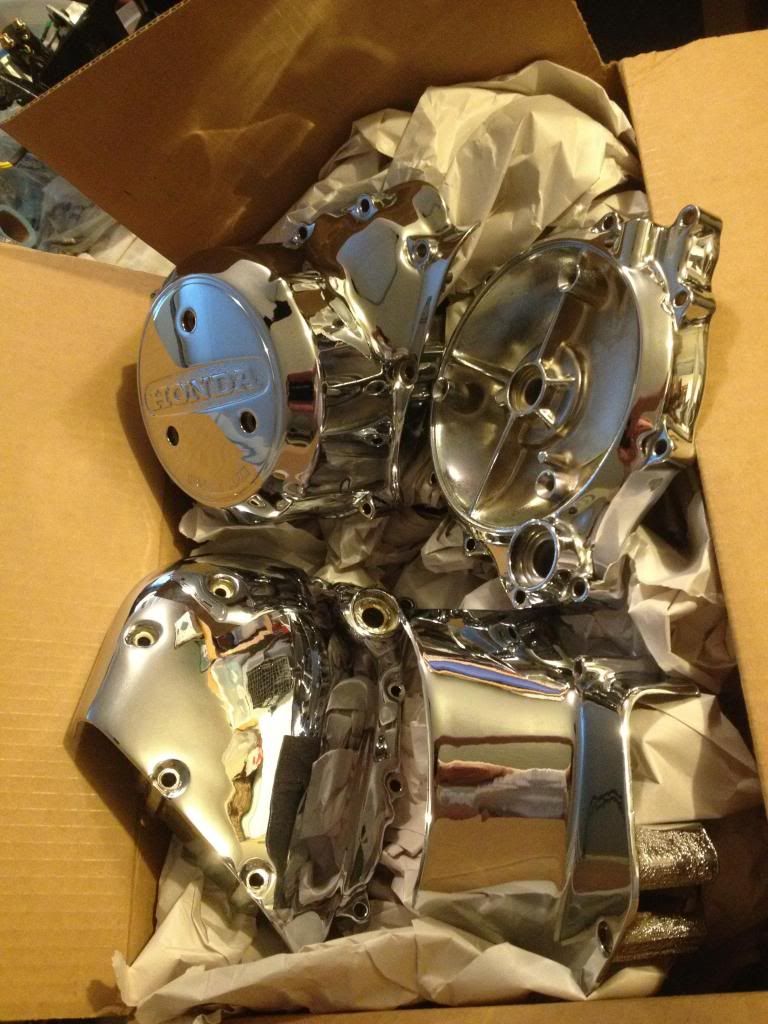
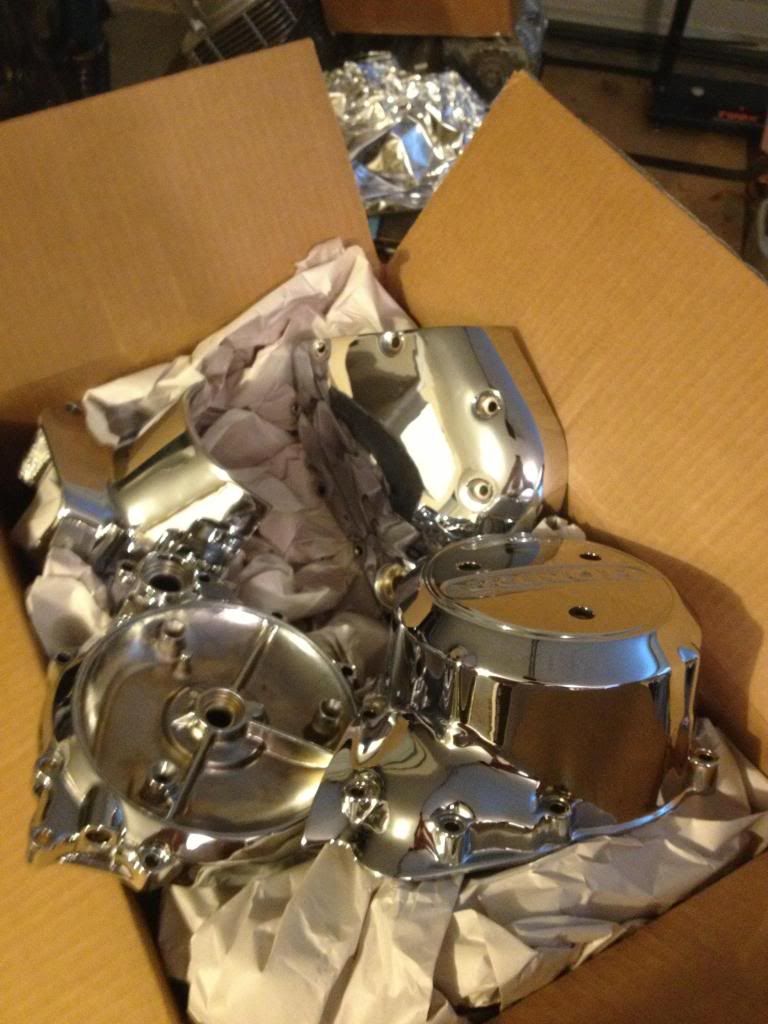
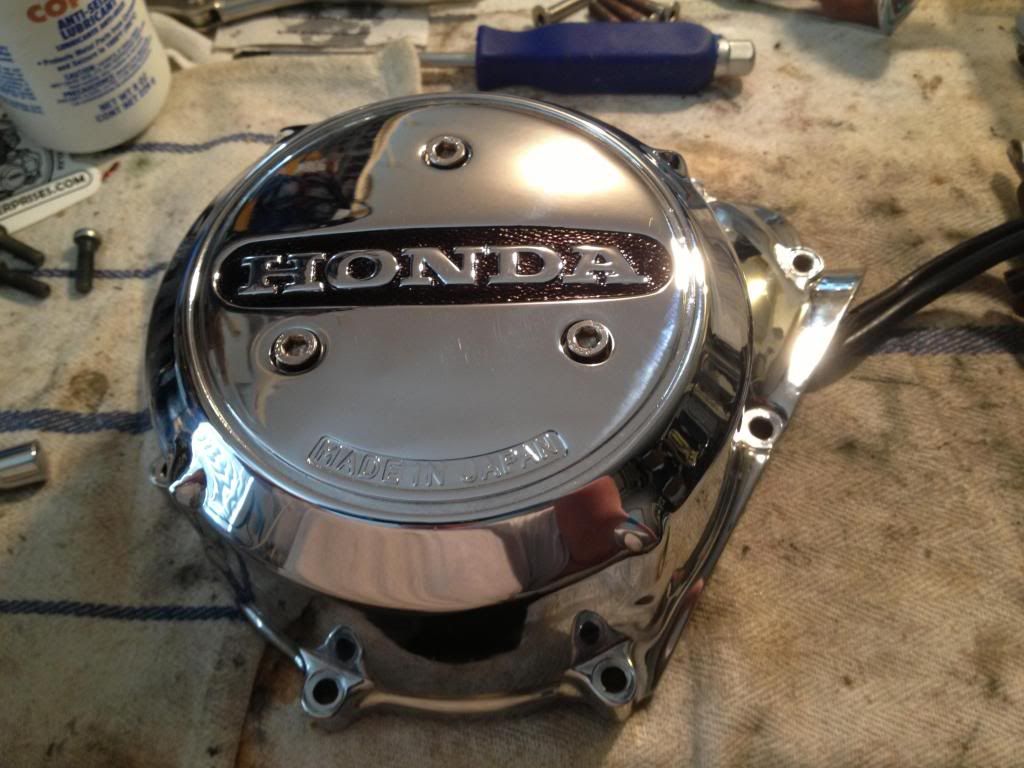
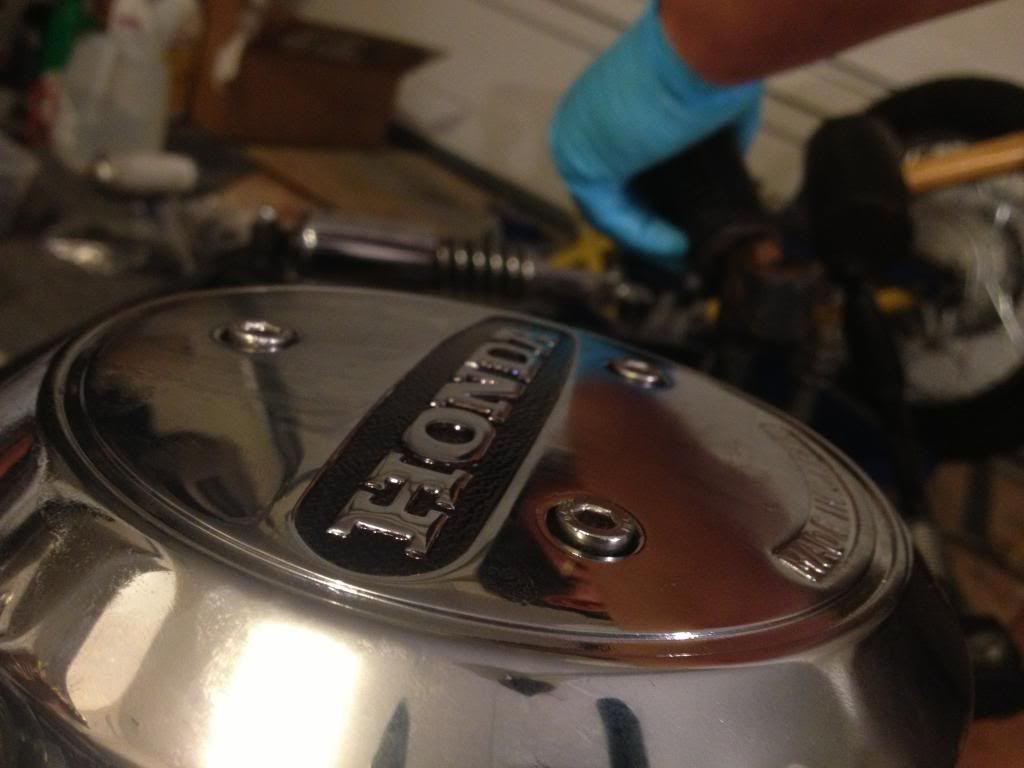
my chromed engine covers came in from cycle x. they look fantastic! I opted out of the head because I wanted to keep my painted but I have chrome tappets to give a little detail, you'll see soon
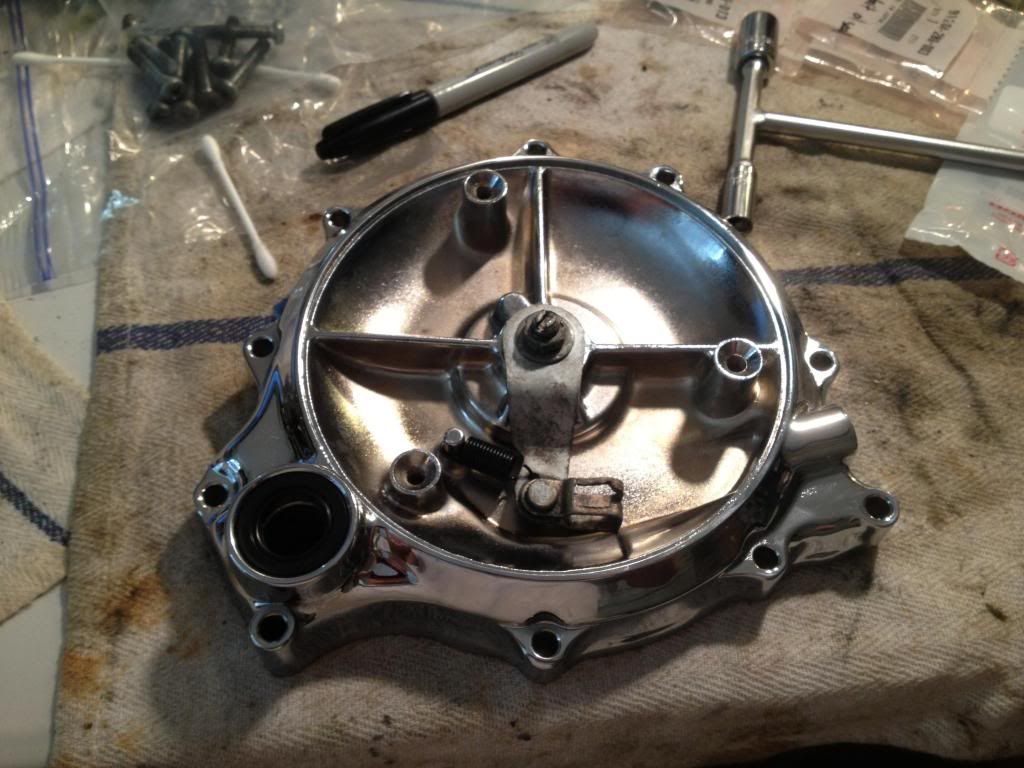
reassembling my clutch cover, with the proper spring this time
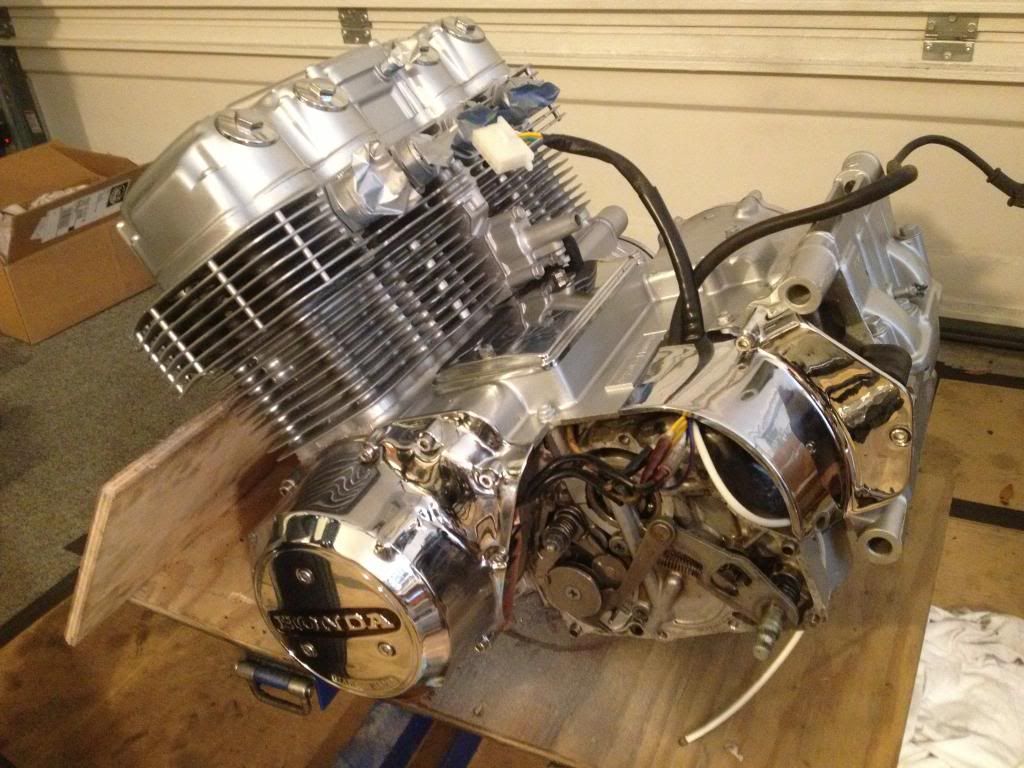
got the stator and coil in place. colored in the black area with sharpie

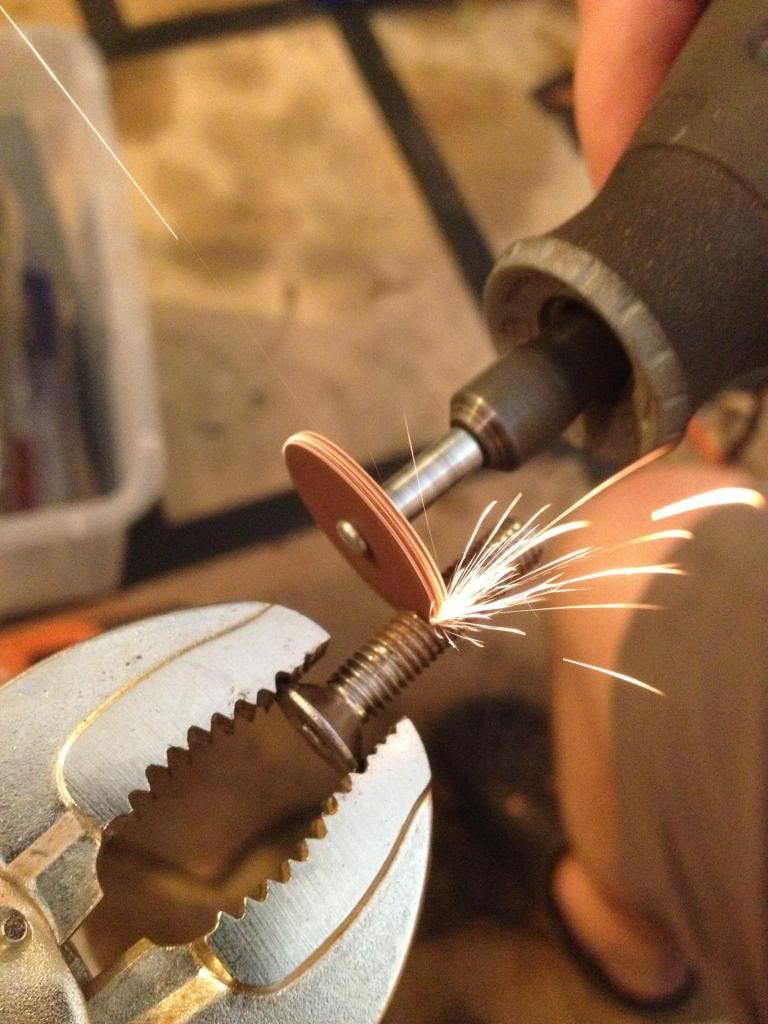
got to work with my SS engine cover bolts. the kit I got....I would not recommend it again. I had to cut many bolts, and I didnt end up cutting the caliper bolts, I just used my old ones because they weren't that bad and it would have taken me forever to cut them with my dremel. it just be plug and play. I can't remember what site I used but if you want plug and play stay away. if you dont mind a little work then no worries!
new gaskets on with copper gasket spray on the gaskets
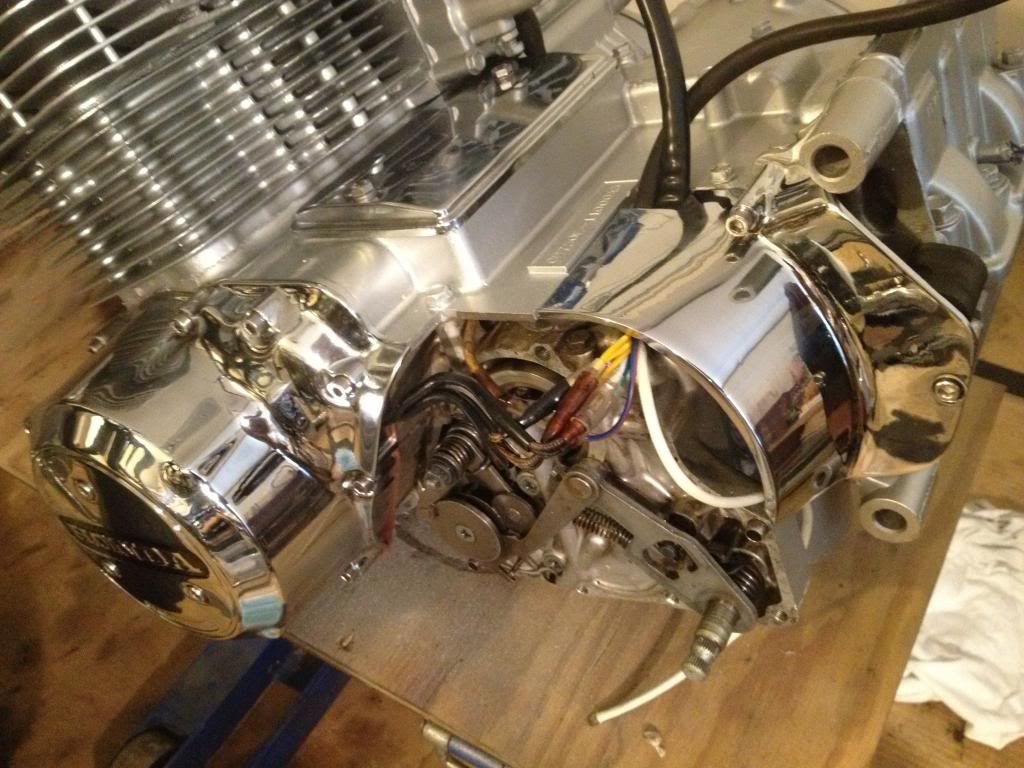
I just purchased a clutch adjuster cover on ebay, the chrome I have is so beat compared to the new chrome. the one I bought looks better, I really hope it is....
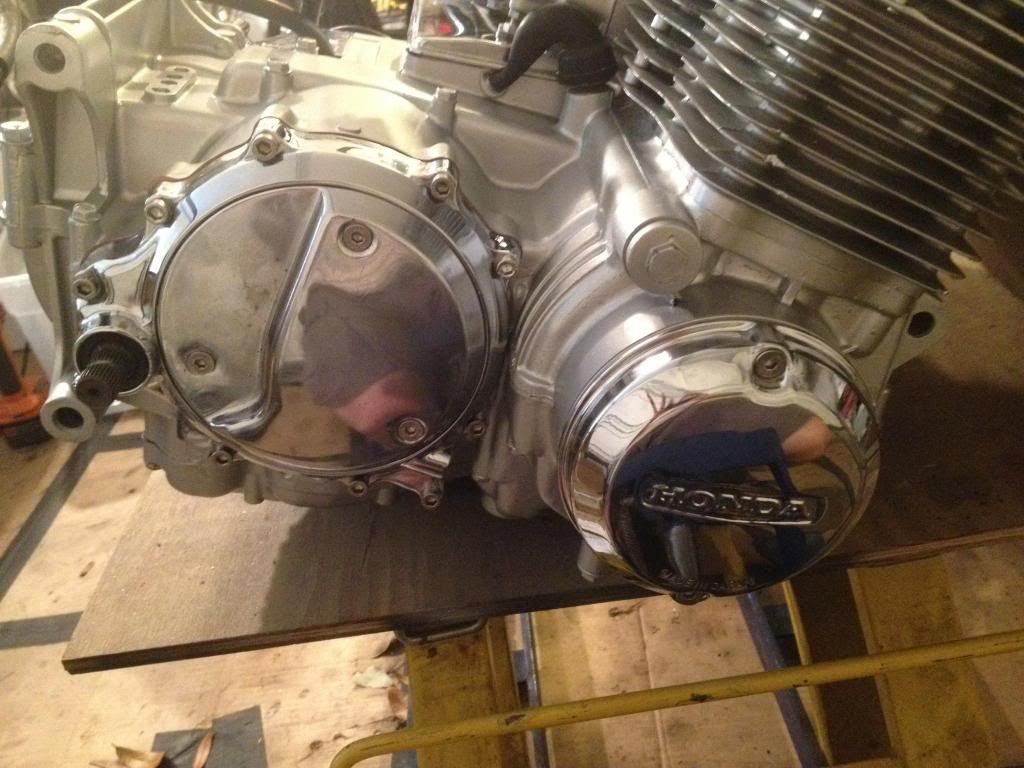
ey girl.
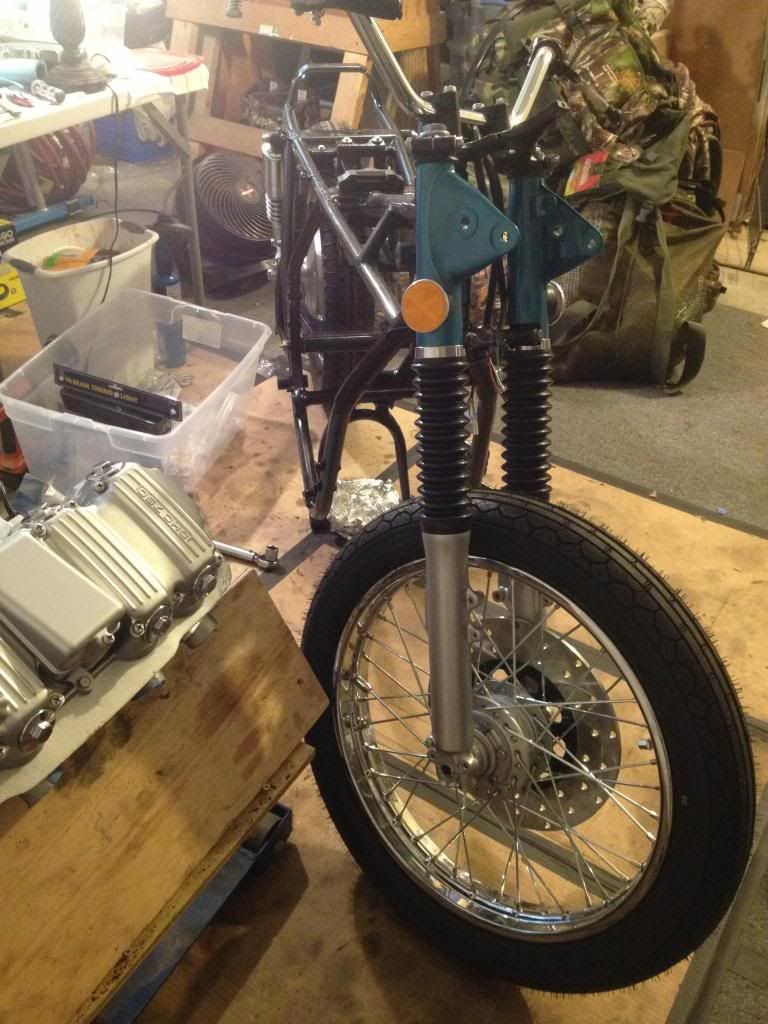
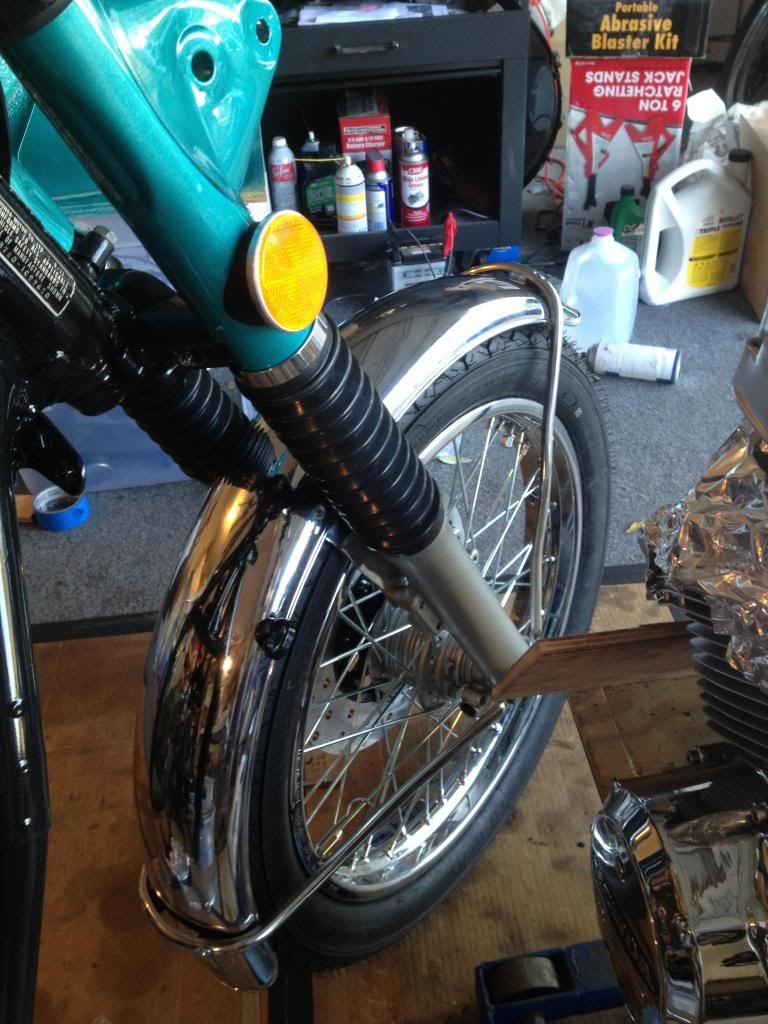
so I did not take enough detailed pictures of the fender and caliper mounting....I had to piece it together from the fiches (which are so separated its hard to get a big picture, and my own pictures, and a little thinking. I soon found out I was not going to be able to mount up the fender 100% with the wheel on. bummer. so I took the wheel off an d was able to reach the inside facing bolts of the center fender mount to the forks. then I put the wheel back on and all was well
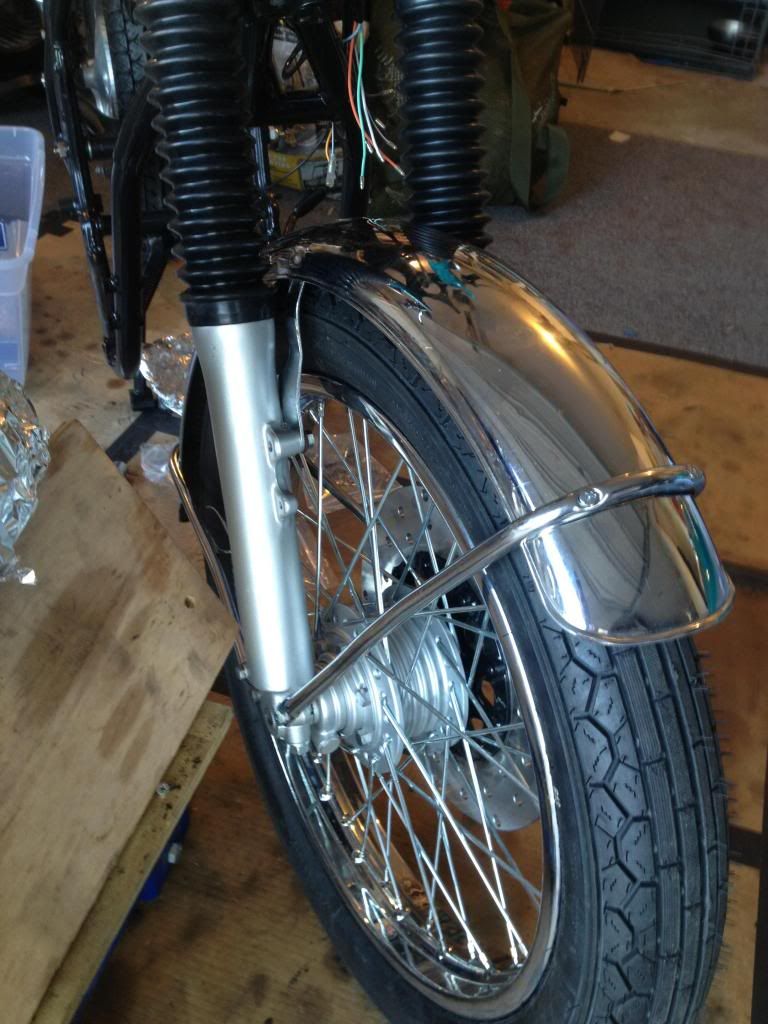
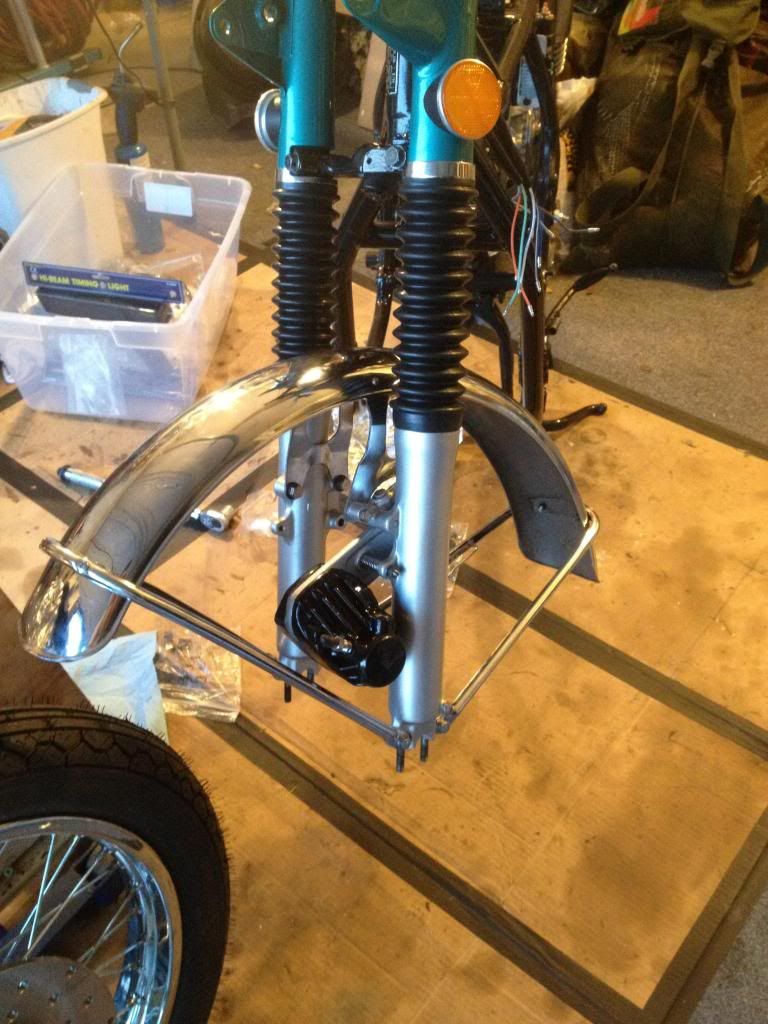
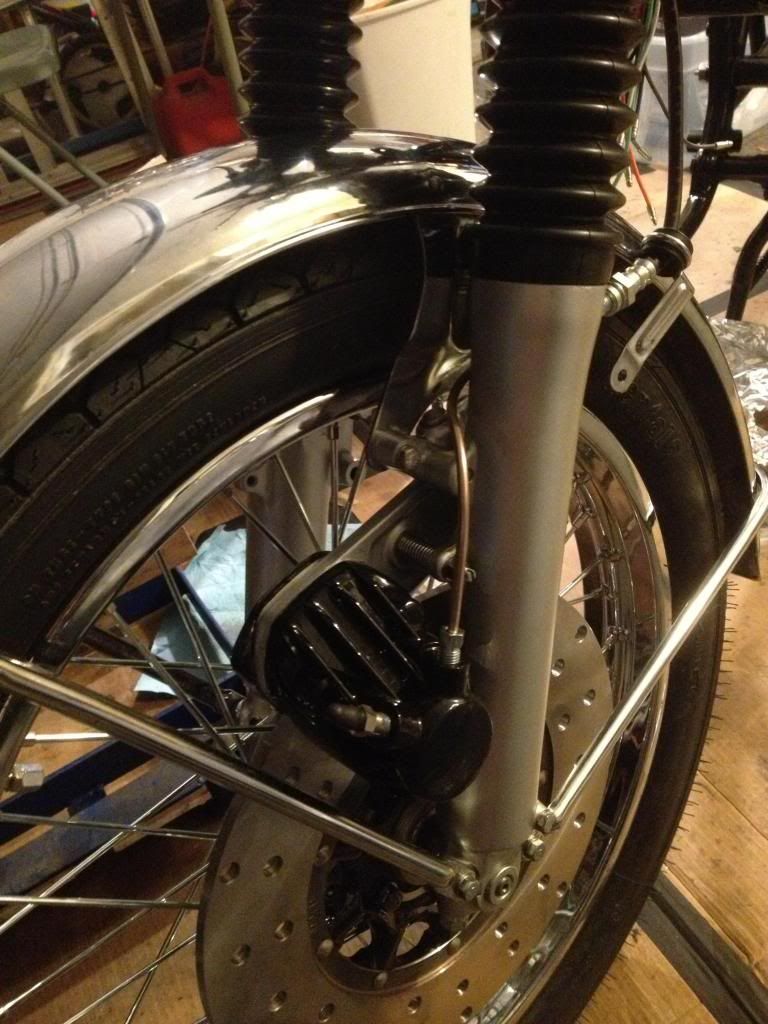
got my shifter cover on as well. I am going to crack back in it to change out that small o-ring behind the shifter selector hub. I have to get new screws to as they look stripped out. could be fun. still waiting on my oil pump o rings as well, and I am still going to be changing out my clutch plates....need some more money. good thing I can do that later
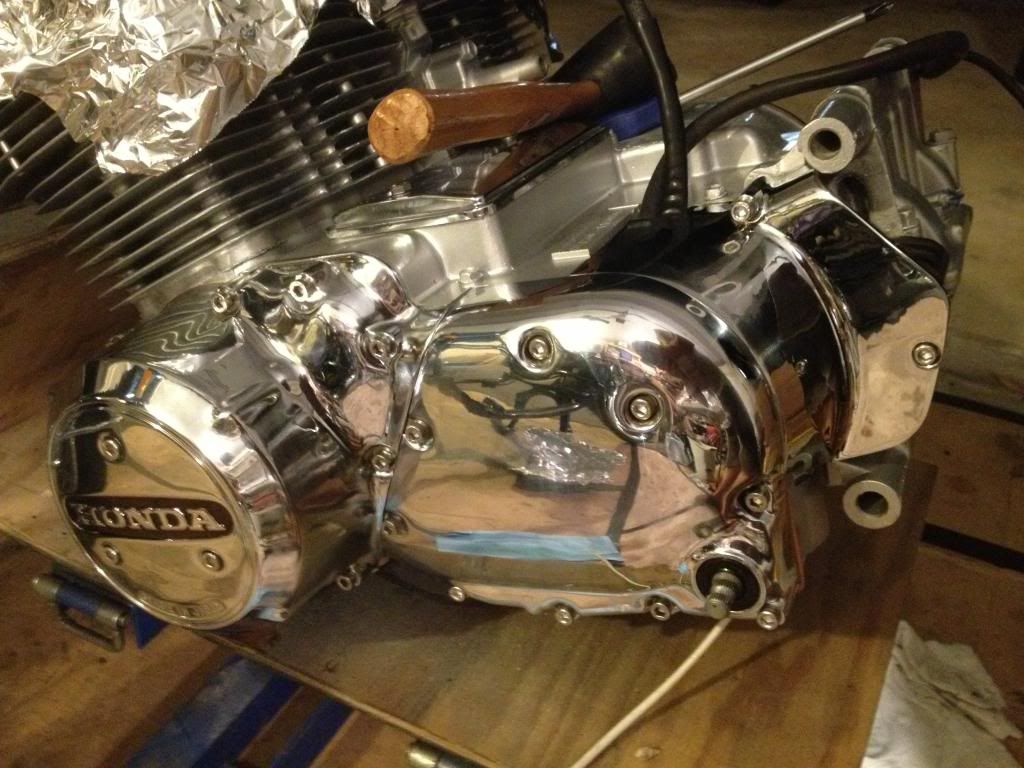
cured the head, since it can fit in the oven, and got the new gasket on and torqued the bolts to 6.5 ft lbs *from what Ive researched that is acceptable)
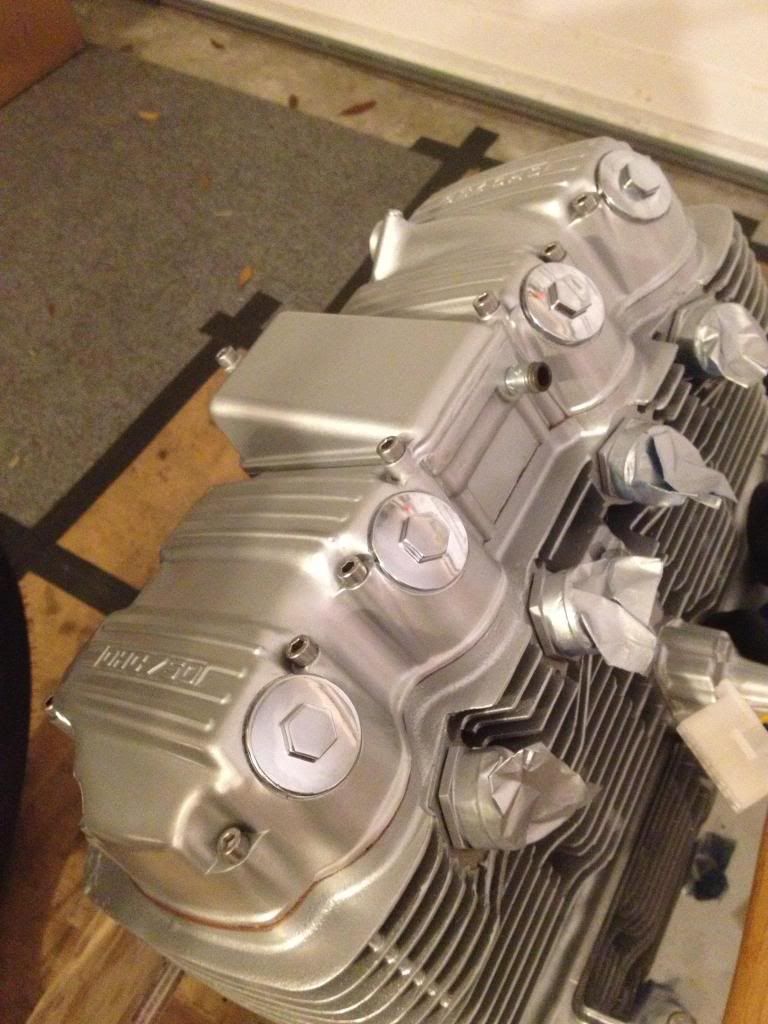
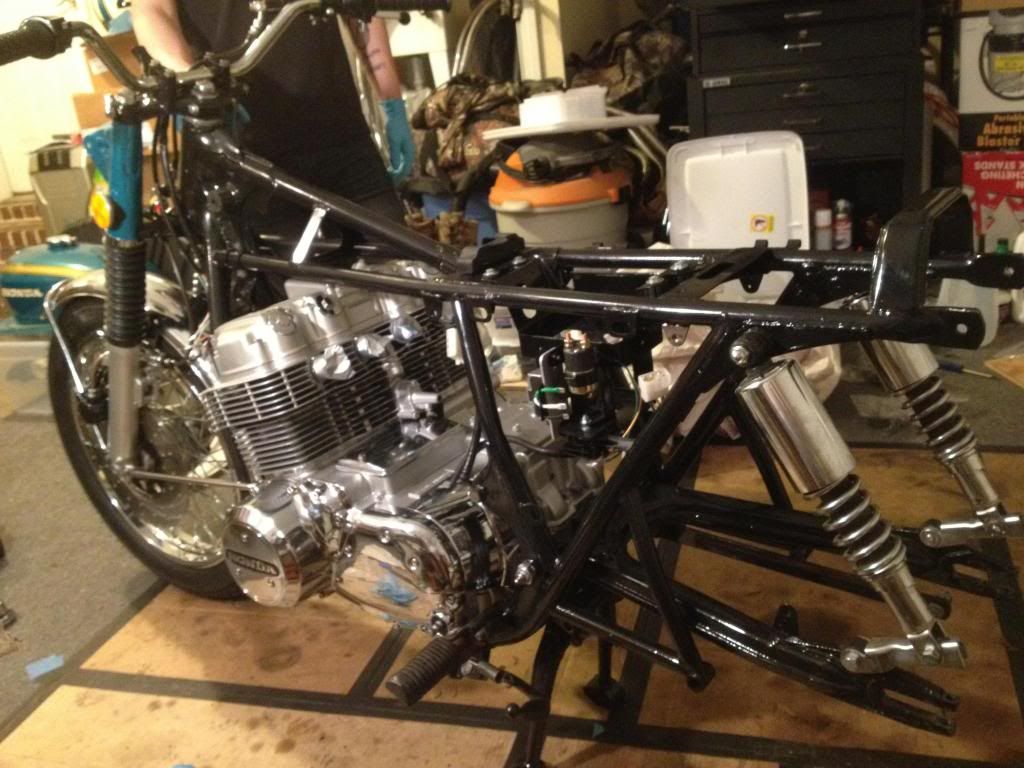
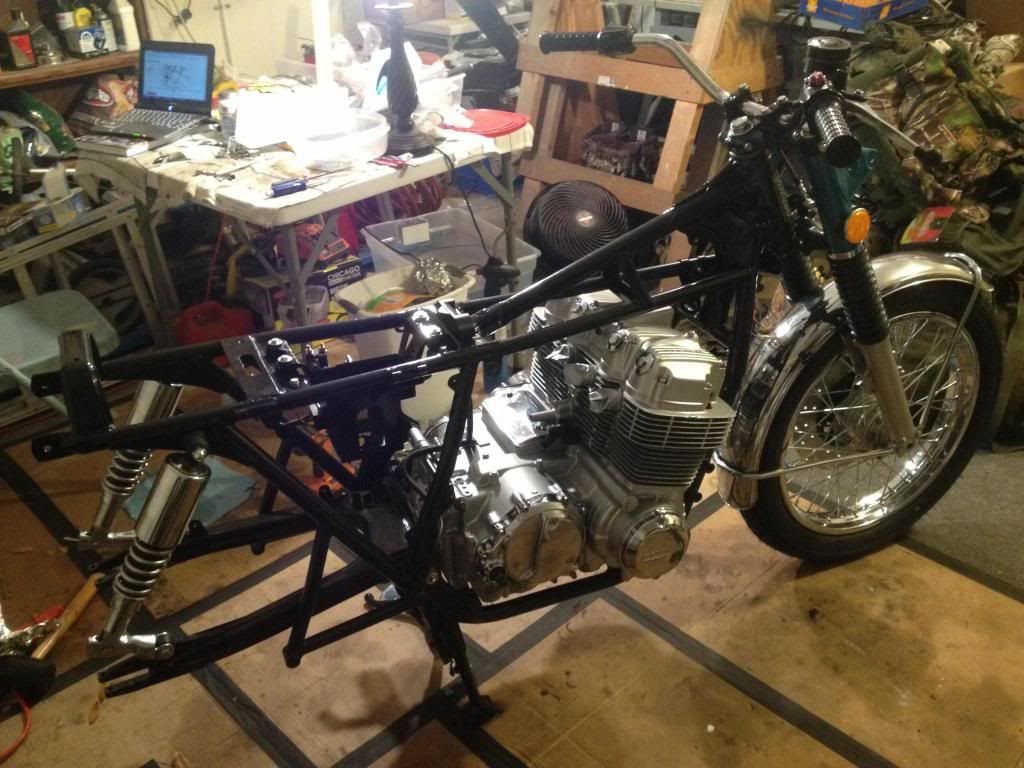
well it was about 1am and I decided I wasn't done for the night. I grabbed my brother and had him come help me. it was time to put the engine in! I very quickly remember how heavy that engine was.... I put down a LOT of paper (stuff cycle x wrapped my parts in) and we laid the engine on its side. then I tried to tip the burly frame over it and it wasn't happening... too heavy and awkward with all that crap on it. took the front and rear wheels off as well as the handlebars. then we shimmied it down over.
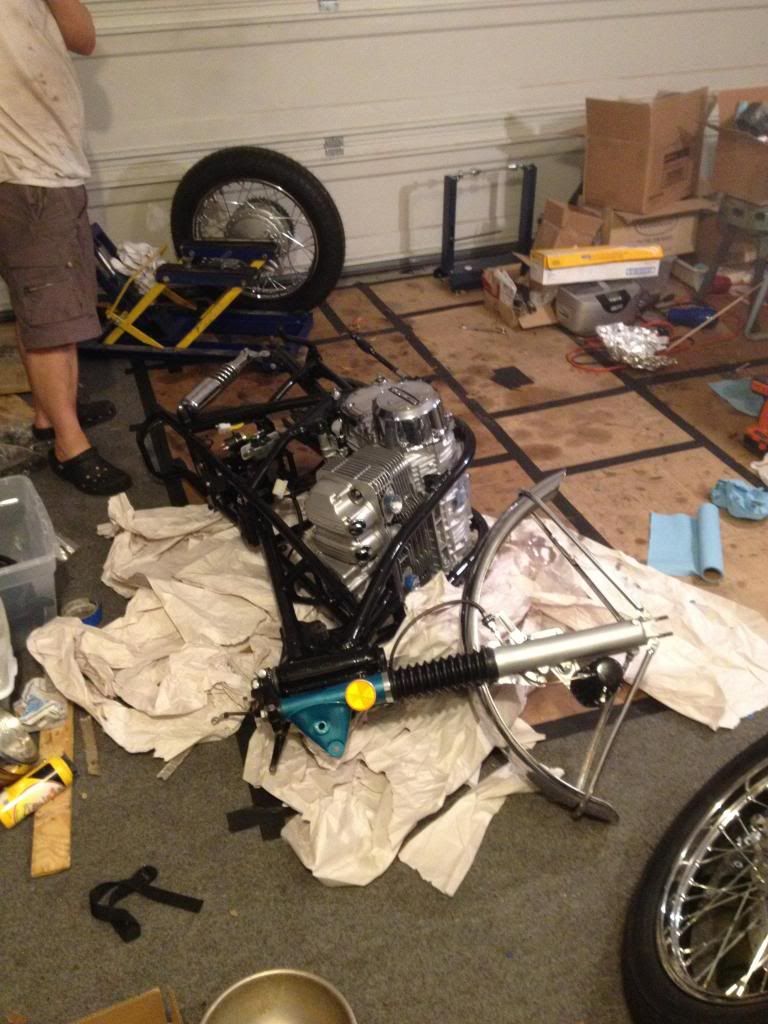
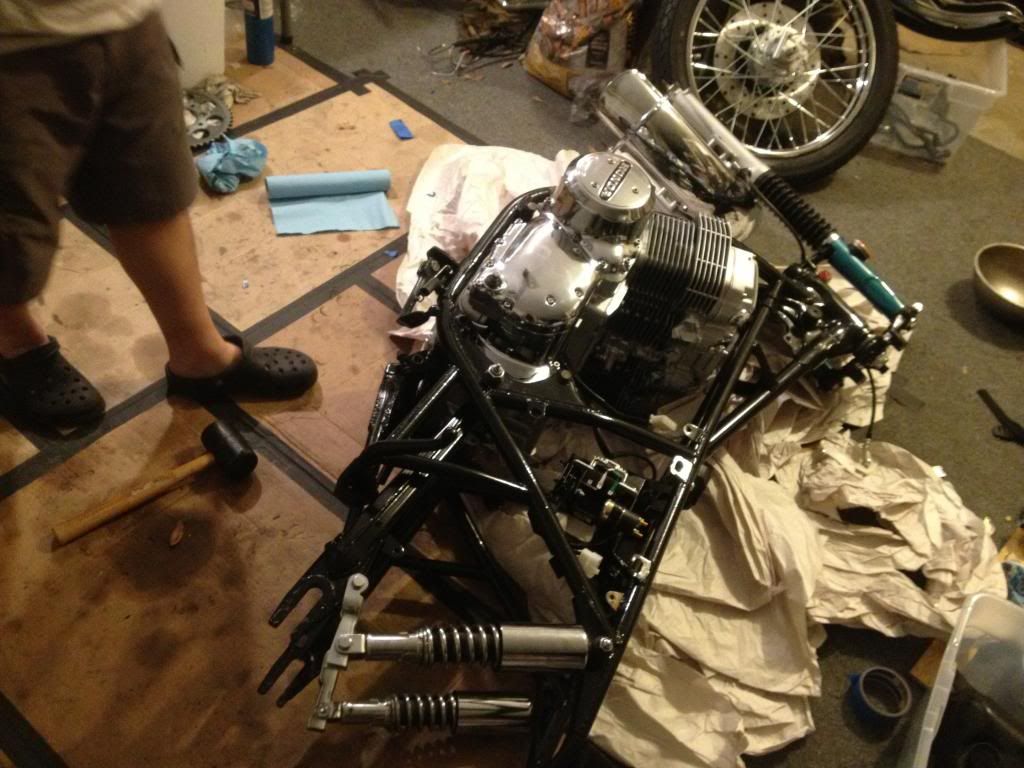
I actually didnt even scratch any paint. grinding off those lower engine tabs really worked wonders. DO IT.

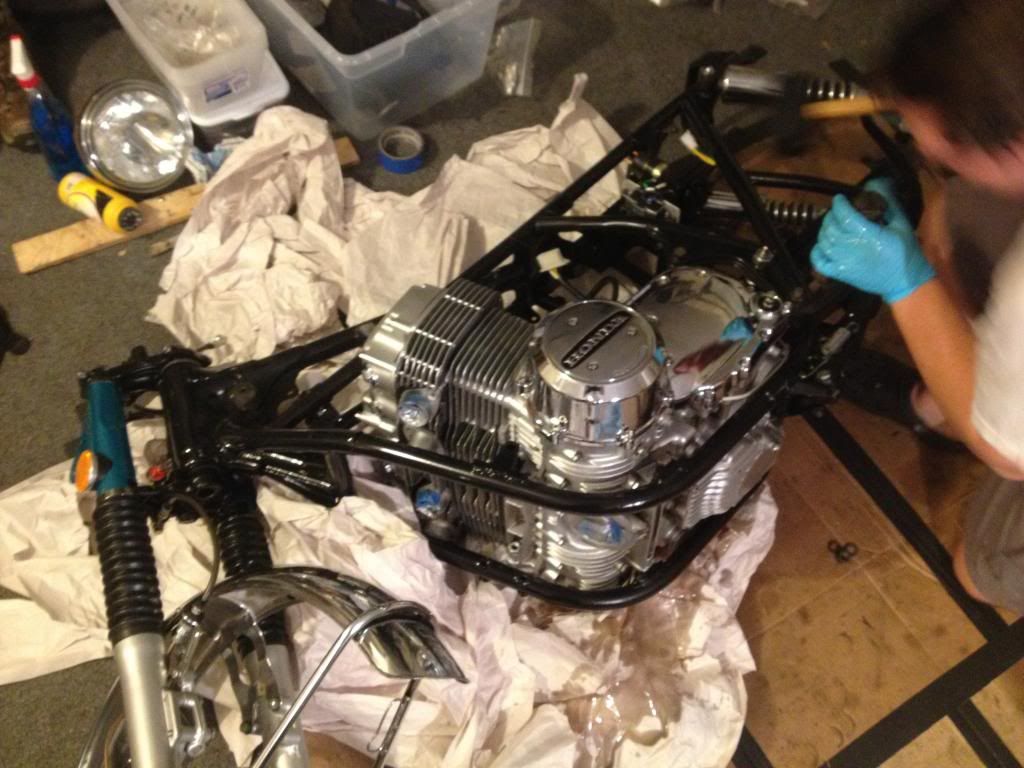
put the three long engine bolts in and tipped the bad boy up balancing on the centerstand and front forks (didnt want the fender to have weight on it). then my brother struggled to hold the whole bike up so I could get the front wheel in there. we gently set it down and olted the front wheel on proper.
before the rear wheel went back on, I took the sprocket hub off AGAIN. this is three times now. I don't know how it happened, but I misplaced one of my little plastic bins with parts, and then I found it and the only thing inside was a large spacer that said "rear wheel outer spacer" on the baggie....I'm thinking what the crap. I guess I didnt have good enough part names as I was taking it apart because it turns out its the spacer that goes between the wheel bearing and the hub bearing. so I pried off the sprocket hub yet again and set it in there. upon getting the hub back on (still a PAIN with these new dampers and it wasnt seating dwn properly) I was able to get it almost perfectly flush. it may be off .5mm in one spot. much better than before. I am hoping it cures itself since the rubber is new.
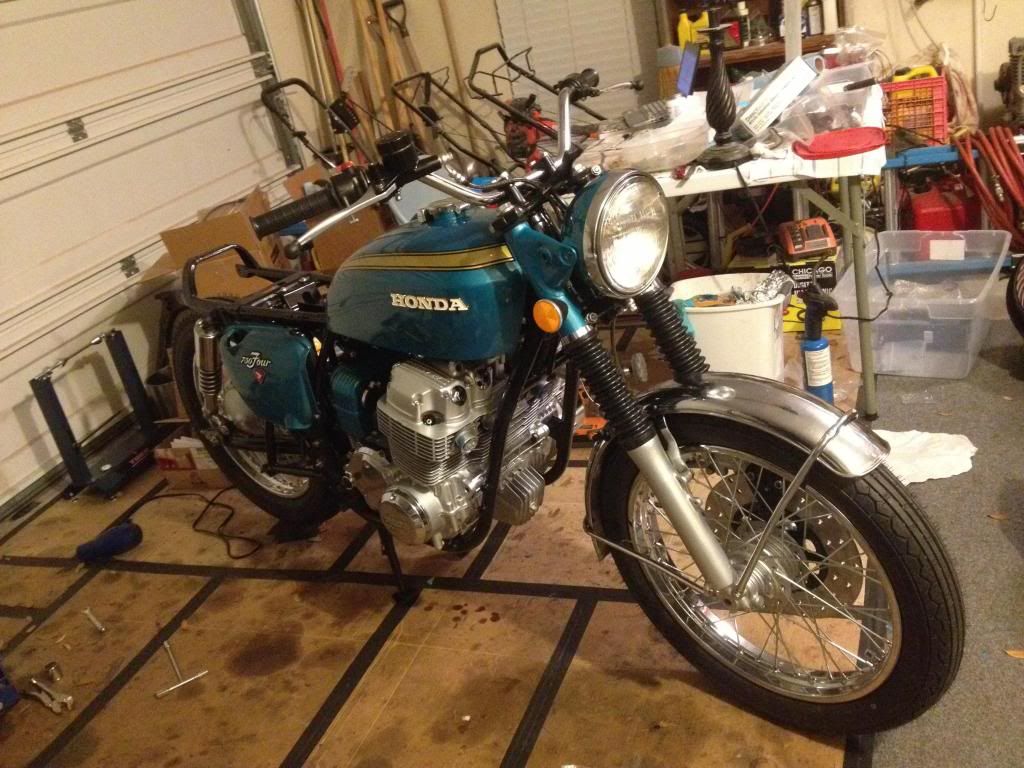
I got the rear wheel back on, and could not help but to take a little mock up picture for inspiration. I hope you enjoy it as much as I do, it really gets my heart pumping!
thanks for reading!