alright update time. I have been moving pretty slow, but have got some more stuff done!
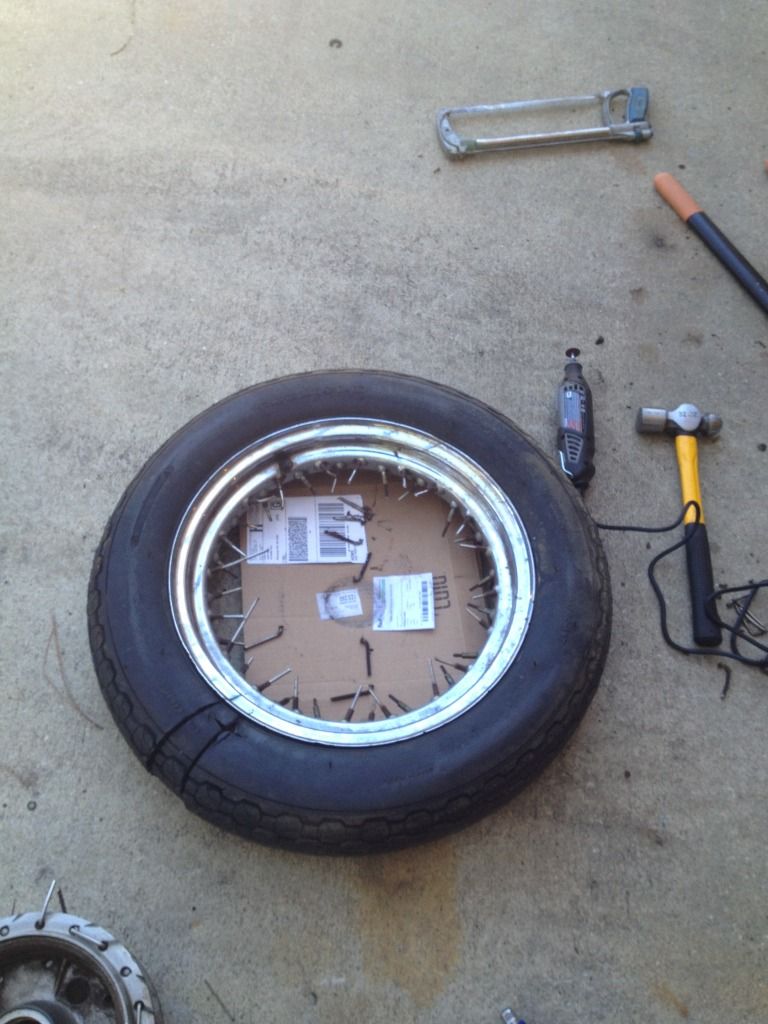
so...for the life of me I could not get the rear tire off of the rim. stinking deep set. I tried with tire irons, cut the tire with a dremel, even cut a complete wedge out, I just could not reach in and cut the bead even with little snippers. I tried cutting the bead through the edge of the rim with the dremel. nothing, but now the rim is useless...no going back now

I finally threw my hands up and cut all the spokes off. I only wanted the freaking hub.
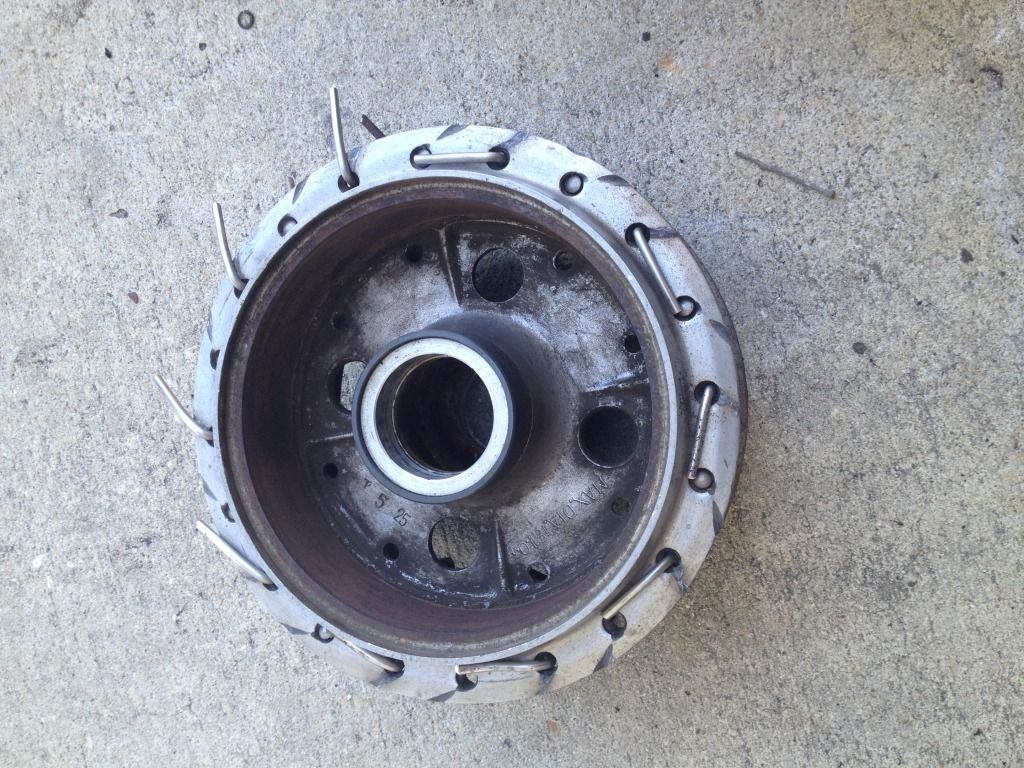
next came some more soda blasting.
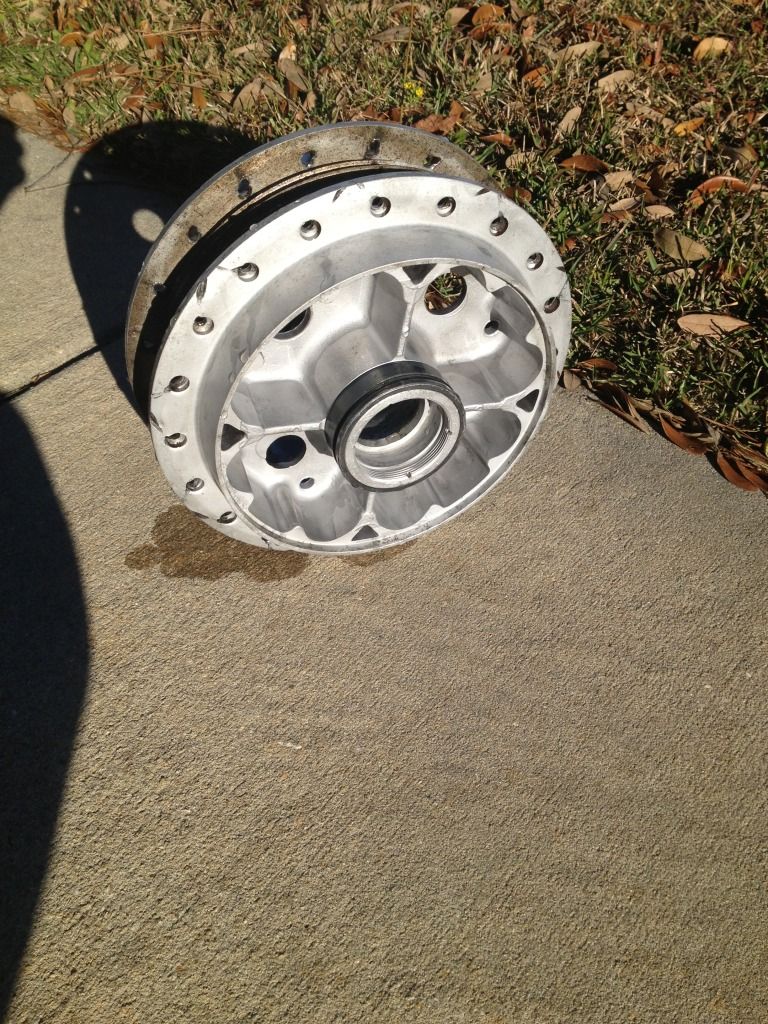
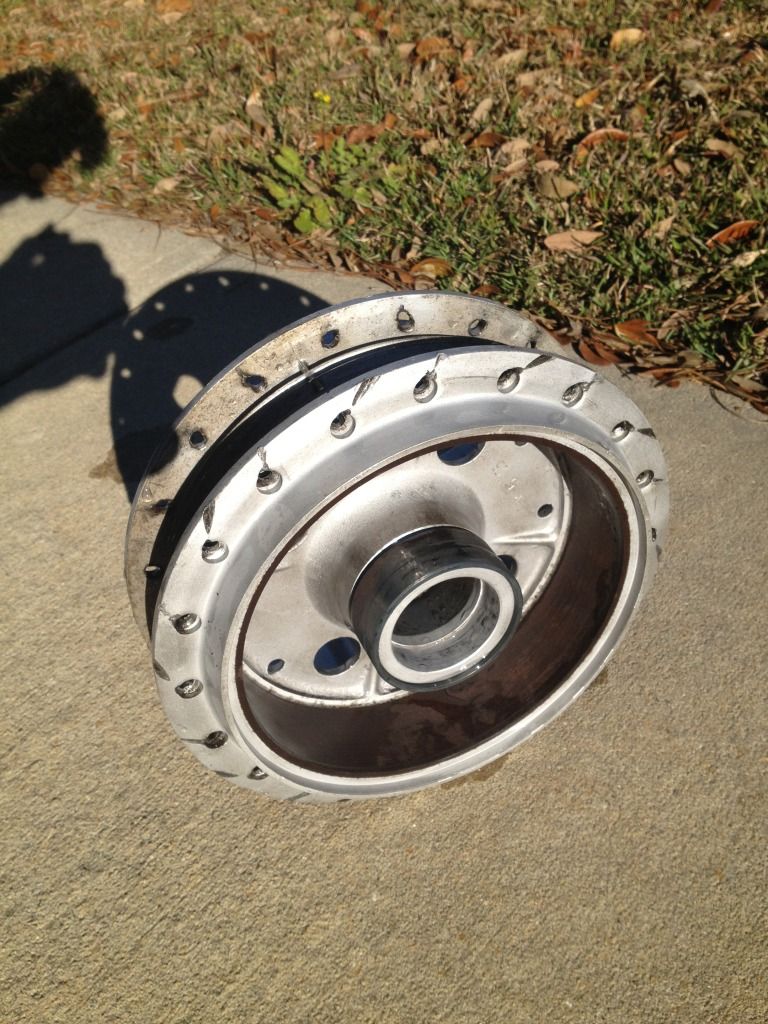
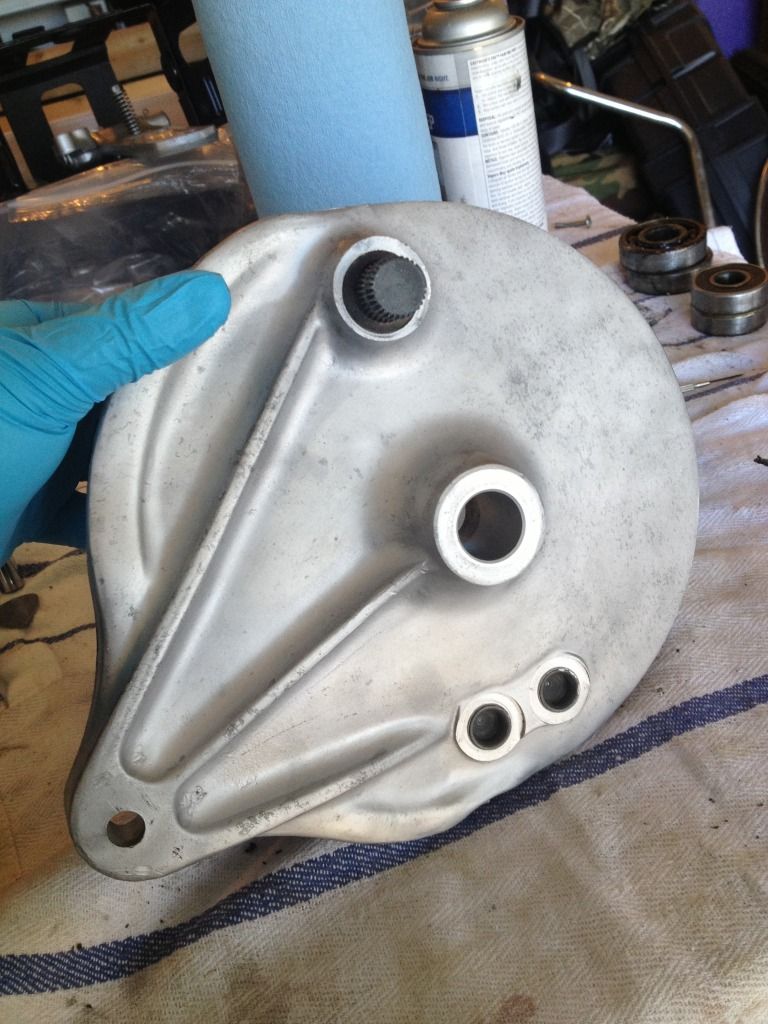
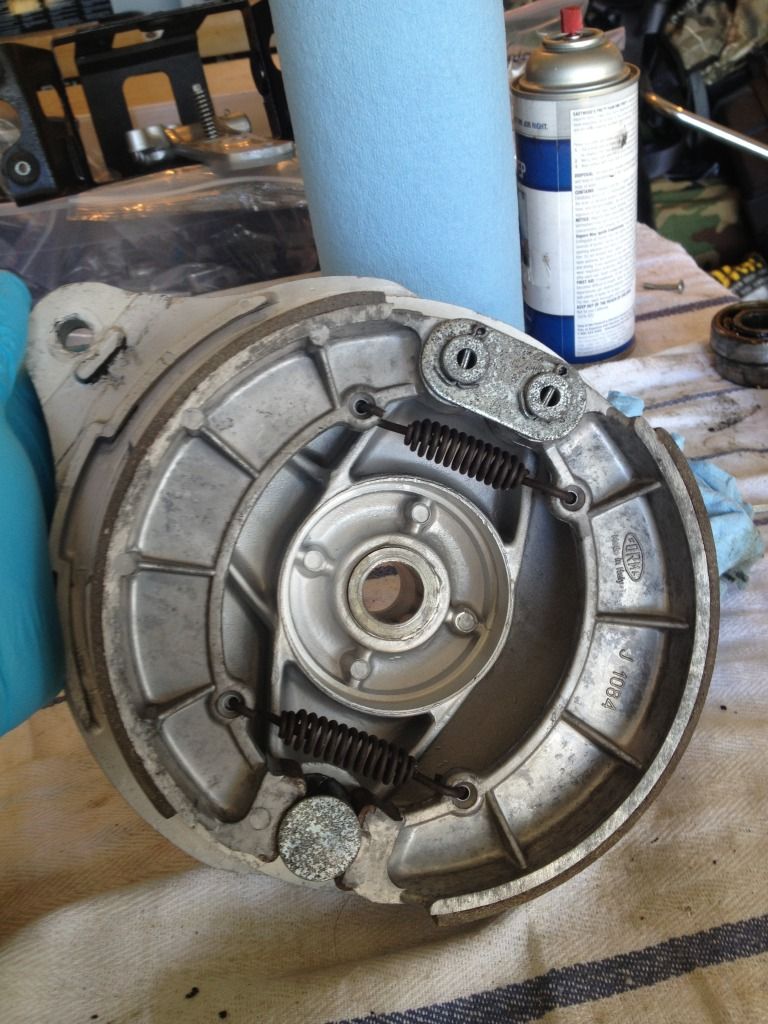

follow that with a painting session
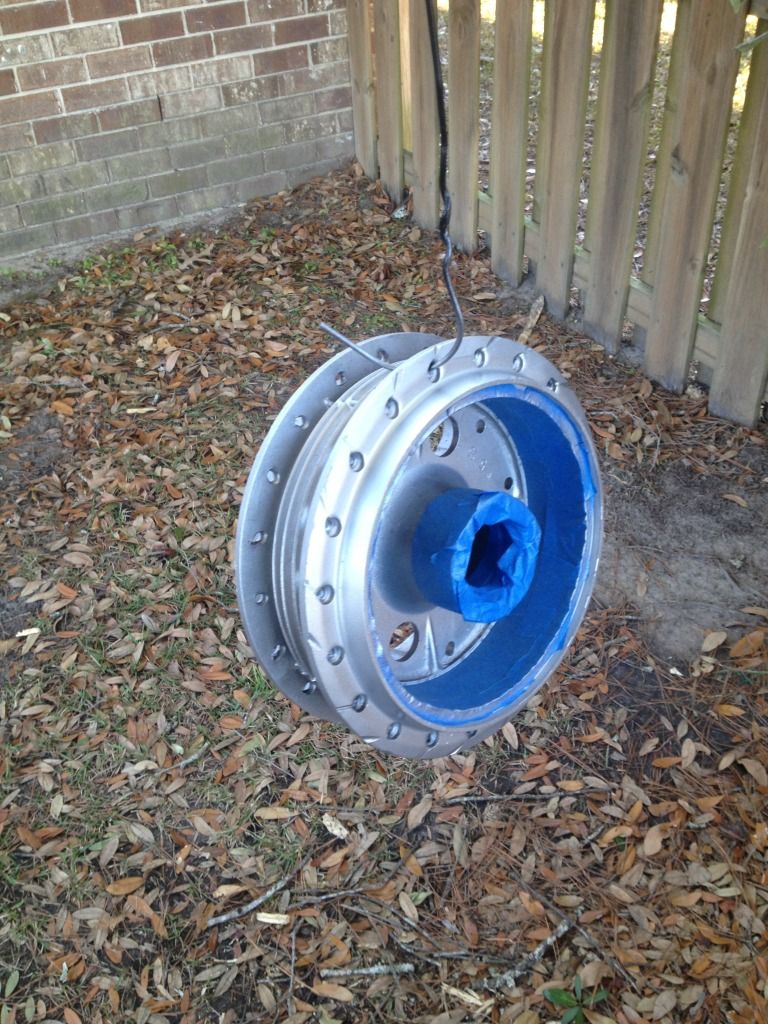
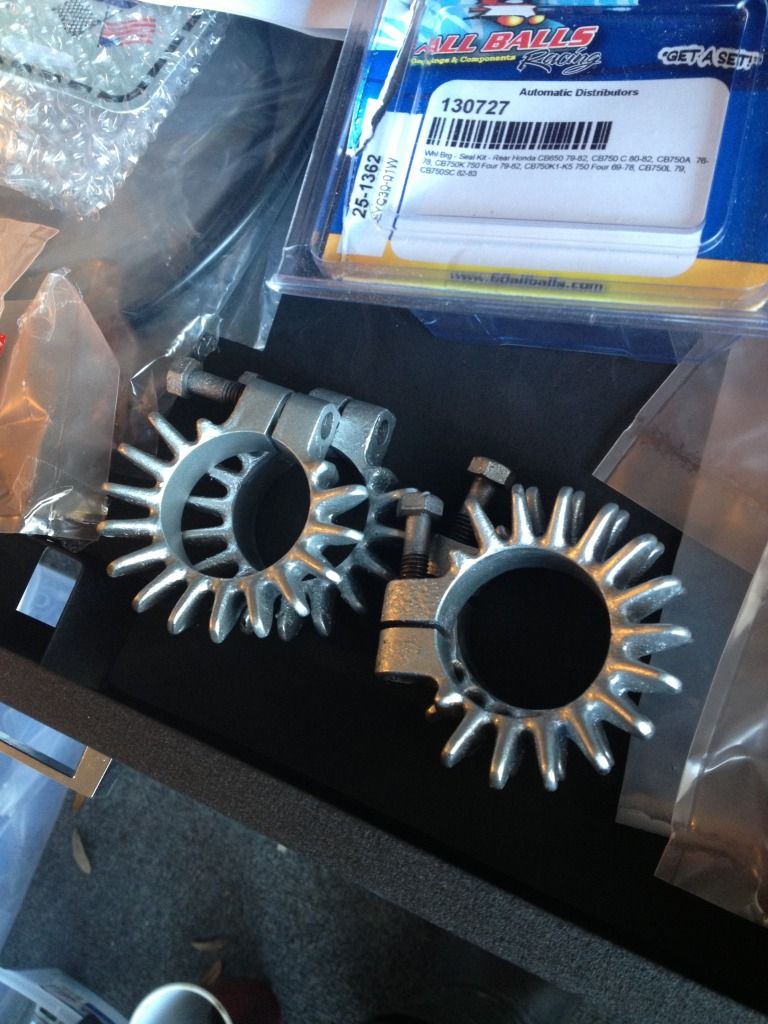
I know these aren't correct but it beats them being brownish black like before
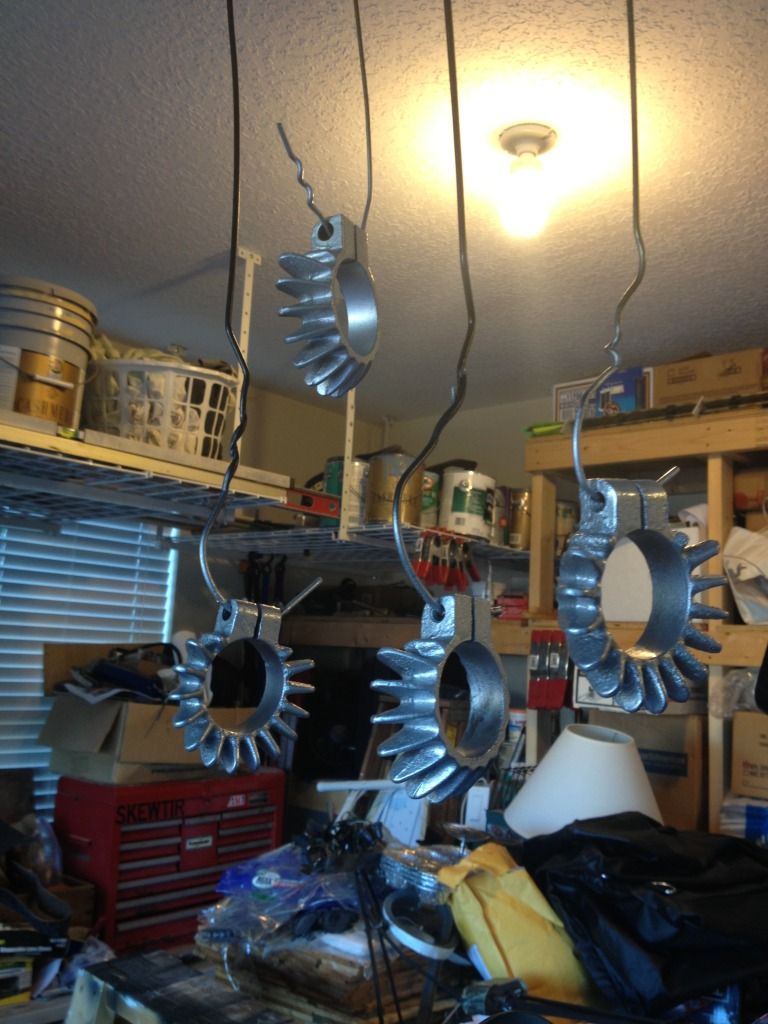
here they are baked and finished waiting
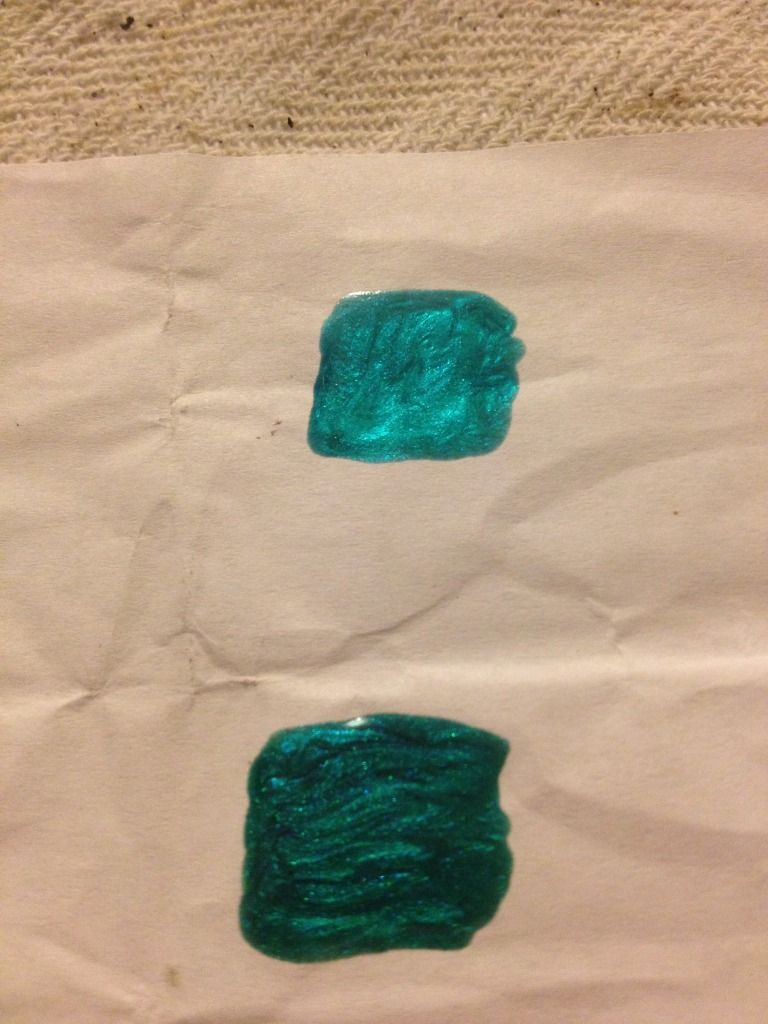
been chatting with 66autocolor.com about loading 2k paint in a can for me. been talking about honda candy blue-green. they gave me two pages of colors to stare at. made my eye balls glaze over and after a few hours I could barely tell the difference anymore. so I went and found some nail polish that I liked. it may not BE candy blue green but its the color I am after. sent them a sample (top) and a reference color for what I consider "too dark" (bottom). can't wait to hear back and see if they can match it closely
baked the rear hub, drum plate, and sprocket plate, here's lacing up the rear rim/hub
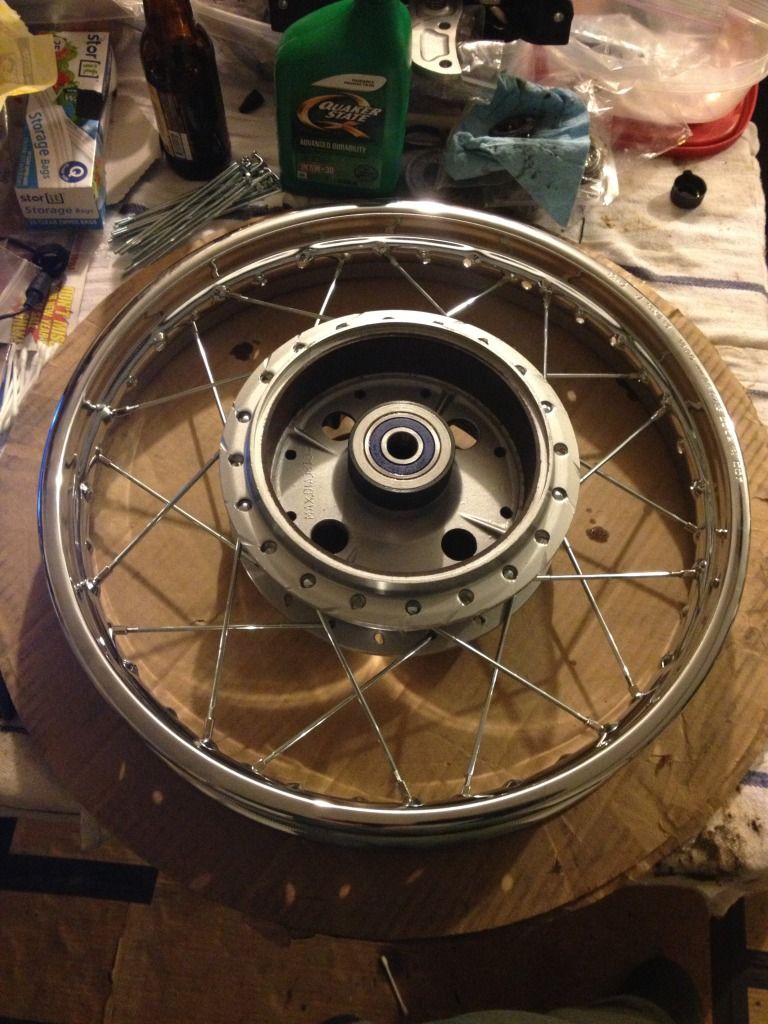
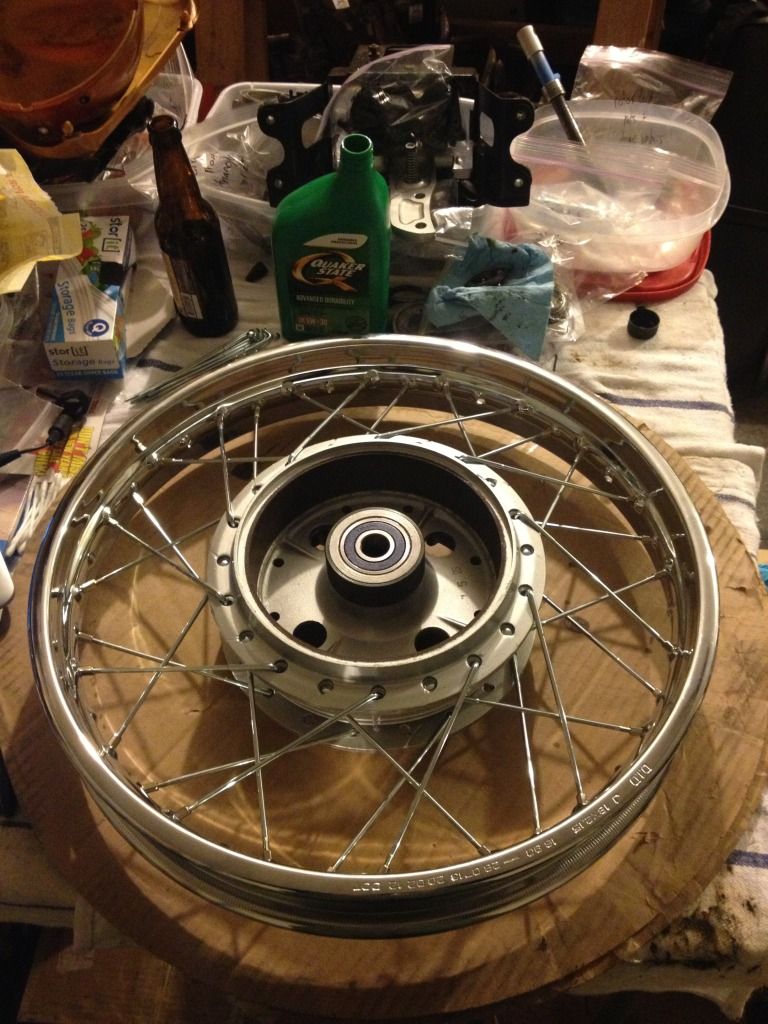
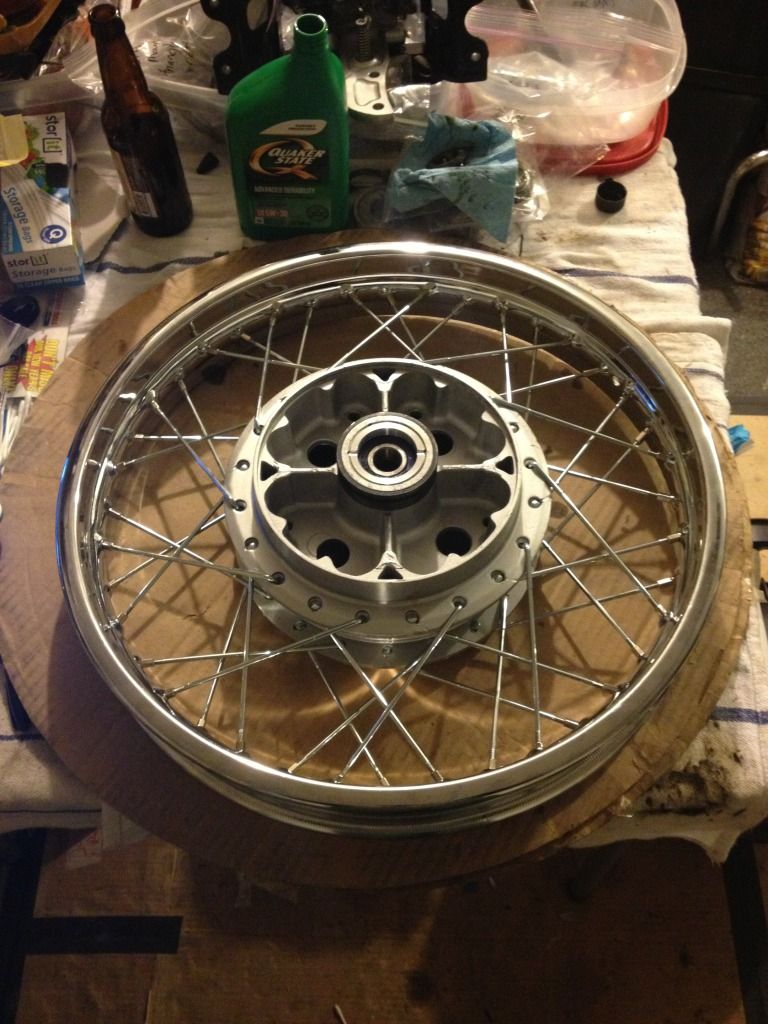
both rear hub bearings pressed, used the old bearings to set in the new allballs bearings. freeze the bearings, heat the hub race with a torch, some grease. boom. also did the sprocket cover bearing too.
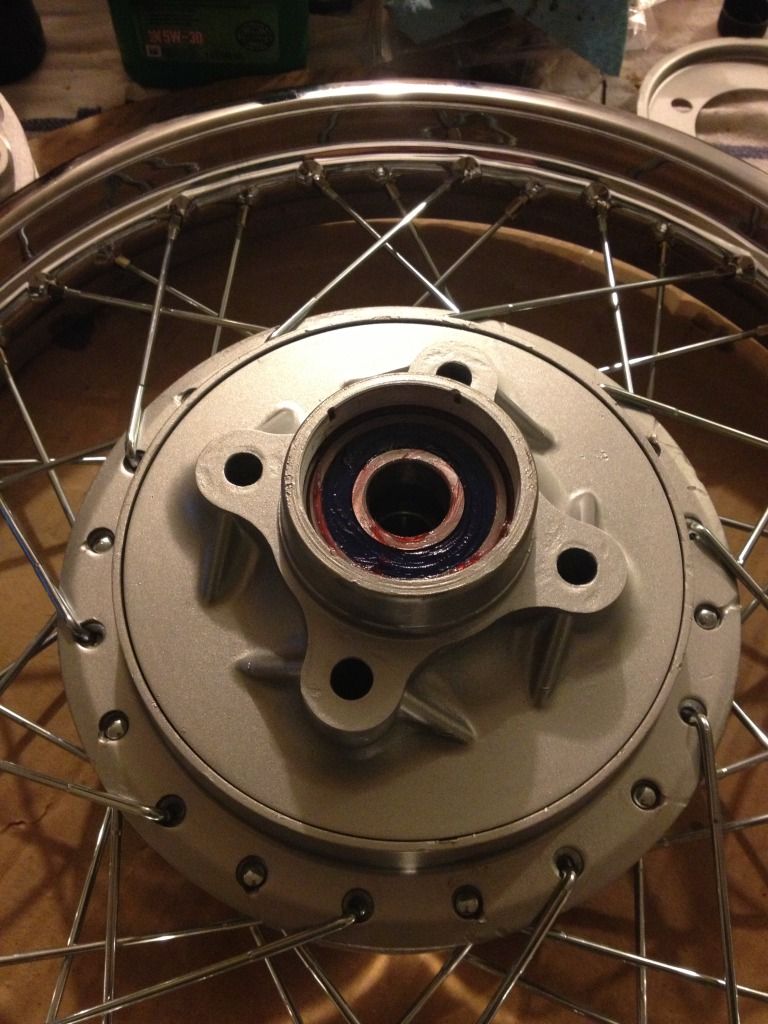
fresh painted brake hub cover. shoes are on the way from cb750supply.com
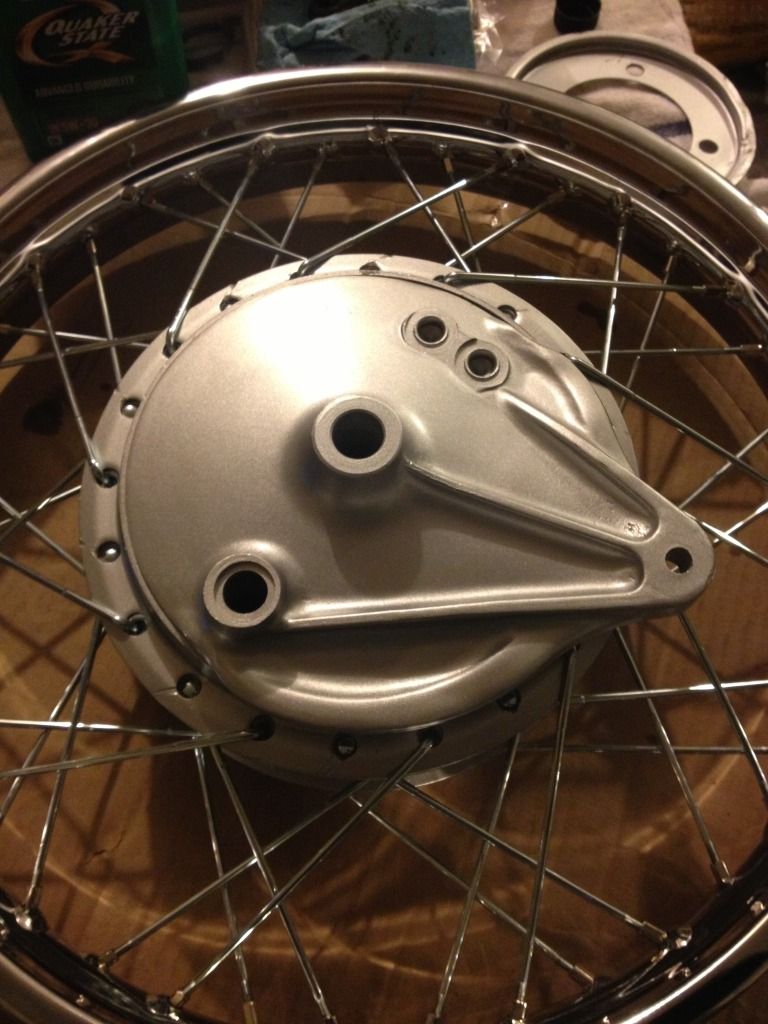
ok, now for the hardest thing to date (things keep getting more difficult for me). changing out the rear swingarm bushings. I finally understood what ironworker was talking about when he did his. I could not replicate it exactly because I could not find a bolt long enough and with long enough thread to fit the 27mm socket I was using, so I tried something else. I think given normal wear circumstances this idea would have been golden but the outer bushing races seemed to be welded onto the swingarm.
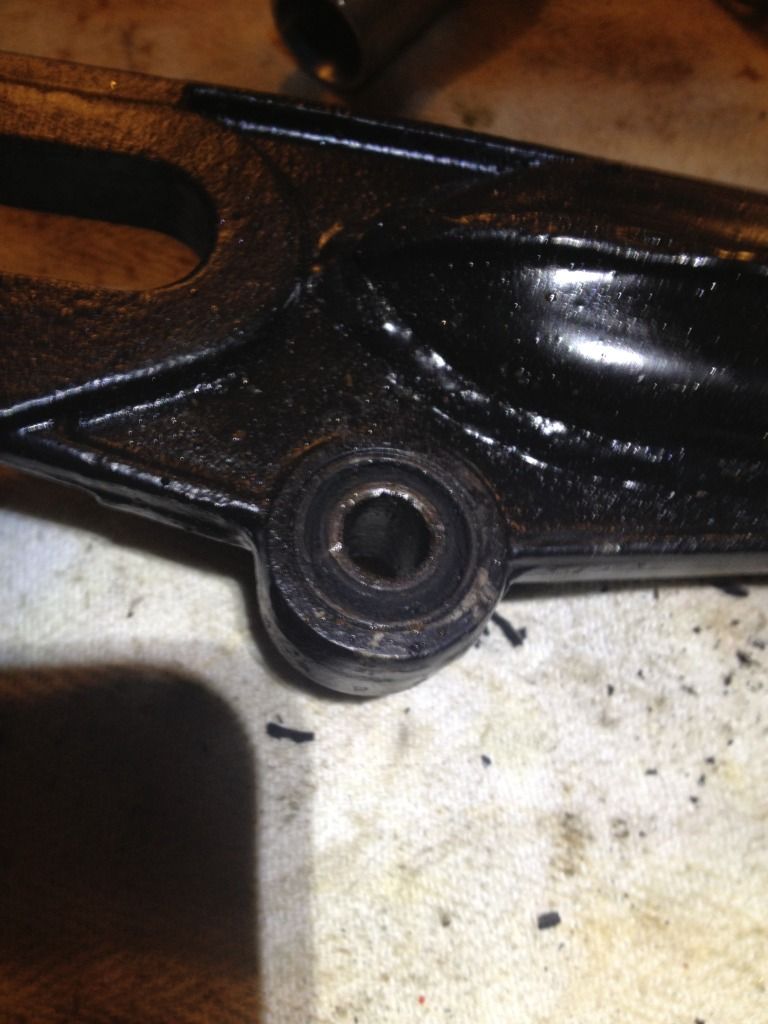
I took a 2.5 c-clamp and placed the round head on the bushing (it was small enough to fit inside the swingarm. then the other end clamped onto a 27mm socket (facing inward to catch the bushing) and started putting pressure. it started to push the bushing but it was only the center race and rubber. I twisted and twisted until the metal c-clamp cracked. I could not believe. keep in mind I have been applying liberal amounts of pb blaster. so then I tried something else. I burned the crap out of the bushing with a torch, essentially melted the rubber into oblivion and the small race fell out. oh great what now? still having no clue what I am doing or the outcome to be, i am thinking I've ruined things and need to get a new swingarm. so I started cutting into the outer race with a dremel cutting disk. taking the best care I could to avoid cutting INTO the swingarm. I worked my way around and made little 3-4mm segments of the race, then I beat down on them with my trusty 'harder than diamonds' screwdriver and hammer to fold the little segments down inwards. this all took longer and was way harder than I am describing. I have never beat on anything this hard before. I was sweating bullets. thank goodness the race was softer than the swingarm other wise I WOULD be needing a new one.
I was able to bend down the segments into tabs and then insert a socket into the bushing area that butted up against the 'wall o tabs' I just made. gave it two huge whacks of the hammer and out came the bushing. surprisingly little damage to the swingarm
I don't have pictures of the process because emotions were running too high to stop and take pics
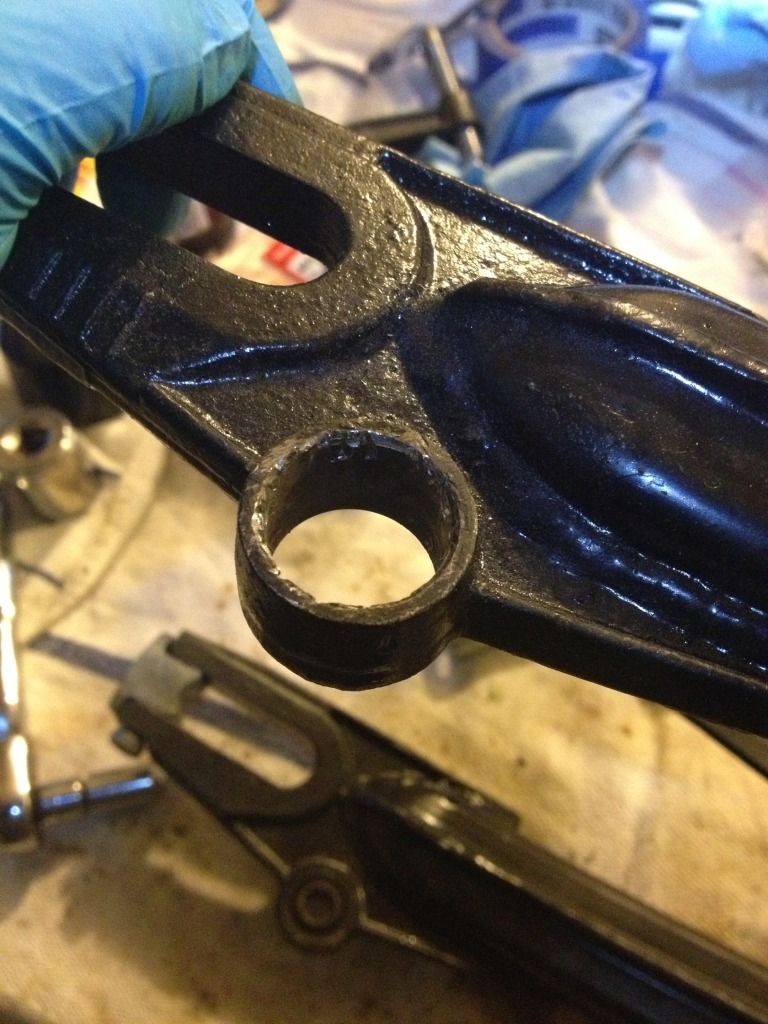
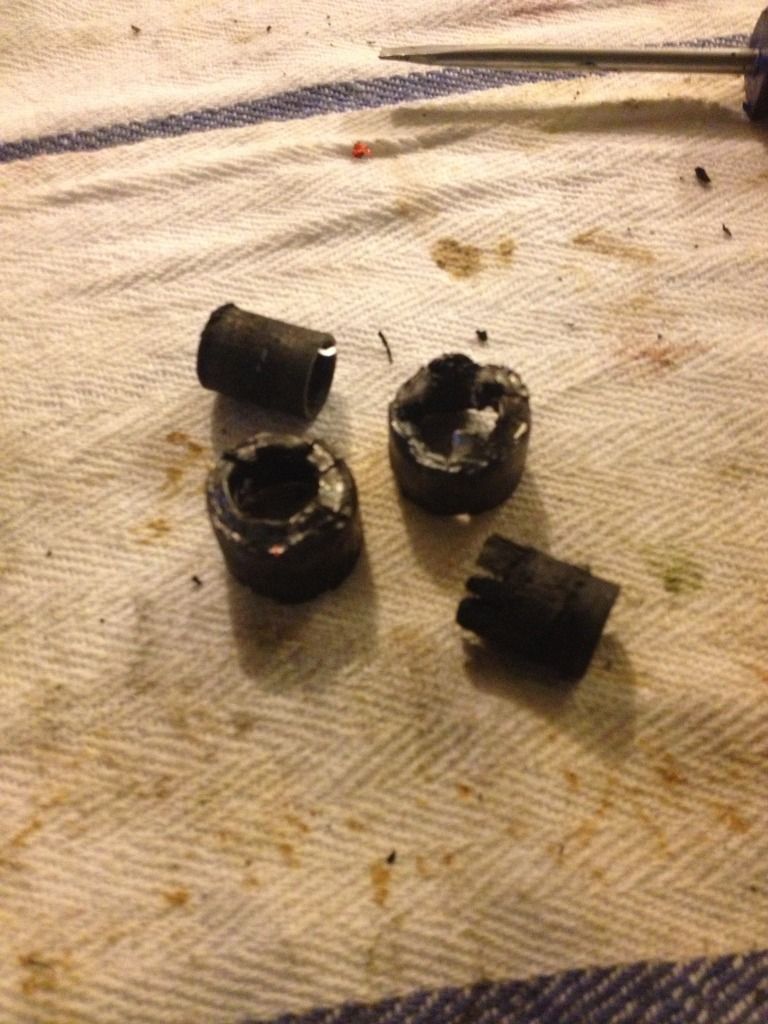
I got the other one out with the exact same hard, nail-biting process. so I go to press the new bushings in using a bigger c-clamp and it won't budge. I took the 120 grit sanding tube from the dremel to the inside tube of the swingarm. just cleaned it up and removed a small amount of material. then I was able to press the bushings in(still with a lot of force thankfully). so I didnt ruin the tubes after all and new bushings are set in. I NEVER EVER want to do this again. actually this whole swingarm has been a pain. if you are reading this and even thinking about it....SEND YOU SWINGARM TO HONDAMAN! I was going to but wanted to do it myself. way too much frustration and work and when I get it all back together it may not even be great (Ive never done this before, Im sure hondaman has one hundreds!). crossing fingers for when its time to get it all together.
today I got my upper and lower tapered bearing races in
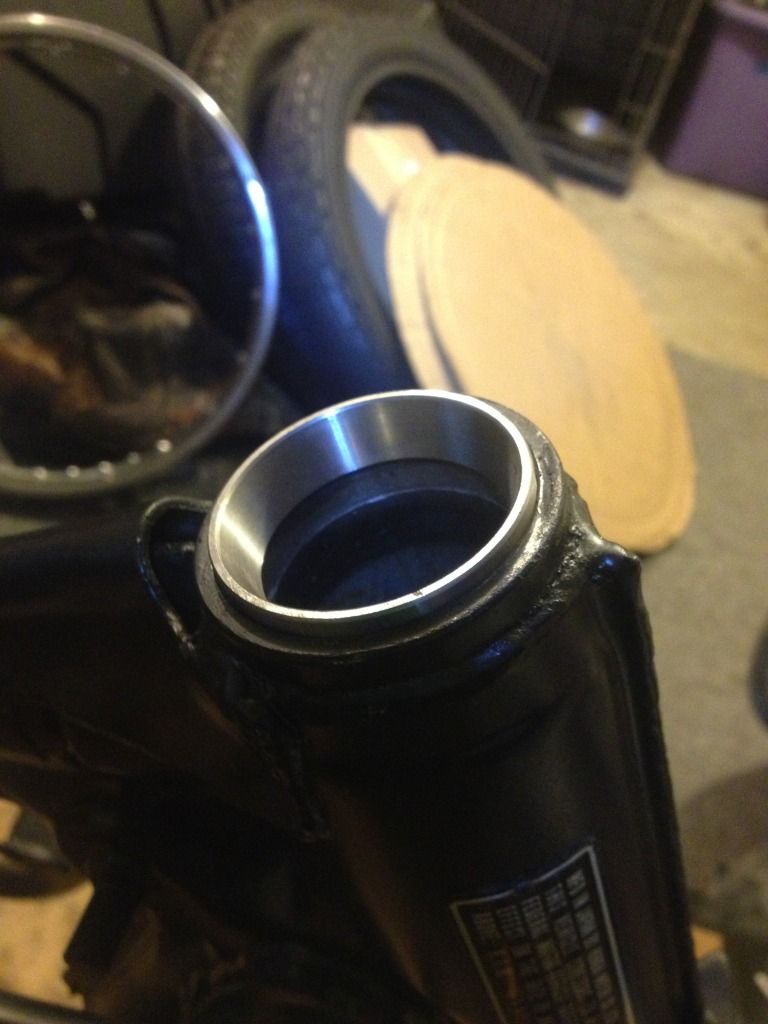
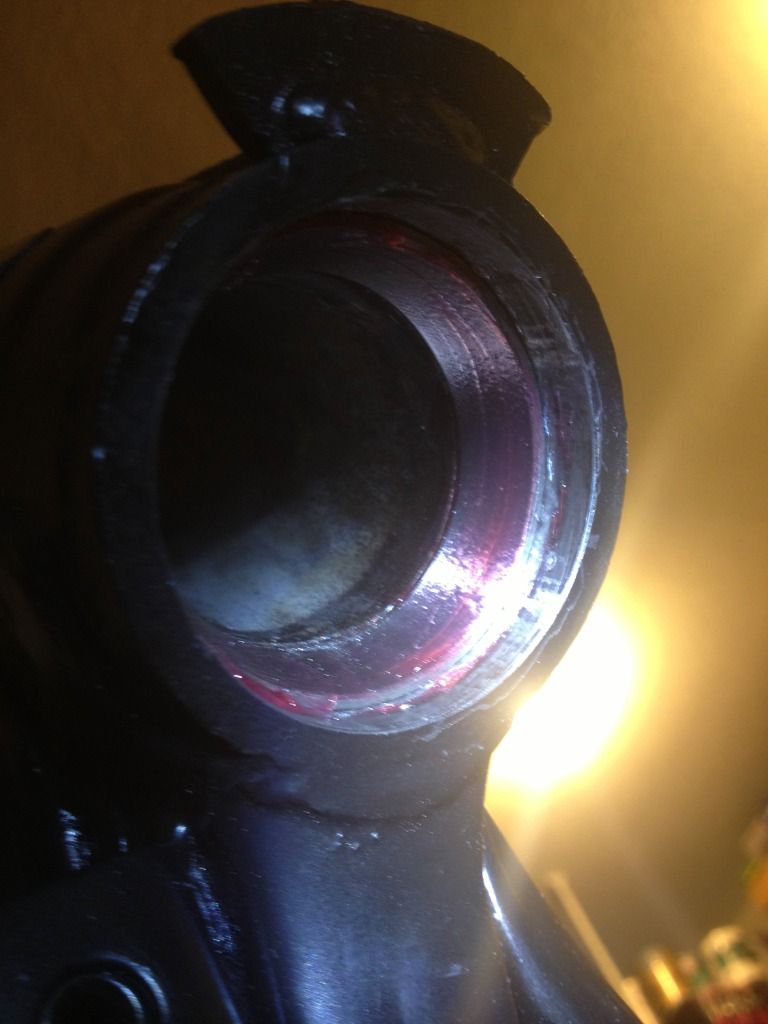
then I got the lower bearing on the stem. wow did I have to beat that in! froze the stem and heated the bearing. then hammered the bottom of the stem upside down into a pvc pipe with the large washer in between the pvc and bearing. that did not get it all the way seated for me. I found a spark plug pipe wrench that had to be 30+mm. slid that over the stem and on top of the large washer on top of the bearing and carefully beat down on the edge of the pipe )it stuck out enough) and rotated it to seat the bearing down properly, worked like a charm and nothing warped.
I found that 22 page thread on tapered bearings and one on page there was a great walkthrough and it helped me a lot. basically for me I used the thin washer supplied with the allballs kit on the bottom stem, then use NO seal on the top bearing so it will sit properly in the large spanner nut when you tighten it down. I am not done with my forks so I can't put those on yet, but we will see if all is well. I have faith.
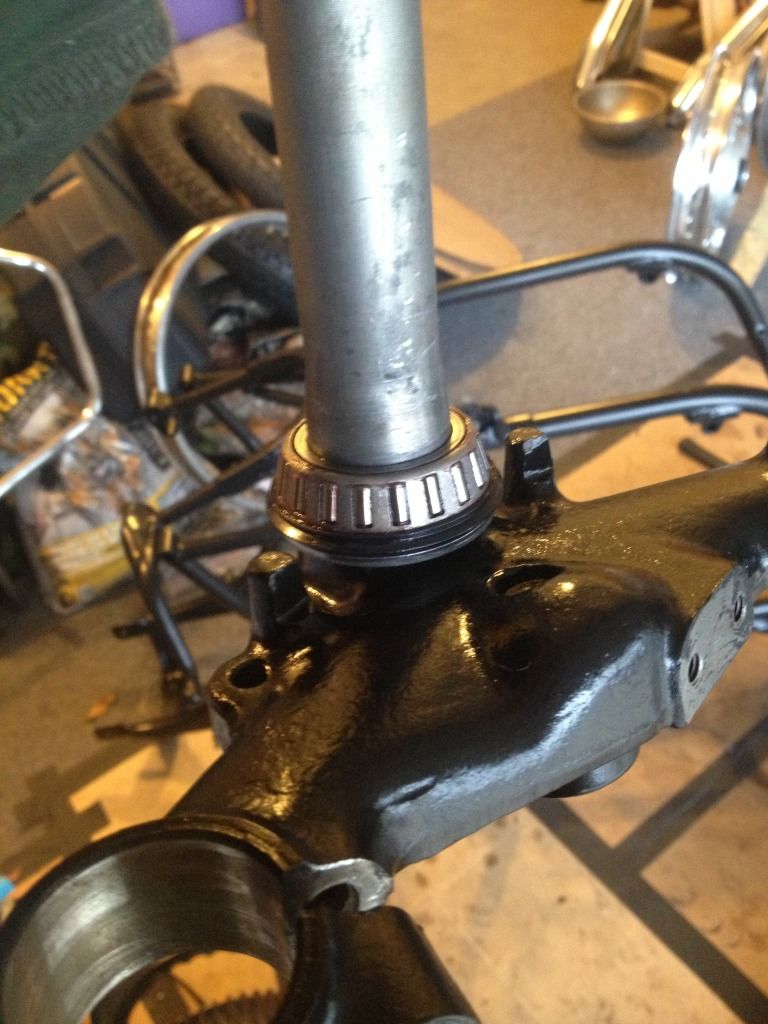
tightened down the spanner nut and put the triple tree top on. looks nice! I forgot to tape off the insides of the tubes where the forks go through...DOH! so I just got done removing the paint there with a wire wheel on my dremel.
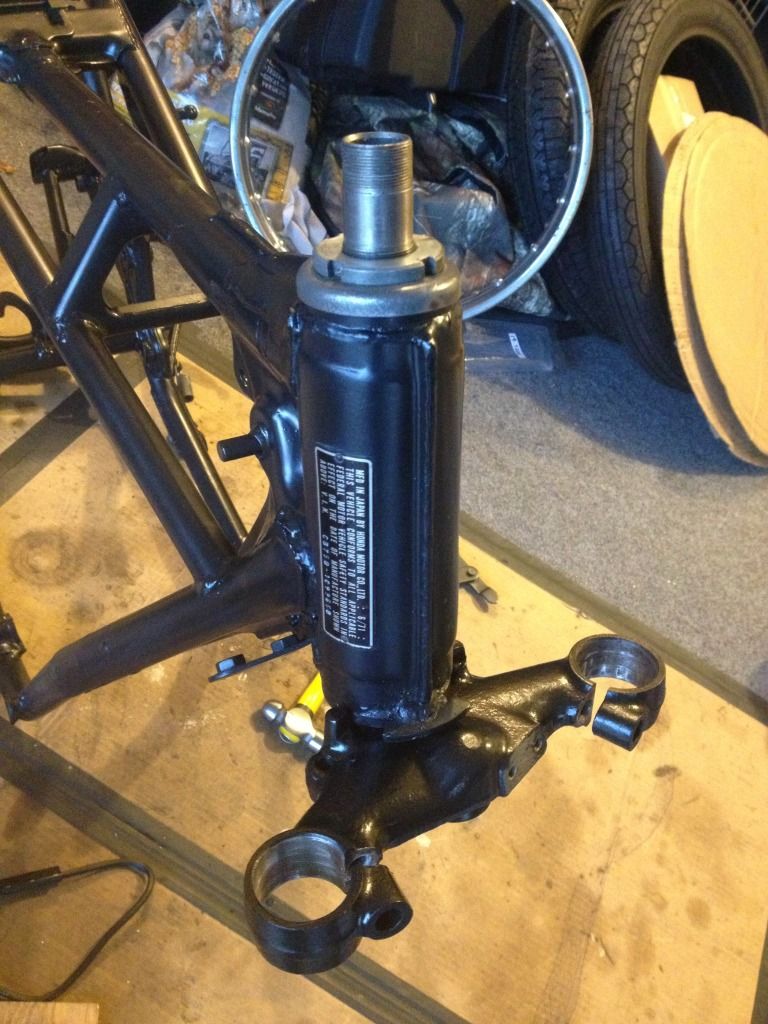
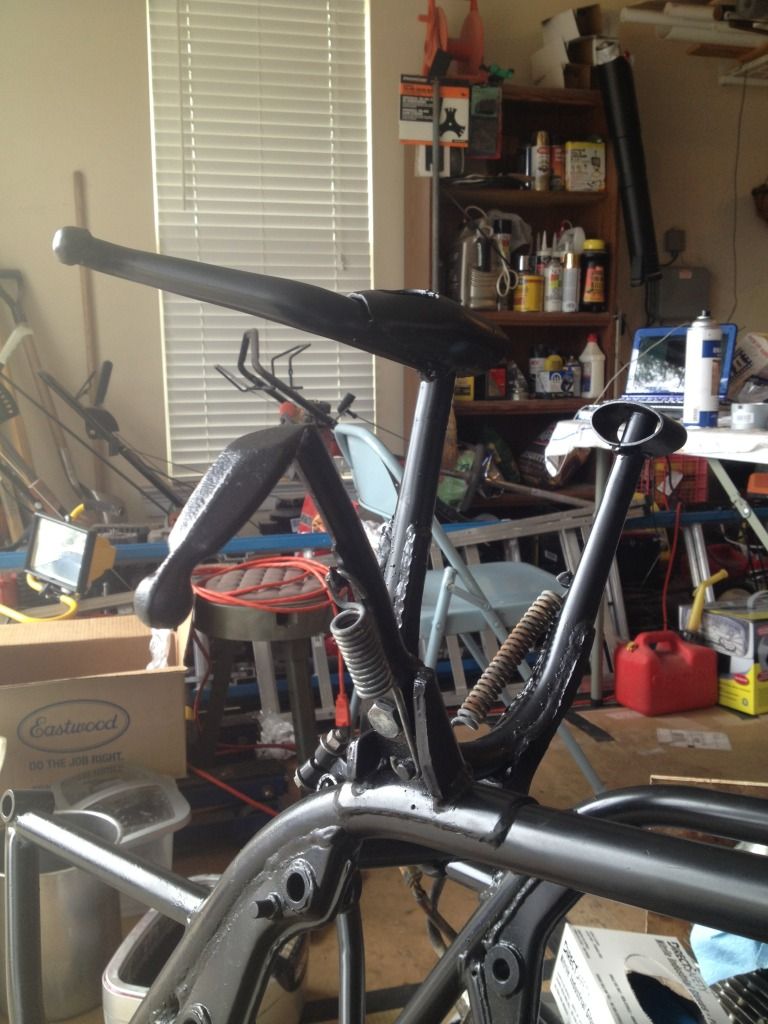
put the center stand and side stand on. that penny trick was a life saver. I was able to put the center stand way too easily, then remove the coins and bam, insta-tight. I also painted the center stand spring black, because the rust was an eyesore. kind of an after thought on my part. oops, but it looks better now.
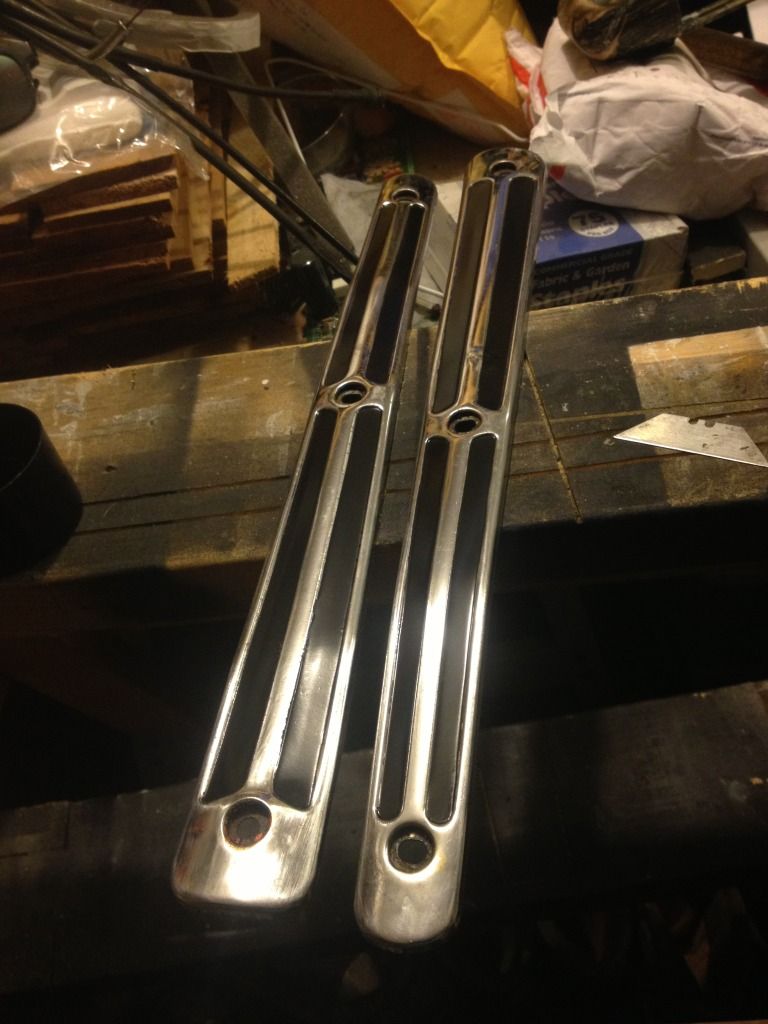
spent a good amount of time cleaning these up! there were painted solid black, and under the black was a nice red......ugh. put some klean strip on there to take out some bulk and soften the paint up. then cleaned that off and used a razor blade to carefully and slowly scrape off both layers of paint.
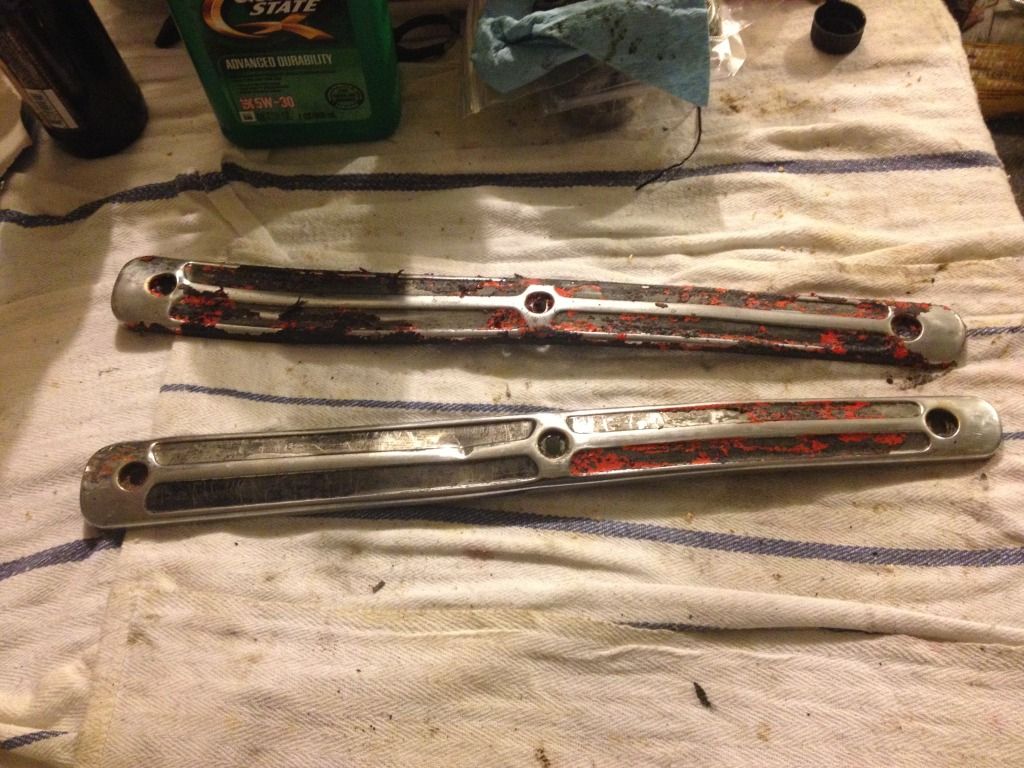
hit it with some cleaner so paint would stick and did a coat of rust encapsulator on the backside (was rusty) and taped off the top divots and hit that with the encapsulator as a primer. then shot it with the chassis black
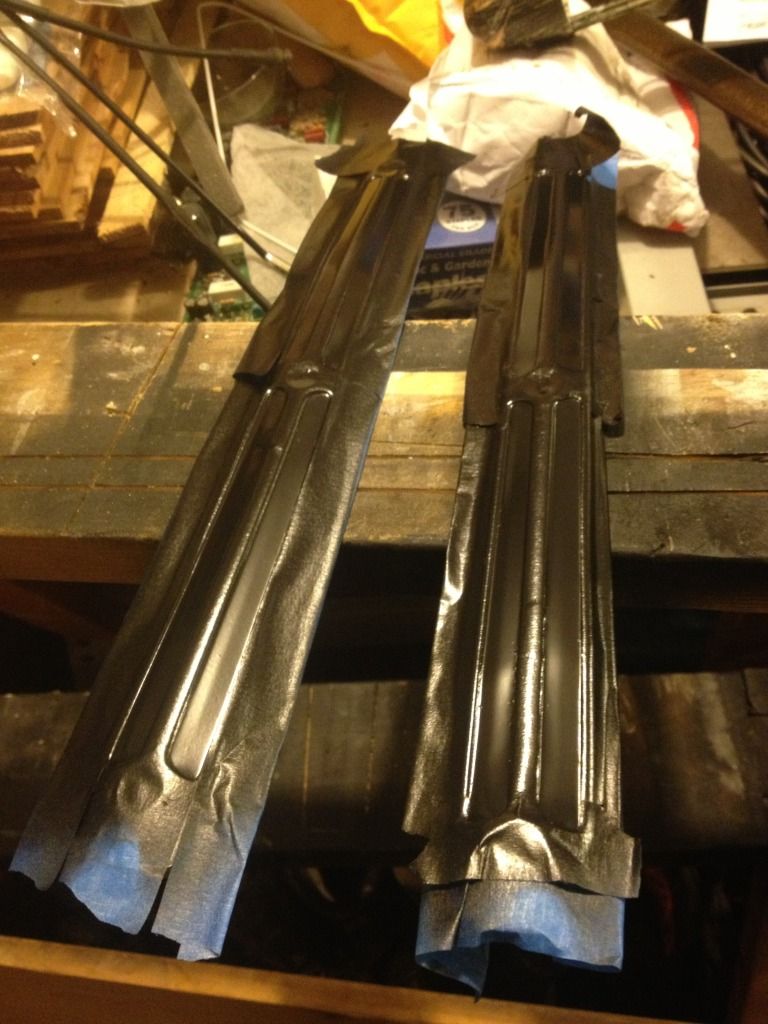
they are not perfect per se but at least 10x better. very please with the result!
now I am tightening up the rear rim, I am not going to true the rims but I am getting the spokes evenly tightened. I have tuned many drums so this is actually pretty easy. I'm trying to find a shopp around here to true them. depending on price the shop charges I'll have them mount and balance the tires too.
question: you true the rim to the hub, THEN you balance the tire, but is that with the rotor/sprocket/brake shoes and hub on? you balance when the wheel is fully assembled or what?
thanks for reading the wall-o-text!