Just thought I would post this for whomever in the future is planning on installing one of these. I ordered the kit through Gordon on Thursday, it was at my house Saturday morning, I was drinking a beer and looking at the finished product Saturday evening. I'm by no means a mechanical expert, but this was about as straightforward of an install as possible. Diagram and directions were easy to comprehend. Here we go....
Following the directions... I taped of the areas to be cut and measured, per the diagram where my cut lines would be.
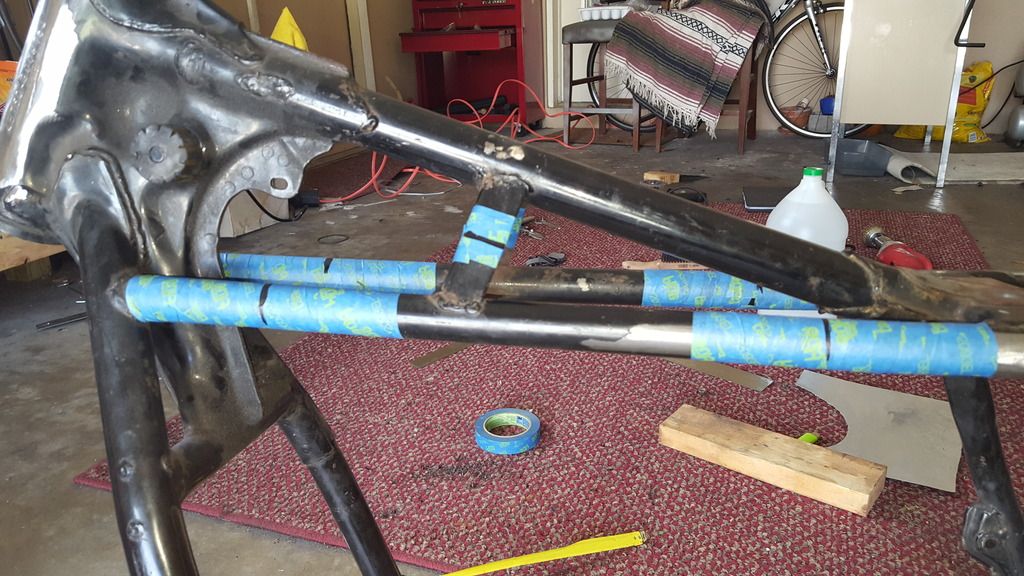
After measuring a couple of times, I went ahead and cut the frame. This part had me a little on edge to say the least but it really shouldn't have.
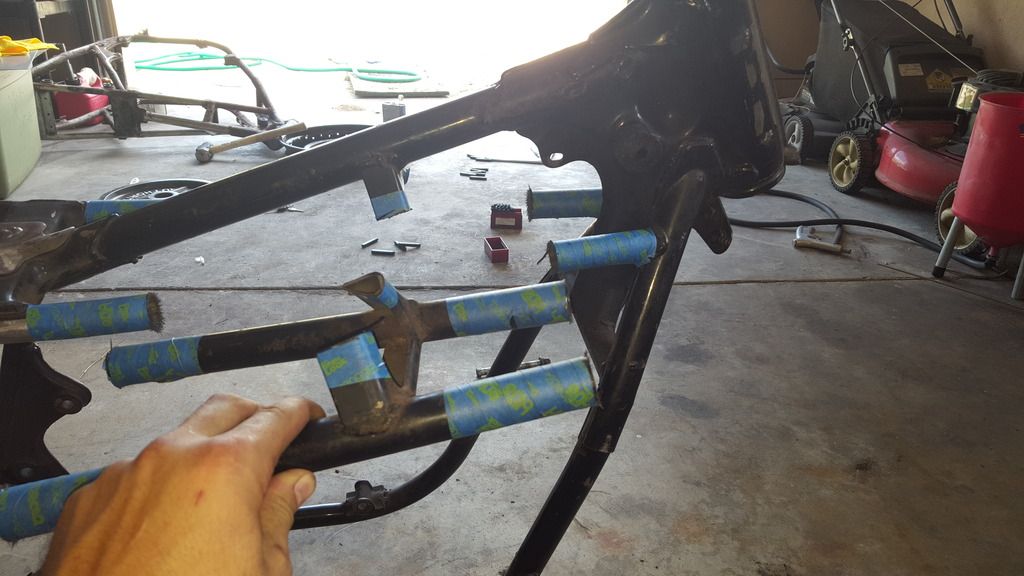
Here's the piece after I cut it out and stripped the paint of the ends...
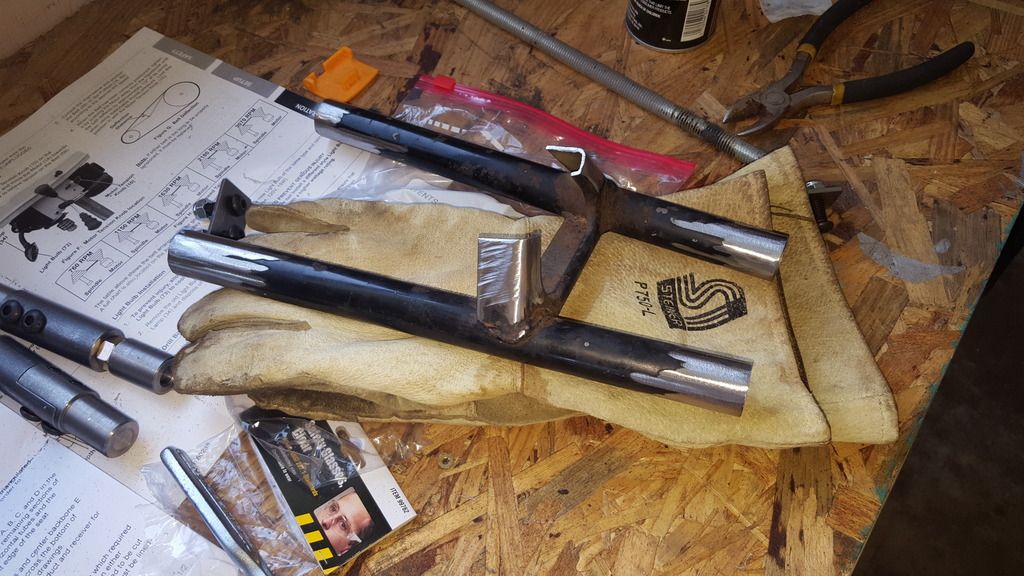
Once you put the adaptor pieces into your frame, and hold it up, you realize... oh sh**, I need to cut back a good bit of this piece to make room for the adaptors. So from this point, it was a lot of measure, mark cut. Slowly trimming it back until I had as snug of a fit as possible.
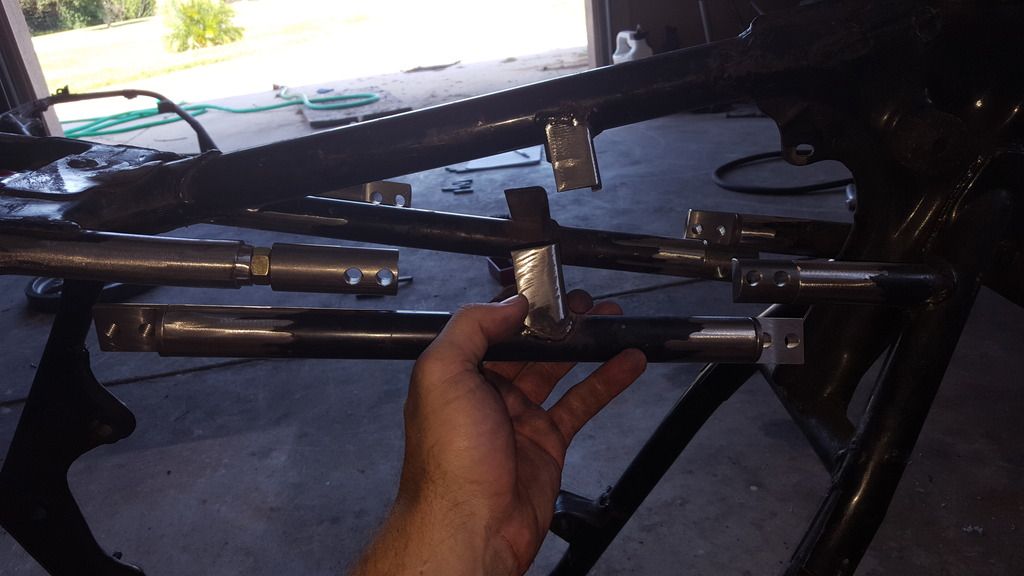
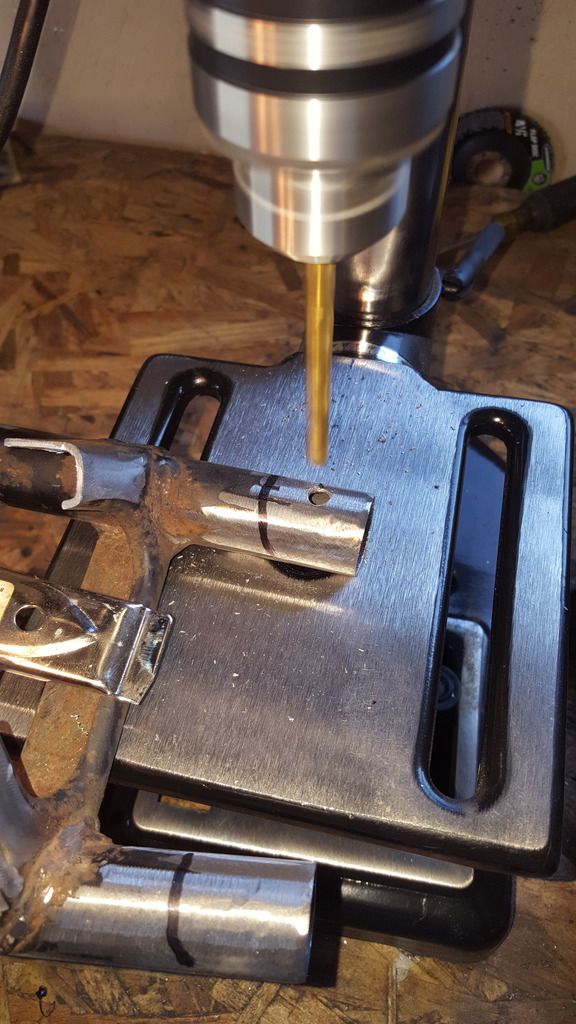
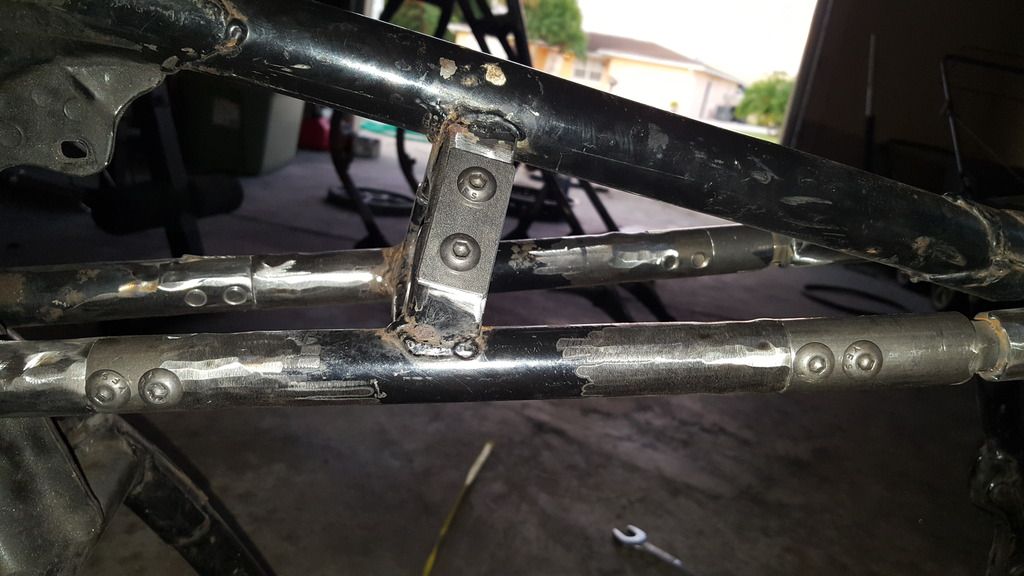
I thought I had a picture of the test fit, but you'll see something similar in a second. Once I did a test fit, I made the personal choice of drilling holes in all ends that have a piece welded into them. On the front tubes, all four ends on the removeable piece and on the back tubes. I drilled these holes for additional welding support. I used them for plug welding. I'm not the best welder in the world, and I thought since the pieces were being welded into place anyway, to plug weld them into place too wouldn't hurt. So here's a couple pictures of where I drilled holes and a test fit before welding the plugs...
You can see permanent marker lines, that is how deep the inserts go so I knew to drill my holes somewhere between the mark and the end of the tubing.
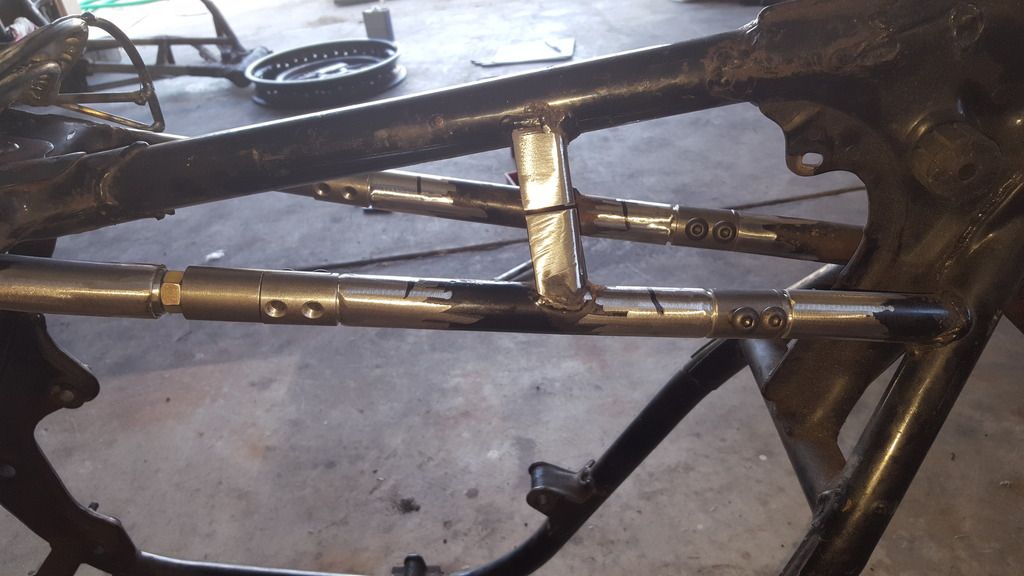
Here's one of a test fit with all plug weld holes drilled (I did 2 plug holes per tube on each side), as well the triangled bar from the top down tube drilled and fitted with the tabs supplied in the kit.
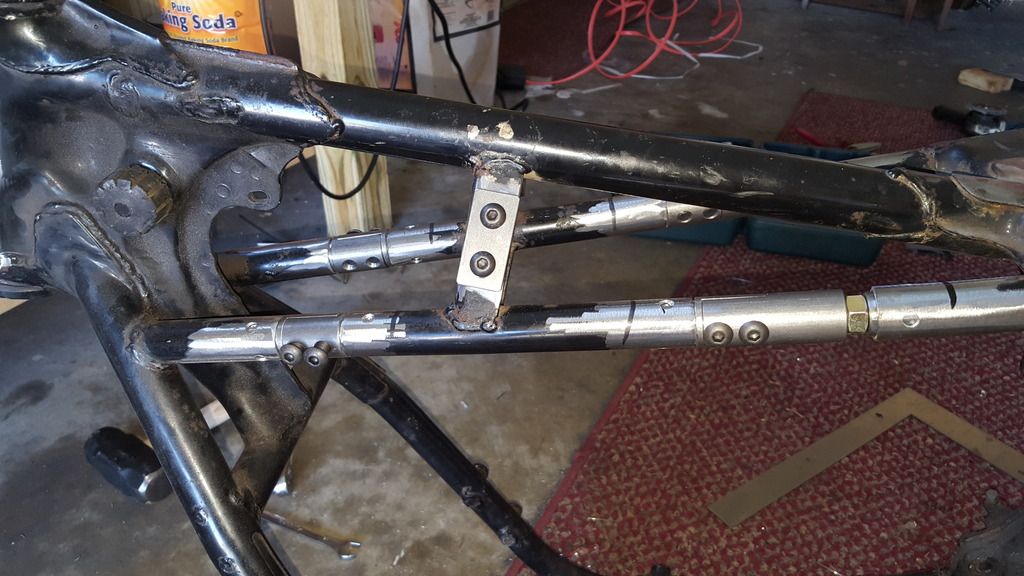
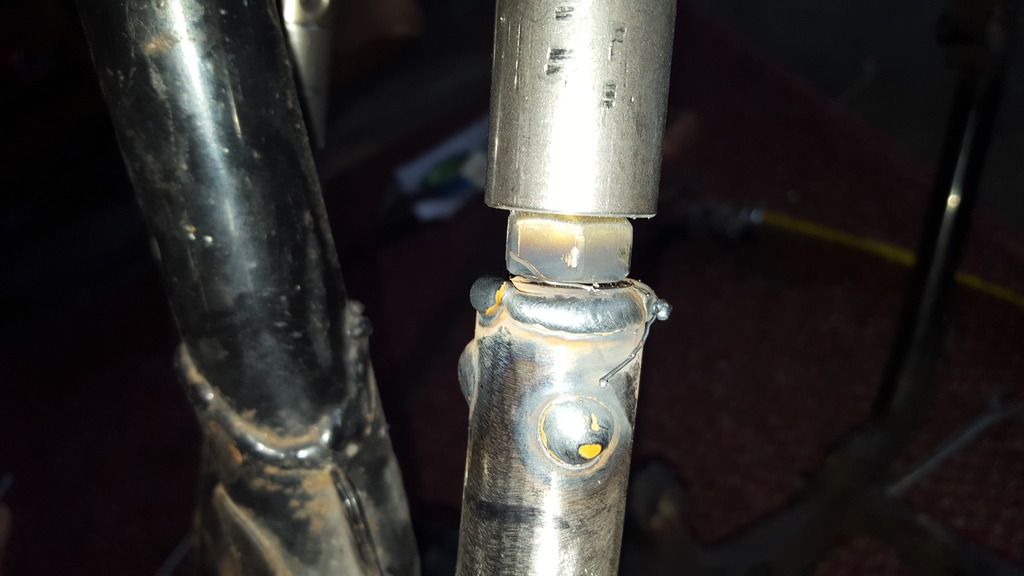
With this ^^^ test fit sitting good, I was confident in beginning the welding process. I went around and did one plug per tube, then went back around and filled the other plugs. Heres a picture after the first one was finished. Sorry it's blurry, my phones camera doesn't do well with really close pictures.
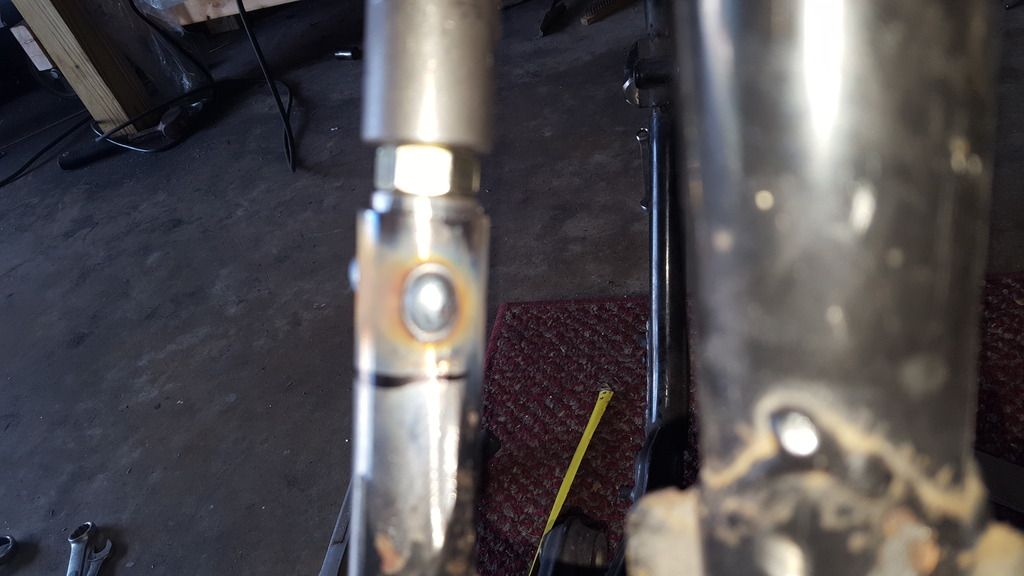
After all the plug welds were finished, I let the metal cool down, had a beer, and decided to finish the project off. I went back and welded the pieces completely into the tubes. This was tricky as the frame tubes are quite small and trying to get all the way around on some of them proved to be difficult. But I got it done, albeit some of them weren't the prettiest but they will work (especially coupled with the plug welds, these guys aren't moving). Here's on of the welds around the tubing to lock one of the pieces in place...
And after flap disc'ing everything... here's what she looked like.
Zoomed in on one of the joints...

And that's about it. It's a pretty fuggin snug fit, but the more I take the piece out and put it back in I'm starting to figure out the right way to maneuver it in. Great product in all! Gordon was very helpful, had quick response times, I would suggest this to anyone. I hope I never have to use it, but know that it is there if I ever have to take my top end off or remove the engine again, this was well worth the money and the piece of mind.
Thanks!